How To Install Fedora 34
Login to your Panel (https://crownpanel.com/)
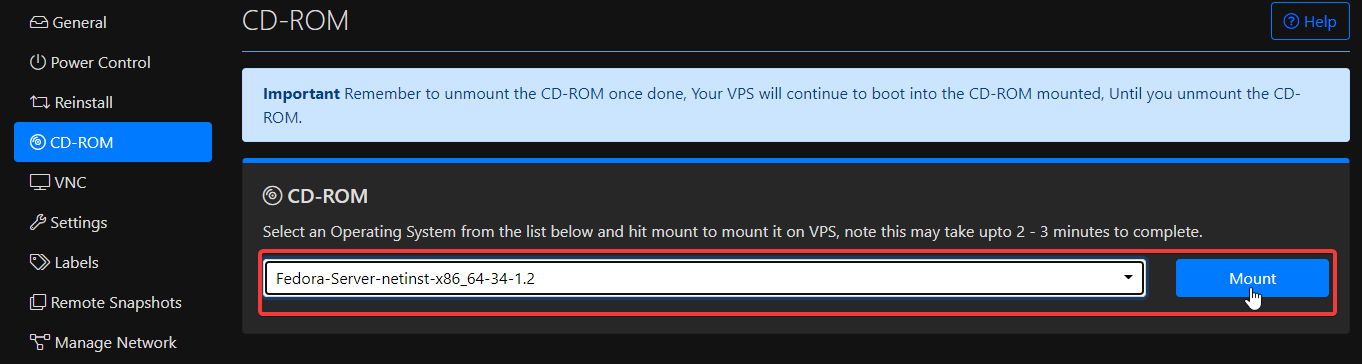
To start the installation you will have to mount the Fedora 34 ISO. To mount the ISO click on CD-ROM and then select the Fedora 34 ISO from the drop-down menu and click on Mount button(It will take 2-3 minutes)
Once the ISO has mounted (Task Log tab will show the status of the task), navigate to "Power Control" tab and then perform a Reboot task on the server.
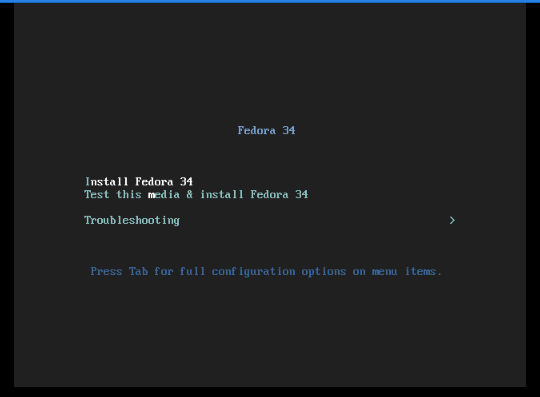
Now Launch VNC to start the installation. If the VNC doesn't boot to Fedora 34, please click on ctrl + alt + del from the VNC console to send a reboot signal.
Select "Install Fedora 34" and hit Enter key to start.
Select the desired language and click on continue.

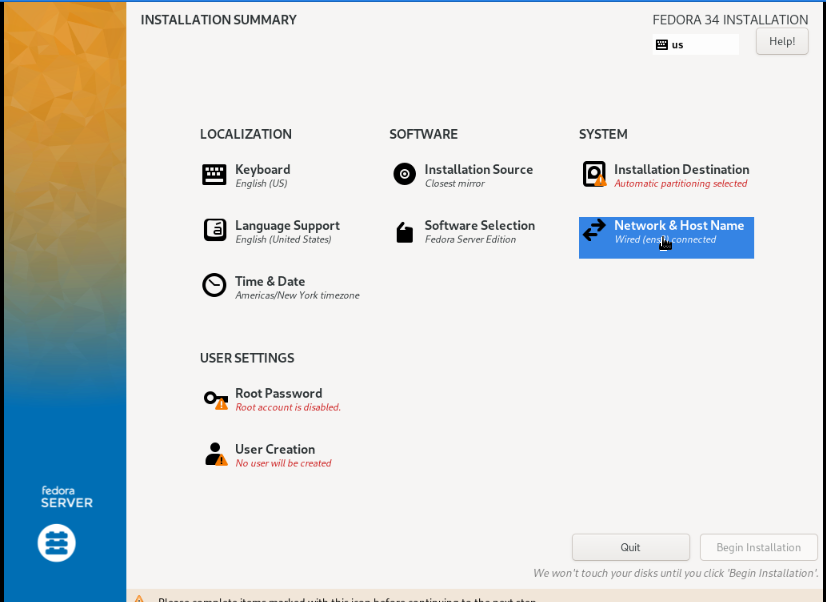
Click on "Network & Hostname" to configure networking.
Network can be configured in 2-ways, either DHCP or Static.
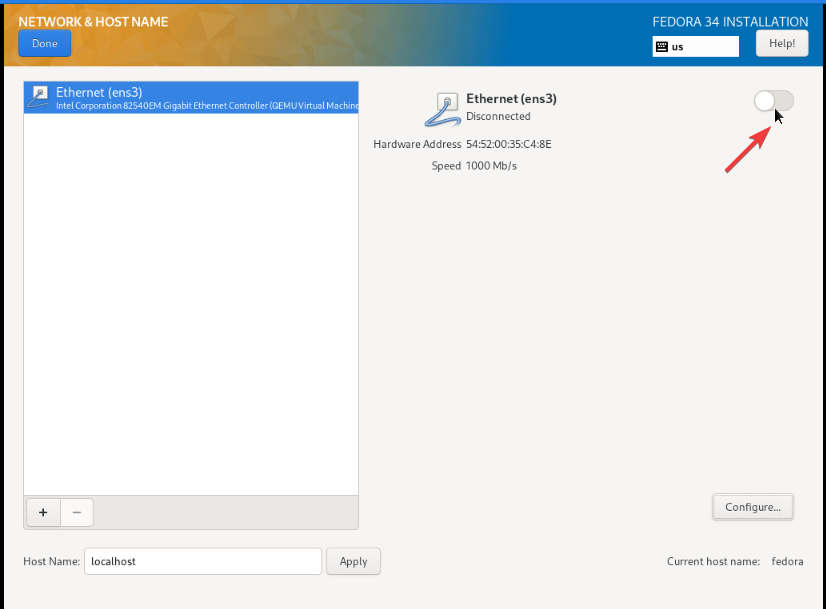
If you opt for DHCP, all you have to do here is to click on slider button next to the "Ethernet" to enable and we're good to go.

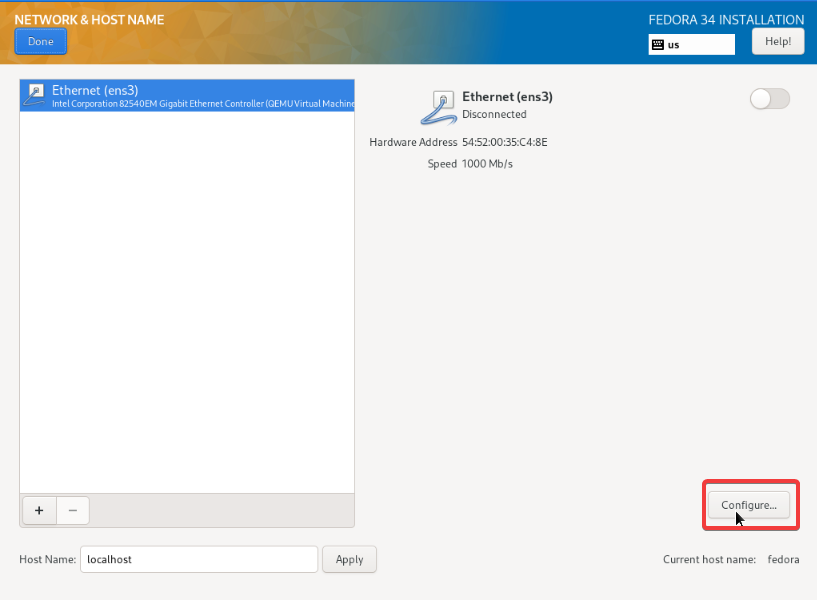
And if you choose Static configuration click on "Configure".
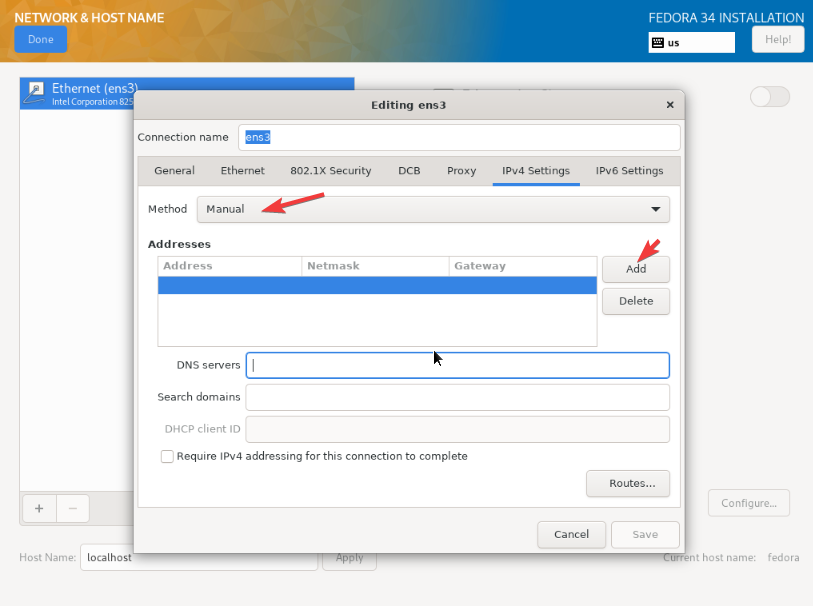
Now, Switch to IPV4 settings and select the method to manual
Then click on the Add button and enter the IP address, Netmask and it's Gateway in the provided field. You can find more information about your IP Address here .
You can choose between Google's DNS (8.8.8.8 and 8.8.4.4) or CloudFlare's (1.1.1.1)
Make sure to check the "Require IPv4 addressing.." option so you can have the network UP after the install is complete
Click on slider button next to the "Ethernet" to enable
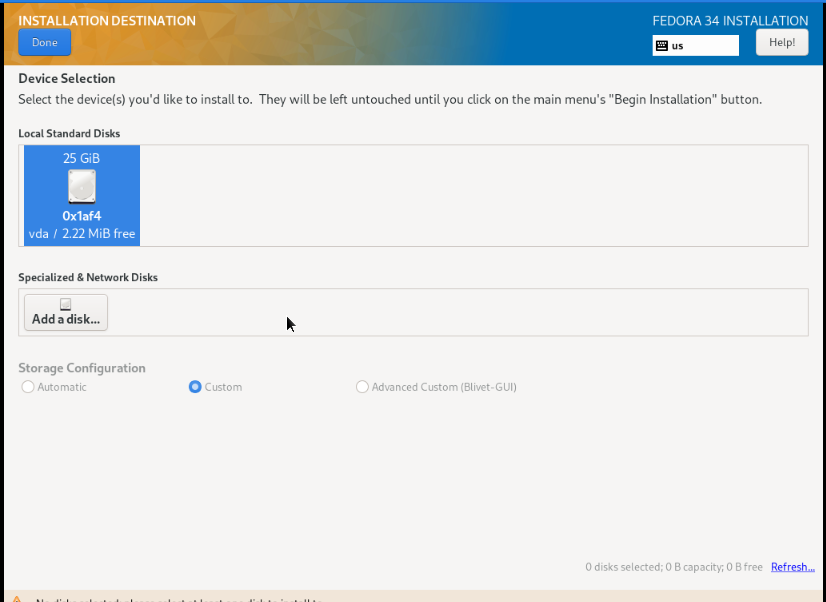
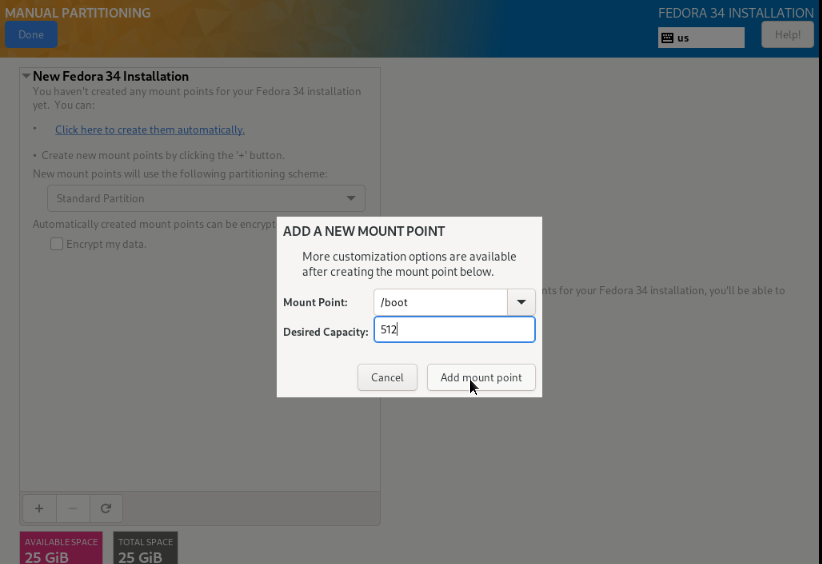
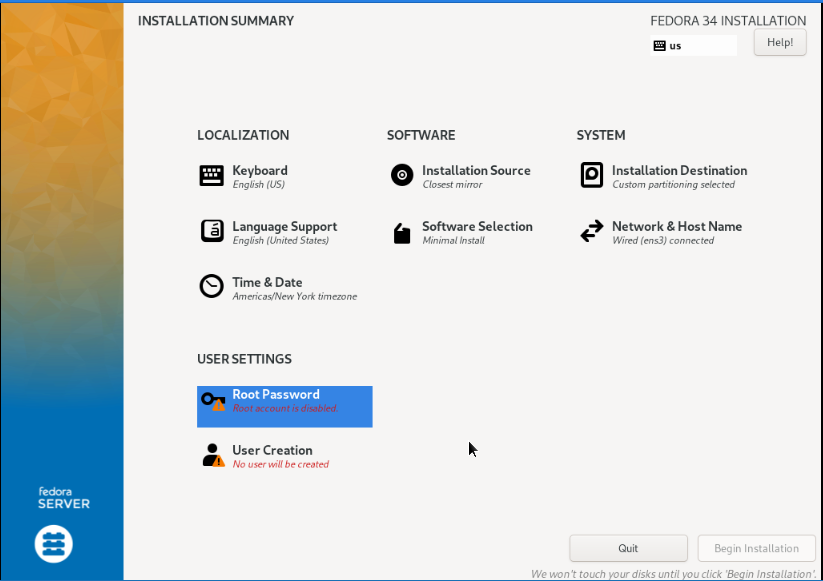
Next, click on "Installation Destination" to configure your disk partitioning.
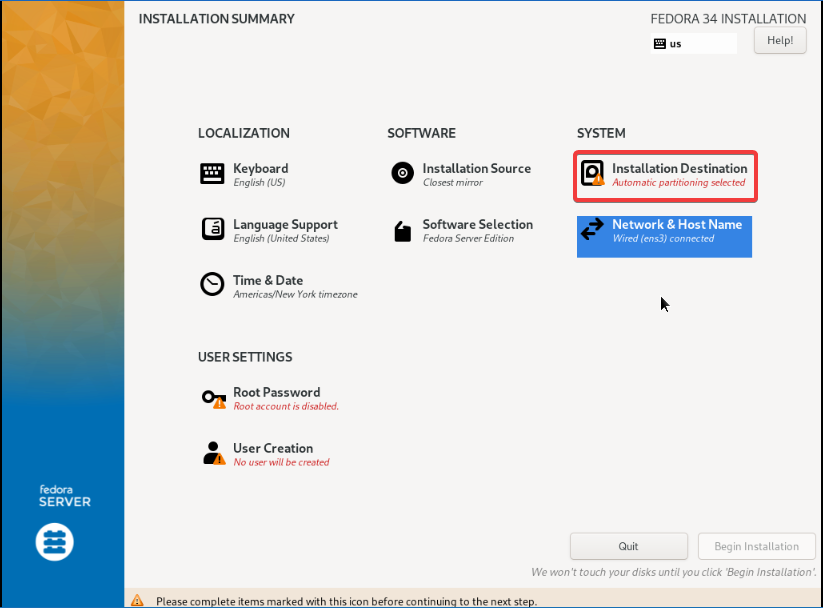
Here, you can either opt for Automatic or Custom configuration depending on your requirements, We will go with custom partitioning in this article.
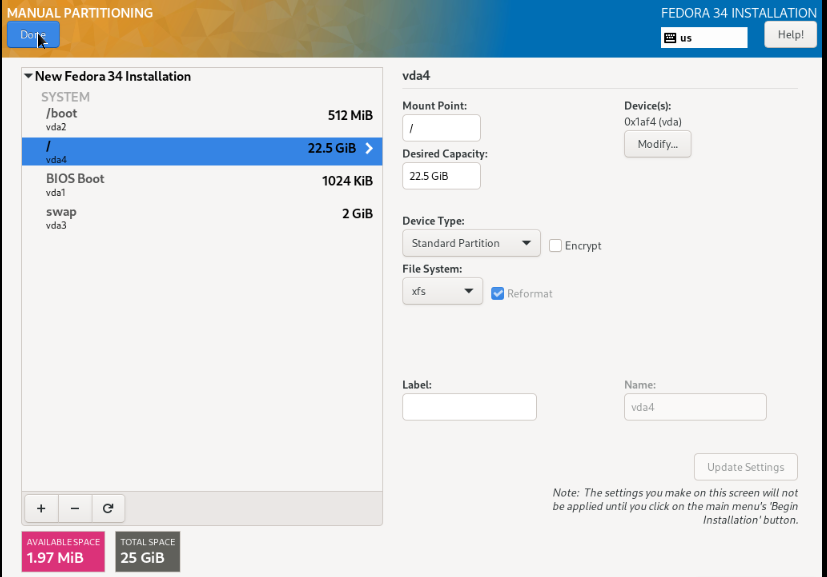

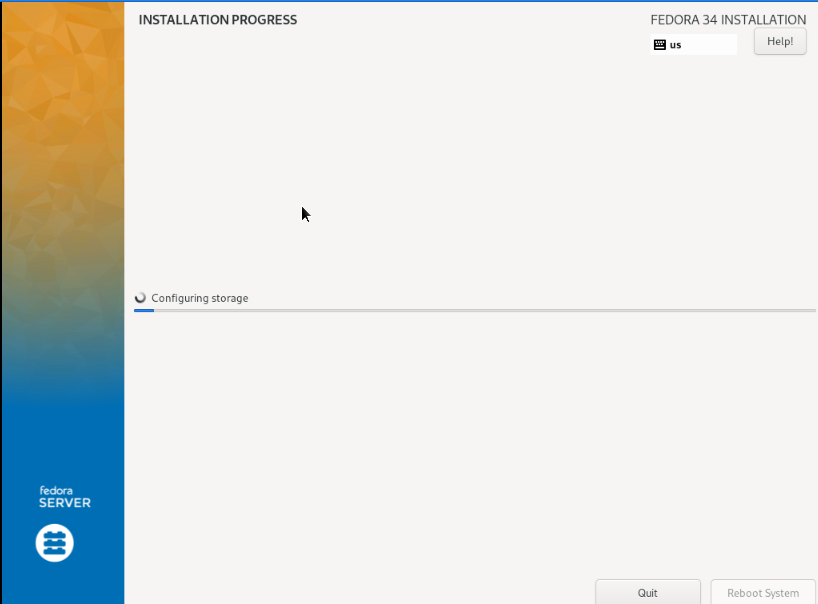
Once Partitioning of the disks are complete, we'll move to "Installation Source".
By default, it'll select the closest mirror, leave it as the default.
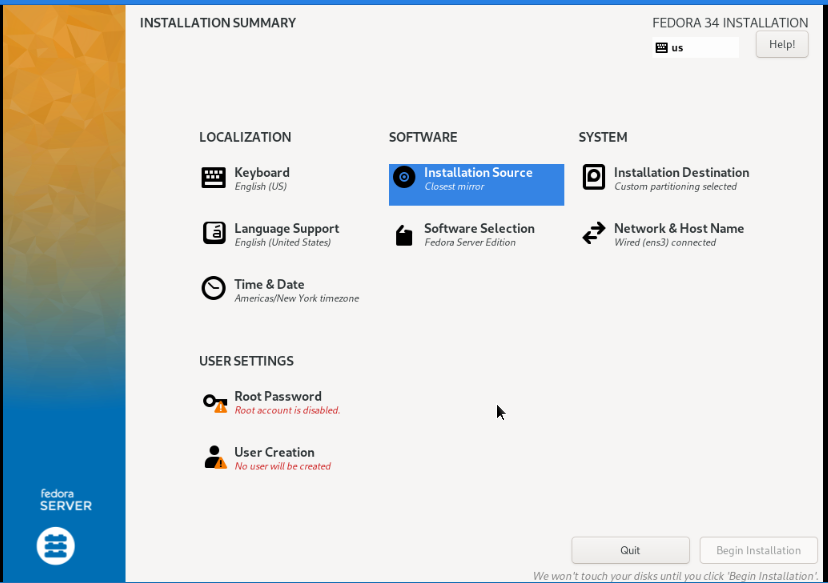
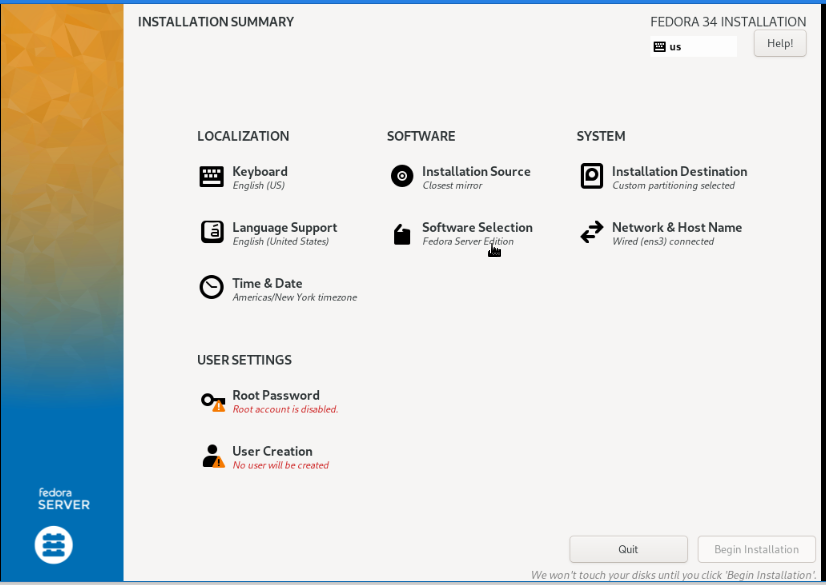
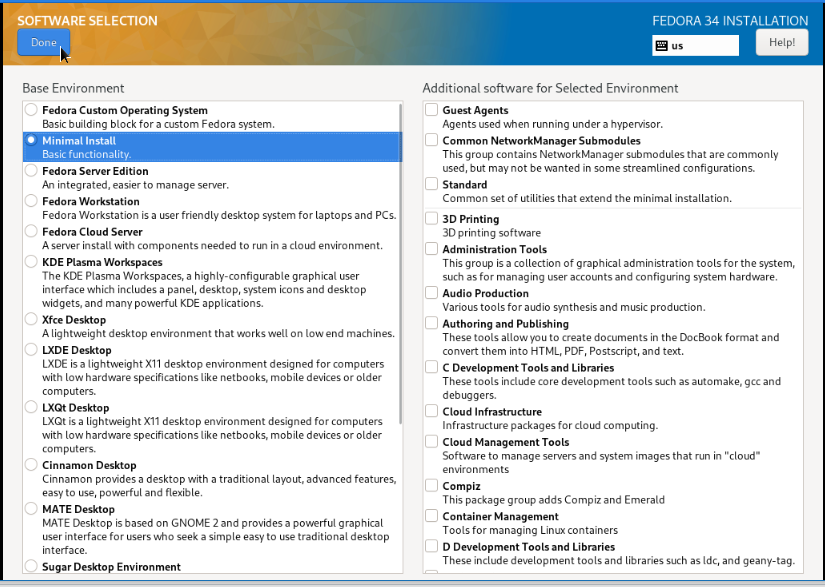
Click on the "Software Selection" and choose the packages that are required.
In our case, we will go with "Minimal install" which comes with bare minimum to operate the server.
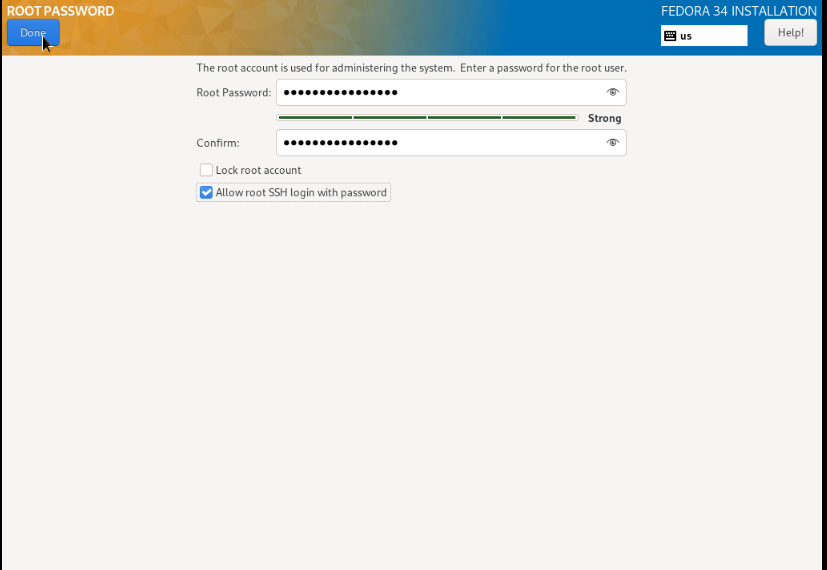
Click on "Root Password" to set a password for the root user.
We highly recommended to a set strong password, and also select the box "Allow root SSH login with password"
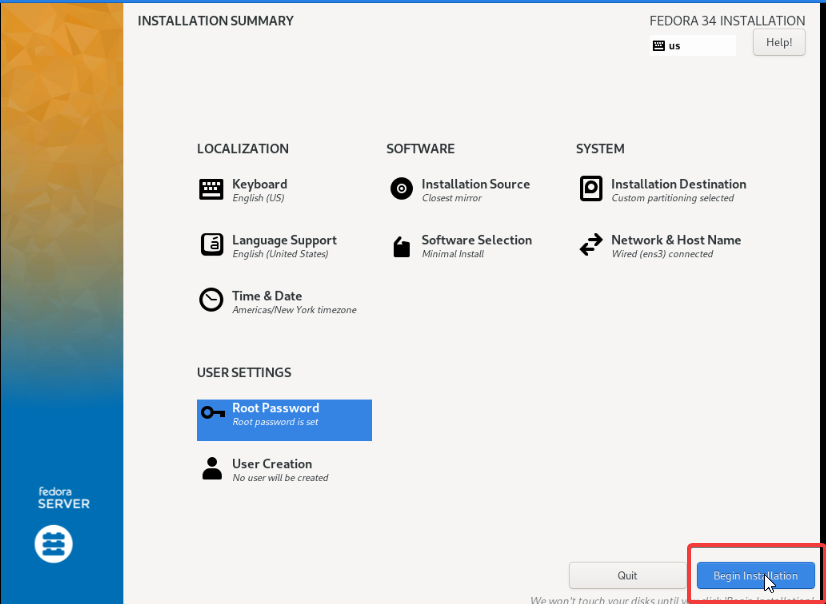
Now hit "Begin Installation" to start the installation process.
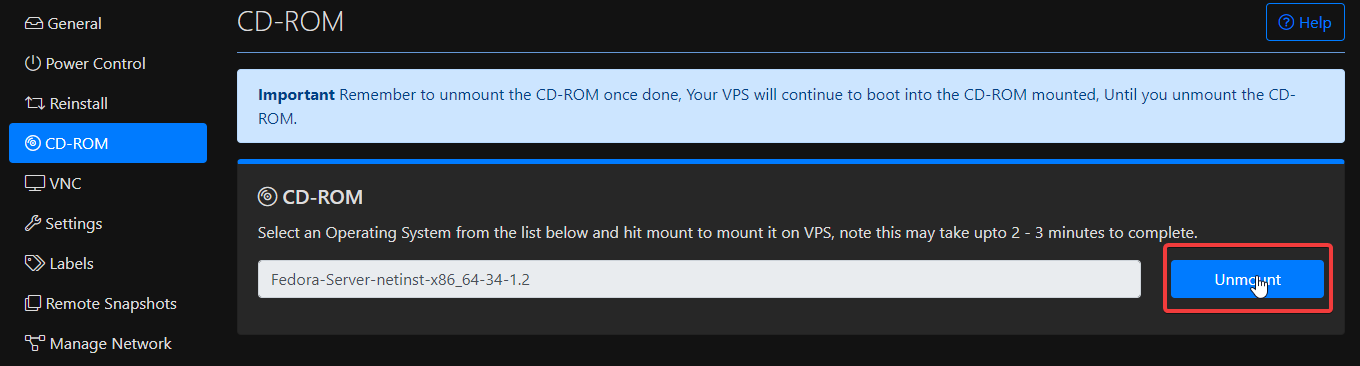
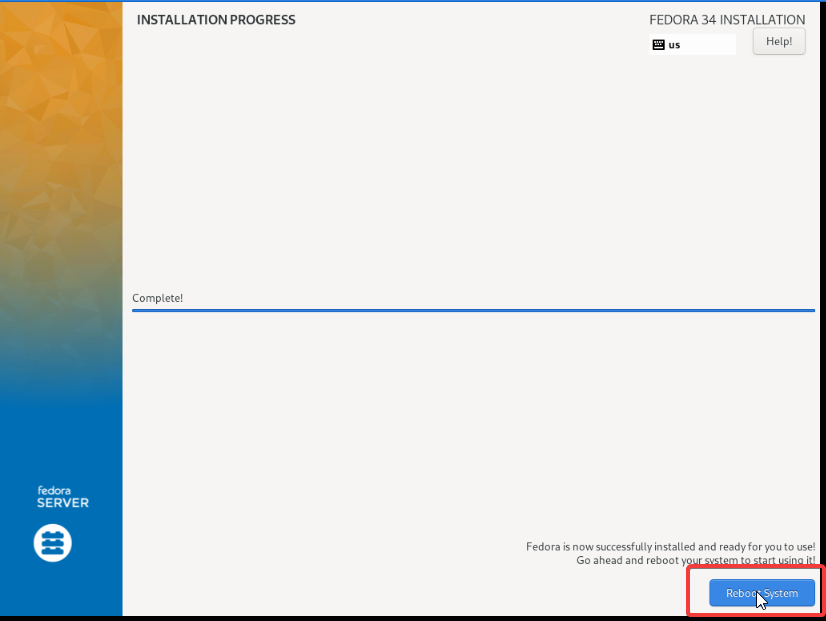
Once installation is completed, unmount the ISO from crownpanel and hit reboot button.
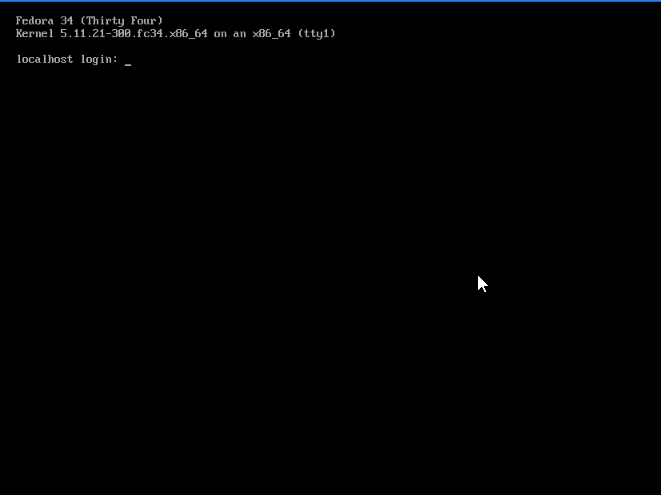
After rebooting the server, you will get the login screen.
Done!
CrownCloud - Get a SSD powered KVM VPS at $4.5/month!
Use the code WELCOME for 10% off!
1 GB RAM / 25 GB SSD / 1 CPU Core / 1 TB Bandwidth per month
Available Locations: LAX | MIA | ATL | FRA | AMS