How to install Nginx MariaDB PHP on Debian 9 Stretch
Install LEMP Stack
Install Nginx packages.
apt-get update

apt-get install -y curl wget gnupg2 ca-certificates lsb-release apt-transport-https
To Download, Nginx repository signing key.
wget http://nginx.org/keys/nginx_signing.keySample Output:
--2019-12-04 10:01:05--  http://nginx.org/keys/nginx_signing.key
Resolving nginx.org (nginx.org)... 95.211.80.227, 62.210.92.35, 2001:1af8:4060:a004:21::e3
Connecting to nginx.org (nginx.org)|95.211.80.227|:80... connected.
HTTP request sent, awaiting response... 200 OK
Length: 1561 (1.5K) [text/plain]
Saving to: ‘nginx_signing.key’

nginx_signing.key   100%[===================>]   1.52K  --.-KB/s    in 0s

2019-12-04 10:01:05 (120 MB/s) - ‘nginx_signing.key’ saved [1561/1561]
Adding Nginx public key.
apt-key add nginx_signing.keySample Output:
OKAppend Nginx repository.
echo "deb http://nginx.org/packages/debian/ stretch nginx" | tee /etc/apt/sources.list.d/nginx.listSample output:
deb http://nginx.org/packages/debian/ stretch nginxTo Install Nginx package.
apt-get update

apt-get -y install nginx
To start Nginx Service.
systemctl start nginxOpen web browser and open the link.[Enter Your ip address in link]
http://your-ip-add-ressOutput:
Install MariaDB
To install MariaDB
apt-get -y install mariadb-server mariadb-client To Secure MariaDB Server installation.
Note: 1. Before start with this steps switch back to root user, if you using custom user.
      2. It will ask for root password and ask for reset the root password.
      3. And it will ask for several Permission, Enter 'Y' and proceed.
Start the MariaDB server.
systemctl start mariadbSample OutPut:
NOTE: RUNNING ALL PARTS OF THIS SCRIPT IS RECOMMENDED FOR ALL MariaDB
      SERVERS IN PRODUCTION USE!  PLEASE READ EACH STEP CAREFULLY!

In order to log into MariaDB to secure it, we'll need the current
password for the root user.  If you've just installed MariaDB, and
you haven't set the root password yet, the password will be blank,
so you should just press enter here.

Enter current password for root (enter for none):
OK, successfully used password, moving on...

Setting the root password ensures that nobody can log into the MariaDB
root user without the proper authorisation.

You already have a root password set, so you can safely answer 'n'.

Change the root password? [Y/n] y
New password:
Re-enter new password:
Password updated successfully!
Reloading privilege tables..
 ... Success!

By default, a MariaDB installation has an anonymous user, allowing anyone
to log into MariaDB without having to have a user account created for
them.  This is intended only for testing, and to make the installation
go a bit smoother.  You should remove them before moving into a
production environment.

Remove anonymous users? [Y/n] y
 ... Success!

Normally, root should only be allowed to connect from 'localhost'.  This
ensures that someone cannot guess at the root password from the network.

Disallow root login remotely? [Y/n] y
 ... Success!

By default, MariaDB comes with a database named 'test' that anyone can
access.  This is also intended only for testing, and should be removed
before moving into a production environment.

Remove test database and access to it? [Y/n] y
 - Dropping test database...
 ... Success!
 - Removing privileges on test database...
 ... Success!

Reloading the privilege tables will ensure that all changes made so far
will take effect immediately.

Reload privilege tables now? [Y/n] y
 ... Success!

Cleaning up...

All done!  If you've completed all of the above steps, your MariaDB
installation should now be secure.

Thanks for using MariaDB!
To Install PHP-FPM
https://packages.sury.org/php/apt.gpg

sudo apt-key add apt.gpg

echo "deb https://packages.sury.org/php/ $(lsb_release -sc) main" |  tee /etc/apt/sources.list.d/php7.3.list
To Update the repository.
apt-get updateTo Install php-fpm.
apt-get -y install php-fpm php-mysql php-cliTo edit php.ini
nano /etc/php/7.3/fpm/pool.d/www.confSearch for this line in the file.
listen = /run/php/php7.3-fpm.sockAnd change to
listen = 127.0.0.1:9000And restart PHP-FPM service.
systemctl restart php7.3-fpm TO Create Virtual Host.
To create configuration file for virtual Host
nano /etc/nginx/conf.d/virtual.confAdd the following content to file.
NOTE: Enter Your domain name in place of "Domain_NAME"server {
server_name "Domain_NAME";
root /usr/share/nginx/html/itzgeek.local;
location / {
index index.html index.htm index.php;
}
location ~ \.php$ {
include /etc/nginx/fastcgi_params;
fastcgi_pass 127.0.0.1:9000;
fastcgi_index index.php;
fastcgi_param SCRIPT_FILENAME /usr/share/nginx/html/itzgeek.local$fastcgi_script_name;
}
}To Create the root directory.
mkdir /usr/share/nginx/html/itzgeek.localAdd the PHP file on the root document for testing the php.
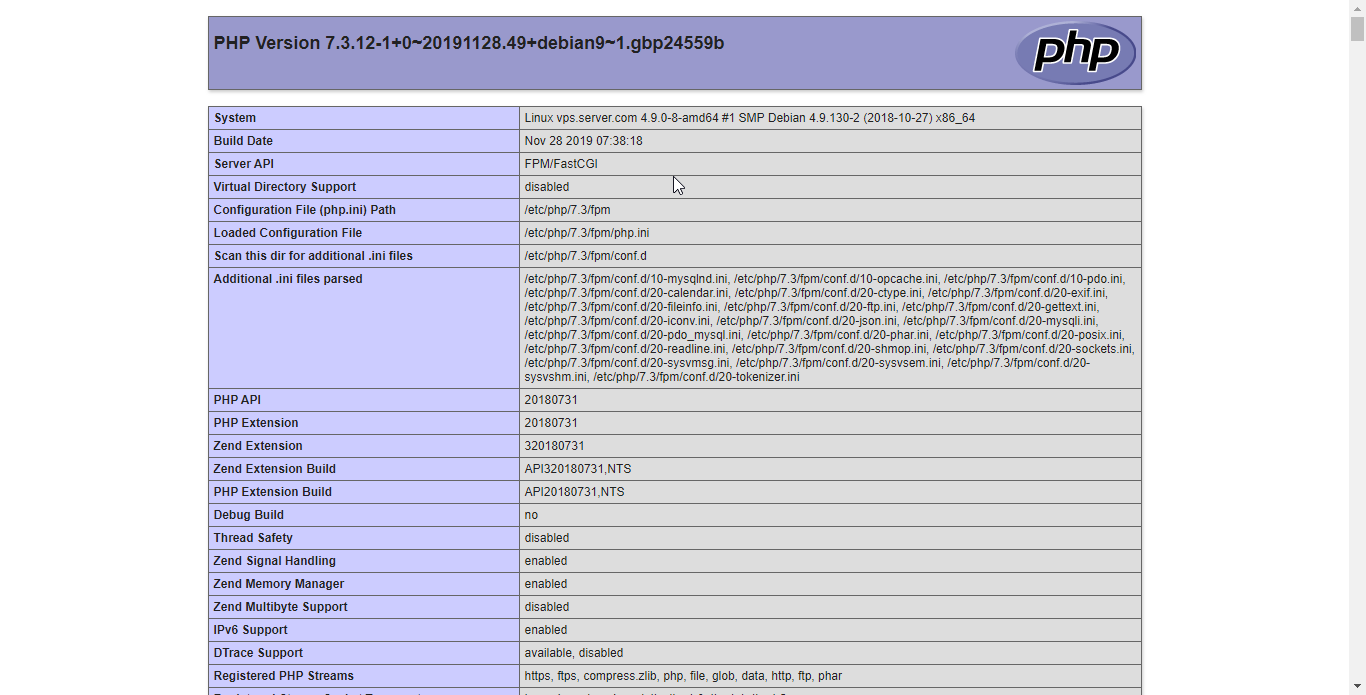
echo "<?php phpinfo(); ?>" | tee /usr/share/nginx/html/itzgeek.local/index.phpTo restart the service.
sudo systemctl restart nginx

sudo systemctl restart php7.3-fpm
Test LEMP Stack
To create Host entry for domain.
vi /etc/hostsAdd this line in file.
NOTE: "Domain_NAME" should be what you have entered earlier and "IP-address" what your using."ip-address "Domain_NAME"Webbrowser output:
CrownCloud - Get a SSD powered KVM VPS at $4.5/month!
Use the code WELCOME for 10% off!
1 GB RAM / 25 GB SSD / 1 CPU Core / 1 TB Bandwidth per month
Available Locations: LAX | MIA | ATL | FRA | AMS