How To Install OpenLiteSpeed Stack on Ubuntu 22.04
Introduction
This article will walk you through the steps required to install OpenLiteSpeed on Ubuntu 22.04.
OpenLiteSpeed is LiteSpeed Technologies' lightweight and open-source version of the LiteSpeed Server. OpenLiteSpeed is a user-friendly open-source package that combines speed, security, scalability, optimization, and simplicity.
Prerequisites
-
A system with Ubuntu 22.04 installed and running.
rootaccess to the system.
First, update your existing list of packages:
apt update
apt upgrade
Install OpenLiteSpeed
Add Repository to apt manager,
OpenLiteSpeed hosts its code on its own repository so add this repository to the apt package manager using below command,
wget -O - https://repo.litespeed.sh | bashUpdate the list of repositories to update the newly added repository,
apt update Install Openlitespeed using below command,
apt install openlitespeedAfter installation completed check status using below command to check it's correctly working or not,
systemctl status lswsOutput:
root@vps:~# systemctl status lsws
● lshttpd.service - OpenLiteSpeed HTTP Server
     Loaded: loaded (/etc/systemd/system/lshttpd.service; enabled; vendor prese>
     Active: active (running) since Tue 2022-10-11 18:50:13 UTC; 20s ago
    Process: 41702 ExecStart=/usr/local/lsws/bin/lswsctrl start (code=exited, s>
   Main PID: 41729 (litespeed)
     CGroup: /system.slice/lshttpd.service
             ├─41729 "openlitespeed (lshttpd - main)"
             ├─41740 "openlitespeed (lscgid)"
             ├─41769 "openlitespeed (lshttpd - #01)"
             ├─41770 "openlitespeed (lshttpd - #02)"
             └─41771 lsphp "" "" "" "" "" "" "" "" "" "" "" "" "" "" "" "" "" "
Configure Firewall
Allow TCP ports using below command,
ufw allow 7080,80,443,8088/tcpOutput:
root@vps:~# ufw allow 7080,80,443,8088/tcp
Rules updated
Rules updated (v6)
root@vps:~#
Check status of the firewall rules,
ufw statusOutput:
root@vps:~# ufw status
Status: active

To                         Action      From
--                         ------      ----
80,443,7080,8088/tcp       ALLOW       Anywhere
80,443,7080,8088/tcp (v6)  ALLOW       Anywhere (v6)

root@vps:~#
You can check the OpenLiteSpeed dashboard through port: 8888,
http://Your_IP_address:8088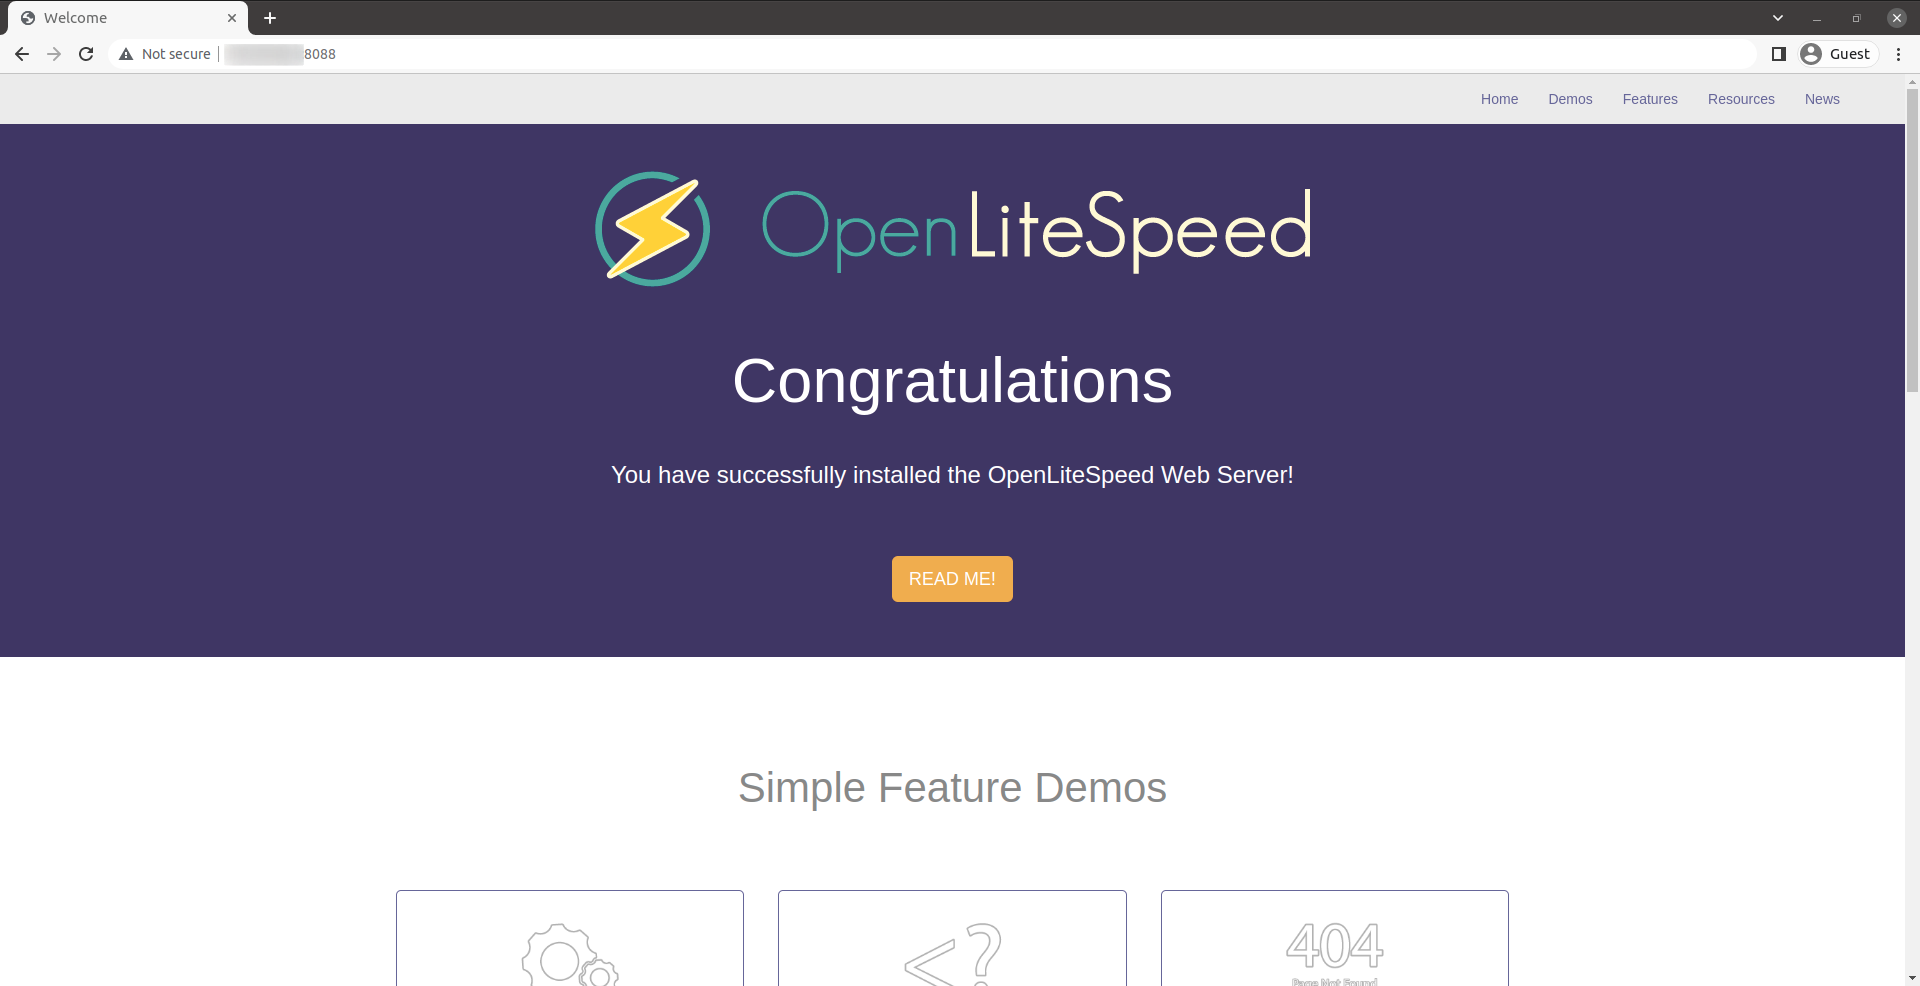
Replace the
IP_addresswith the actual IP of the server.
To check GUI-based dashboard use port: 7080
http://your_server_ip:7080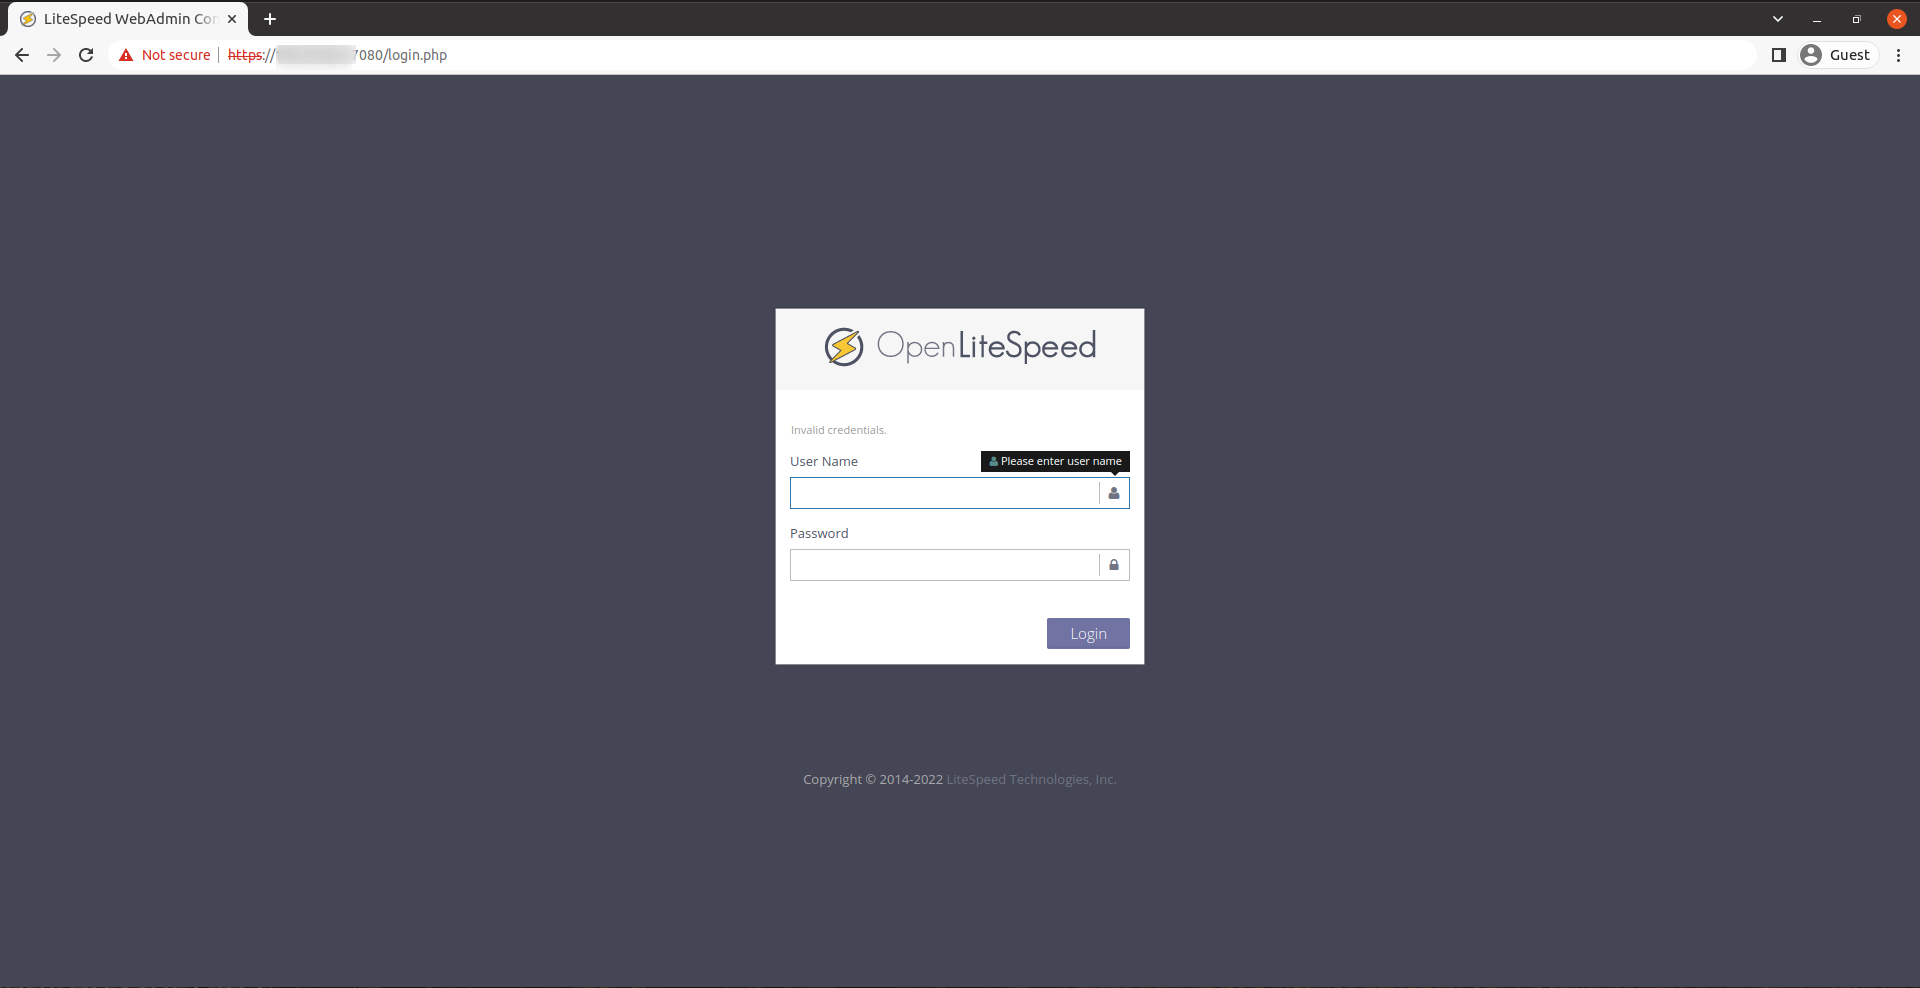
Installing MariaDB
After OpenLiteSpeed running on the server now you can setup the DataBase server to store, manage the data on your website,
Install MariaDB server using below command,
apt install mariadb-server -yNow complete the MariaDB server setup using below command,
mysql_secure_installationOutput:
Remove test database and access to it? [Y/n] y
 - Dropping test database...
 ... Success!
 - Removing privileges on test database...
 ... Success!

Reloading the privilege tables will ensure that all changes made so far
will take effect immediately.

Reload privilege tables now? [Y/n] y
 ... Success!

Cleaning up...

All done!  If you've completed all of the above steps, your MariaDB
installation should now be secure.

Thanks for using MariaDB!
Install Specific Version of PHP
Check the current version of php using below url,
http://your_server_IP:8080/phpinfo.php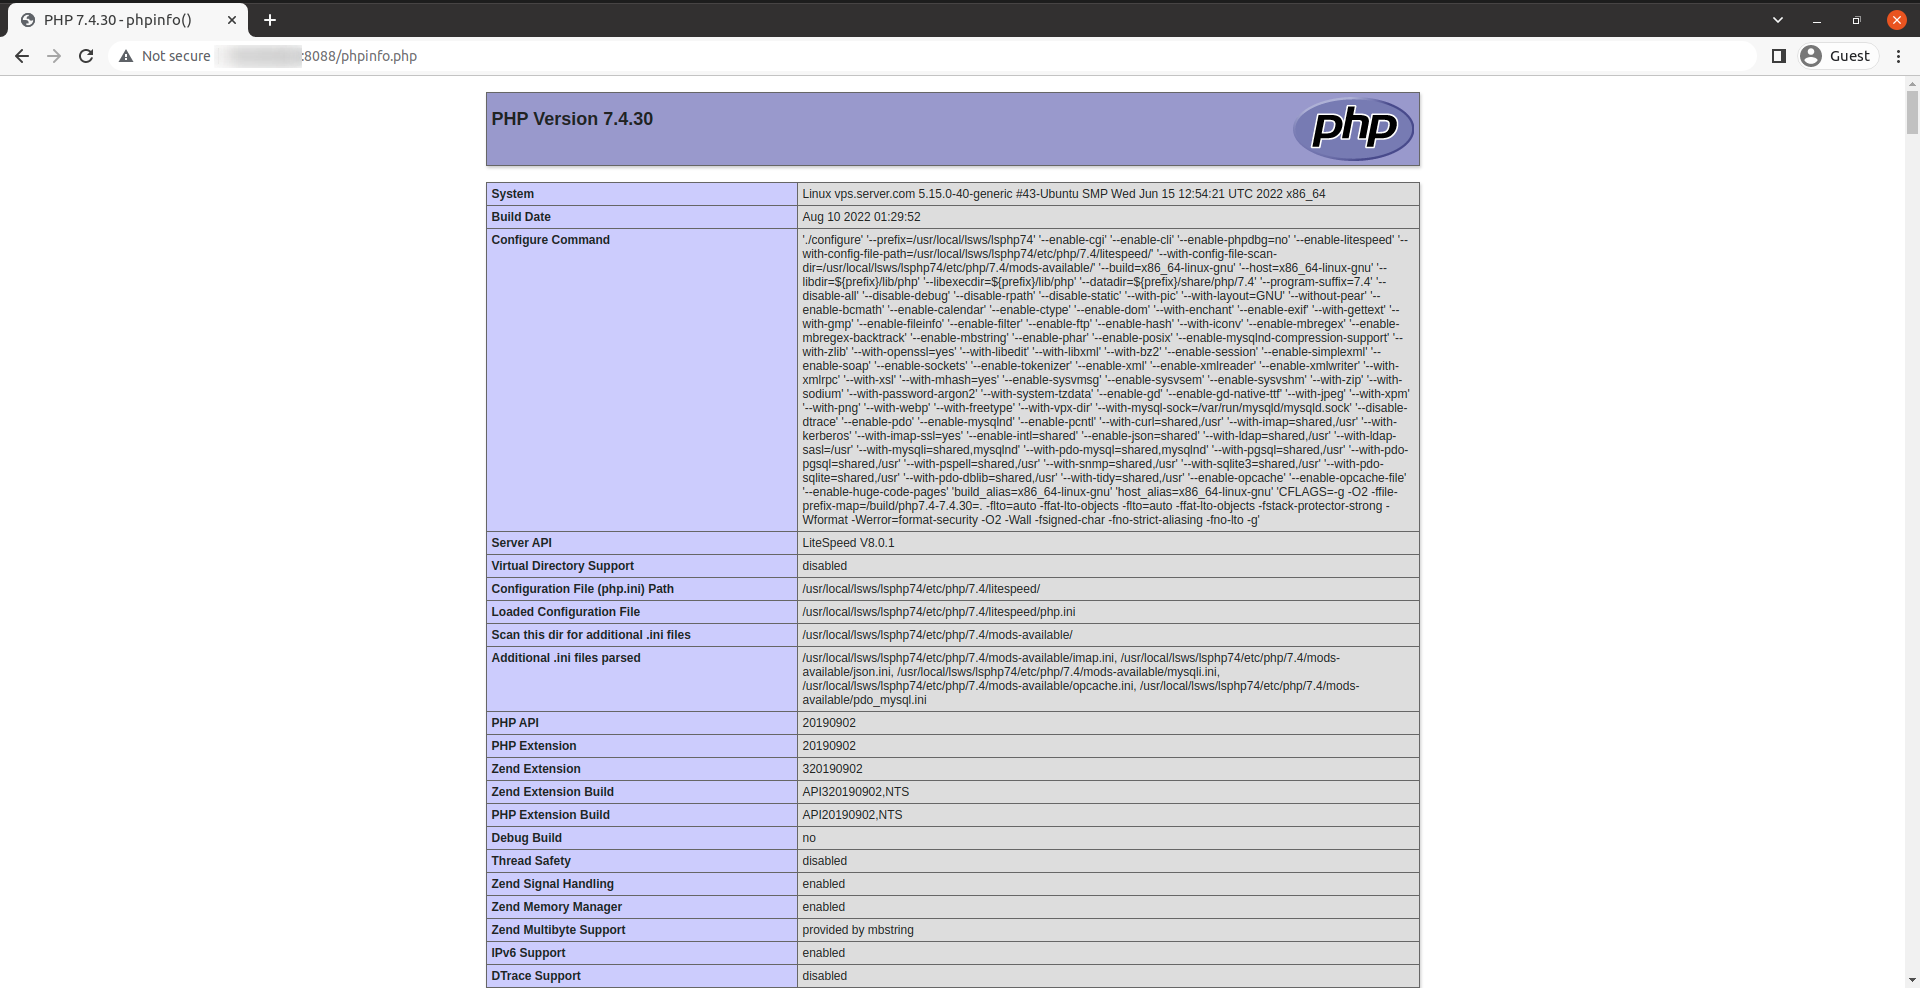
Check if the LiteSpeed PHP package is available for Ubuntu using below command,
apt-cache search lsphpOutput:
root@vps:~# apt-cache search lsphp
lsphp74 - server-side, HTML-embedded scripting language (LSAPI binary)
lsphp74-apcu - APC User Cache for PHP
lsphp74-common - Common files for packages built from the PHP source
lsphp74-curl - CURL module for PHP
lsphp74-dbg - Debug symbols for LSPHP70
lsphp74-dev - Files for PHP70 module development
lsphp74-igbinary - igbinary PHP serializer
lsphp74-imagick - Provides a wrapper to the ImageMagick library
lsphp74-imap - IMAP module for PHP
lsphp74-intl - Internationalisation module for PHP
lsphp74-ioncube - PHP extension for interfacing with ioncube
lsphp74-json - JSON module for PHP
lsphp74-ldap - LDAP module for PHP
lsphp74-memcached - memcached extension module for PHP, uses libmemcached
lsphp74-modules-source - PHP 70 modules source package
lsphp74-msgpack - PHP extension for interfacing with MessagePack
lsphp74-mysql - MySQL module for PHP
lsphp74-opcache - Zend OpCache module for PHP
lsphp74-pear - Provides PHP PEAR package
lsphp74-pgsql - PostgreSQL module for PHP
lsphp74-pspell - pspell module for PHP
lsphp74-redis - PHP extension for interfacing with Redis
lsphp74-snmp - SNMP module for PHP
lsphp74-sqlite3 - SQLite3 module for PHP
lsphp74-sybase - Sybase module for PHP
lsphp74-tidy - tidy module for PHP
lsphp80 - server-side, HTML-embedded scripting language (LSAPI binary)
lsphp80-apcu - APC User Cache for PHP
lsphp80-common - Common files for packages built from the PHP source
lsphp80-curl - CURL module for PHP
lsphp80-dbg - Debug symbols for LSPHP70
lsphp80-dev - Files for PHP70 module development
lsphp80-igbinary - igbinary PHP serializer
lsphp80-imagick - Provides a wrapper to the ImageMagick library
lsphp80-imap - IMAP module for PHP
lsphp80-intl - Internationalisation module for PHP
lsphp80-ldap - LDAP module for PHP
lsphp80-memcached - memcached extension module for PHP, uses libmemcached
lsphp80-modules-source - PHP 70 modules source package
lsphp80-msgpack - PHP extension for interfacing with MessagePack
lsphp80-mysql - MySQL module for PHP
lsphp80-opcache - Zend OpCache module for PHP
lsphp80-pear - Provides PHP PEAR package
lsphp80-pgsql - PostgreSQL module for PHP
lsphp80-pspell - pspell module for PHP
lsphp80-redis - PHP extension for interfacing with Redis
lsphp80-snmp - SNMP module for PHP
lsphp80-sqlite3 - SQLite3 module for PHP
lsphp80-sybase - Sybase module for PHP
lsphp80-tidy - tidy module for PHP
lsphp81 - server-side, HTML-embedded scripting language (LSAPI binary)
lsphp81-apcu - APC User Cache for PHP
lsphp81-common - Common files for packages built from the PHP source
lsphp81-curl - CURL module for PHP
lsphp81-dbg - Debug symbols for LSPHP70
lsphp81-dev - Files for PHP70 module development
lsphp81-igbinary - igbinary PHP serializer
lsphp81-imagick - Provides a wrapper to the ImageMagick library
lsphp81-imap - IMAP module for PHP
lsphp81-intl - Internationalisation module for PHP
lsphp81-ldap - LDAP module for PHP
lsphp81-memcached - memcached extension module for PHP, uses libmemcached
lsphp81-modules-source - PHP 70 modules source package
lsphp81-msgpack - PHP extension for interfacing with MessagePack
lsphp81-mysql - MySQL module for PHP
lsphp81-opcache - Zend OpCache module for PHP
lsphp81-pear - Provides PHP PEAR package
lsphp81-pgsql - PostgreSQL module for PHP
lsphp81-pspell - pspell module for PHP
lsphp81-redis - PHP extension for interfacing with Redis
lsphp81-snmp - SNMP module for PHP
lsphp81-sqlite3 - SQLite3 module for PHP
lsphp81-sybase - Sybase module for PHP
lsphp81-tidy - tidy module for PHP
From the above list, you need to check the php versions using suffix of packages like Example:,
lsphp81-redis - PHP extension for interfacing with RedisFrom above example, lsphp74 mean lsphp7.4 version, lsphp81 mean lsphp8.1,
Install the lsphp package using below command, replace 81 with the sufix you want,
apt install lsphp81 lsphp81-{common,mysql}Output:
root@vps:~# apt install lsphp81 lsphp81-{common,mysql}
Reading package lists... Done
Building dependency tree... Done
Reading state information... Done
The following additional packages will be installed:
  lsphp81-opcache
Suggested packages:
  php-pear php-user-cache
The following NEW packages will be installed:
  lsphp81 lsphp81-common lsphp81-mysql lsphp81-opcache
Configuring OpenLiteSpeed
Configure the OpenLiteSpeed GUI server using port 7080:
http://your_server_ip:7080
Now, set the administrator accouont credentials using below command,
/usr/local/lsws/admin/misc/admpass.shThe login details are different from what you set earlier, they will work only for the GUI panel server, The above command will prompt you to enter username and password,
root@vps:~# /usr/local/lsws/admin/misc/admpass.sh
Please specify the user name of administrator.
This is the user name required to login the administration Web interface.
User name [admin]: admin
Please specify the administrator's password.
This is the password required to login the administration Web interface.
Password:
Retype password:
Administrator's username/password is updated successfully!
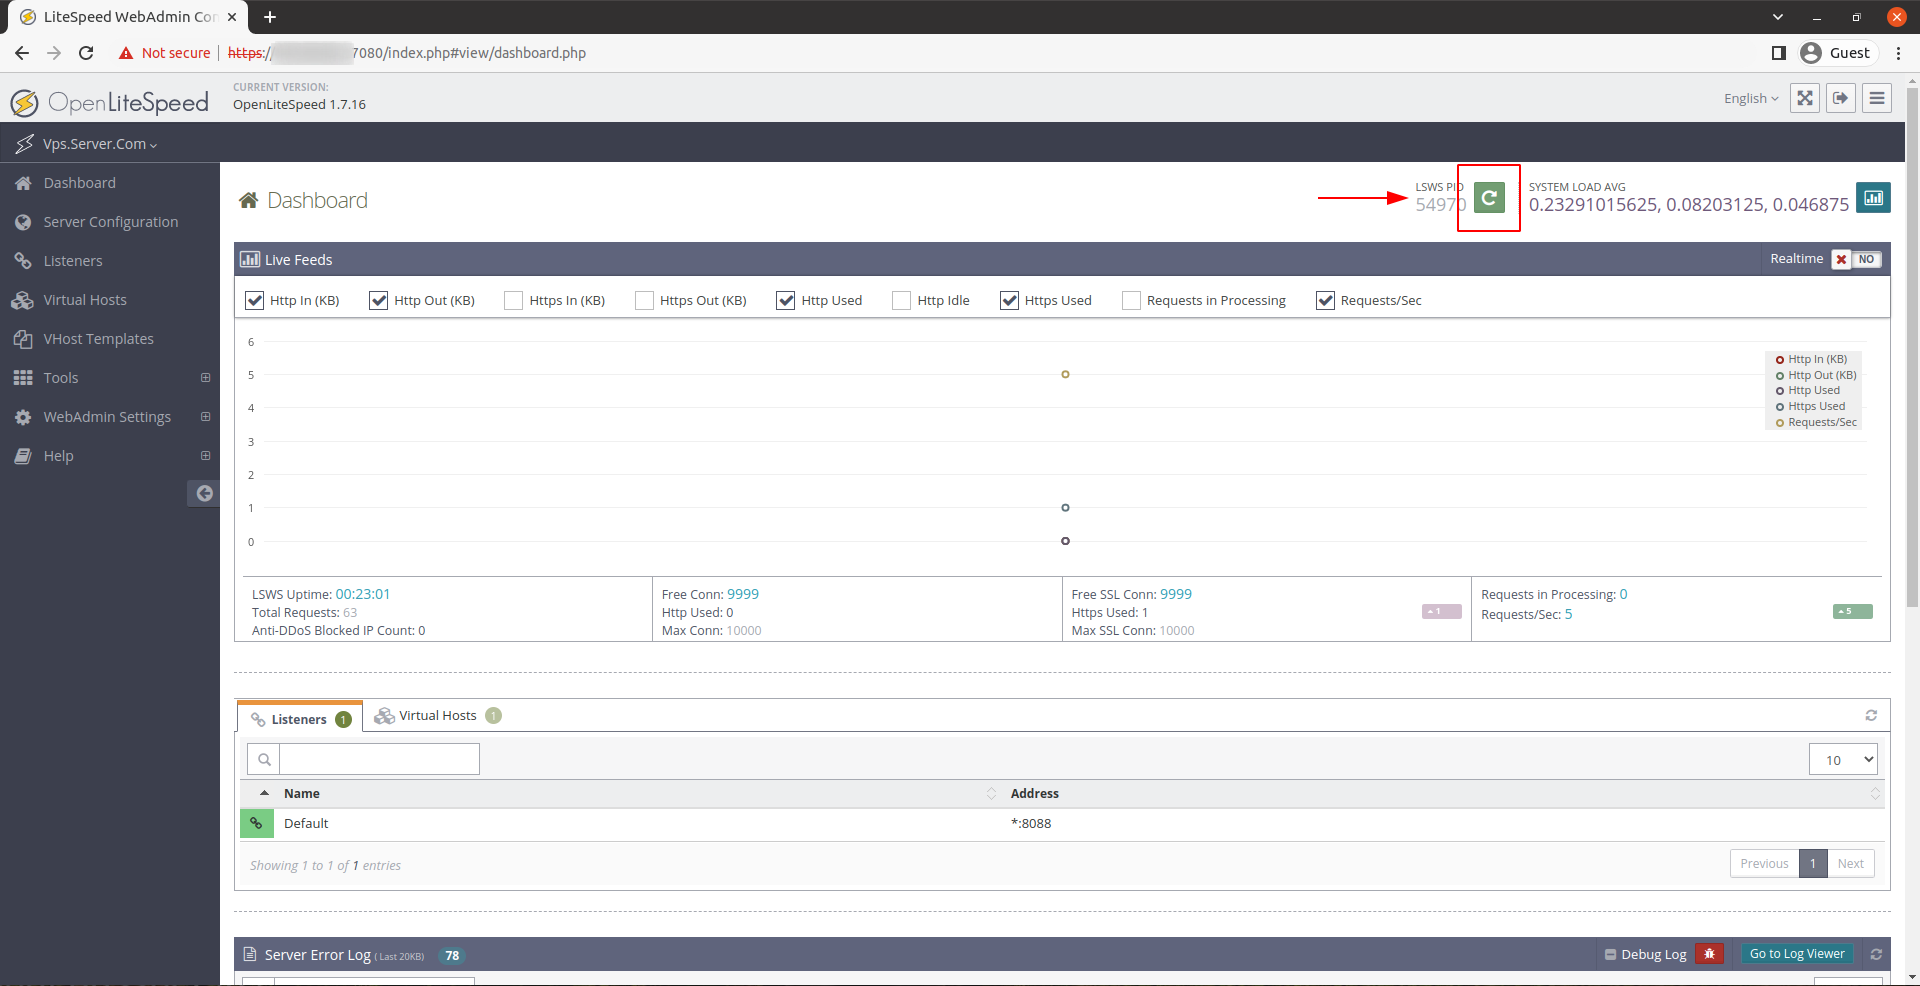
root@vps:~# After set, now you can configure the server to use specified version, using below url,
http://your_server_ip:7080log into the panel using the credentials you just set up and you will get the dashboard like this,
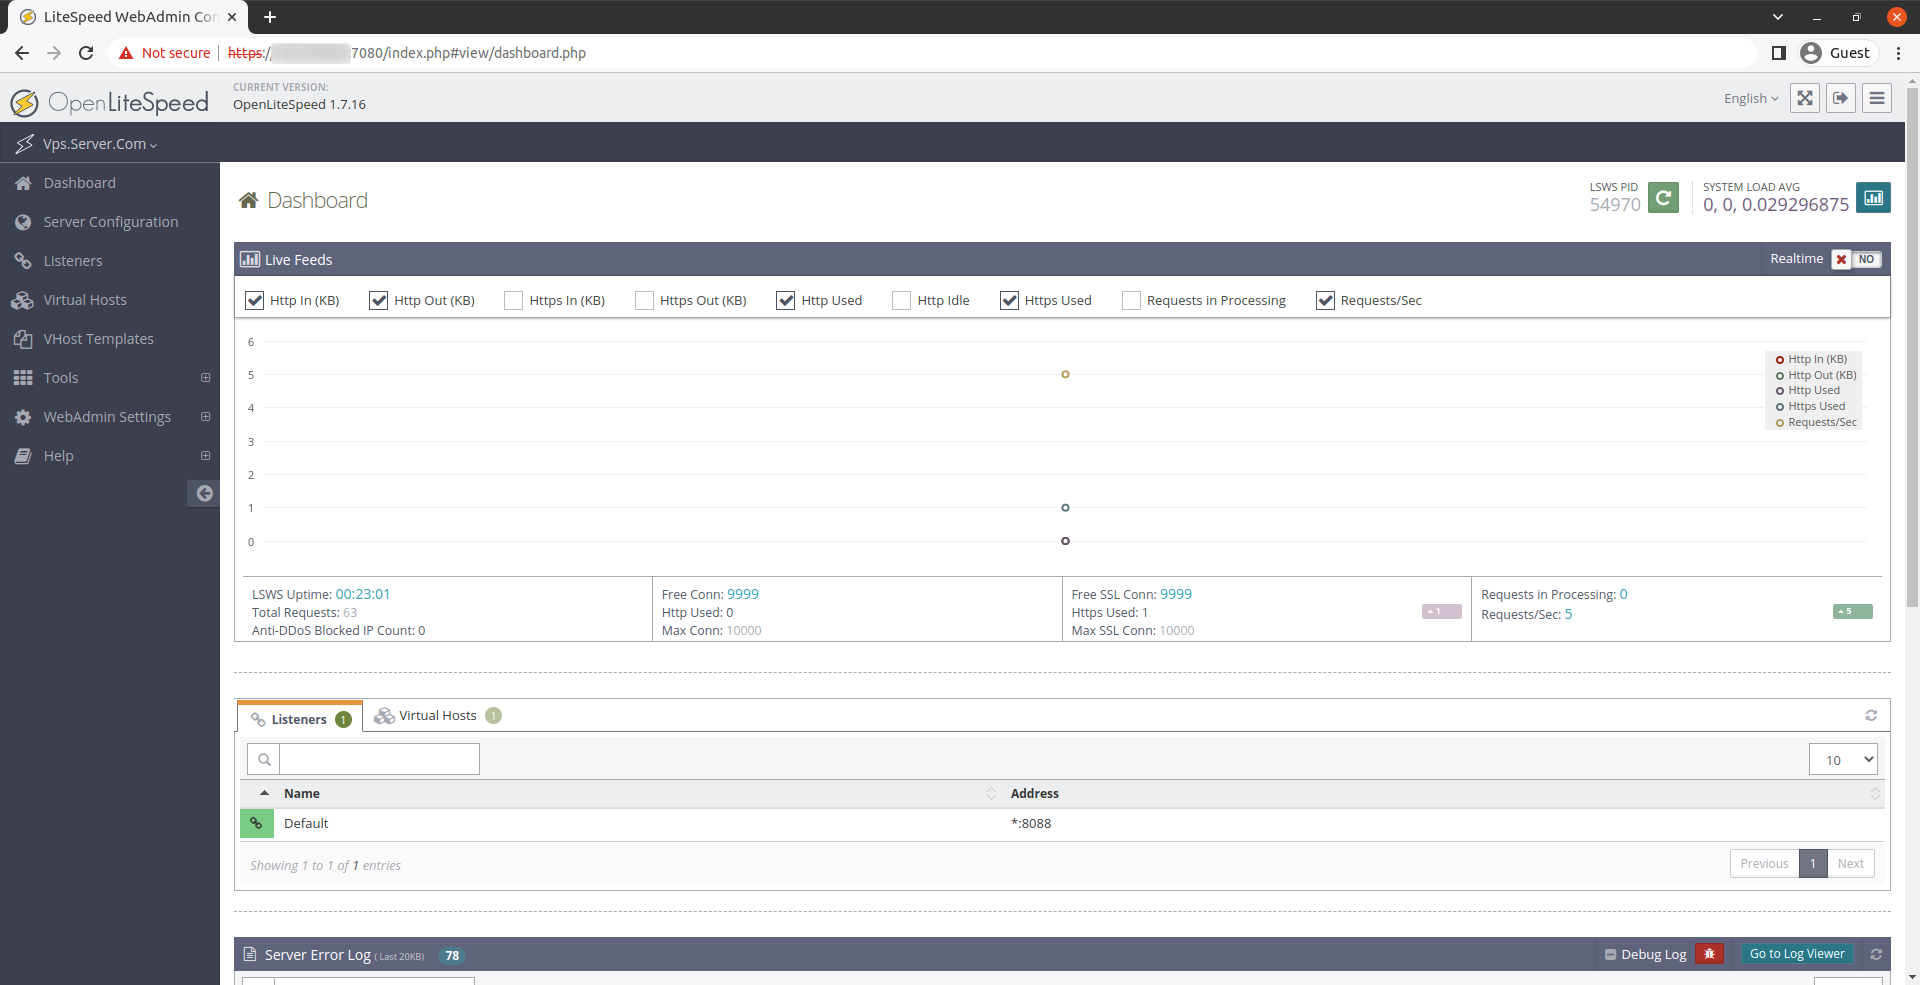
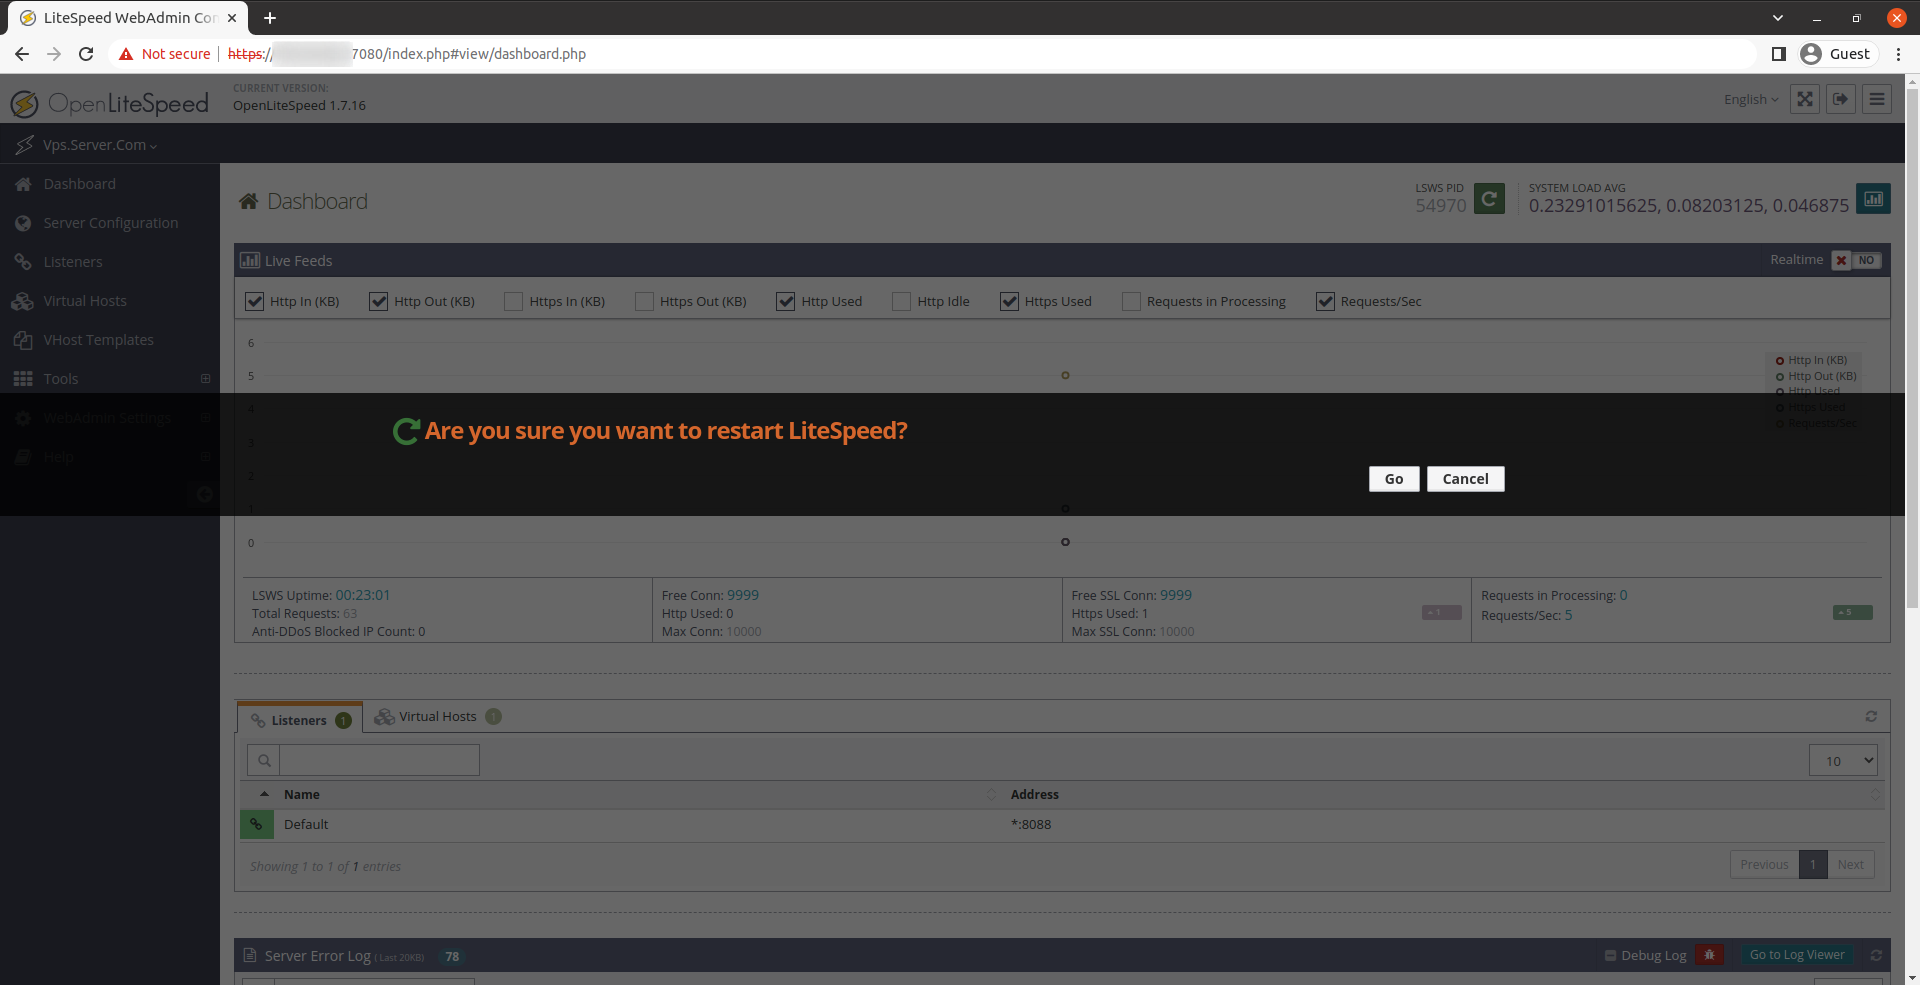
If you want to restart the server you can restart using the button on the top right corner like below,
CrownCloud - Get a SSD powered KVM VPS at $4.5/month!
Use the code WELCOME for 10% off!
1 GB RAM / 25 GB SSD / 1 CPU Core / 1 TB Bandwidth per month
Available Locations: LAX | MIA | ATL | FRA | AMS