How To Install the Apache Web Server on Debian 10
Prerequisites
https://wiki.crowncloud.net/?Prerequisites_for_Debian10 Installing Apache
Let's begin by updating the local package index to reflect the latest upstream changes:
sudo apt updateThen, install the apache2 package:
sudo apt install apache2Output:
root@vps:~# sudo apt install apache2
Reading package lists... Done
Building dependency tree
Reading state information... Done
The following additional packages will be installed:
apache2-bin apache2-data apache2-utils libapr1 libaprutil1
Adjusting the Firewall
During installation, Apache registers itself with UFW to provide a few application profiles that can be used to enable or disable access to Apache through the firewall.
List the ufw application profiles by typing:
sudo ufw app listOutput:
root@vps:~# sudo ufw app list
Available applications:
AIM
Bonjour
.....
WWW
WWW Cache
WWW Full
WWW Secure
......
The Apache profiles begin with WWW:
WWW: This profile opens only port 80 (normal, unencrypted web traffic
WWW Cache: This profile opens only port 8080 (sometimes used for caching and web proxies)
WWW Full: This profile opens both port 80 (normal, unencrypted web traffic) and port 443 (TLS/SSL encrypted traffic)
WWW Secure: This profile opens only port 443 (TLS/SSL encrypted traffic)
It is recommended that you enable the most restrictive profile that will still allow the traffic you've configured. Since we haven't configured SSL for our server yet in this guide, we will only need to allow traffic on port 80:
sudo ufw allow 'WWW'Output:
root@vps:~# sudo ufw allow 'WWW'
Rule added
Rule added (v6)
You can verify the change by typing:
sudo ufw statusOutput:
root@vps:~# sudo ufw status
Status: active
To                         Action      From
--                         ------      ----
OpenSSH                    ALLOW       Anywhere
WWW                        ALLOW       Anywhere
OpenSSH (v6)               ALLOW       Anywhere (v6)
WWW (v6)                   ALLOW       Anywhere (v6)
Checking your Web Server
Check with the systemd init system to make sure the service is running by typing:
sudo systemctl status apache2Output:
root@vps:~# sudo systemctl status apache2
● apache2.service - The Apache HTTP Server
Loaded: loaded (/lib/systemd/system/apache2.service; enabled; vendor preset:
Active: active (running) since Mon 2019-07-29 16:02:29 EDT; 11min ago
 Docs: https://httpd.apache.org/docs/2.4/
You can access the default Apache landing page to confirm that the software is running properly through your IP address. If you do not know your server's IP address, you can get it a few different ways from the command line.
Try typing this at your server's command prompt:
hostname -IYou will get back a few addresses separated by spaces. You can try each in your web browser to see if they work.
An alternative is using the curl tool, which should give you your public IP address as seen from another location on the internet.
First, install curl using apt:
sudo apt install curlThen, use curl to retrieve icanhazip.com using IPv4:
curl -4 icanhazip.comWhen you have your server's IP address, enter it into your browser's address bar:
http://your_server_ip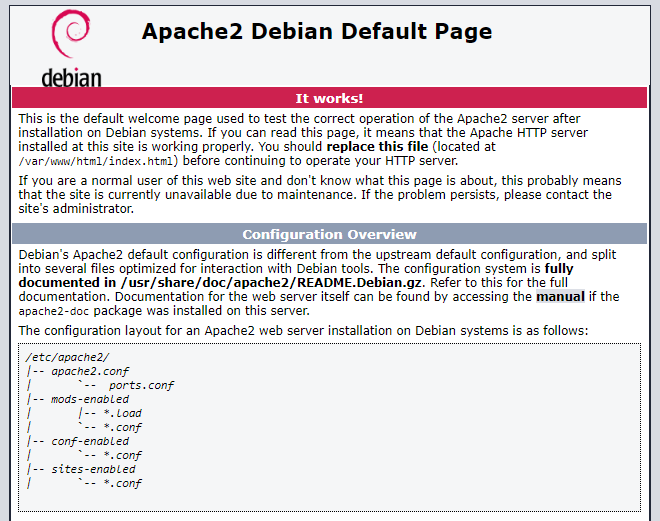
CrownCloud - Get a SSD powered KVM VPS at $4.5/month!
Use the code WELCOME for 10% off!
1 GB RAM / 25 GB SSD / 1 CPU Core / 1 TB Bandwidth per month
Available Locations: LAX | MIA | ATL | FRA | AMS