How to Install Apache, MariaDB and PHP on CentOS Stream 9
This is one of the most commonly used Software Stack for building your web applications. This is also known as LAMP (Linux, Apache, MySQL/MariaDB, PHP/Perl/Python) Stack.
Update CentOS Stream 9 Software Packages
Let's update software packages first. To perform updates, run the following command:
dnf update Install Apache Web Server
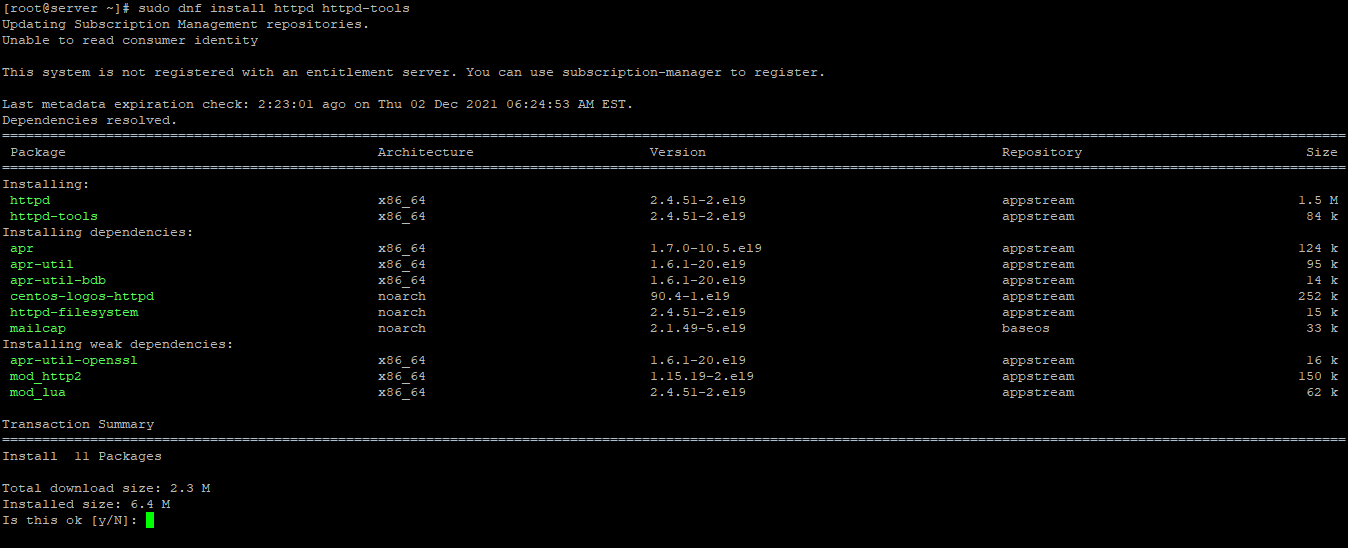
First, we will start by installing the Apache webserver. To complete the installation, use the following command:
dnf install httpd httpd-tools Output:
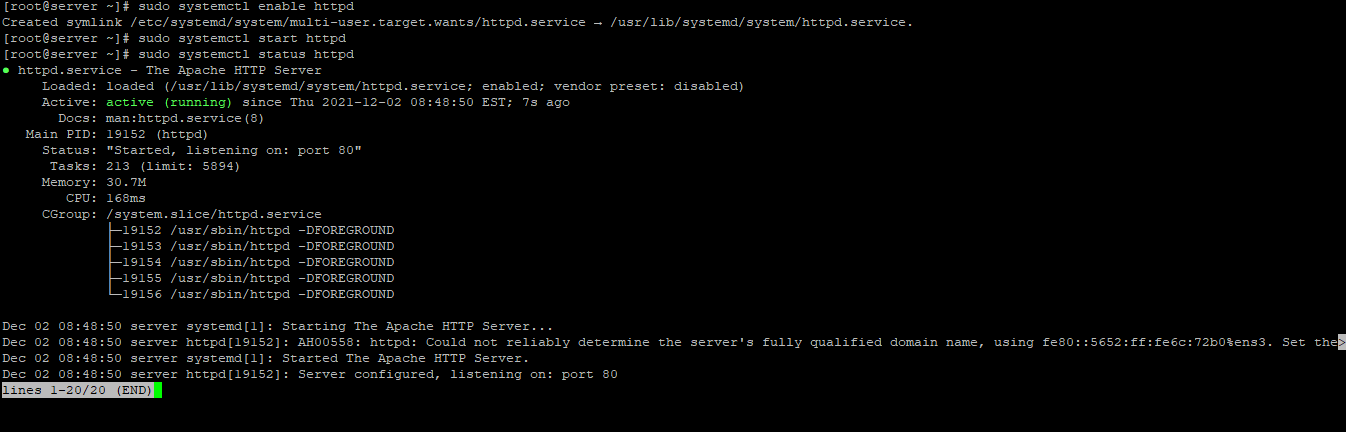
Once the installation is complete, enable Apache (to start automatically upon system boot), start the webserver, and verify the status using the commands below.
systemctl enable httpd

systemctl start httpd

systemctl status httpd
Output:
To make your pages available to the public, you will have to edit your firewall rules to allow HTTP and HTTPS requests on your web server by using the following commands.
firewall-cmd --permanent --zone=public --add-service=http

firewall-cmd --permanent --zone=public --add-service=https

firewall-cmd --reload
Output:
[root@server ~]# firewall-cmd --permanent --zone=public --add-service=http
success
[root@server ~]# firewall-cmd --permanent --zone=public --add-service=https
success
[root@server ~]# firewall-cmd --reload
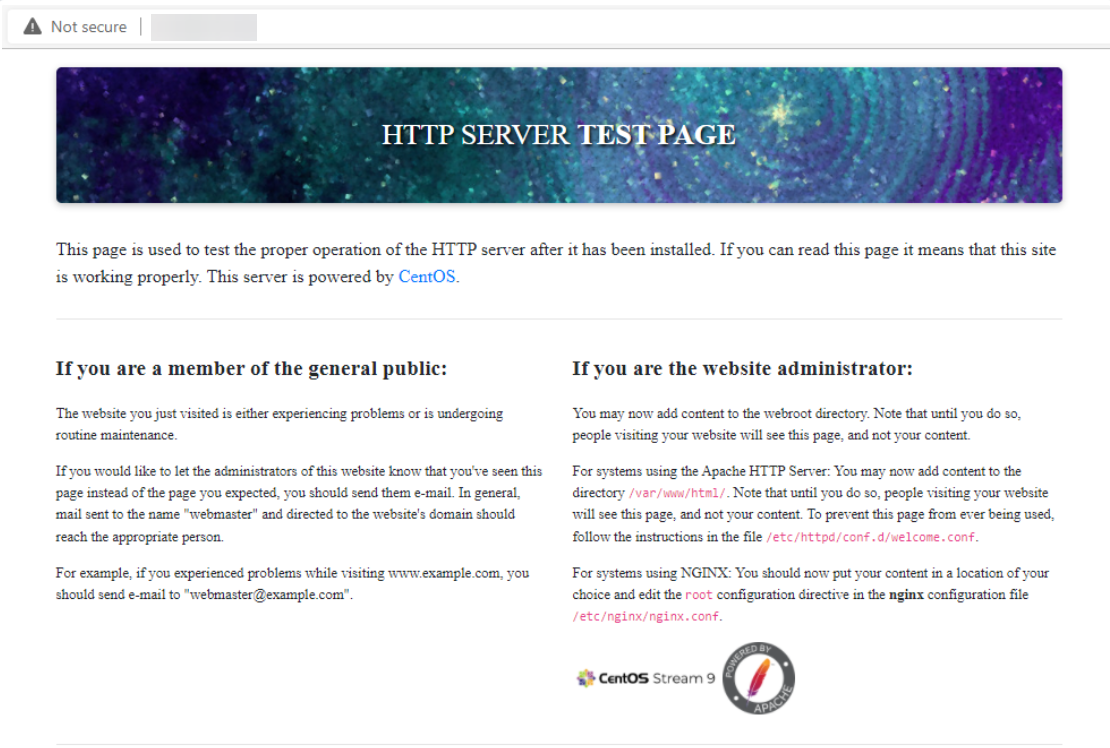
successVerify that the webserver is running and accessible by accessing your server’s IP address from your browser,
http://IP_addressReplace the
IP_addresswith the actual IP of the server.
Install MariaDB Server
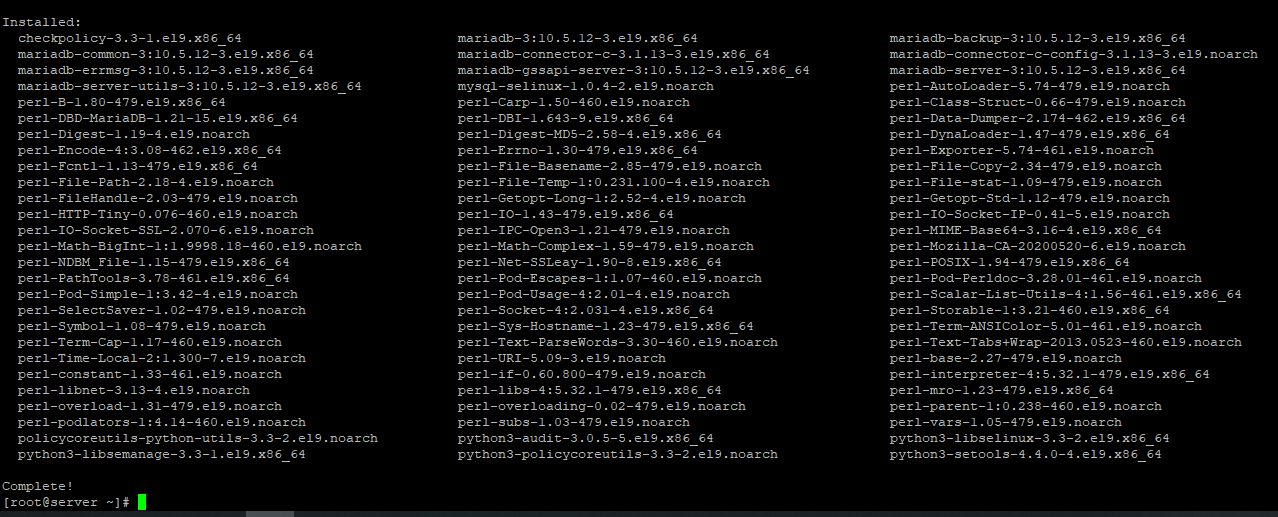
MariaDB is a popular database server. The installation is simple and requires just a few steps as shown.
dnf install mariadb-server mariadb -yOutput:
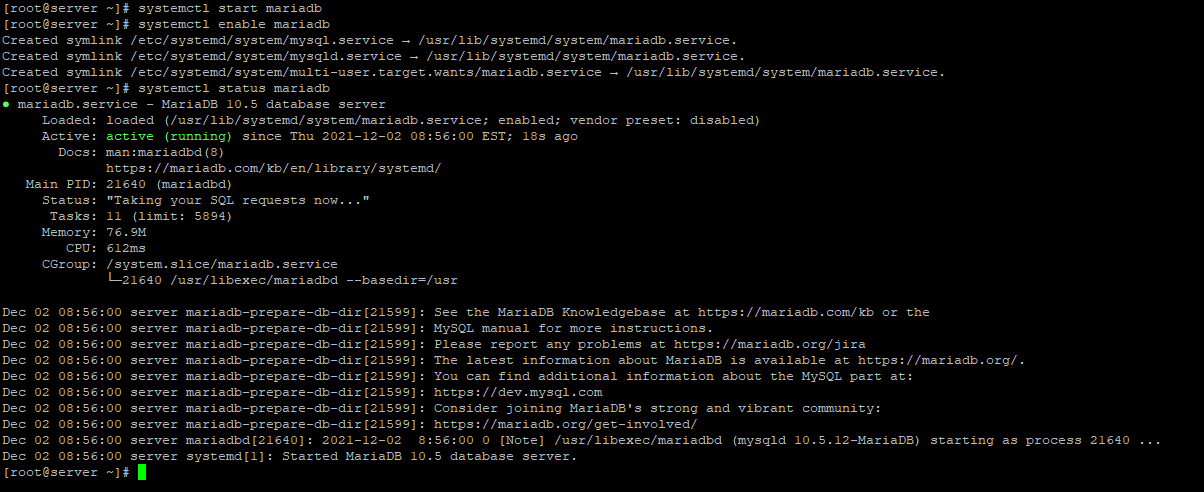
Once the installation is complete, enable MariaDB (to start automatically upon system boot), start the MariaDB, and verify the status using the commands below.
systemctl start mariadb

systemctl enable mariadb

systemctl status mariadb
Output:
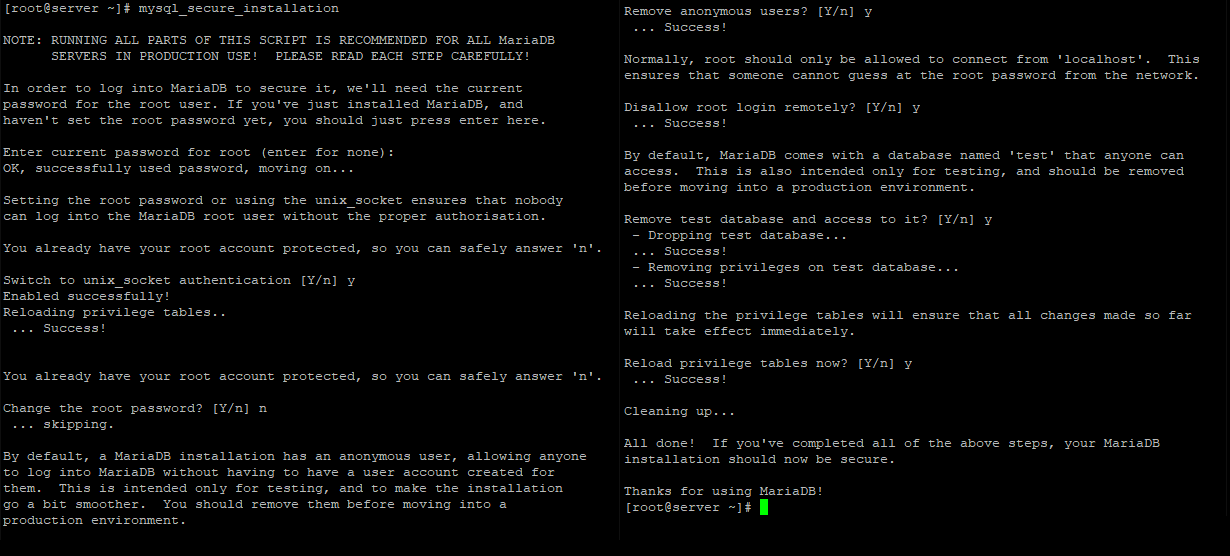
Finally, you will want to secure your MariaDB installation by issuing the following command.
mysql_secure_installationOutput:
Once secured, you can connect to MySQL and review the existing databases on your database server by using the following command.
mysql -e "SHOW DATABASES;" -pOutput:
[root@server ~]# mysql -e "SHOW DATABASES;" -p
Enter password:
+--------------------+
| Database           |
+--------------------+
| information_schema |
| mysql              |
| performance_schema |
+--------------------+
[root@server ~]#
Done!
Install PHP 8
To install PHP on your RHEL 8 use the command below.
yum install php php-mysqlnd php-pdo php-gd php-mbstringNow restart your web server so that Apache knows that it will be serving PHP requests as well.
systemctl restart httpd Test your PHP, by creating a simple info.php file with a phpinfo() function in it. The file should be placed in the directory root for your web server, which is /var/www/html.
To create the file use:
echo "<?php phpinfo() ?>" > /var/www/html/info.phpNow again, access http://localhost/info.php or http://yourserver-ip-address/info.php. You should see a page similar to the below one.
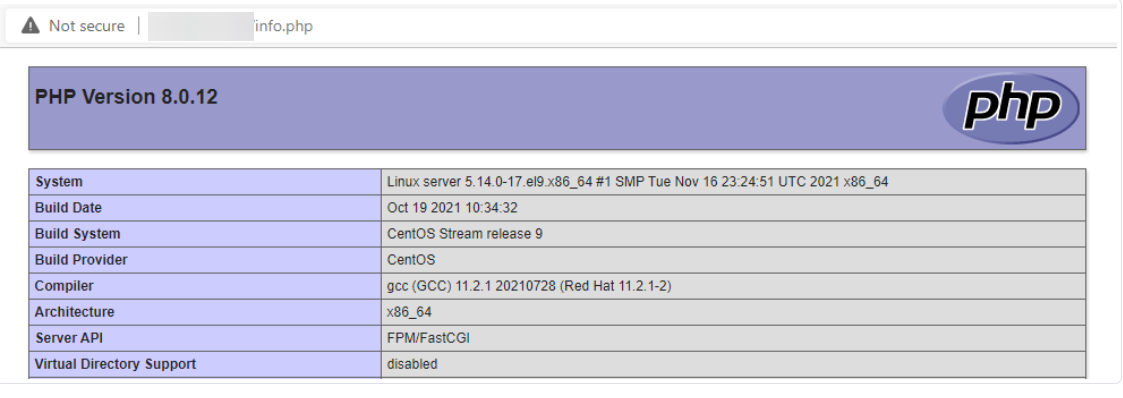
Once confirmed, we recommend removing the info.php as it could be a security issue later on.
CrownCloud - Get a SSD powered KVM VPS at $4.5/month!
Use the code WELCOME for 10% off!
1 GB RAM / 25 GB SSD / 1 CPU Core / 1 TB Bandwidth per month
Available Locations: LAX | MIA | ATL | FRA | AMS