How to Install Bitwarden on Ubuntu 22.10
Bitwarden is a free and open-source password management service that stores sensitive information such as website credentials in an encrypted vault. The Bitwarden platform offers a variety of client applications including a web interface, desktop applications, browser extensions, mobile apps, and a command-line interface.
In this article, we are going to learn how to install Bitwarden on Ubuntu 22.10. So, let’s get started.
Checkout the Bitwarden Project Here.
Try this wiki on our VPS. Starting at just $5/month with 24x7 In-house customer support.
Pre-requisites
-
A system with Ubuntu 22.10 installed and running.
-
Min 2GB of RAM.
-
rootaccess to the system. - Docker installed and running, for this, you can refer to one of our guides on installing Docker on the Ubuntu Server.
Once you're all set, we'll proceed with Bitwarden installation and configuration.
Create a user for Bitwarden
Create a dedicated directory for its user:
mkdir /opt/bitwardenAdd the user:
adduser bitwardenPermit created directory access to the added user:
chmod -R 700 /opt/bitwarden

chown -R bitwarden:bitwarden /opt/bitwarden
Finally, add the user created for Bitwarden to the Docker group so that it can run the docker command without having sudo or root user access.
usermod -aG docker bitwarden Download and Install Bitwarden
For this, we will switch over to the new user account we created moments ago. Use the below command to change the user,
su - bitwardenDownload the Bitwarden install script from their official site and start the installation.
curl -Lso bitwarden.sh https://go.btwrdn.co/bw-sh && chmod 700 bitwarden.sh

./bitwarden.sh install
The installation process will start now. It may take 5-10 mins to complete.
Complete the Instructions in the Installer
Enter your Bitwarden instance's domain name:This value is usually the DNS record that has been set up.
Do you want to generate a free SSL certificate with Let's Encrypt? (y/n):Enter y to use Let's Encrypt to generate a trusted SSL certificate. Let's Encrypt will ask you for an email address to send you expiration reminders.
Alternatively, If you have your SSL Certificate, enter n and select the option Do you have an SSL certificate to use? with y.
Fill in the following information about your installation:
For installing Bitwarden on your self-hosted server. You need to generate the installation id & installation key from the bitwarden website.
Enter the following installation ID:For this, you will need to open their site Bitwarden Host. Enter your email address and you will be provided with an Installation ID and Key.
Enter the following installation key:Now enter the Installation key that was provided to you.
After this, the Bitwarden installation should complete.
Environment Variables
The bitwarden.sh script does not configure all of Bitwarden's functionalities. Edit the global.override.env environment file in ./bwdata/env/global.override.env to customize these values. At the very least, you should change the settings for:
...
globalSettings__mail__smtp__host=<placeholder>
globalSettings__mail__smtp__port=<placeholder>
globalSettings__mail__smtp__ssl=<placeholder>
globalSettings__mail__smtp__username=<placeholder>
globalSettings__mail__smtp__password=<placeholder>
...
adminSettings__admins=dev@bw.domainhere.info
...
Replace
dev@bw.domainhere.infowith your email id.
Now run the following commands
./bitwarden.sh restart

./bitwarden.sh start

./bitwarden.sh rebuild
After that Verify that all containers are running correctly
docker ps
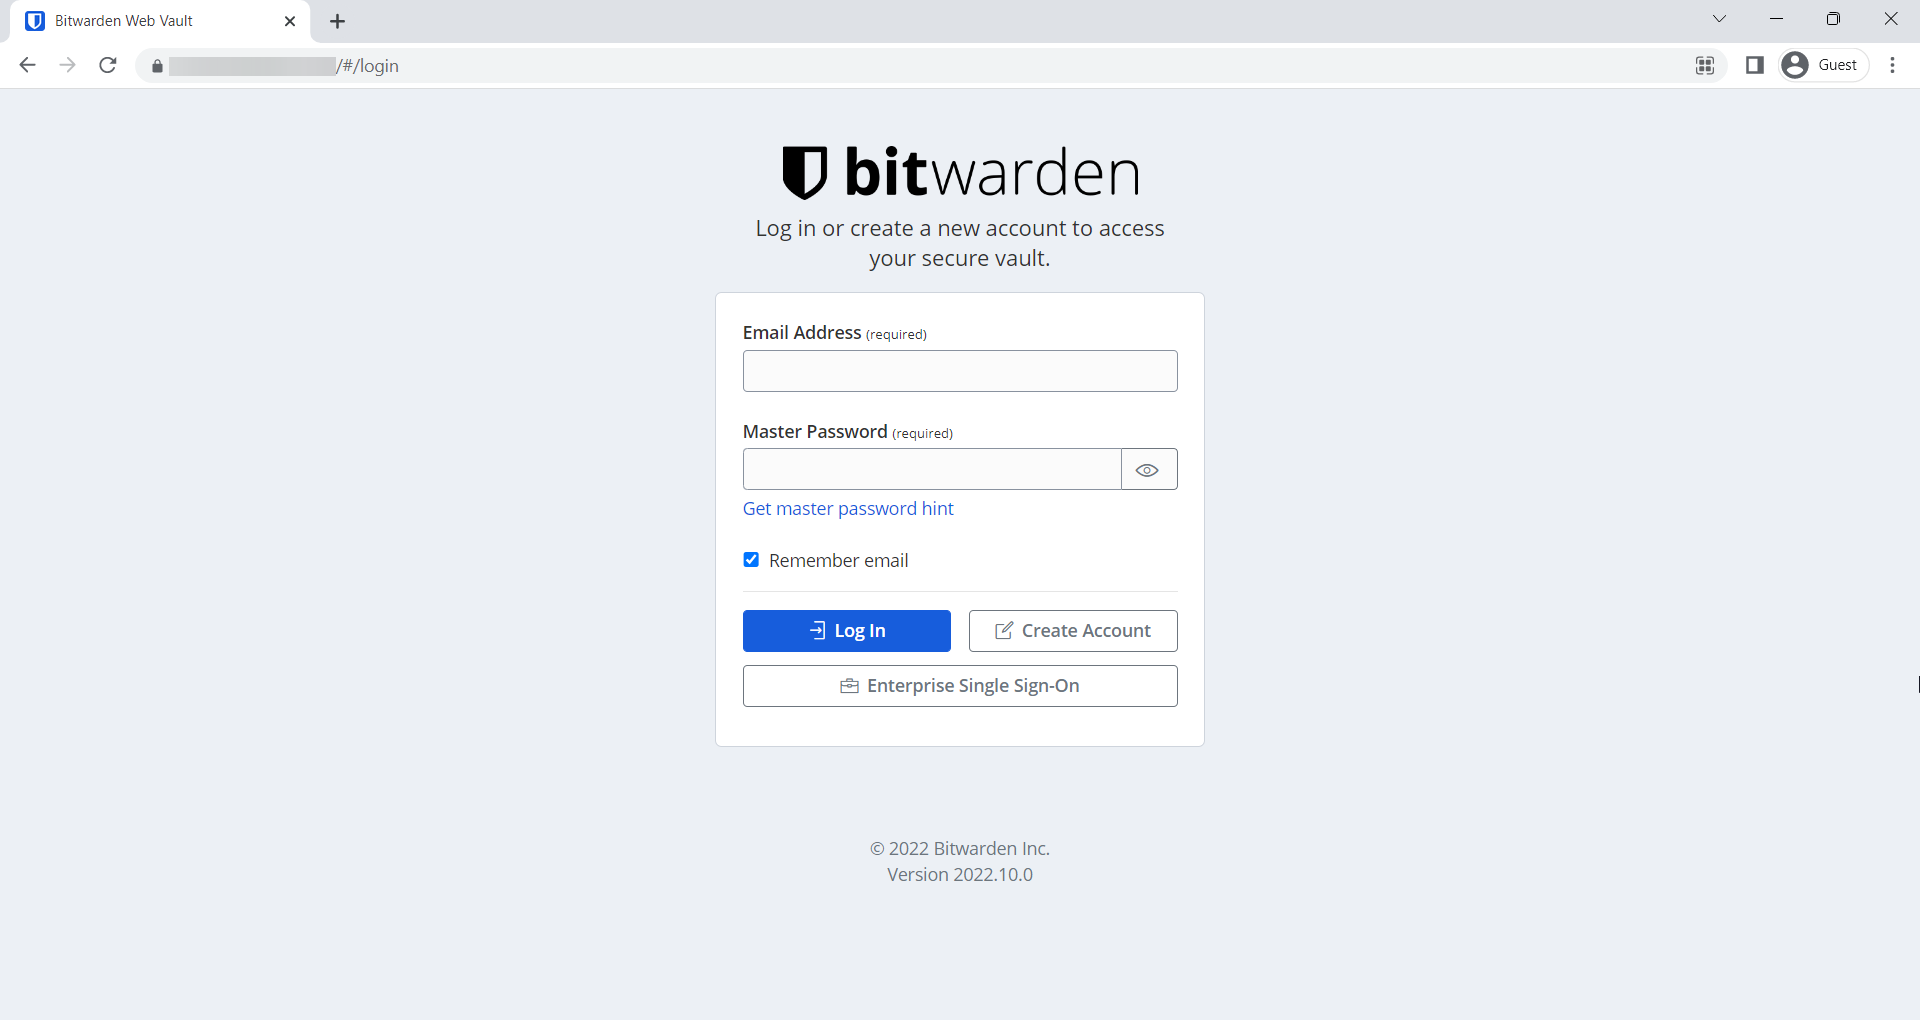
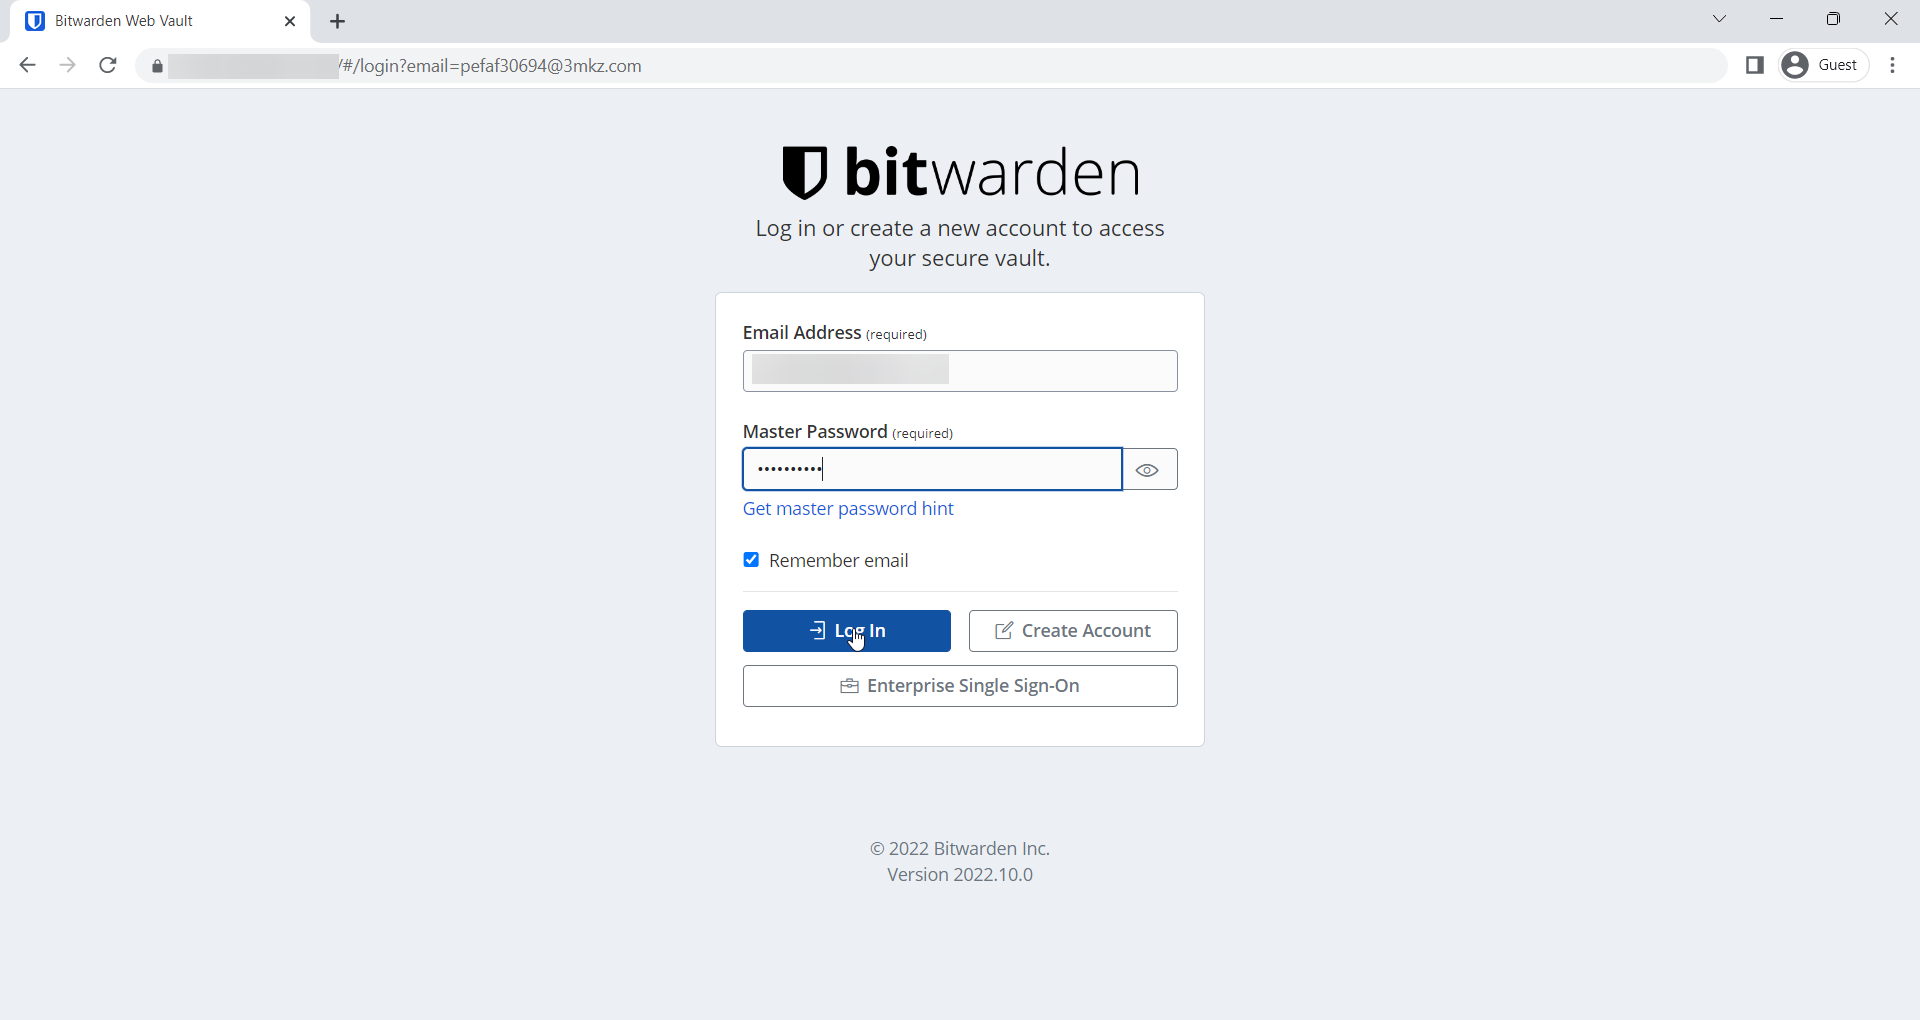
Accessing Bitwarden
Now open the IP address from your browser, this will redirect you to the Bitwarden
https://bw.domainhere.infoReplace the
bw.domainhere.infowith the actual IP or domain configured on the server.
For accessing the admin panel open the URL from your browser, this will redirect you to the Bitwarden Admin.
https://bw.domainhere.info/admin/login?returnUrl=%2FadminThis is a passwordless entry. Make sure you have configured SMTP services properly. Replace the
bw.domainhere.infowith the actual IP or domain configured on the server.
Follow the below steps:

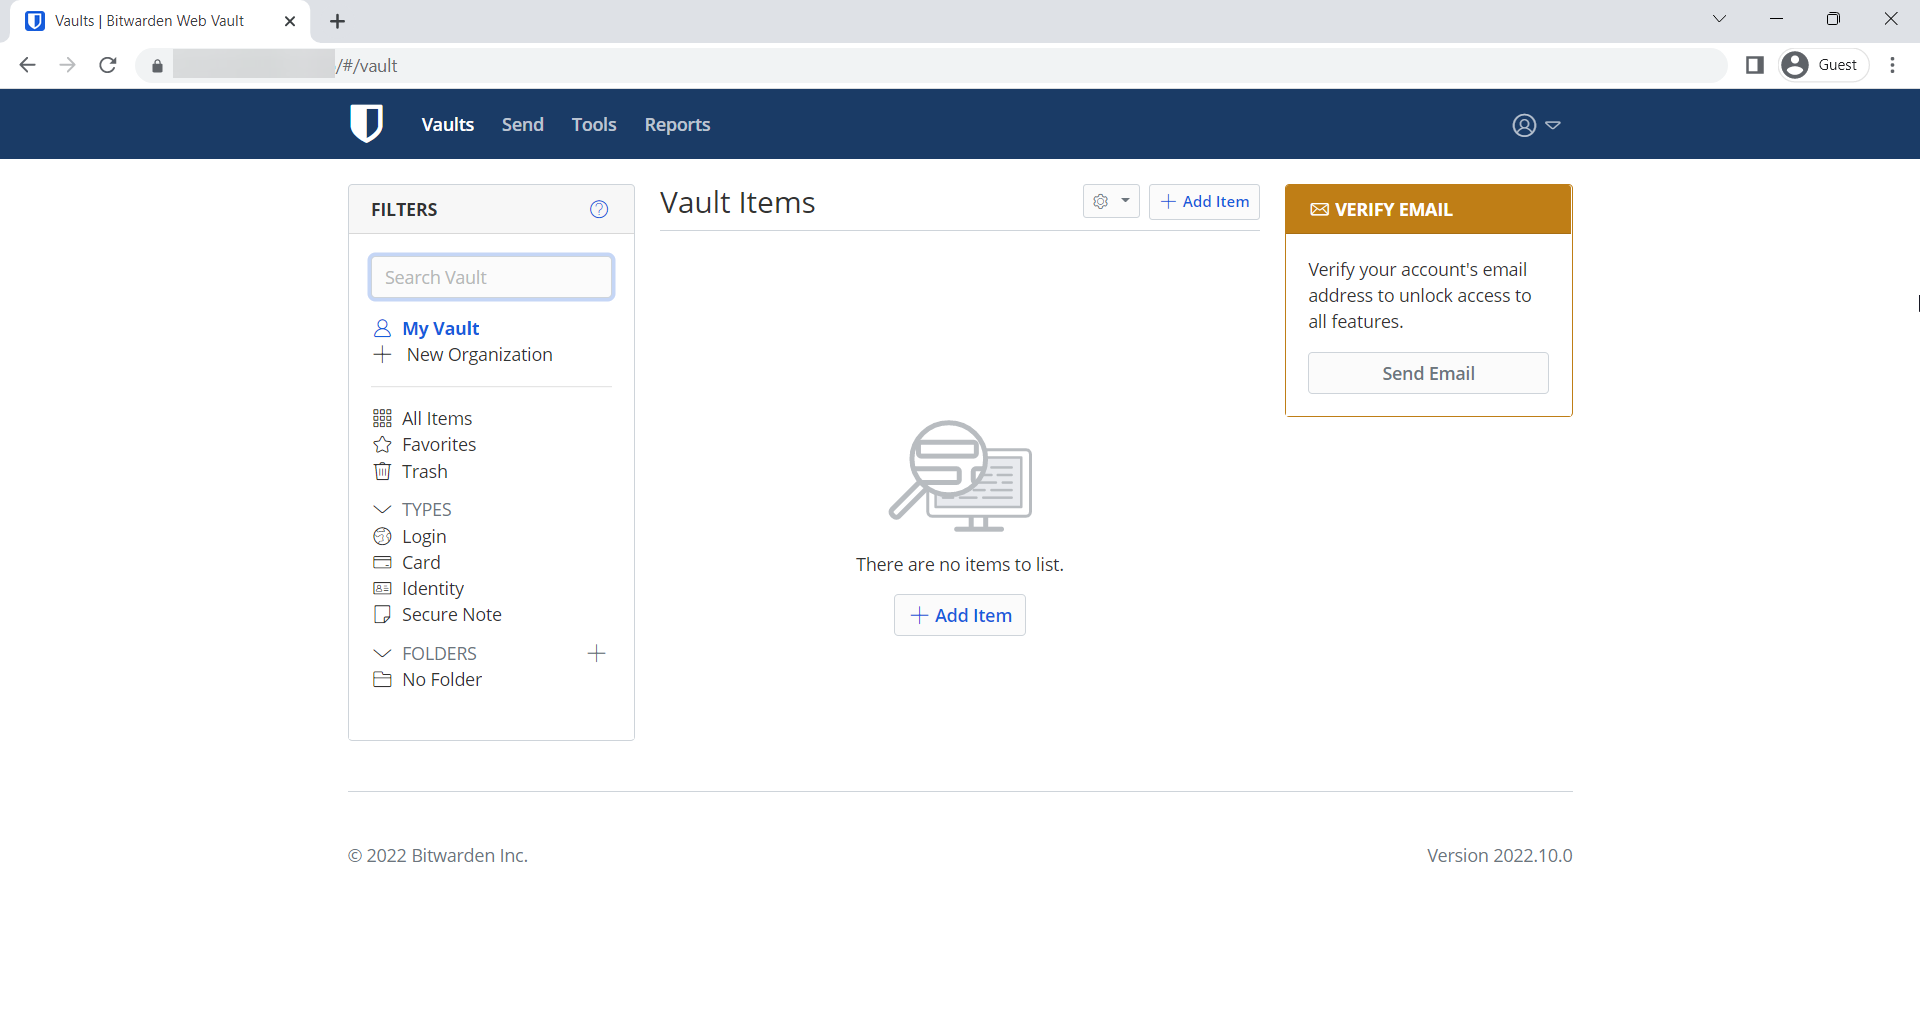
Now you have successfully installed Bitwarden on Ubuntu 22.10.
CrownCloud - Get a SSD powered KVM VPS at $4.5/month!
Use the code WELCOME for 10% off!
1 GB RAM / 25 GB SSD / 1 CPU Core / 1 TB Bandwidth per month
Available Locations: LAX | MIA | ATL | FRA | AMS