How to Install Bludit CMS with Nginx on Rocky Linux 8
Bludit is a web application to build your website or blog in seconds, it's completely free and open-source. Bludit uses files in JSON format to store the content, you don't need to install or configure a database. You only need a web server with PHP support. In this article, we are going to learn how to install Bludit CMS on Rocky Linux 8. So, let’s get started.
Checkout the Bludit CMS Project Here.
Try this wiki on our VPS. Starting at just $5/month with 24x7 In-house customer support.
Pre-requisites
-
A system with Rocky Linux 8 installed and running.
-
rootaccess to the system. - Let's Encrypt installed, for this, you can refer to one of our guides on installing the Let's Encrypt with Nginx on Rocky Linux 8.
Once you're all set, we'll proceed with Bludit CMS installation and configuration.
Install Nginx & PHP
Let's begin with installing Nginx and PHP. Install using the below codes.
yum install nginx php php-curl php-gd php-dom php-mbstring php-zip php-json -yEnable services
systemctl enable nginx

systemctl start nginx

systemctl status nginx
Enable Firewall
firewall-cmd --permanent --add-service=http

firewall-cmd --permanent --add-service=https

firewall-cmd --reload
Configuring Nginx Server Blocks
Let's configure nginx.conf with the following command:
nano /etc/nginx/nginx.confReplace the nginx.conf file with the below configuration.
# For more information on configuration, see:
#   * Official English Documentation: http://nginx.org/en/docs/
#   * Official Russian Documentation: http://nginx.org/ru/docs/

user nginx;
worker_processes auto;
error_log /var/log/nginx/error.log;
pid /run/nginx.pid;

# Load dynamic modules. See /usr/share/doc/nginx/README.dynamic.
include /usr/share/nginx/modules/*.conf;

events {
    worker_connections 1024;
}

http {
    log_format  main  '$remote_addr - $remote_user [$time_local] "$request" '
                  '$status $body_bytes_sent "$http_referer" '
                  '"$http_user_agent" "$http_x_forwarded_for"';

    access_log  /var/log/nginx/access.log  main;

    sendfile            on;
    tcp_nopush          on;
    tcp_nodelay         on;
    keepalive_timeout   65;
    types_hash_max_size 2048;

    include             /etc/nginx/mime.types;
    default_type        application/octet-stream;

    # Load modular configuration files from the /etc/nginx/conf.d directory.
    # See http://nginx.org/en/docs/ngx_core_module.html#include
    # for more information.
    include /etc/nginx/conf.d/*.conf;
}
Now, type in Ctrl+O and type Ctrl+X to save and exit the file.
Create a new Nginx configuration file dev.conf for the domain with the following command:
vi /etc/nginx/conf.d/dev.confAdd the following codes:
Replace
dev.domainhere.infowithYour Domain Nameand Change SSL Path according to your SSL Path.And also replace the root path,
/var/www/html/bludit/bluditwith the actual path where your website's data are stored.
server {
listen 80;

server_name dev.domainhere.info;
root /var/www/html/bludit/bludit;
index index.php index.html index.htm;

location / {
try_files $uri $uri/ /index.php?$args;
}

location = /favicon.ico {
log_not_found off;
access_log off;
}

location ~* \.(js|css|png|jpg|jpeg|gif|ico)$ {
expires max;
log_not_found off;
}

location = /robots.txt {
allow all;
log_not_found off;
access_log off;
}

location ~ \.php$ {
include /etc/nginx/fastcgi_params;
fastcgi_pass unix:/run/php-fpm/www.sock;
fastcgi_index index.php;
fastcgi_param SCRIPT_FILENAME $document_root$fastcgi_script_name;
}

listen 443 http2 ssl; # managed by Certbot
    ssl_certificate /etc/letsencrypt/live/dev.domainhere.info/fullchain.pem; # managed by Certbot
    ssl_certificate_key /etc/letsencrypt/live/dev.domainhere.info/privkey.pem; # managed by Certbot
    include /etc/letsencrypt/options-ssl-nginx.conf; # managed by Certbot
    ssl_dhparam /etc/letsencrypt/ssl-dhparams.pem; # managed by Certbot
}
Now, press the Esc key, and type :wq! and press the Enter key to save and exit the file.
For SELinux enabled systems, Run the below command
setsebool -P httpd_can_network_connect 1Now, restart & check the Nginx with the following commands:
systemctl restart nginx

systemctl status nginx
Enable http and https ( 80/443 )
To enable http and https connection through the firewall, follow the commands:
firewall-cmd --permanent --zone=public --add-service=http

firewall-cmd --permanent --zone=public --add-service=https

firewall-cmd --reload
Install Bludit CMS
Download Bludit CMS from the official website : Click here.
Let's install Bludit CMS using below command:
cd /var/www/html/

mkdir bludit

cd bludit

wget https://www.bludit.com/releases/bludit-3-13-1.zip

unzip bludit-3-13-1.zip

mv bludit-3-13-1 bludit

rm bludit-3-13-1.zip

cd bludit
Setting up File Permissions
Let's make the folders readable.
chmod -R 755 /var/www/html/bludit/bludit

chown -R apache:apache /var/www/html/bludit/bludit

chcon -R -t httpd_sys_content_rw_t /var/www/html/bludit/bludit
Now, restart & check Nginx with the following commands:
systemctl restart nginx

systemctl status nginx
Configuring Bludit CMS
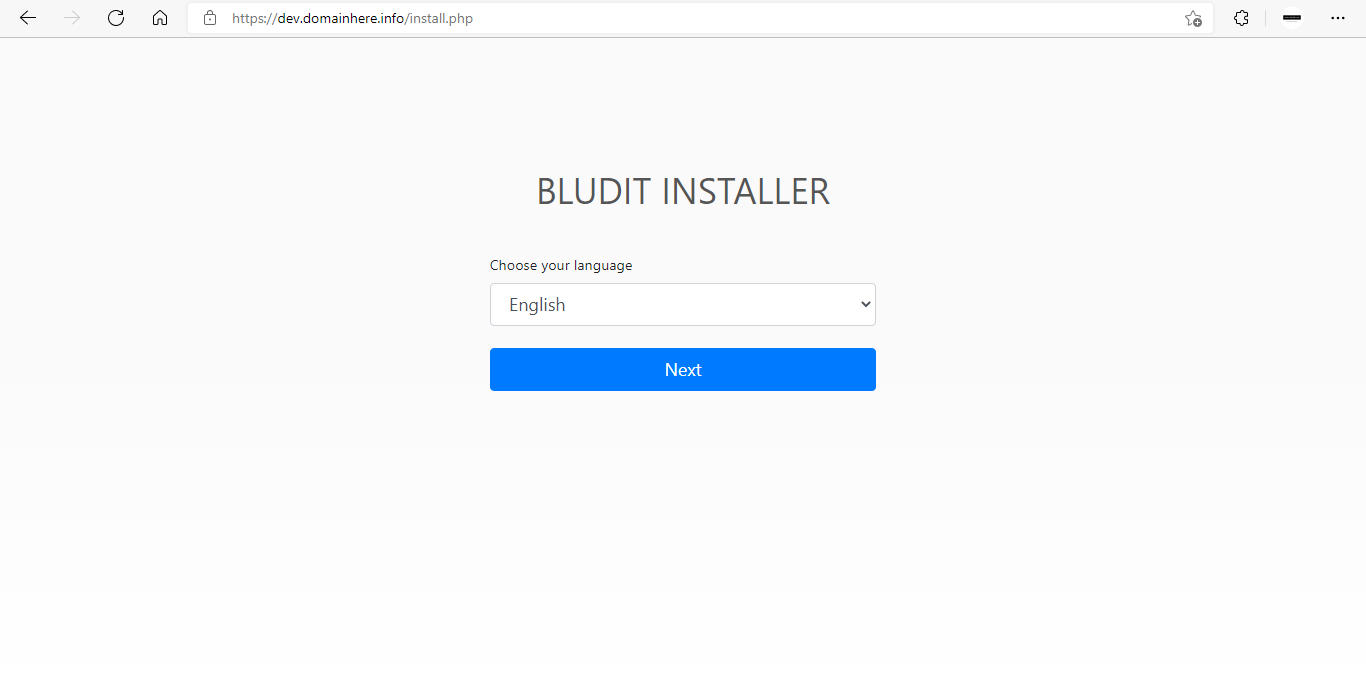
Now open the IP address from your browser, this will redirect you to configuring the final parts of the Bludit CMS installation.
https://dev.domainhere.infoReplace the
dev.domainhere.infowith the actual IP or domain configured on the server.
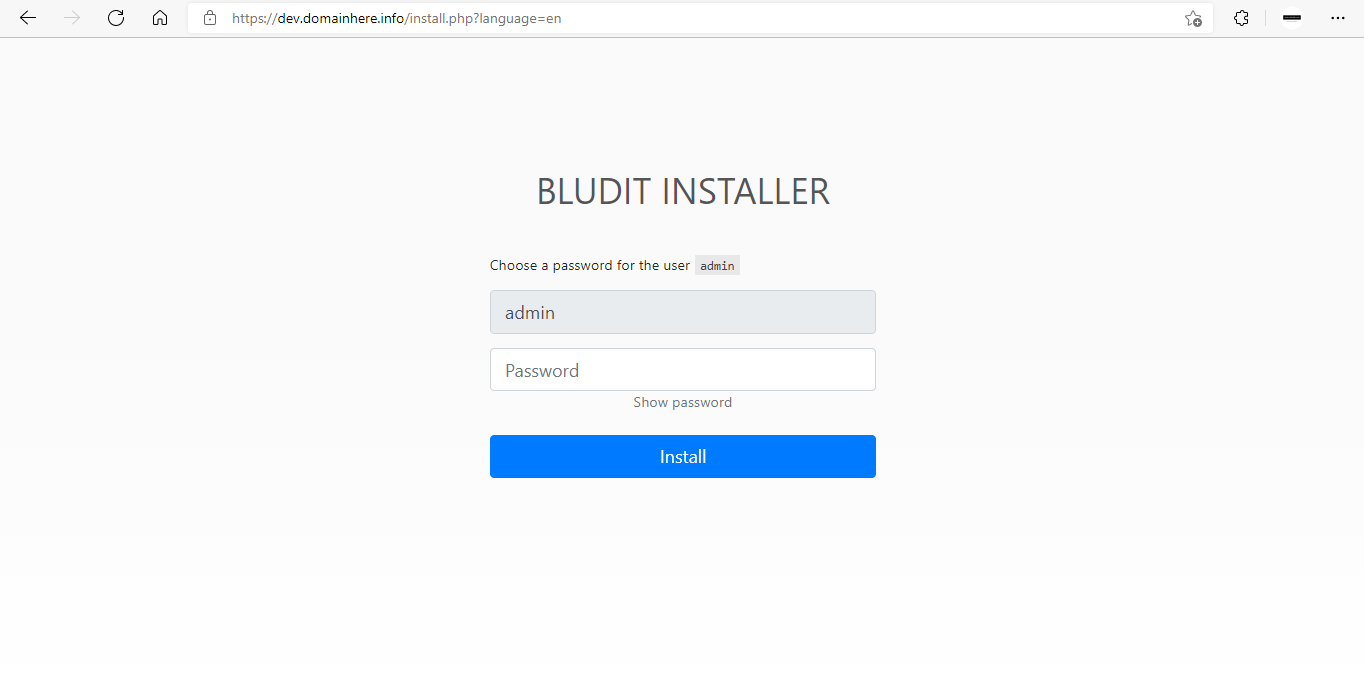
Input the Database details which was configured earlier. Follow the below steps:
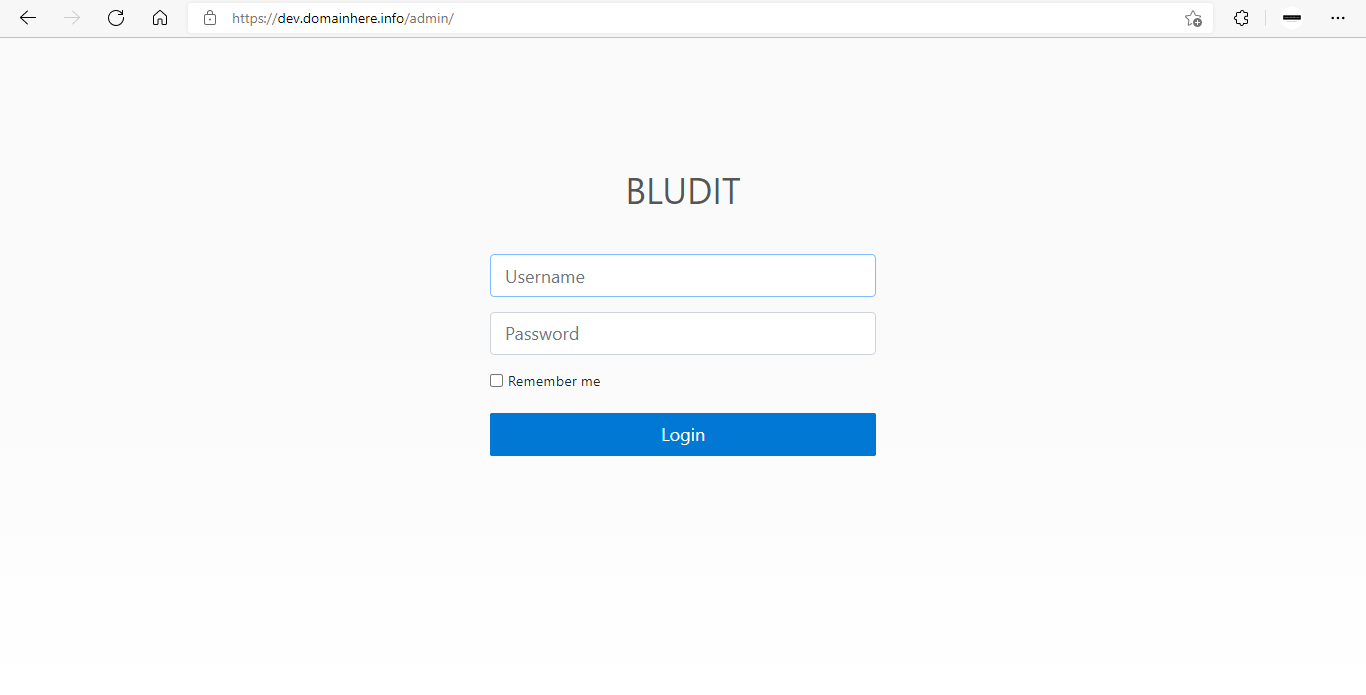
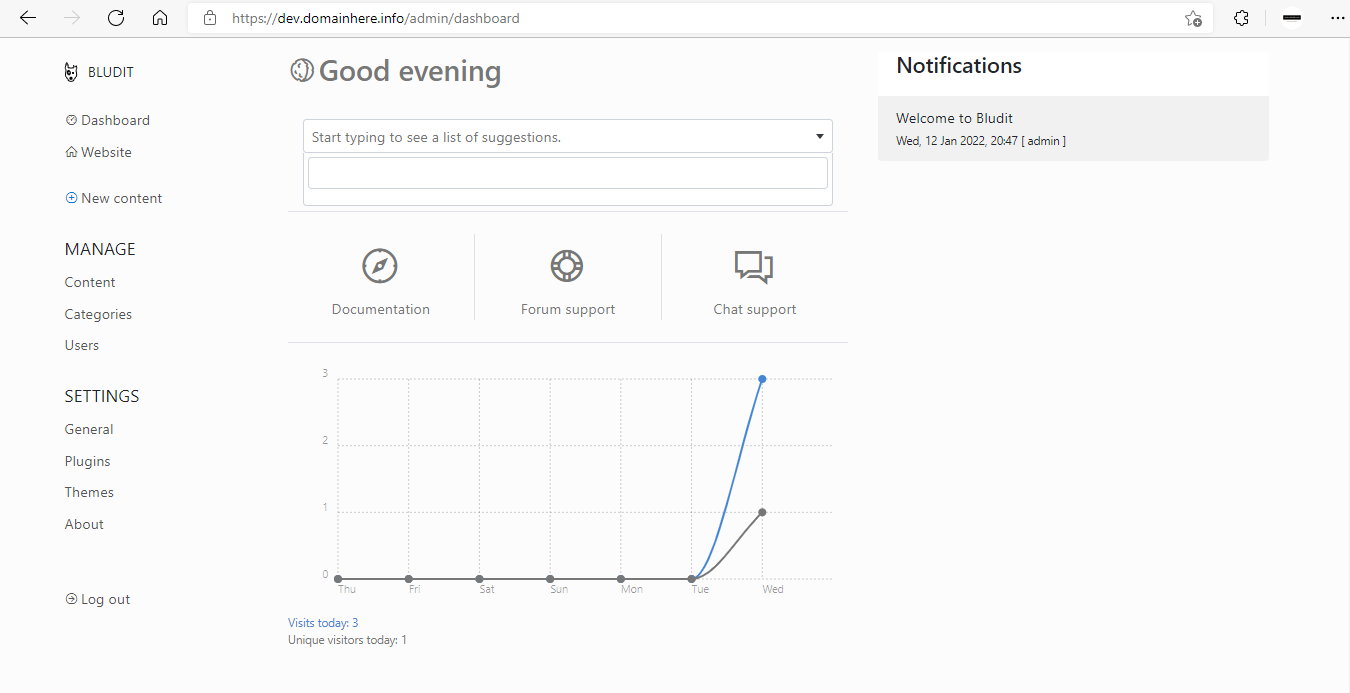
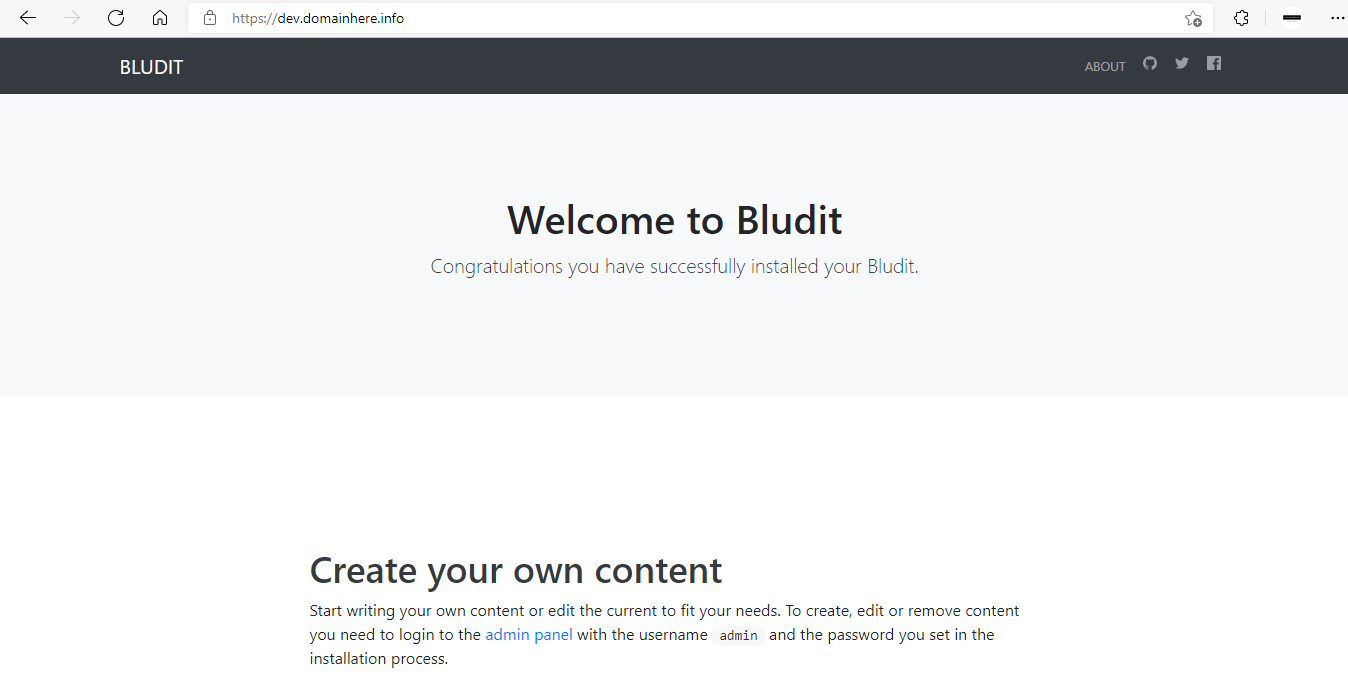
Now you have successfully installed Bludit CMS with Nginx on Rocky Linux 8.