How to Install Firezone UI for WireGuard VPN on Ubuntu 20.04
Firezone acts as a frontend to both the WireGuard kernel module and netfilter kernel subsystem. It creates a WireGuard interface and firezone netfilter table and adds appropriate routes to the routing table. In this article, we are going to learn how to install Firezone UI for WireGuard VPN on Ubuntu 20.04. So, let’s get started.
Checkout the Firezone UI for WireGuard VPN Project Here.
Try this wiki on our VPS. Starting at just $5/month with 24x7 In-house customer support.
Pre-requisites :
-
A system with Ubuntu 20.04 installed and running.
rootaccess to the system.
Once you're all set, we'll proceed with Firezone UI for WireGuard VPN installation and configuration.
Update the System
Updating the system,
apt update -y

apt upgrade -y
Install Let's Encrypt SSL Certificate
Install the SSL using the snap provided in Ubuntu systems,
snap install --classic certbot

ln -s /snap/bin/certbot /usr/bin/certbot
In this case, we just need SSL certificate for the domain. So we will use the --standalone option for this.
certbot certonly --standaloneOutput:
root@vps:~# certbot certonly --standalone
Saving debug log to /var/log/letsencrypt/letsencrypt.log
Enter email address (used for urgent renewal and security notices)
(Enter 'c' to cancel): Your_Email@gmail.com

- - - - - - - - - - - - - - - - - - - - - - - - - - - - - - - - - - - - - - - -
Please read the Terms of Service at
https://letsencrypt.org/documents/LE-SA-v1.2-November-15-2017.pdf. You must
agree in order to register with the ACME server. Do you agree?
- - - - - - - - - - - - - - - - - - - - - - - - - - - - - - - - - - - - - - - -
(Y)es/(N)o: y

- - - - - - - - - - - - - - - - - - - - - - - - - - - - - - - - - - - - - - - -
Would you be willing, once your first certificate is successfully issued, to
share your email address with the Electronic Frontier Foundation, a founding
partner of the Let's Encrypt project and the non-profit organization that
develops Certbot? We'd like to send you email about our work encrypting the web,
EFF news, campaigns, and ways to support digital freedom.
- - - - - - - - - - - - - - - - - - - - - - - - - - - - - - - - - - - - - - - -
(Y)es/(N)o: y
Account registered.
Please enter the domain name(s) you would like on your certificate (comma and/or
space separated) (Enter 'c' to cancel): fz.domainhere.info
Requesting a certificate for fz.domainhere.info

Successfully received certificate.
Certificate is saved at: /etc/letsencrypt/live/fz.domainhere.info/fullchain.pem
Key is saved at:         /etc/letsencrypt/live/fz.domainhere.info/privkey.pem
This certificate expires on 2022-07-14.
These files will be updated when the certificate renews.
Certbot has set up a scheduled task to automatically renew this certificate in the background.
- - - - - - - - - - - - - - - - - - - - - - - - - - - - - - - - - - - - - - - -
If you like Certbot, please consider supporting our work by:
* Donating to ISRG / Let's Encrypt:   https://letsencrypt.org/donate
* Donating to EFF:                    https://eff.org/donate-le
- - - - - - - - - - - - - - - - - - - - - - - - - - - - - - - - - - - - - - - -
root@vps:~#
As you can notice, Certificates are stored in /etc/letsencrypt/live/domain.com/. Which we will come back to later in this guide.
Install Firezone UI for WireGuard VPN
Add the Wireguard Module to your system,
modprobe wireguardFirezone have their own Installer automated with just a single command, making it easy to setup.
bash <(curl -Ls https://github.com/firezone/firezone/raw/master/scripts/install.sh)Output:
root@vps:~# bash <(curl -Ls https://github.com/firezone/firezone/raw/master/scripts/install.sh)
Enter the administrator email you'd like to use for logging into this Firezone instance:
Youor_Email@gmailc.om
Could we email you to ask for product feedback? Firezone depends heavily on input from users like you to steer development. (Y/n):
n
url:  https://github.com/firezone/firezone/releases/download/0.3.4/firezone_0.3.4-ubuntu2004-x64.deb
Press <ENTER> to install or Ctrl-C to abort.
Configure the domain and SSL certificate
Once the Installer completes, we will have to configure the domain name to setup the firezone with and also provide the SSL path, so the connection to the panel is secure.
Edit the default configuration file /etc/firezone/firezone.rb using your favourite editor.
nano /etc/firezone/firezone.rbupdate the following lines in the file,
# default['firezone']['external_url'] = ''to
default['firezone']['external_url'] = 'fz.domainhere.info'and
default['firezone']['ssl']['certificate'] = nil
default['firezone']['ssl']['certificate_key'] = nil
to
default['firezone']['ssl']['certificate'] = '/etc/letsencrypt/live/fz.domainhere.info/cert.pem'
default['firezone']['ssl']['certificate_key'] = '/etc/letsencrypt/live/fz.domainhere.info/privkey.pem'
Replace fz.domainhere.info with your actual domain name.
The external_url specifies the application to use the domain name provided
and the ssl provides the path to the certificates installed earlier from Let's Encrypt.
Reconfigure the application to pick up the new changes using the below command.
firezone-ctl reconfigureCreate admin user using below command.
firezone-ctl create-or-reset-adminThe login credentials will be printed to the console output.
Manage WireGuard VPN with Firezone UI
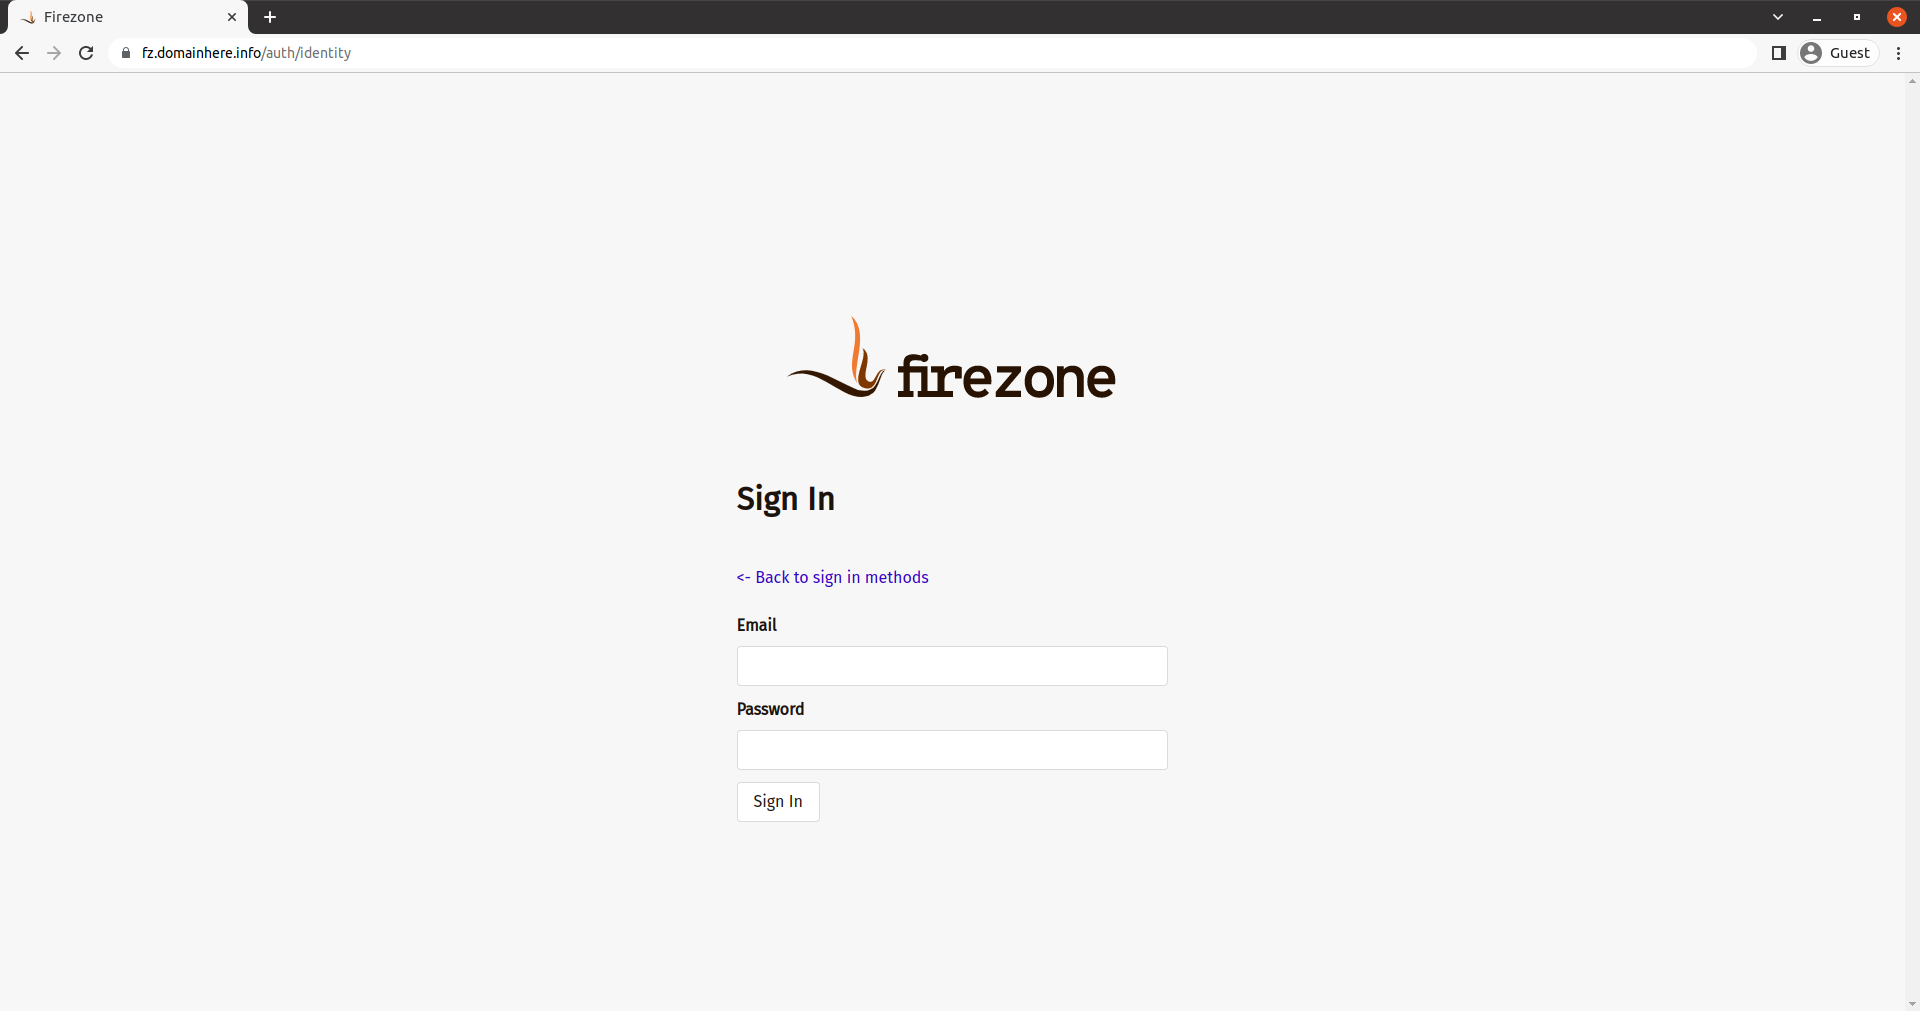
Now open the domain name from your browser, this will redirect you Firezone UI.
https://fz.domainhere.infoReplace the
fz.domainhere.infowith the actual IP or domain configured on the server.
Login using the credentials. Example of Firezone UI Login Screen:
Now you have successfully installed Firezone UI for WireGuard VPN on Ubuntu 20.04.
CrownCloud - Get a SSD powered KVM VPS at $4.5/month!
Use the code WELCOME for 10% off!
1 GB RAM / 25 GB SSD / 1 CPU Core / 1 TB Bandwidth per month
Available Locations: LAX | MIA | ATL | FRA | AMS