How to Install Firezone UI for WireGuard VPN on Ubuntu 23.10
Firezone acts as a frontend to both the WireGuard kernel module and netfilter kernel subsystem. It creates a WireGuard interface and firezone netfilter table and adds appropriate routes to the routing table. In this article, we are going to learn how to install Firezone UI for WireGuard VPN on Ubuntu 23.10. So, let’s get started.
Checkout the Firezone UI for WireGuard VPN Project Here.
Try this wiki on our VPS. Starting at just $5/month with 24x7 In-house customer support.
Pre-requisites :
-
A system with Ubuntu 23.10 installed and running.
-
rootaccess to the system. -
Server with minimum of 1vCPU and 1GB of RAM.
- A domain with DNS records set and pointing to your server's IP Address.
Installing Docker
Install the docker using the apt package manager.
apt install docker.ioStart and enable docker
systemctl enable --now dockerCheck Docker service status
systemctl status dockerOutput:
root@ubuntu:~# systemctl status docker
● docker.service - Docker Application Container Engine
     Loaded: loaded (/lib/systemd/system/docker.service; enabled; preset: enabl>
     Active: active (running) since Fri 2023-04-21 20:31:43 UTC; 23s ago
TriggeredBy: ● docker.socket
       Docs: https://docs.docker.com
   Main PID: 3809 (dockerd)
      Tasks: 9
     Memory: 22.8M
        CPU: 1.359s
     CGroup: /system.slice/docker.service
             └─3809 /usr/bin/dockerd -H fd:// --containerd=/run/containerd/cont>

Apr 21 20:31:42 ubuntu dockerd[3809]: time="2023-04-21T20:31:42.322853594Z" lev>
Check docker version,
docker --versionOuput:
root@ubuntu:~# docker --version
Docker version 24.0.7 build 24.0.7-0ubuntu3
Installing Docker Compose
Compose is a tool for defining and running multi-container Docker applications. With Compose, you use a Compose file to configure your application's services. Then, using a single command, you create and start all the services from your configuration.
Use curl to download the Compose file into the /usr/local/bin directory.
curl -L "https://github.com/docker/compose/releases/download/v2.17.3/docker-compose-$(uname -s)-$(uname -m)" -o /usr/local/bin/docker-composeOutput:
root@ubuntu:~# curl -L "https://github.com/docker/compose/releases/download/v2.17.3/docker-compose-$(uname -s)-$(uname -m)" -o /usr/local/bin/docker-compose
  % Total    % Received % Xferd  Average Speed   Time    Time     Time  Current
                                 Dload  Upload   Total   Spent    Left  Speed
  0     0    0     0    0     0      0      0 --:--:-- --:--:-- --:--:--     0
100 51.9M  100 51.9M    0     0  26.6M      0  0:00:01  0:00:01 --:--:-- 39.5M
Next, set the correct permissions so that the docker-compose command is executable.
chmod +x /usr/local/bin/docker-composeTo verify that the installation was successful, you can run the following command.
docker-compose --versionOutput:
root@ubuntu:~# docker-compose --version
Docker Compose version v2.17.3
Install Firezone
Create a installation directory for the Firezone,
mkdir /root/.firezoneUsing the automatic install script is the simplest method for deploying Firezone using Docker:
bash <(curl -fsSL https://github.com/firezone/firezone/raw/legacy/scripts/install.sh)Once the script is executed, you will be prompted with a few configurations that you need to input.
Enter the administrator email you'd like to use for logging into this Firezone instance : Enter the email address that will be used as Administrator user access.
Enter the desired installation directory (/root/.firezone) : Enter the complete path to the directory, this will be used to store the Firezone install files. following that, enter the URL that caused the website to load.
Enter the external URL that will be used to access this instance. (https://ubunu23) : Enter the URL that you want the Firezone to use for the Panel access (example: https://example.com).
Could we email you to ask for product feedback? Firezone depends heavily on input from users like you to steer development.(Y/n) : Choose whether you would like to receive feedback emails to your mail.
Firezone collects crash and performance logs to help us improve the product. Would you like to disable this? (N/y) : Choose whether you want to send Firezone crash and performance logs.
Press Enter key to continue the installation.
Once the Installation is successfully completed, you will receive logins to the Firezone panel as shown below,
Installation complete!
You should now be able to log into the Web UI at https://dev.domainhere.info with the
following credentials:
DEFAULT_ADMIN_EMAIL=adam@gmail.com
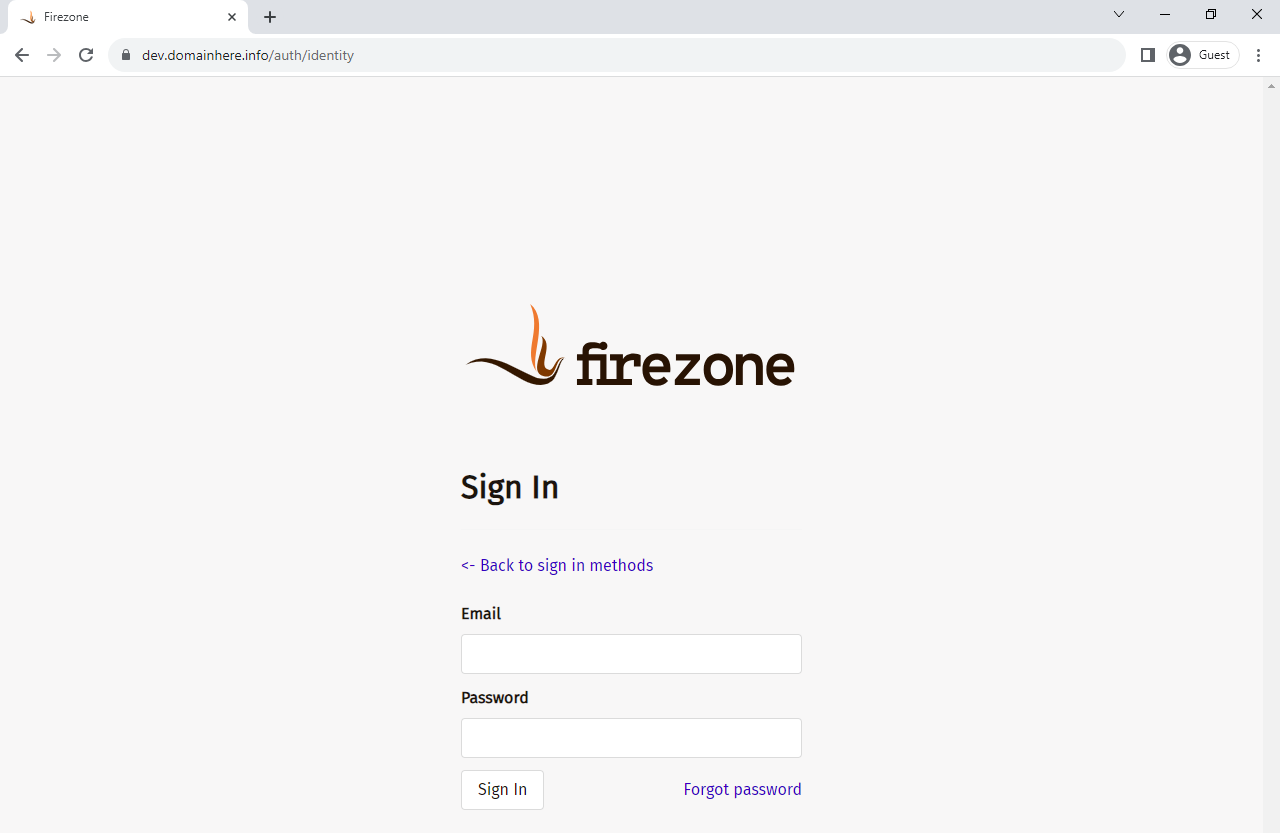
DEFAULT_ADMIN_PASSWORD=xZ9MfN2ZuUbGjz74Open the URL in your browser and the Firezone UI should load.
https://dev.domainhere.infoReplace the
dev.domainhere.infowith the actual IP or domain configured on the server.
Login using the credentials provided,
Example of Firezone UI Login Screen:
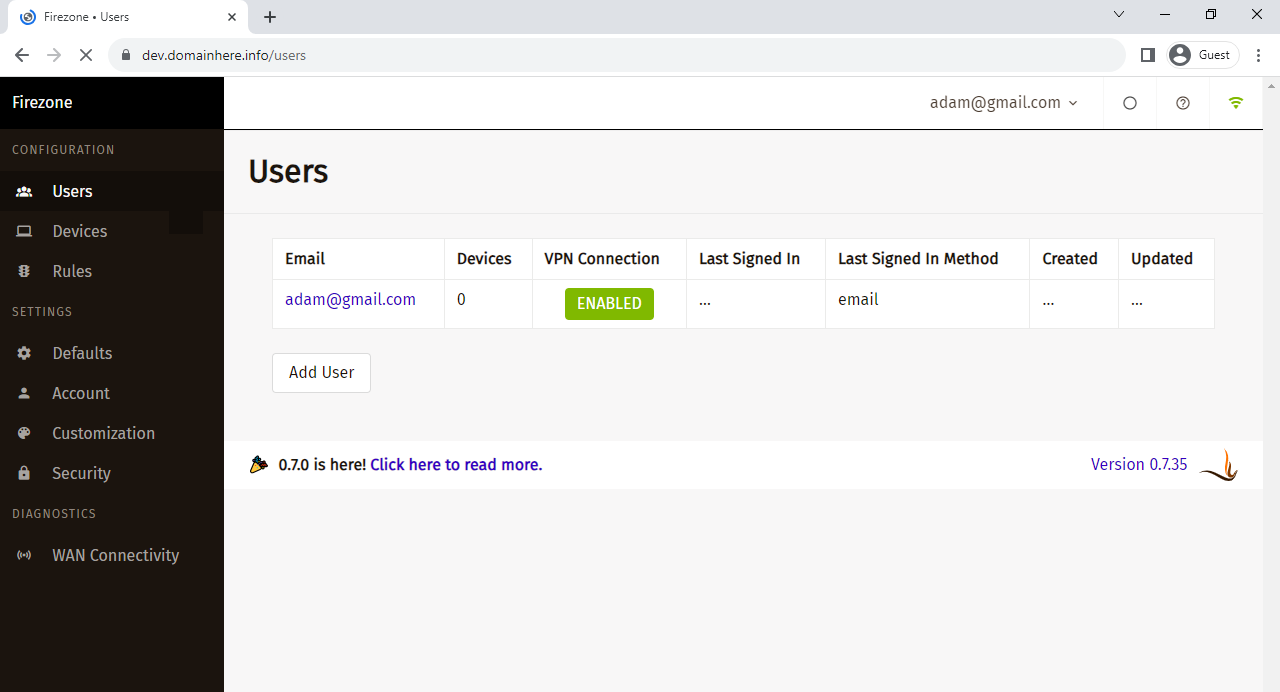
Now you have successfully installed Firezone UI for WireGuard VPN on Ubuntu 23.10.
CrownCloud - Get a SSD powered KVM VPS at $4.5/month!
Use the code WELCOME for 10% off!
1 GB RAM / 25 GB SSD / 1 CPU Core / 1 TB Bandwidth per month
Available Locations: LAX | MIA | ATL | FRA | AMS