How to Install GNOME GUI on Rocky Linux 8
To use Rocky Linux 8 in graphical mode, you will need to install GNOME package on the system to enable GUI. We will go through the steps required to install GNOME GUI.
Check the available package groups for Rocky Linux 8.
yum group listOutput:
[root@server ~]# yum group list
Last metadata expiration check: 0:01:49 ago on Fri 14 May 2021 10:00:46 AM EDT.
Available Environment Groups:
   Server with GUI
   Server
   Workstation
   KDE Plasma Workspaces
   Virtualization Host
   Custom Operating System
Installed Environment Groups:
   Minimal Install
Available Groups:
   Container Management
   .NET Core Development
   RPM Development Tools
   Development Tools
   Graphical Administration Tools
   Headless Management
   Legacy UNIX Compatibility
   Network Servers
   Scientific Support
   Security Tools
   Smart Card Support
   System Tools
   Fedora Packager
   Xfce
Installing Gnome GUI
Install Gnome GUI and in between it will prompt for download permission, enter "y" key and hit enter to proceed with installation.
yum groupinstall "Server with GUI"To enable the GUI as default and boot into graphical mode.
systemctl set-default graphicalOutput:
[root@server ~]# systemctl set-default graphical
Removed /etc/systemd/system/default.target.
Created symlink /etc/systemd/system/default.target → /usr/lib/systemd/system/graphical.target.
Reboot the system so it can boot into the graphical mode.
reboot GUI Setup
Access the Gnome desktop through VNC
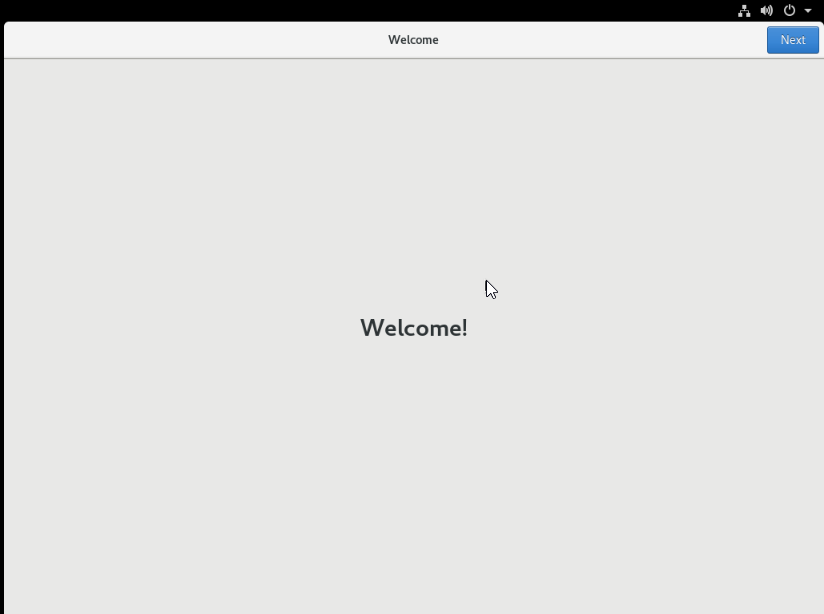
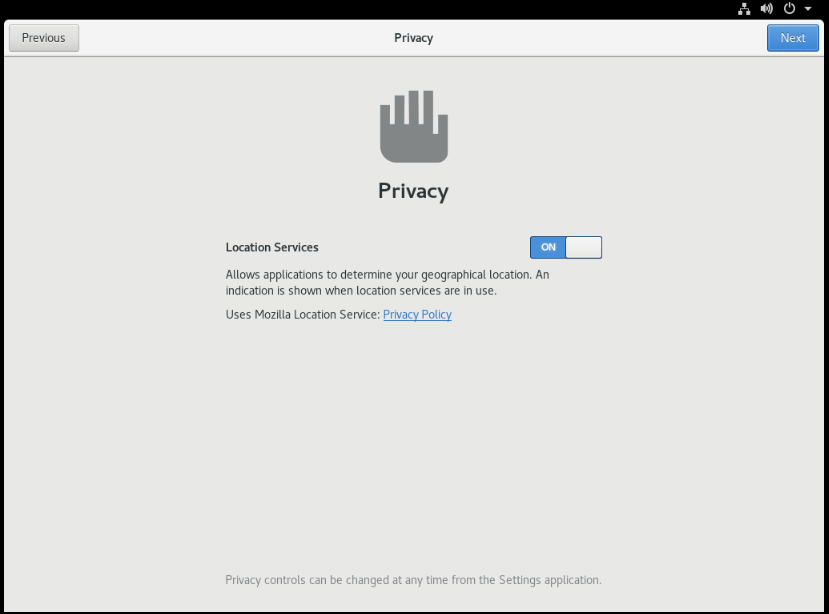
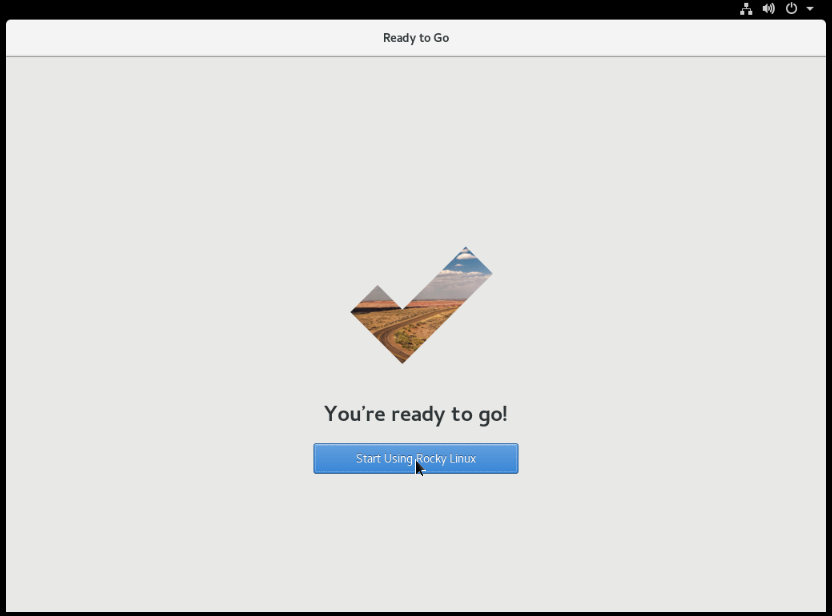
GUI welcome page will appear and it will prompt for if you would like to enable Location Services and set up online accounts.

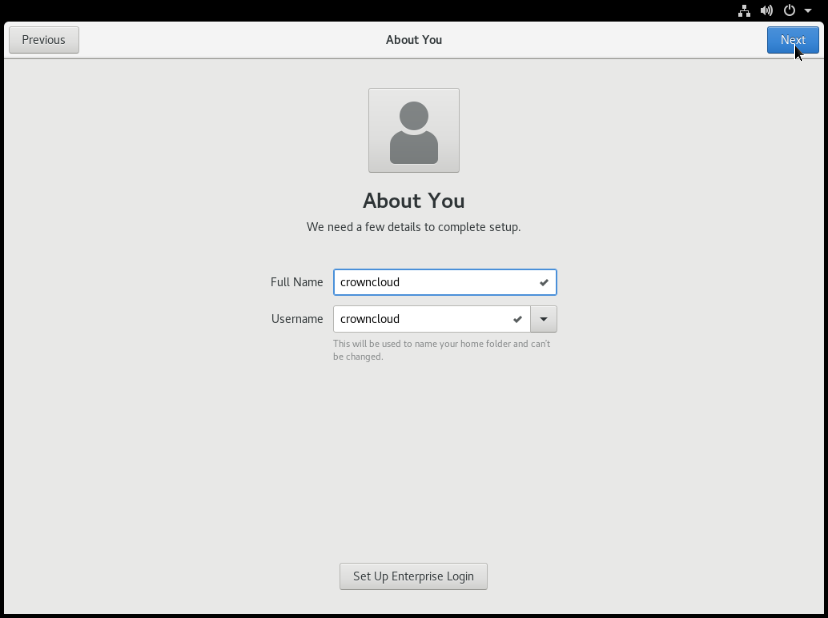
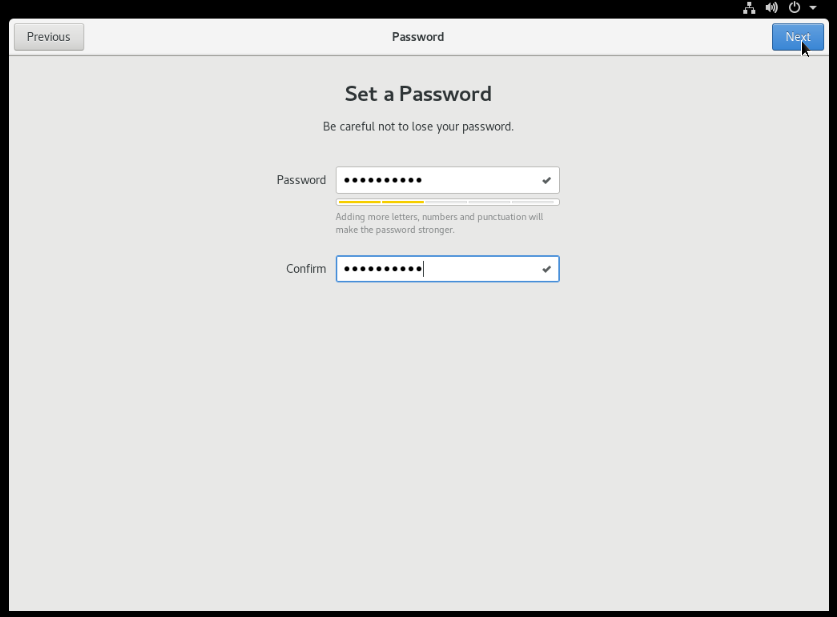
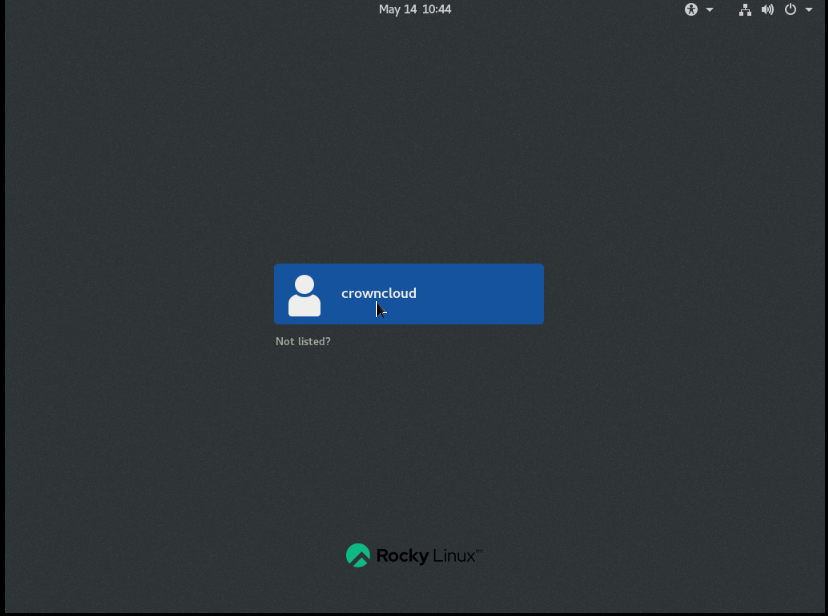
Create user by providing User name and Password.
Login Screen.
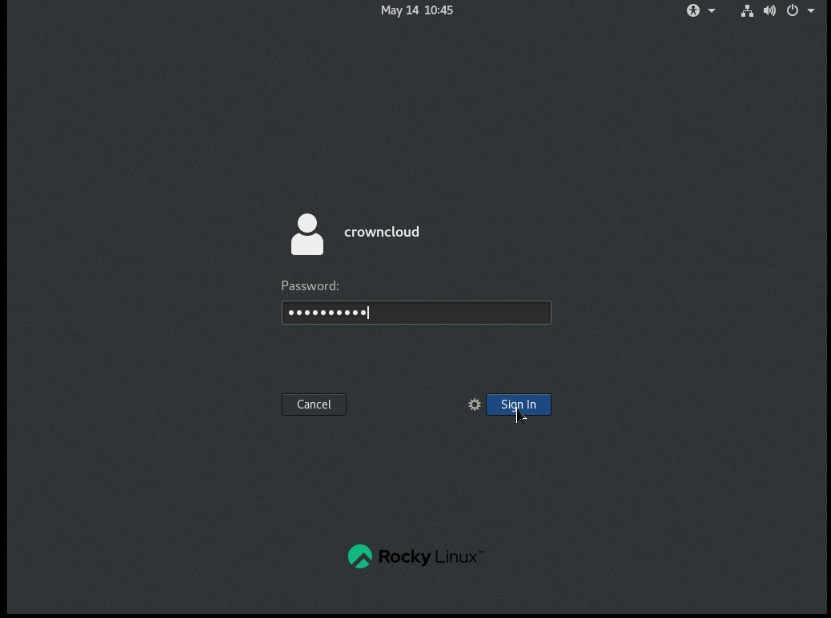
Login to the user which you've created.
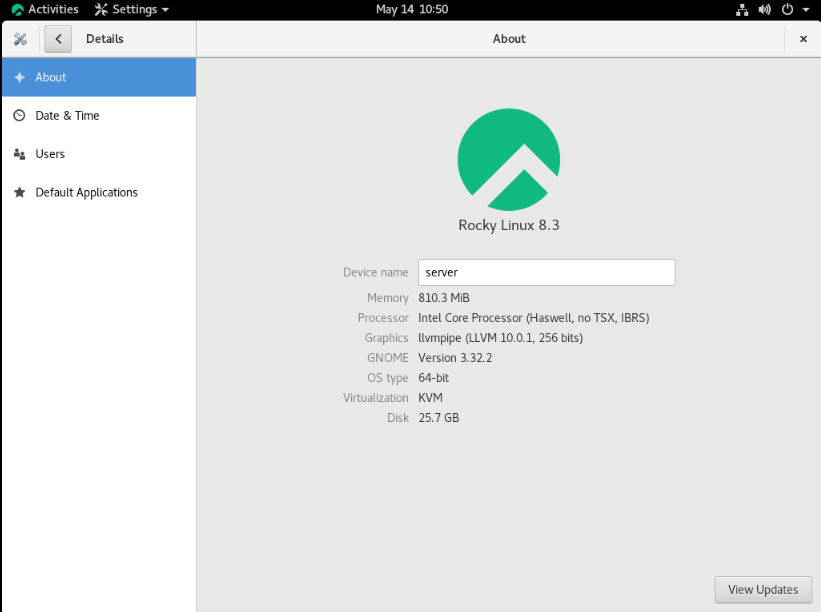
Rocky Linux 8 desktop screen and it's system information.
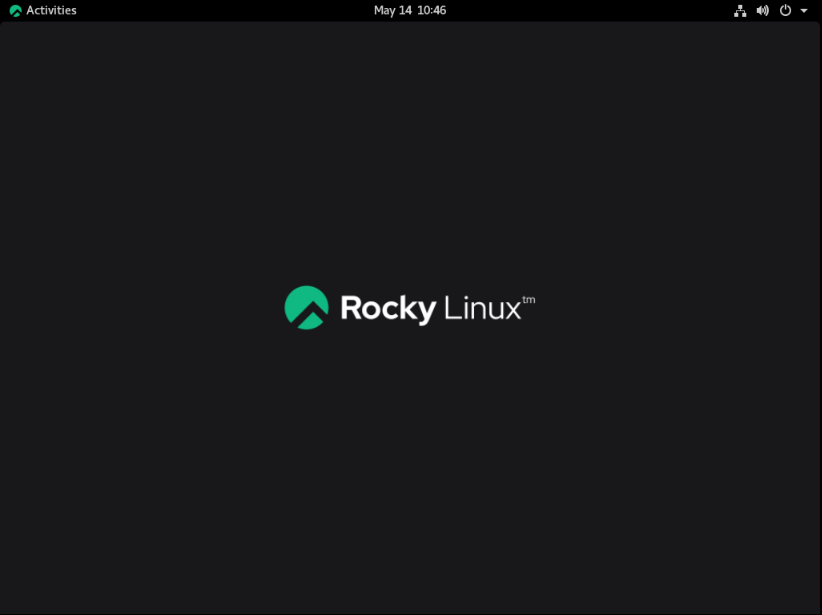
Rocky Linux 8 GNOME GUI complete!!!
CrownCloud - Get a SSD powered KVM VPS at $4.5/month!
Use the code WELCOME for 10% off!
1 GB RAM / 25 GB SSD / 1 CPU Core / 1 TB Bandwidth per month
Available Locations: LAX | MIA | ATL | FRA | AMS