How to Install GNOME GUI on Rocky Linux 9
To use Rocky Linux 9 in graphical mode, you will need to install the GNOME package on the system to enable GUI. We will go through the steps required to install GNOME GUI.
Check the available package groups for Rocky Linux 9.
dnf group listOutput:
[root@server ~]# dnf group list
Last metadata expiration check: 0:00:23 ago on Wed 20 Jul 2022 04:16:58 PM CEST.
Available Environment Groups:
   Server with GUI
   Server
   Workstation
   Custom Operating System
   Virtualization Host
Installed Environment Groups:
   Minimal Install
Available Groups:
   Legacy UNIX Compatibility
   Console Internet Tools
   Development Tools
   .NET Development
   Graphical Administration Tools
   Network Servers
   Container Management
   Headless Management
   Scientific Support
   Security Tools
   Smart Card Support
   System Tools
   RPM Development Tools
Installing Gnome GUI
Installing a Gnome GUI requires several packages to be installed on the server. Thankfully this process is simplified using the groupinstall option and all the required packages related to Gnome are grouped in the Server with GUI group.
dnf groupinstall "Server with GUI"Output:
[root@server ~]#   dnf groupinstall "Server with GUI" --skip-broken
Last metadata expiration check: 0:08:30 ago on Wed 20 Jul 2022 04:51:24 PM CEST.
Dependencies resolved.
================================================================================
 Package                     Arch    Version                   Repository  Size
================================================================================
Installing group/module packages:
 cups                        x86_64  1:2.3.3op2-13.el9_0.1     appstream  1.3 M
 gutenprint-cups             x86_64  5.3.4-4.el9               appstream  576 k
 pnm2ppa                     x86_64  1:1.04-52.el9             appstream  220 k
Installing dependencies:
 cups-client                 x86_64  1:2.3.3op2-13.el9_0.1     appstream   71 k
 cups-filesystem             noarch  1:2.3.3op2-13.el9_0.1     appstream   13 k
 cups-filters                x86_64  1.28.7-10.el9             appstream  788 k
 cups-filters-libs           x86_64  1.28.7-10.el9             appstream  137 k
 foomatic                    x86_64  4.0.13-19.el9             appstream  235 k
 foomatic-db                 noarch  4.0-72.20210209.el9       appstream  1.2 M
 foomatic-db-filesystem      noarch  4.0-72.20210209.el9       appstream  8.2 k
 foomatic-db-ppds            noarch  4.0-72.20210209.el9       appstream   58 M
 ghostscript                 x86_64  9.54.0-7.el9              appstream   37 k
 ghostscript-tools-fonts     x86_64  9.54.0-7.el9              appstream   13 k
 ghostscript-tools-printing  x86_64  9.54.0-7.el9              appstream   13 k
 poppler-cpp                 x86_64  21.01.0-12.el9            appstream   55 k
 poppler-utils               x86_64  21.01.0-12.el9            appstream  231 k
 qpdf-libs                   x86_64  10.3.1-4.el9              appstream  634 k
 cups-ipptool                x86_64  1:2.3.3op2-13.el9_0.1     appstream  3.9 M
Installing Environment Groups:
To enable the GUI as default and boot into graphical mode.
systemctl set-default graphicalOutput:
[root@server ~]# systemctl set-default graphical
Removed /etc/systemd/system/default.target.
Created symlink /etc/systemd/system/default.target → /usr/lib/systemd/system/graphical.target.
GUI Setup
Head over to CrownPanel to access the VNC feature for the next steps.
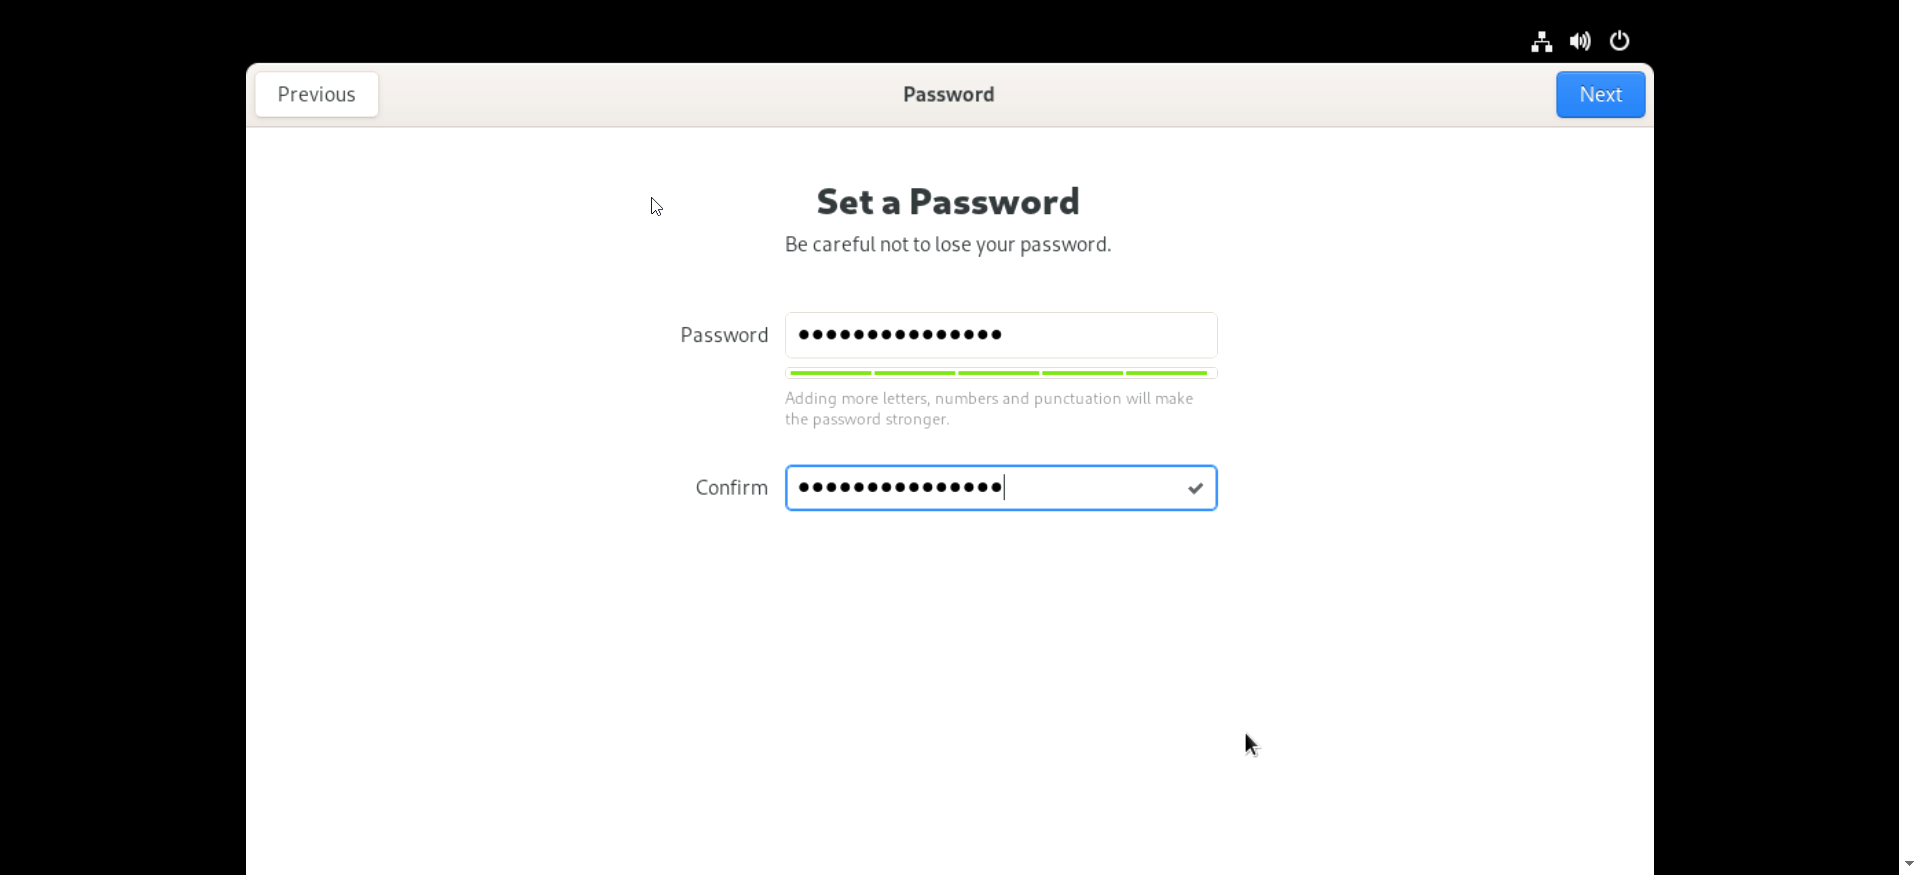
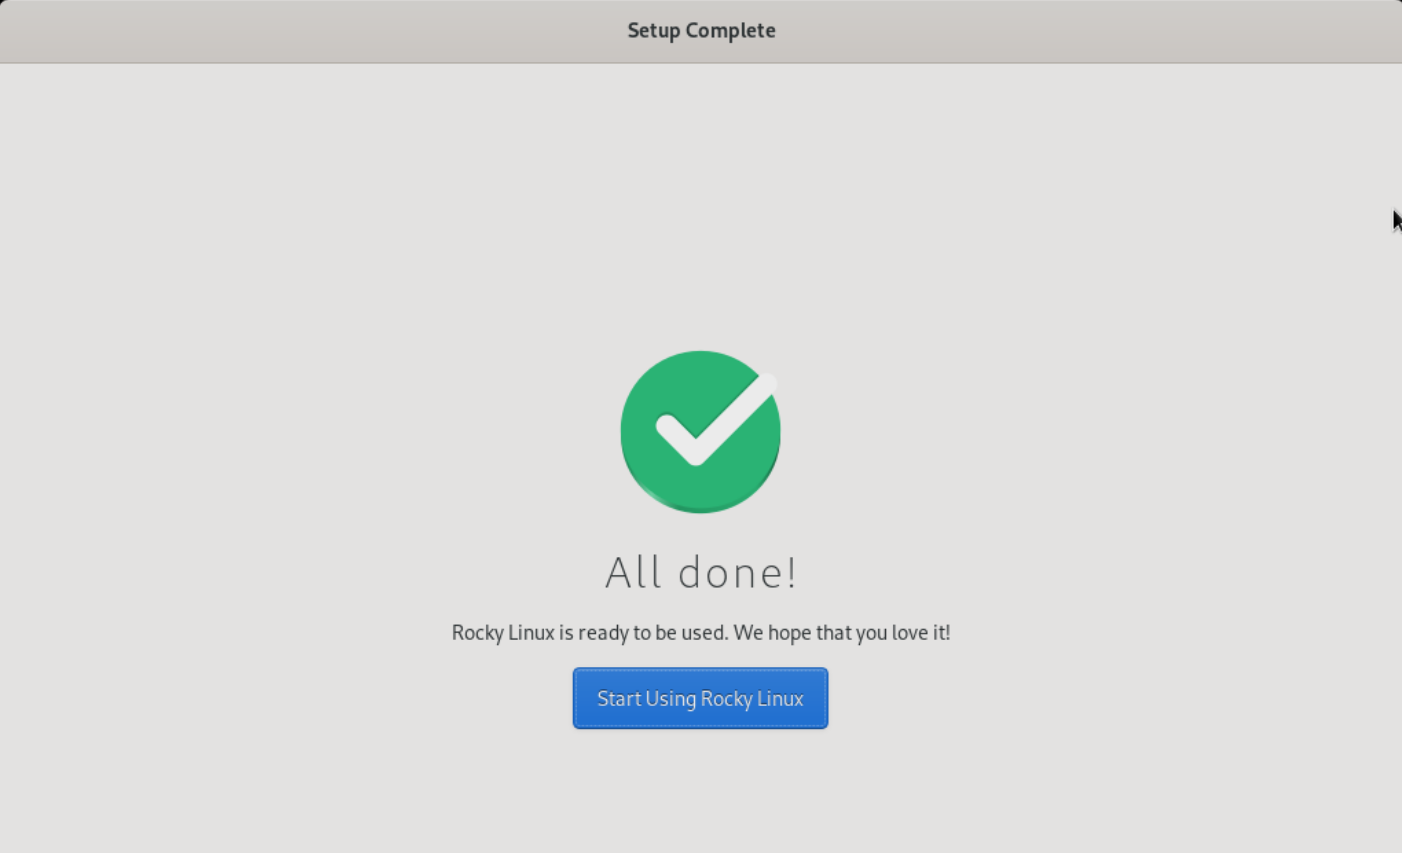
GUI welcome page will appear and it will prompt for various information to configure your server profile.

Create a user by providing the User name and Password.
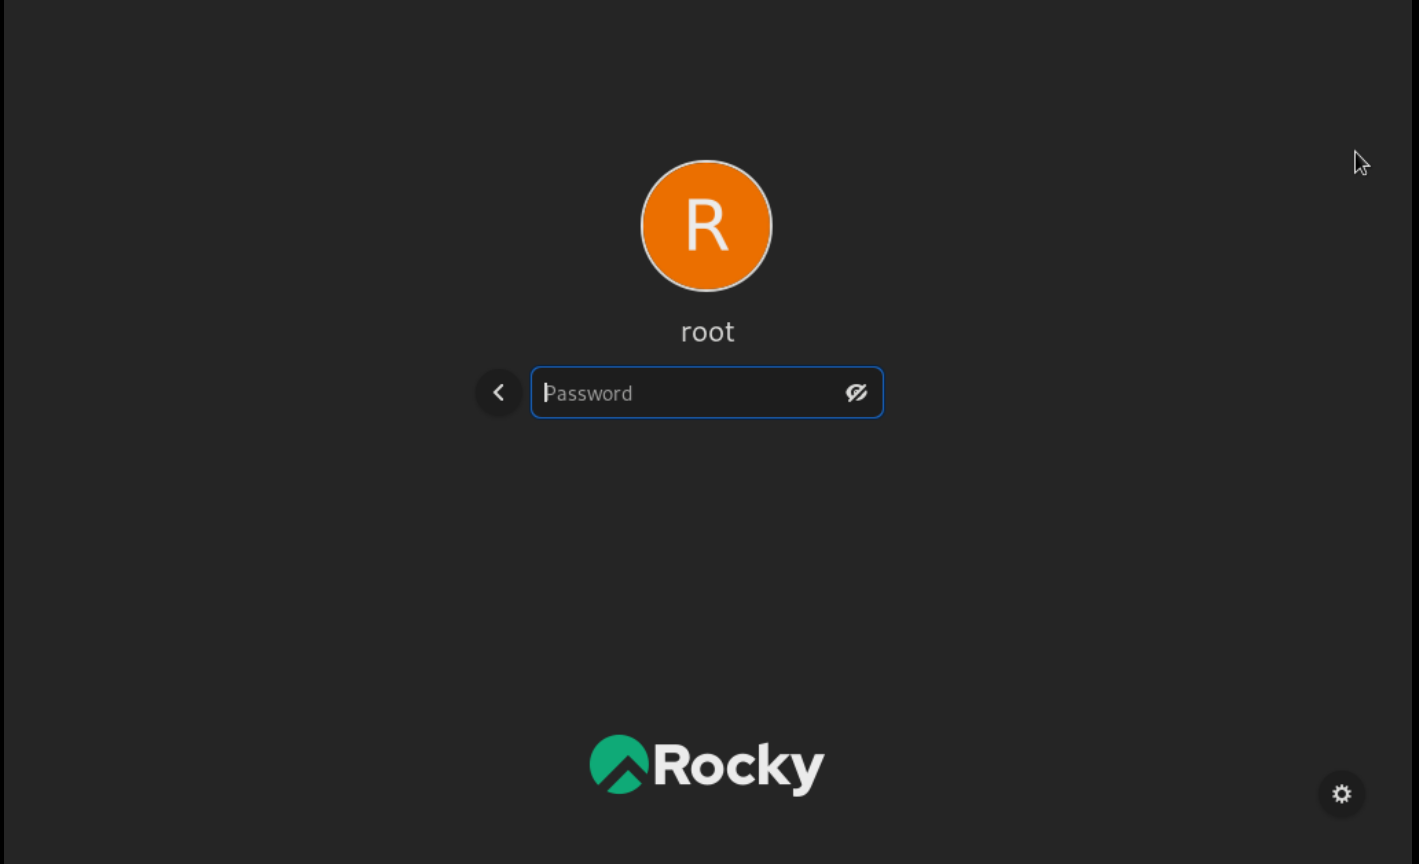
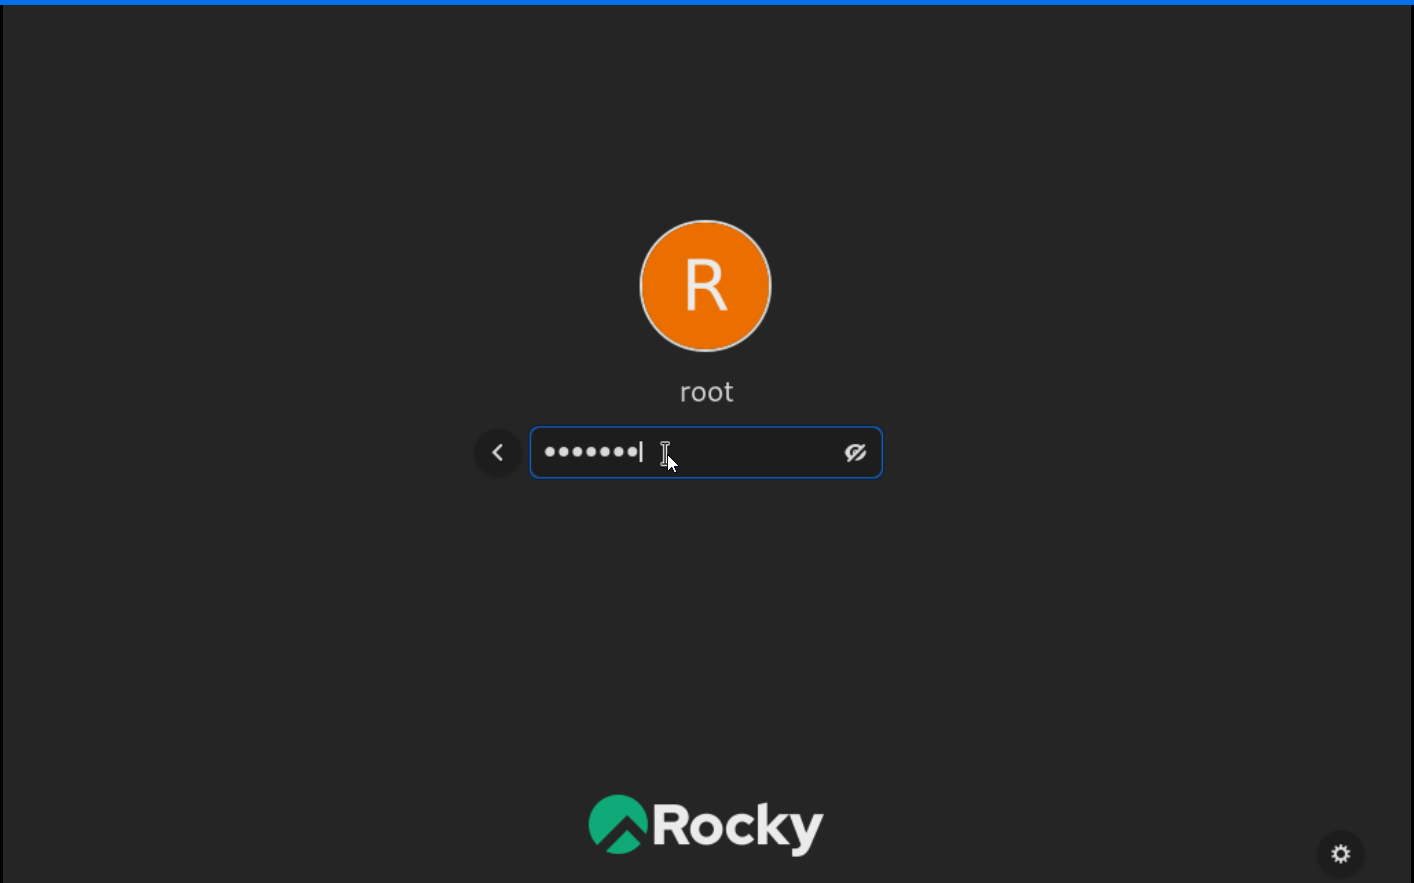
Login Screen
Log in to the user which you've created.
Rocky Linux 9 desktop screen and its system information.

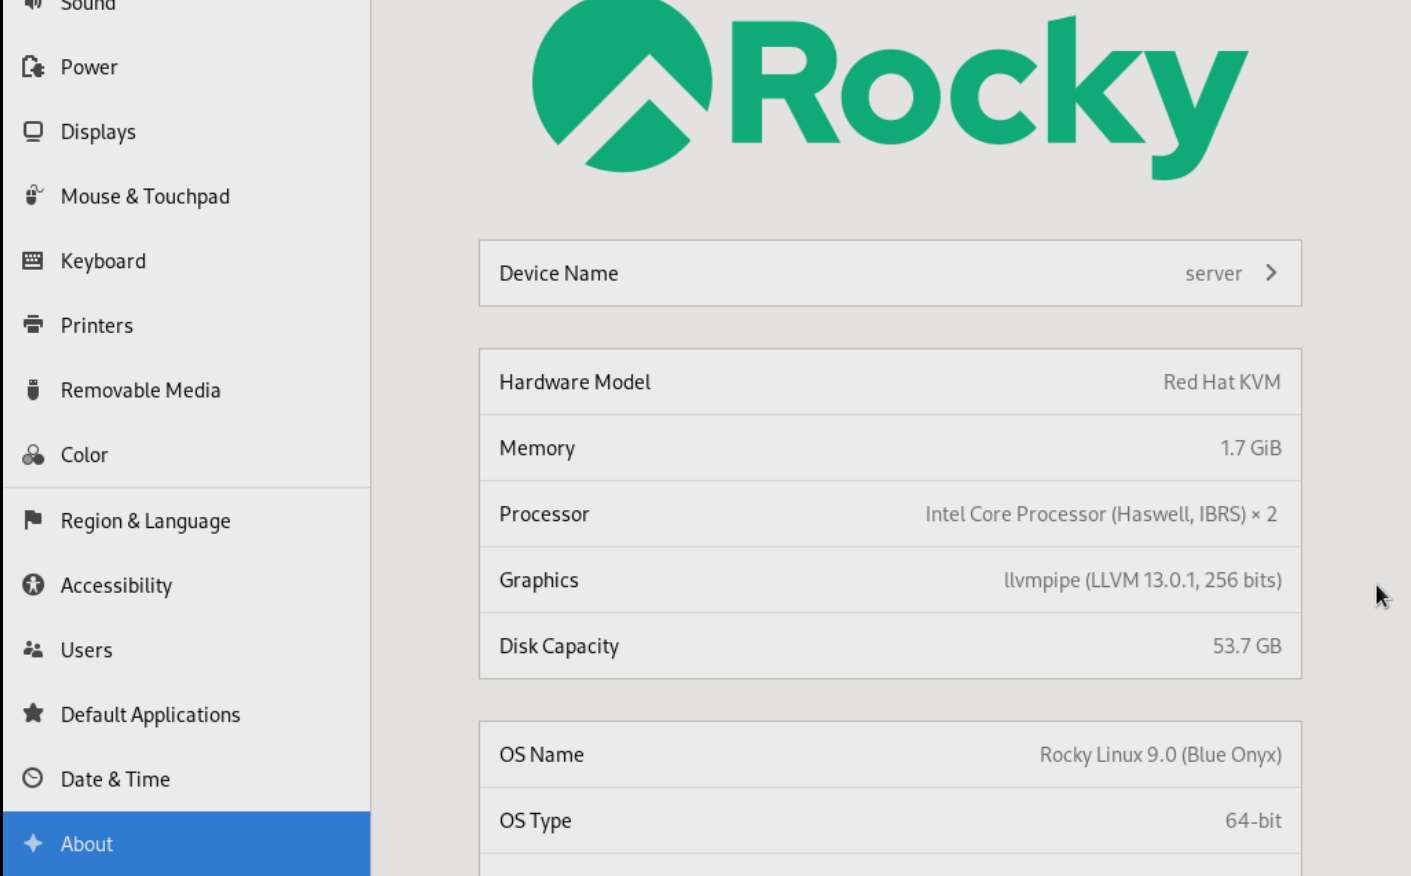
Rocky Linux 9 GNOME GUI complete!!!
CrownCloud - Get a SSD powered KVM VPS at $4.5/month!
Use the code WELCOME for 10% off!
1 GB RAM / 25 GB SSD / 1 CPU Core / 1 TB Bandwidth per month
Available Locations: LAX | MIA | ATL | FRA | AMS