How to Install Ghost on Debian 10
Ghost is a free and open-source blogging platform written in JavaScript and distributed under the MIT License, designed to simplify the process of online publishing for individual bloggers as well as online publications.
Update the System.
apt update -y

apt upgrade -y
Install sudo command using below command,
apt-get install sudo Install build-essential using below command,
apt install build-essential Create new User
Use the adduser command to add a new user to your system.
adduser ghostadmin Update the password using the passwd command,
passwd ghostadmin Use usermod command to add the user to the wheel group.
usermod -aG sudo ghostadmin Use su command to switch to the new user account.
su - ghostadminWe are using ghostadmin as a new user for Ghost. You can have any other name of your choice.
Install NGINX
sudo apt install nginx Install Database Server
Install a database server for Ghost CMS. This can either be MySQL or MariaDB database server.
In this example, we will choose MariaDB, which is a popular database server. The installation is simple and requires just a few steps as shown below,
sudo apt install mariadb-serverOutput:
ghostadmin@vps:~$ sudo apt install mariadb-server
Reading package lists... Done
Building dependency tree
Reading state information... Done
The following additional packages will be installed:
  galera-3 gawk libaio1 libcgi-fast-perl libcgi-pm-perl
  libconfig-inifiles-perl libdbd-mysql-perl libdbi-perl
  libencode-locale-perl libfcgi-perl libhtml-parser-perl
  libhtml-tagset-perl libhtml-template-perl libhttp-date-perl
  libhttp-message-perl libio-html-perl liblwp-mediatypes-perl
  libmariadb3 libsigsegv2 libsnappy1v5 libterm-readkey-perl
  libtimedate-perl liburi-perl mariadb-client-10.3
  mariadb-client-core-10.3 mariadb-common mariadb-server-10.3
  mariadb-server-core-10.3 mysql-common
When the installation is completed, Create the database user for the ghost blog.
sudo mysql
ALTER USER root@localhost IDENTIFIED BY 'StrongPassword';
QUIT;
Replace
StrongPasswordwith a better one.
Once the installation is complete, enable MariaDB (to start automatically upon system boot), start the MariaDB, and verify the status using the commands below.
sudo service mysql start

sudo service mysql restart

sudo service mysql status
Output:
ghostadmin@vps:~$ sudo service mysql status
● mariadb.service - MariaDB 10.3.31 database server
   Loaded: loaded (/lib/systemd/system/mariadb.service; enabled; ve
   Active: active (running) since Thu 2021-11-11 16:21:17 EST; 44s
     Docs: man:mysqld(8)
           https://mariadb.com/kb/en/library/systemd/
 Main PID: 26658 (mysqld)
   Status: "Taking your SQL requests now..."
    Tasks: 31 (limit: 1149)
   Memory: 77.8M
   CGroup: /system.slice/mariadb.service
           └─26658 /usr/sbin/mysqld
Install Latest Version of Node.js
sudo apt-get install curl software-properties-common

sudo curl -sL https://deb.nodesource.com/setup_16.x | sudo bash -

sudo apt install nodejs
Output:
ghostadmin@vps:~$ sudo apt install nodejs
Reading package lists... Done
Building dependency tree
Reading state information... Done
The following NEW packages will be installed:
  nodejs
0 upgraded, 1 newly installed, 0 to remove and 0 not upgraded.
Need to get 25.8 MB of archives.
After this operation, 120 MB of additional disk space will be used.
Get:1 https://deb.nodesource.com/node_16.x buster/main amd64 nodejs amd64 16.13.0-deb-1nodesource1 [25.8 MB]
Fetched 25.8 MB in 1s (27.5 MB/s)
Selecting previously unselected package nodejs.
(Reading database ... 39861 files and directories currently installed.)
Install Ghost-CLI
Ghost-CLI is a command-line interface (CLI) tool that makes installing and updating Ghost easy.
Install Ghost-CLI by running the below command,
sudo npm install -g ghost-cli@latest Setting File Permissions
Replace example.com with your actual domain name.
Create the document root directory for a ghost.
sudo mkdir -p /var/www/example.comChange ownership and permission of the /var/www/example.com.
sudo chown ghostadmin:ghostadmin /var/www/example.com
sudo chmod 775 /var/www/example.com
Install Ghost
Enter to the example.com root directory:
cd /var/www/example.comEnsure that the directory is empty.
Let us now install Ghost on the directory by running the below command,
ghost installOutput:
ghostadmin@vps:/var/www/demo-vm.redpearl.xyz$ sudo ghost install
✔ Checking system Node.js version - found v16.2.0
✔ Checking logged in user
✔ Checking current folder permissions
System checks failed with message: 'Linux version is not Ubuntu 16, 18, or 20'
Some features of Ghost-CLI may not work without additional configuration.
For local installs we recommend using `ghost install local` instead.
? Continue anyway? Yes
System stack check skipped
ℹ Checking system compatibility [skipped]
✔ Checking for a MySQL installation
✔ Checking memory availability
✔ Checking free space
✔ Checking for latest Ghost version
✔ Setting up install directory
✔ Downloading and installing Ghost v4.22.1
✔ Finishing install process
? Enter your blog URL: http://example.com
? Enter your MySQL hostname: localhost
? Enter your MySQL username: ghost
? Enter your MySQL password: [hidden]
? Enter your Ghost database name: ghost
✔ Configuring Ghost
✔ Setting up instance
+ sudo useradd --system --user-group ghost
☱
We trust you have received the usual lecture from the local System
Administrator. It usually boils down to these three things:

    #1) Respect the privacy of others.
    #2) Think before you type.
    #3) With great power comes great responsibility.

? Sudo Password [hidden]
+ sudo chown -R ghost:ghost /var/www/example.com/content
✔ Setting up "ghost" system user
ℹ Setting up "ghost" mysql user [skipped]
? Do you wish to set up Nginx? Yes
+ sudo mv /tmp/example.com/example.com.conf /etc/nginx/sites-available/example.com.conf
+ sudo ln -sf /etc/nginx/sites-available/example.com.conf /etc/nginx/sites-enabled/example.com.conf
+ sudo nginx -s reload
✔ Setting up Nginx
? Do you wish to set up SSL? Yes
? Enter your email (For SSL Certificate) Your_Email@gmail.com
+ sudo mkdir -p /etc/letsencrypt
+ sudo ./acme.sh --install --home /etc/letsencrypt
+ sudo /etc/letsencrypt/acme.sh --issue --home /etc/letsencrypt --server letsencrypt --domain example.com --webroot /var/www/example.com/system/nginx-root --reloadcmd "nginx -s reload" --accountemail your_email@gmail.com
✖ Setting up SSL
? Do you wish to set up Systemd? Yes
+ sudo mv /tmp/example.com/ghost_example.com.service /lib/systemd/system/example.com.service
+ sudo systemctl daemon-reload
✔ Setting up Systemd
+ sudo systemctl is-active ghost_example.com
? Do you want to start Ghost? Yes
+ sudo systemctl start ghost_example.com
+ sudo systemctl is-enabled ghost_example.com
+ sudo systemctl enable ghost_example.com --quiet
✔ Starting Ghost
Access Ghost CMS Dashboard
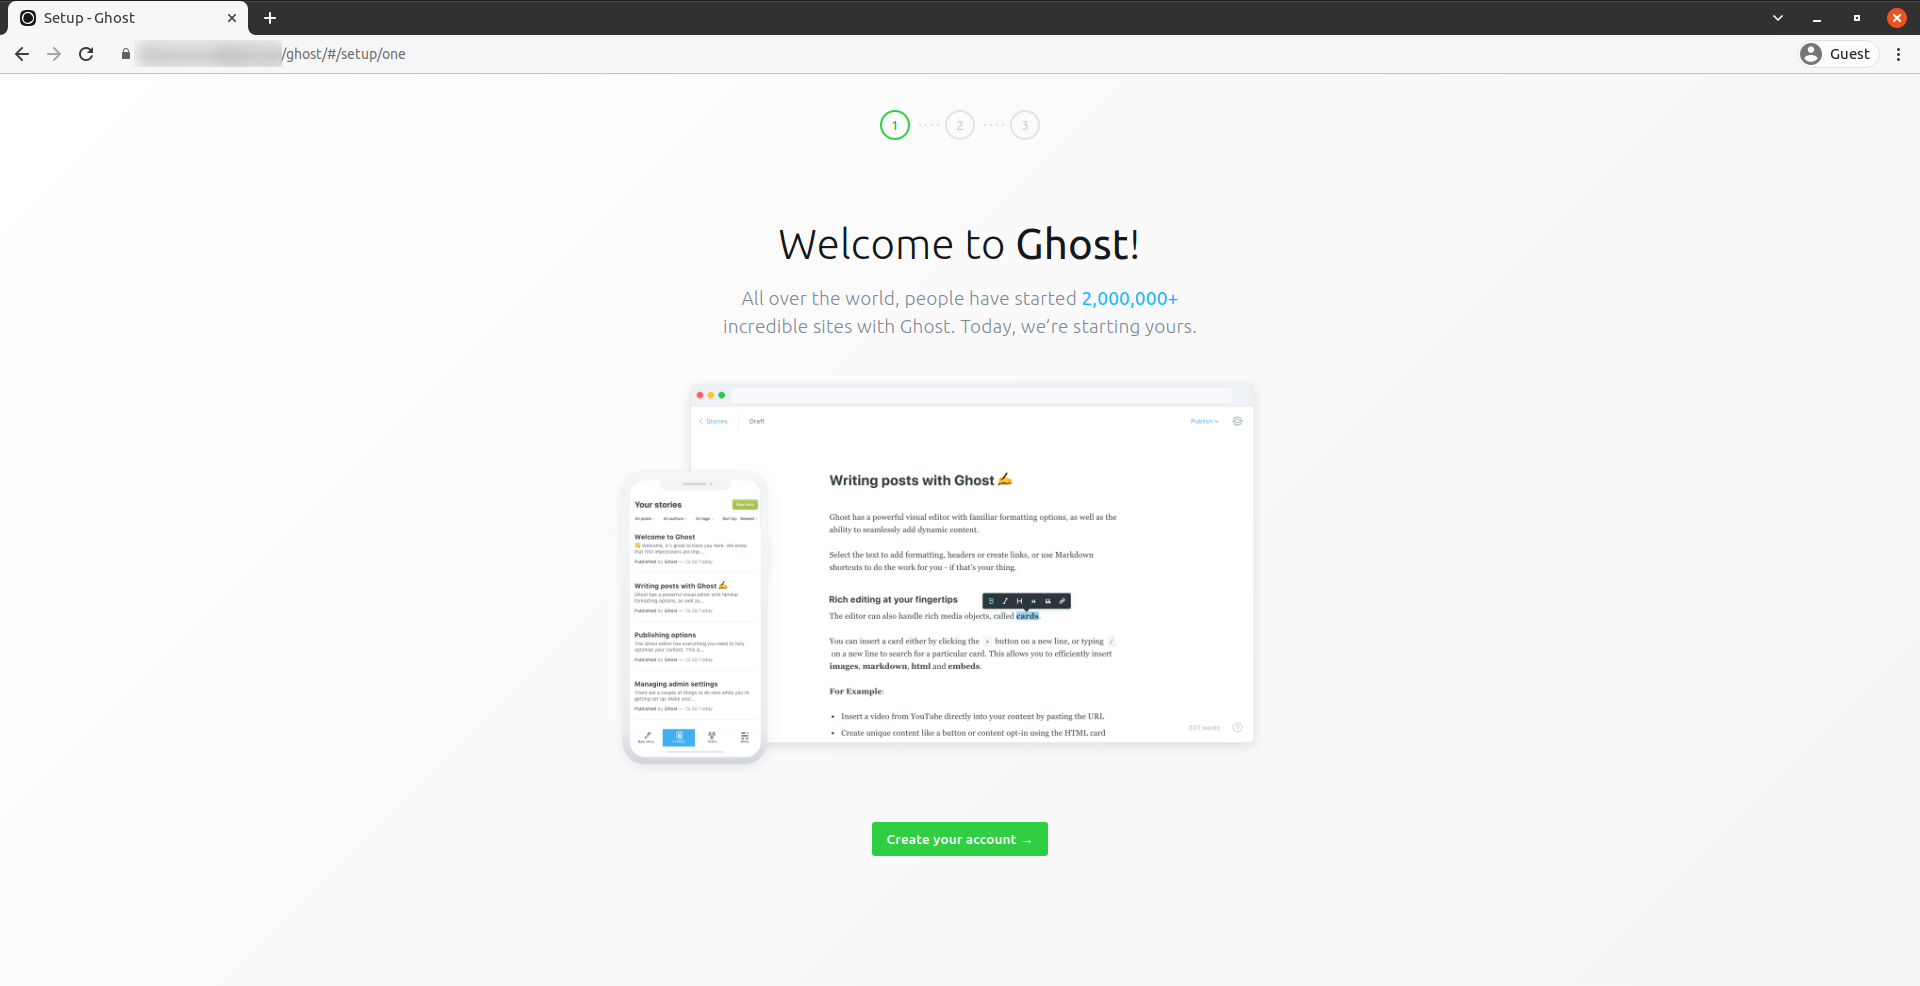
To complete the setup of your publication, visit: http://example.com/ghost
Replace example.com with your actual domain.
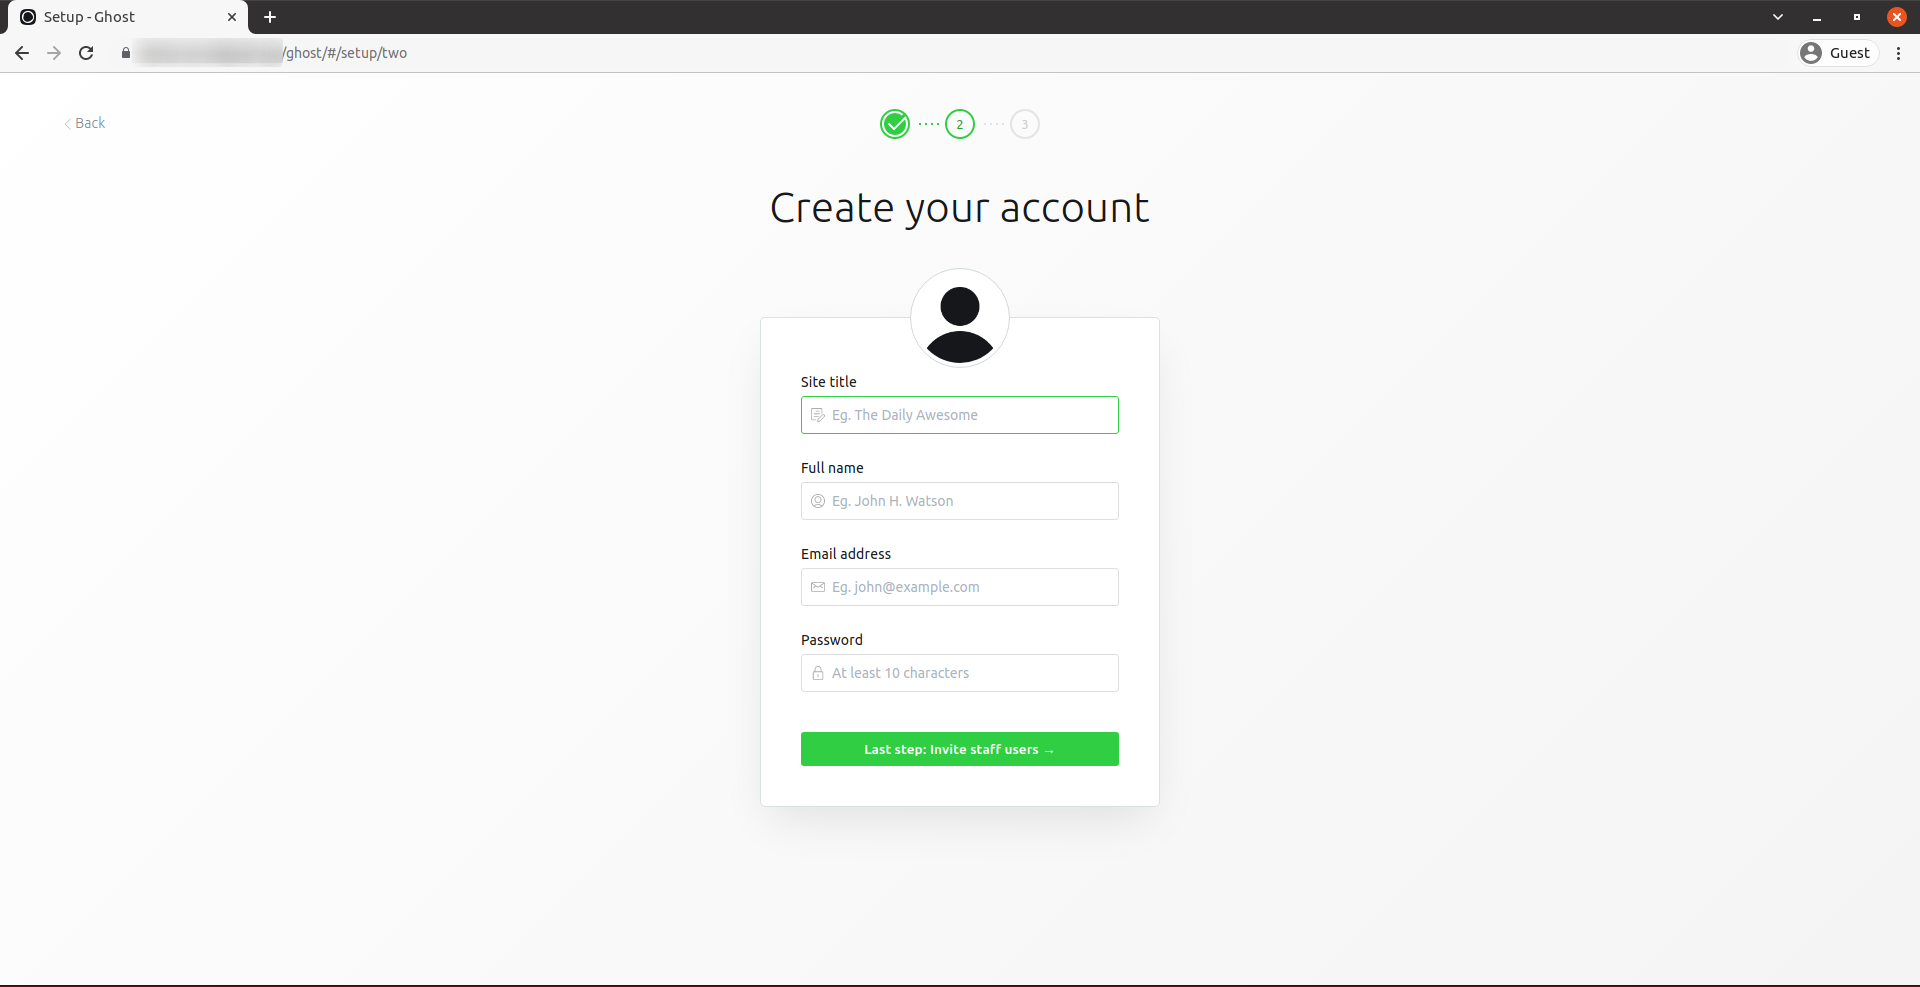
Create your first Ghost administrator/publisher account by clicking on “Create your account”.
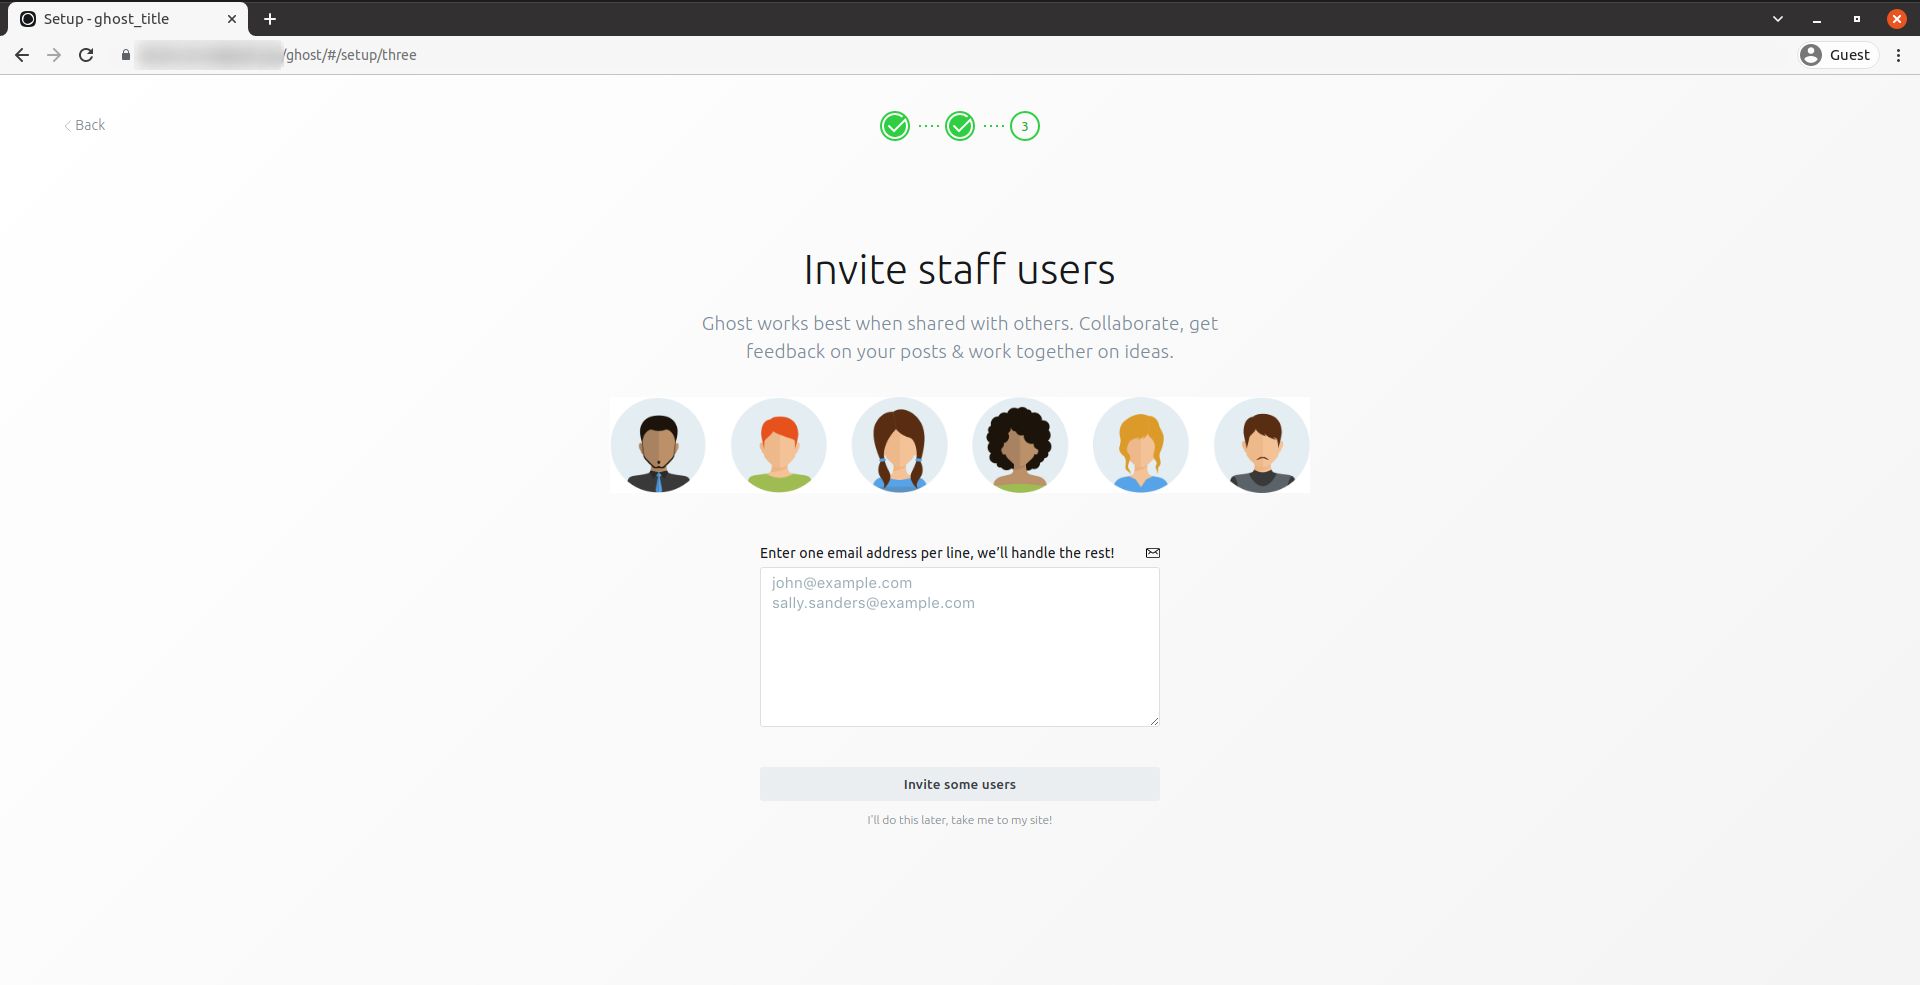
Invite other members.
You’ll get to the Ghost CMS dashboard in a few
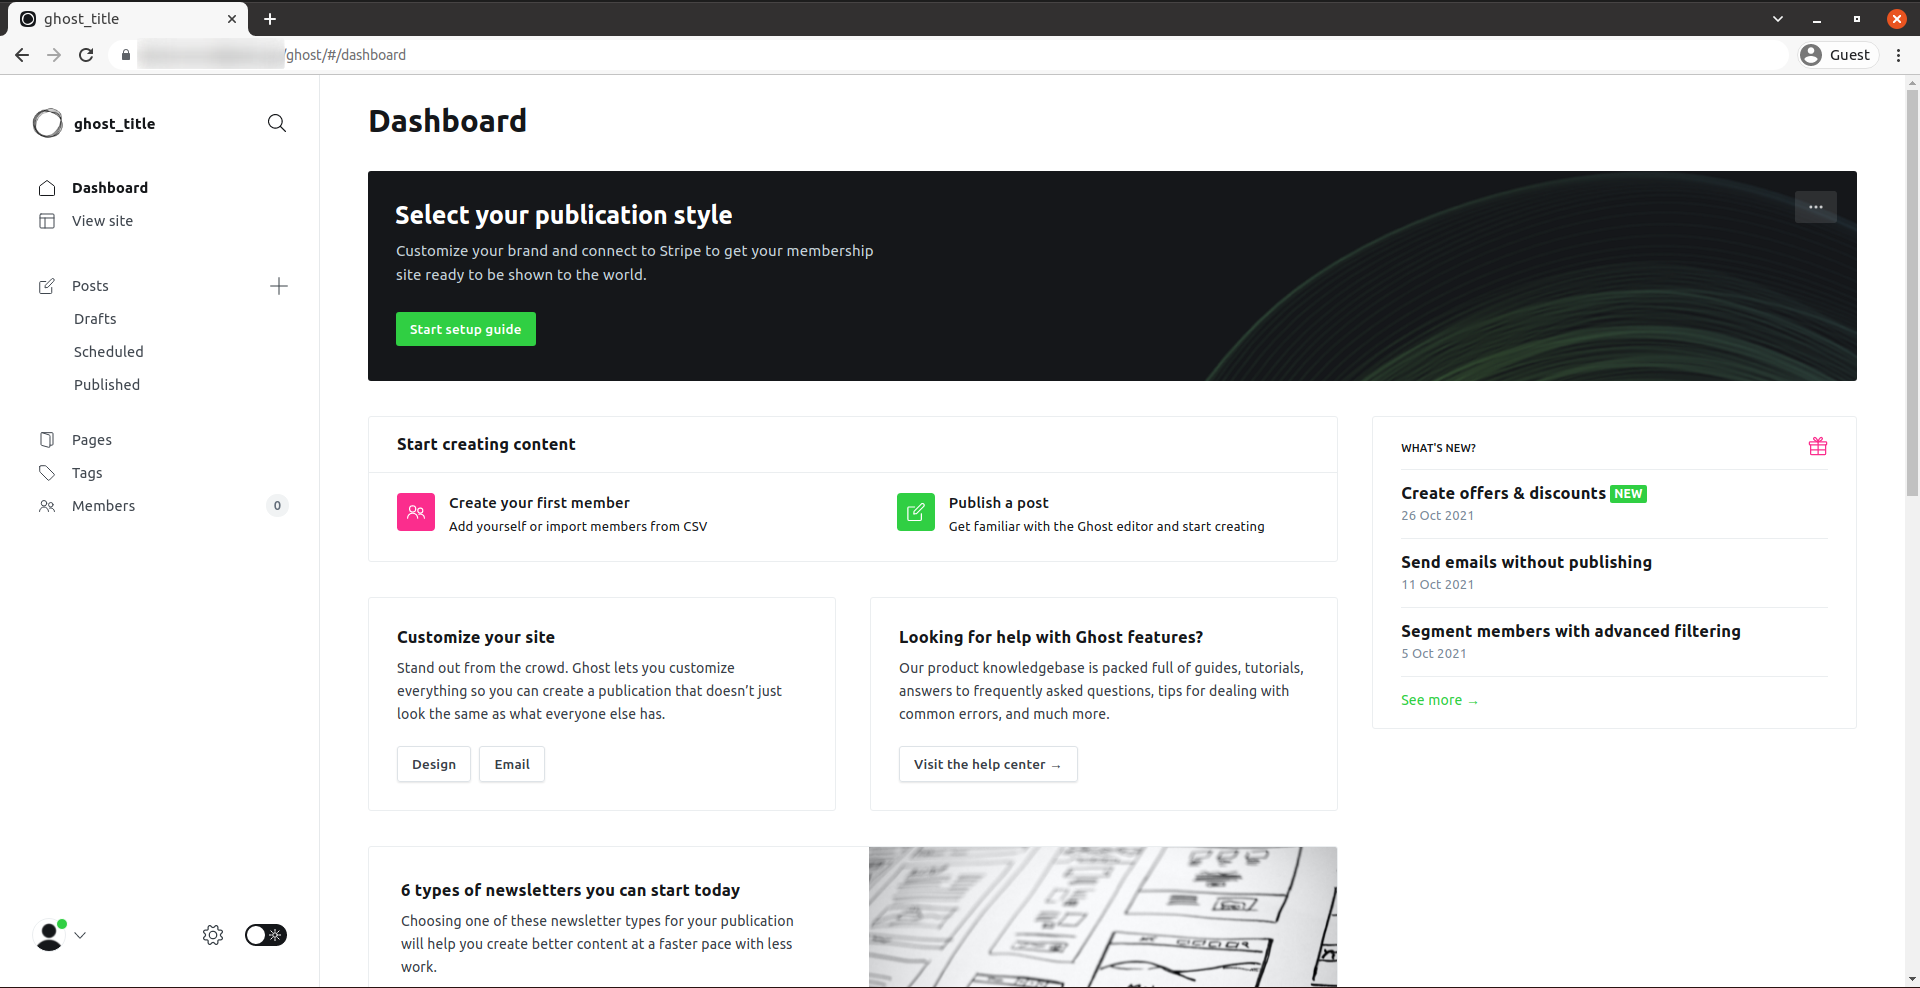
Done.
CrownCloud - Get a SSD powered KVM VPS at $4.5/month!
Use the code WELCOME for 10% off!
1 GB RAM / 25 GB SSD / 1 CPU Core / 1 TB Bandwidth per month
Available Locations: LAX | MIA | ATL | FRA | AMS