How to Install Ghost on RockyLinux 8
Ghost is a free and open-source blogging platform written in JavaScript and distributed under the MIT License, designed to simplify the process of online publishing for individual bloggers as well as online publications.
We will now begin with the installation, login as root user on the server.
Update the System.
yum update -ySet your SELinux to permissive mode.
setenforce 0

sed -i 's/^SELINUX=.*/SELINUX=permissive/g' /etc/selinux/config
Add EPEL repository.
dnf -y install epel-release Create a Sudo User
We will install and configure the Ghost packages under this sudo user.
Use adduser command to add a new user to your system.
adduser ghostadminUpdate the password using passwd command,
passwd ghostadmin Use usermod command to add the user to the wheel group.
usermod -aG wheel ghostadmin On RockyLinux, members of the wheel group have sudo privileges.
Use su command to switch to the new user account.
su - ghostadminWe are using ghostadmin as the sudo user. You can have any other name of your choice. Every command executed here after will be under
ghostadminuser.
Install Database Server
Install a database server for Ghost CMS. This can either be MySQL or MariaDB database server.
In this example, we will choose MariaDB, which is a popular database server. The installation is simple and requires just a few steps as shown below,
sudo yum install mariadb-server mariadbOutput:
[ghostadmin@vps ~]$ sudo yum install mariadb-server mariadb
Last metadata expiration check: 1:28:38 ago on Tue 22 Oct 2019 03:03:52 PM EDT.
Dependencies resolved.
================================================================================
Package                    Arch   Version                      Repository
                                                                          Size
================================================================================
Installing:
mariadb                    x86_64 3:10.3.11-2.module_el8.0.0+35+6f2527ed
                                                         AppStream 6.2 M
mariadb-server             x86_64 3:10.3.11-2.module_el8.0.0+35+6f2527ed
                                                         AppStream  16 M
Installing dependencies:
mariadb-common             x86_64 3:10.3.11-2.module_el8.0.0+35+6f2527ed                                                                                                                          AppStream  62 k
mariadb-connector-c        x86_64 3.0.7-1.el8
AppStream 148 k
Once the installation is complete, enable MariaDB (to start automatically upon system boot), start the MariaDB, and verify the status using the commands below.
sudo systemctl enable mariadb

sudo systemctl start mariadb

sudo systemctl status mariadb
Output:
[ghostadmin@vps ~]$ sudo systemctl enable mariadb
[ghostadmin@vps ~]$ sudo systemctl start mariadb
[ghostadmin@vps ~]$ sudo systemctl status mariadb
● mariadb.service - MariaDB 10.3 database server
Loaded: loaded (/usr/lib/systemd/system/mariadb.service; enabled; vendor pre>
Active: active (running) since Tue 2019-10-22 16:35:50 EDT; 50s ago
Docs: man:mysqld(8)
https://mariadb.com/kb/en/library/systemd/
    Main PID: 2630 (mysqld)
Finally, you will want to secure your MariaDB installation by issuing the following command.
sudo mysql_secure_installationOutput:
[ghostadmin@vps ~]$ sudo mysql_secure_installation

NOTE: RUNNING ALL PARTS OF THIS SCRIPT IS RECOMMENDED FOR ALL MariaDB
SERVERS IN PRODUCTION USE!  PLEASE READ EACH STEP CAREFULLY!
In order to log into MariaDB to secure it, we'll need the current
password for the root user.  If you've just installed MariaDB, and
you haven't set the root password yet, the password will be blank,
so you should just press enter here.

Enter current password for root (enter for none):
OK, successfully used password, moving on...

Setting the root password ensures that nobody can log into the MariaDB
root user without the proper authorisation.

Set root password? [Y/n] y
New password:
Re-enter new password:
Password updated successfully!
Reloading privilege tables..
... Success!
When the installation is completed, Create the database for the ghost blog.
sudo mysql -u root -p
CREATE USER ghost@localhost IDENTIFIED BY "StrongPassword";
CREATE DATABASE  ghost;
GRANT ALL ON ghost.* TO ghost@localhost;
FLUSH PRIVILEGES;
QUIT
Replace
StrongPasswordwith a better one.
Install Latest Version of Node.js
sudo curl -sL https://rpm.nodesource.com/setup_16.x | sudo -E bash -

sudo yum install -y nodejs
Output:
[ghostadmin@vps ~]$ sudo yum install -y nodejs
Node.js Packages for Enterprise Li 968 kB/s | 1.0 MB     00:01
Last metadata expiration check: 0:00:01 ago on Wednesday 10 November 2021 10:41:59 AM EST.
Dependencies resolved.
===================================================================
 Package            Arch   Version                Repository  Size
===================================================================
Installing:
 nodejs             x86_64 2:16.2.0-1nodesource  nodesource  32 M
Installing dependencies:
 python3-pip        noarch 9.0.3-19.el8           appstream   20 k
 python3-setuptools noarch 39.2.0-6.el8           baseos     163 k
 python36           x86_64 3.6.8-2.module_el8.4.0+790+083e3d81
Install and Configure NGINX
sudo yum install nginxOutput:
[ghostadmin@vps ~]$ sudo yum install nginx
Last metadata expiration check: 0:00:45 ago on Wednesday 10 November 2021 10:41:59 AM EST.
Dependencies resolved.
===================================================================
 Package                     Arch   Version        Repo       Size
===================================================================
Installing:
 nginx                       x86_64 1:1.14.1-9.module_el8.0.0+184+e34fea82
Create new directories for your Ghost configuration files inside /etc/nginx/.
sudo mkdir sites-available
sudo mkdir sites-enabled
Create a configuration file for Ghost at /etc/nginx/sites-available/example.com.
Replace example.com with your actual domain name.
server {
listen 80 default_server;
listen [::]:80 default_server;

server_name example.com;
root /var/www/example.com;

location / {
    proxy_set_header X-Forwarded-For $proxy_add_x_forwarded_for;
    proxy_set_header X-Forwarded-Proto $scheme;
    proxy_set_header X-Real-IP $remote_addr;
    proxy_set_header Host $host;
    proxy_pass http://127.0.0.1:2368;
}

client_max_body_size 50m;
}
Create a symlink from sites-available to sites-enabled.
sudo ln -s /etc/nginx/sites-available/example.com /etc/nginx/sites-enabled/example.comUpdate the http block in your NGINX config /etc/nginx/nginx.conf file by adding an include for the configuration file you just
created. a directive for server_names_hash_bucket_size, and comment out the entire server block.
http {
...
    # Load modular configuration files from the /etc/nginx/conf.d directory.
    # See http://nginx.org/en/docs/ngx_core_module.html#include
    # for more information.
    include /etc/nginx/conf.d/*.conf;
    include /etc/nginx/sites-enabled/*;

    server_names_hash_bucket_size 64;

# server {
#    listen  80 default_server {
#        ...
#    }
#}
...
Open the firewall services for traffic.
sudo firewall-cmd --zone=public --permanent --add-service=http
sudo firewall-cmd --zone=public --permanent --add-service=https
sudo firewall-cmd --reload
Test your NGINX configuration with this command.
sudo nginx -tOutput:
[ghostadmin@vps ~]$ sudo nginx -t
nginx: the configuration file /etc/nginx/nginx.conf syntax is ok
nginx: configuration file /etc/nginx/nginx.conf test is successful
Start the service with the following commands.
sudo systemctl enable nginx
sudo systemctl start nginx
Verify Nginx running or not,
sudo systemctl status nginxOutput:
[ghostadmin@vps ~]$ sudo systemctl status nginx
● nginx.service - The nginx HTTP and reverse proxy server
   Loaded: loaded (/usr/lib/systemd/system/nginx.service; enabled;>
   Active: active (running) since Wed 2021-11-10 11:03:19 EST; 3s >
  Process: 46741 ExecStart=/usr/sbin/nginx (code=exited, status=0/>
  Process: 46739 ExecStartPre=/usr/sbin/nginx -t (code=exited, sta>
  Process: 46738 ExecStartPre=/usr/bin/rm -f /run/nginx.pid (code=>
 Main PID: 46743 (nginx)
    Tasks: 2 (limit: 4960)
   Memory: 3.9M
   CGroup: /system.slice/nginx.service
           ├─46743 nginx: master process /usr/sbin/nginx
           └─46744 nginx: worker process
Install Ghost-CLI
Ghost-CLI is a command-line interface (CLI) tool that makes installing and updating Ghost easy.
Install Ghost-CLI.
sudo npm install -g ghost-cli@latest Setting File Permissions
Replace example.com with your actual domain name.
Create the document root directory for a ghost.
sudo mkdir -p /var/www/example.comChange ownership and permission of the /var/www/example.com.
sudo chown ghostadmin:ghostadmin /var/www/example.com
sudo chmod 775 /var/www/example.com
Install Ghost
Enter to the example.com root directory:
cd /var/www/example.comEnsure that the directory is empty.
Let us now install Ghost on the directory by running the below command,
sudo ghost installOutput:
Answer each question as prompted.
[ghostadmin@vps example.com]$ sudo ghost install
✔ Checking system Node.js version - found v16.2.0
✔ Checking logged in user
✔ Checking current folder permissions
System checks failed with message: 'Linux version is not Ubuntu 16, 18, or 20'
Some features of Ghost-CLI may not work without additional configuration.
For local installs we recommend using `ghost install local` instead.
? Continue anyway? Yes
System stack check skipped
ℹ Checking system compatibility [skipped]
✔ Checking for a MySQL installation
✔ Checking memory availability
✔ Checking free space
✔ Checking for latest Ghost version
✔ Setting up install directory
✔ Downloading and installing Ghost v4.22.1
✔ Finishing install process
? Enter your blog URL: http://example.com
? Enter your MySQL hostname: localhost
? Enter your MySQL username: ghost
? Enter your MySQL password: [hidden]
? Enter your Ghost database name: ghost
✔ Configuring Ghost
✔ Setting up instance
+ sudo useradd --system --user-group ghost
☱
We trust you have received the usual lecture from the local System
Administrator. It usually boils down to these three things:

    #1) Respect the privacy of others.
    #2) Think before you type.
    #3) With great power comes great responsibility.

? Sudo Password [hidden]
+ sudo chown -R ghost:ghost /var/www/example.com/content
✔ Setting up "ghost" system user
ℹ Setting up "ghost" mysql user [skipped]
? Do you wish to set up Nginx? Yes
+ sudo mv /tmp/example.com/example.com.conf /etc/nginx/sites-available/example.com.conf
+ sudo ln -sf /etc/nginx/sites-available/example.com.conf /etc/nginx/sites-enabled/example.com.conf
+ sudo nginx -s reload
✔ Setting up Nginx
? Do you wish to set up SSL? Yes
? Enter your email (For SSL Certificate) Your_Email@gmail.com
+ sudo mkdir -p /etc/letsencrypt
+ sudo ./acme.sh --install --home /etc/letsencrypt
+ sudo /etc/letsencrypt/acme.sh --issue --home /etc/letsencrypt --server letsencrypt --domain example.com --webroot /var/www/example.com/system/nginx-root --reloadcmd "nginx -s reload" --accountemail your_email@gmail.com
✖ Setting up SSL
? Do you wish to set up Systemd? Yes
+ sudo mv /tmp/example.com/ghost_example.com.service /lib/systemd/system/example.com.service
+ sudo systemctl daemon-reload
✔ Setting up Systemd
+ sudo systemctl is-active ghost_example.com
? Do you want to start Ghost? Yes
+ sudo systemctl start ghost_example.com
+ sudo systemctl is-enabled ghost_example.com
+ sudo systemctl enable ghost_example.com --quiet
✔ Starting Ghost
view running Ghost processes using below command,
ghost lsOutput:
[ghostadmin@vps example.com]$ ghost ls
+ sudo systemctl is-active ghost_example.com
? Sudo Password [hidden]
┌──────────────────────┬───────────────────────────────┬─────────┬──────────────────────┬─────────────────────────────┬──────┬─────────────────┐
│ Name                 │ Location                      │ Version │ Status               │ URL                         │ Port │ Process Manager │
├──────────────────────┼───────────────────────────────┼─────────┼──────────────────────┼─────────────────────────────┼──────┼─────────────────┤
│ example.com          │ /var/www/example.com          │ 4.22.1  │ running (production) │ http://example.com          │ 2368 │ systemd         │
└──────────────────────┴───────────────────────────────┴─────────┴──────────────────────┴─────────────────────────────┴──────┴─────────────────┘
Once you’ve installed Ghost, The first step is to install Certbot for your server. This will allow you to get an SSL certificate to use with Let’s Encrypt.
Install Certbot
As you can notice in the previous step, SSL Certificate failed to generate for the domain. This is because we have the server block configuration in a different directory other than the default.
We will now generate the SSL Certificate from Let's Encrypt manually by running the below commands,
sudo dnf install certbot python3-certbot-nginxOutput:
[ghostadmin@vps example.com]$ sudo dnf install certbot python3-certbot-nginx
Last metadata expiration check: 0:31:02 ago on Wed 10 Nov 2021 10:41:59 AM EST.
Dependencies resolved.
========================================================================================================================================
Package                               Architecture       Version                                           Repository             Size
========================================================================================================================================
Installing:
certbot                               noarch             1.20.0-1.el8                                      epel                   53 k
python3-certbot-nginx                 noarch             1.20.0-1.el8                                      epel                   85 k
Installing dependencies:
python3-acme                          noarch             1.20.0-1.el8                                      epel                   91 k
python3-certbot                       noarch             1.20.0-1.el8                                      epel                  408 k
python3-cffi                          x86_64             1.11.5-5.el8                                      baseos                237 k
python3-chardet                       noarch             3.0.4-7.el8                                       baseos                195 k
python3-configargparse                noarch             0.14.0-6.el8                                      epel                   36 k
python3-cryptography                  x86_64             3.2.1-4.el8                                       baseos                559 k
Run the following command to generate certificates with the NGINX plug‑in,
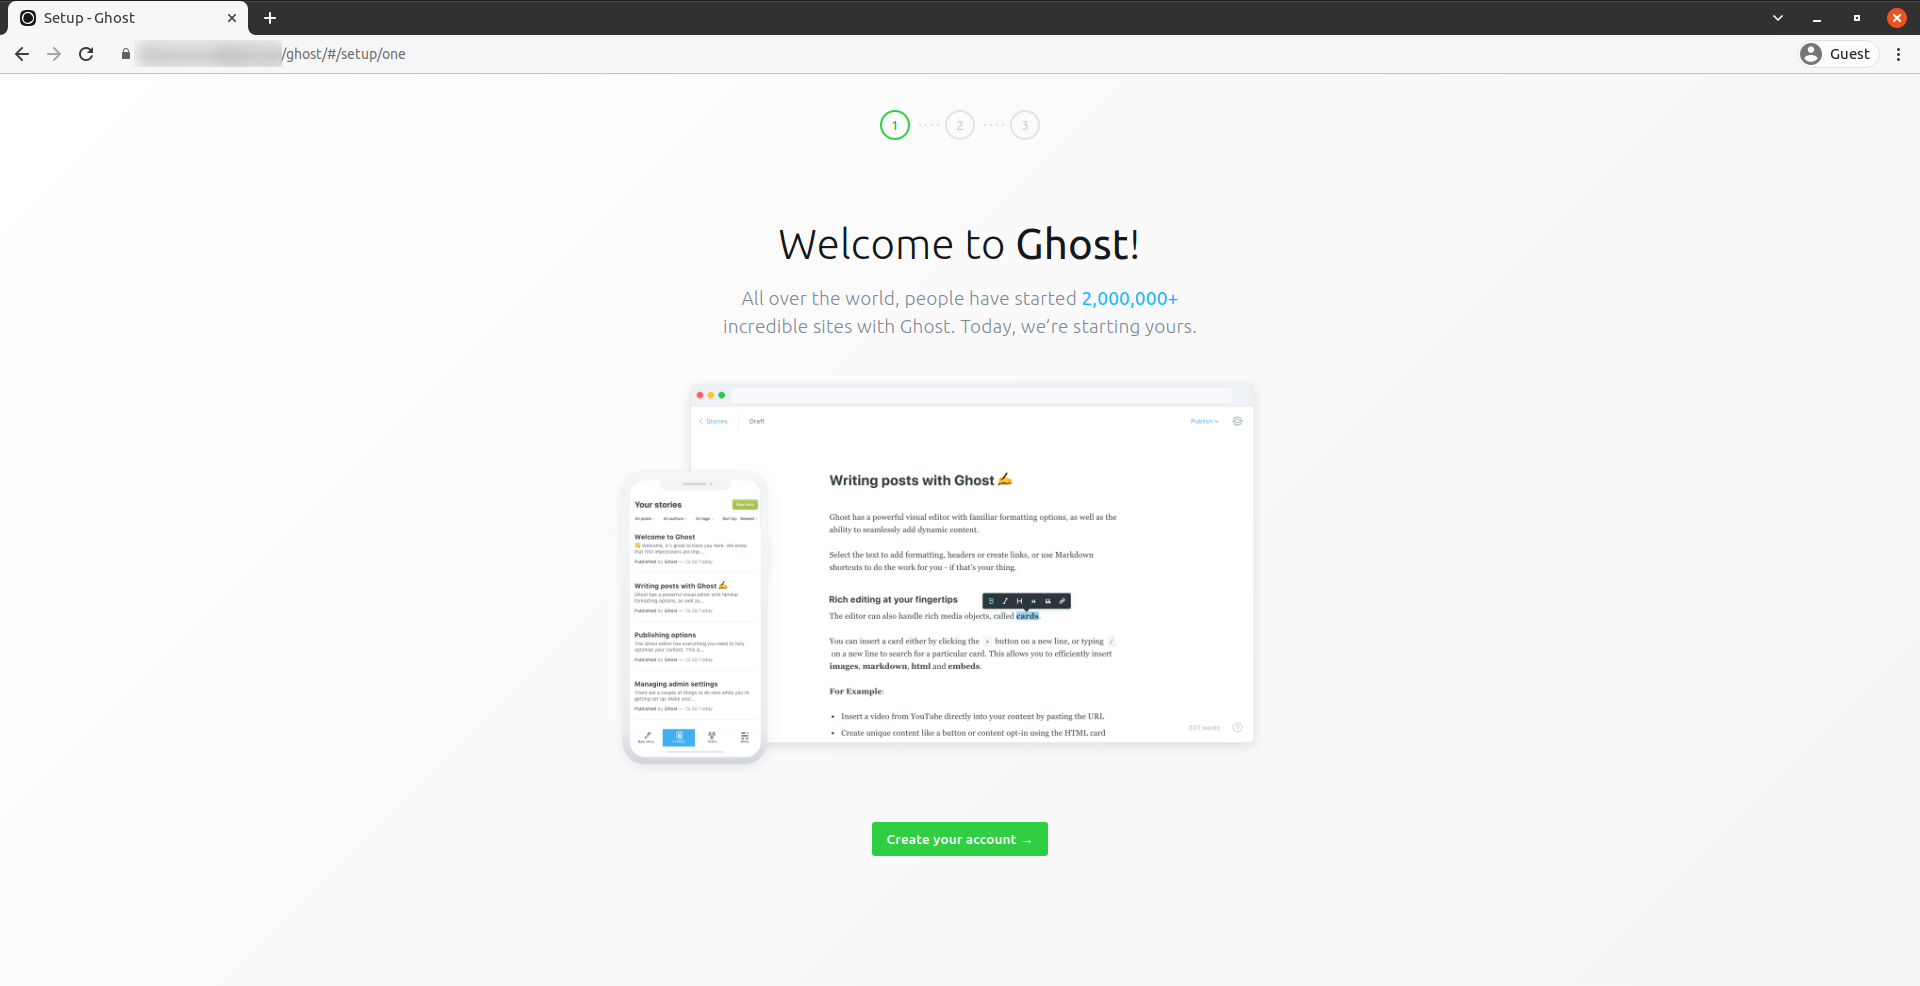
sudo certbot --nginx Access Ghost CMS Dashboard
To complete the setup of your publication, visit: http://example.com/ghost
Replace example.com with your actual domain.
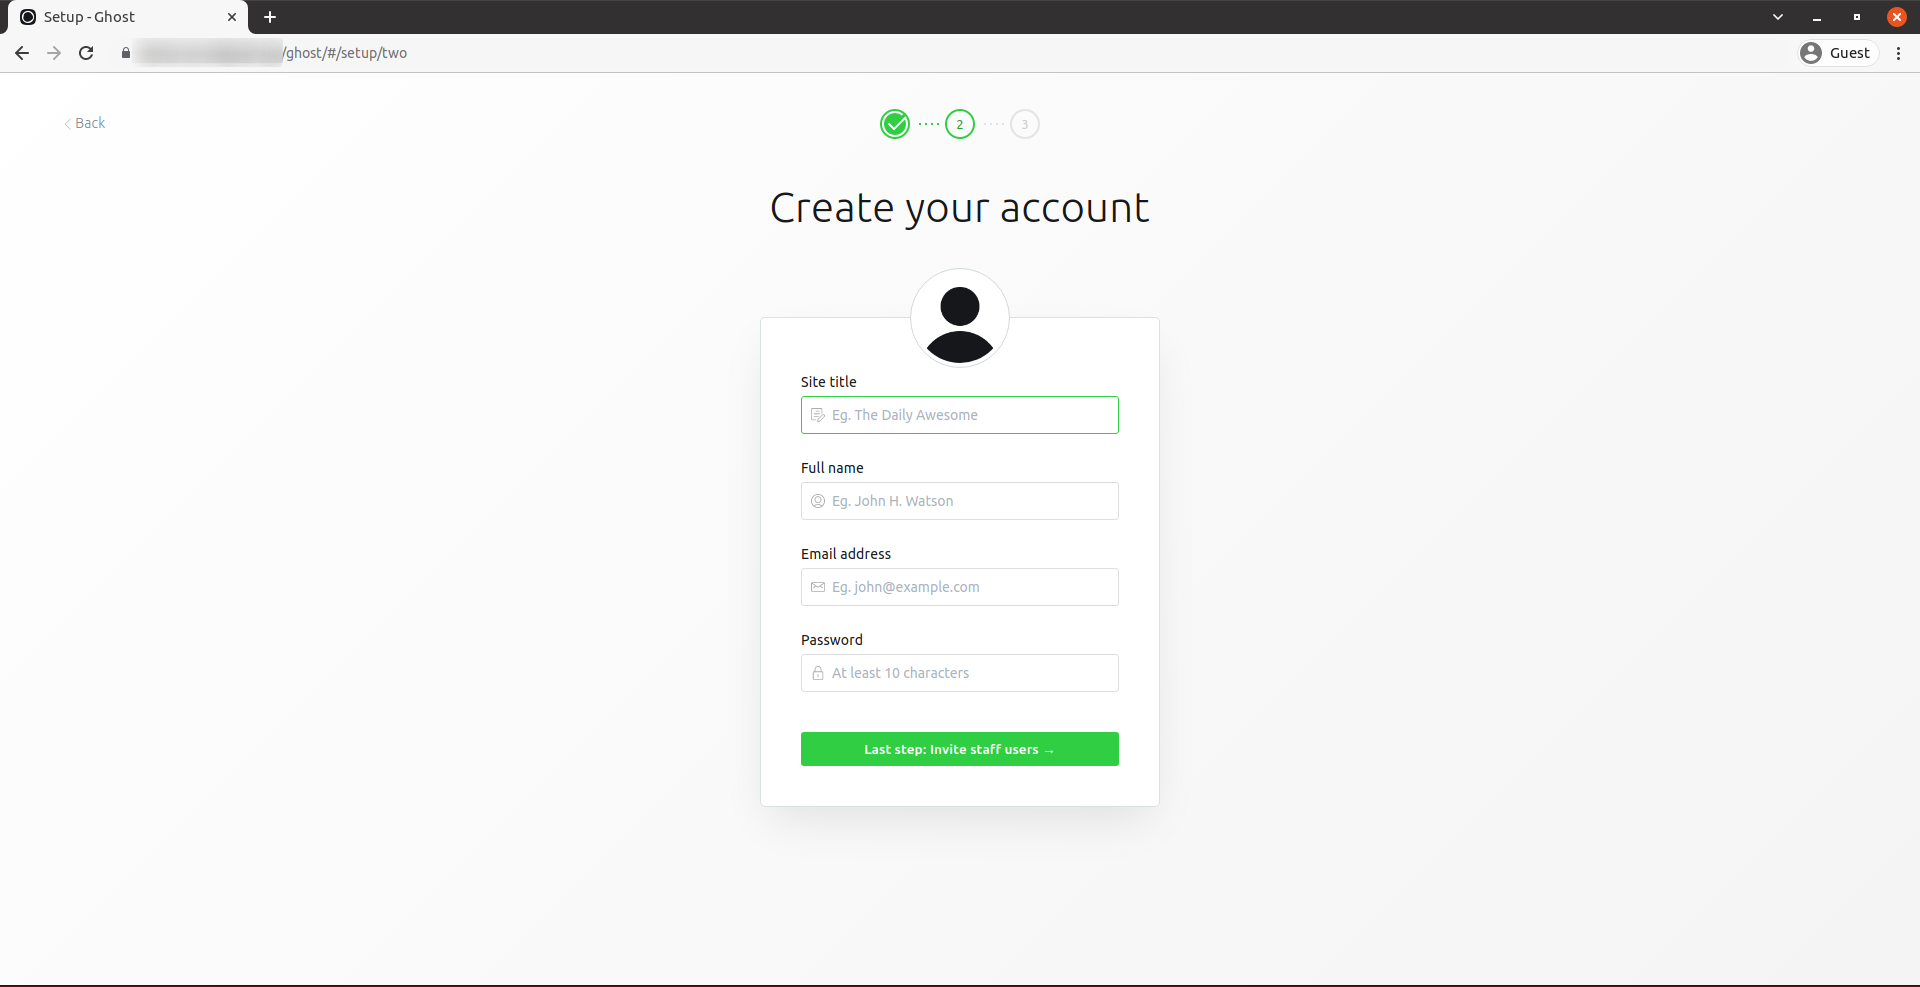
Create your first Ghost administrator/publisher account by clicking on “Create your account”.
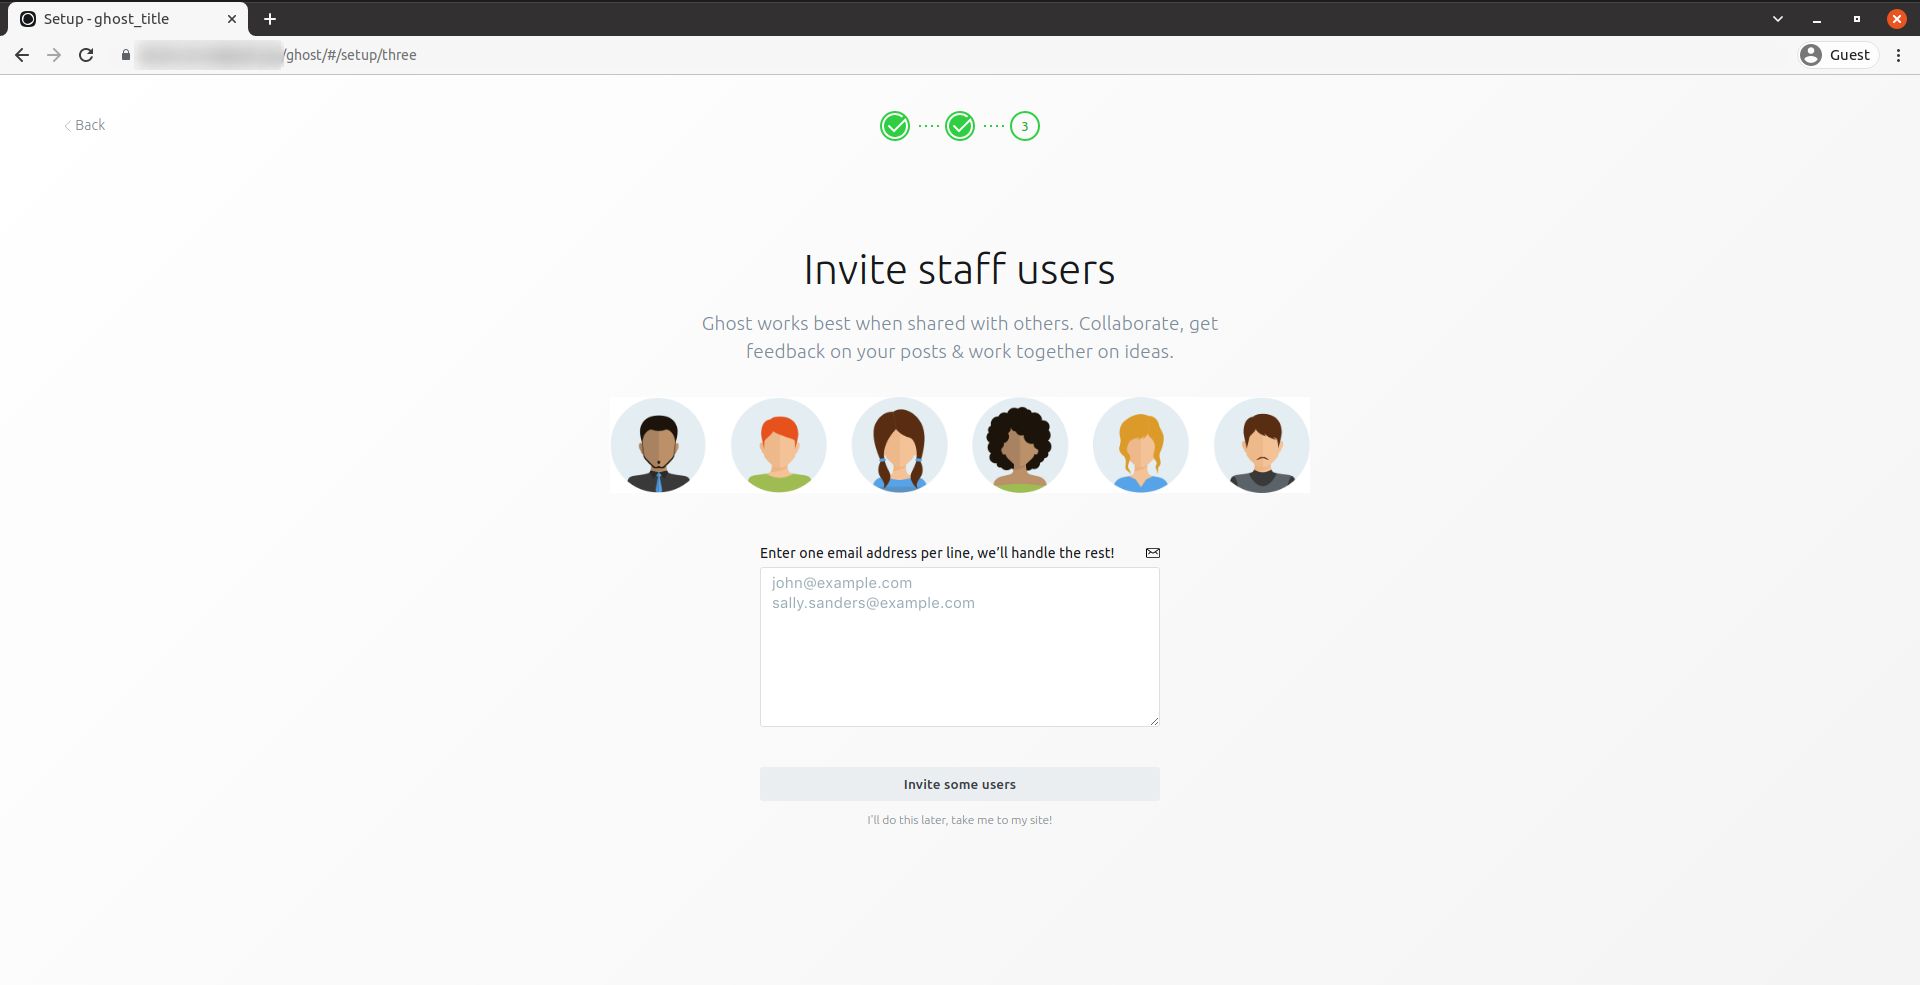
Invite other members.
You’ll get to the Ghost CMS dashboard in a few
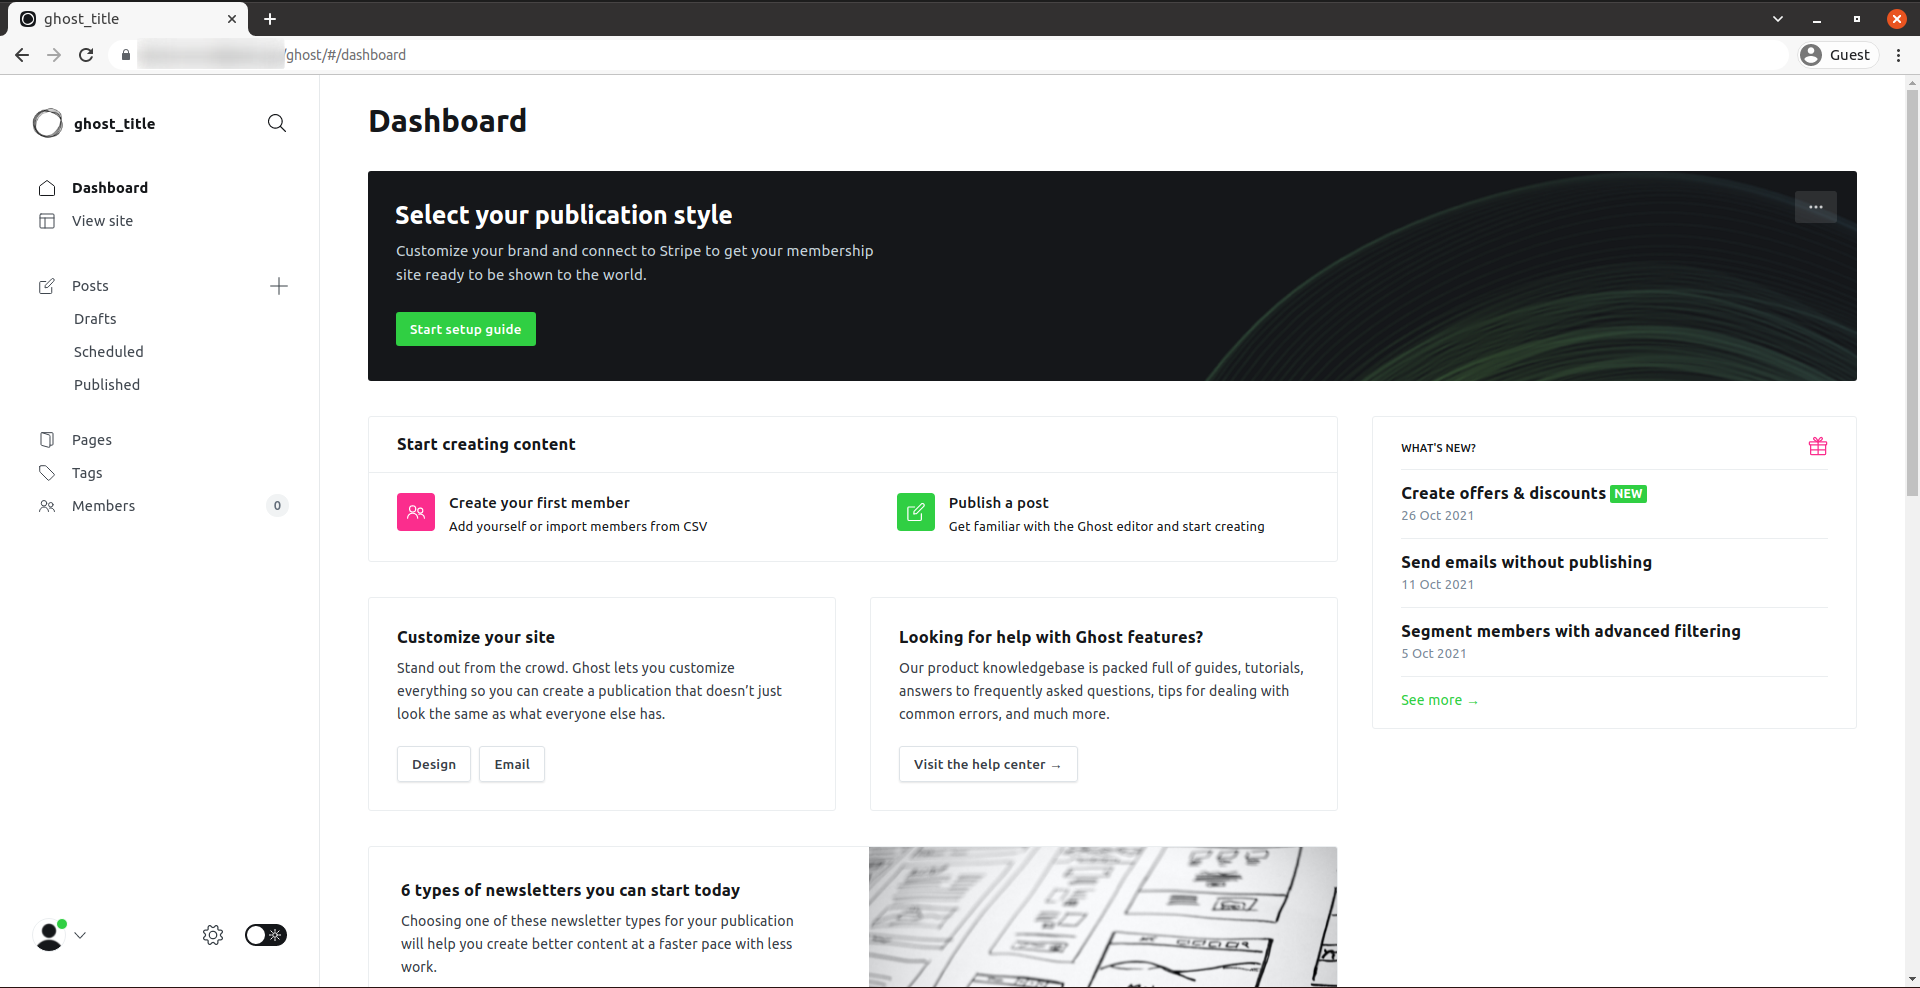
Done.
CrownCloud - Get a SSD powered KVM VPS at $4.5/month!
Use the code WELCOME for 10% off!
1 GB RAM / 25 GB SSD / 1 CPU Core / 1 TB Bandwidth per month
Available Locations: LAX | MIA | ATL | FRA | AMS