How to Install HestiaCP on Debian 11
HestiaCP is a lightweight, open-source web hosting control panel that provides a user-friendly interface for managing your web server. It supports multiple domains, DNS, email, and database configurations with ease.
Prerequisites:
- A fresh installation of Debian 11.
- A user with sudo privileges.
- 1GB of RAM (2GB or more recommended).
- A fully qualified domain name (FQDN) linked to your server IP.
Update Your System
Before starting, update your system to ensure it's up to date:
apt update && apt upgrade -y HestiaCP Installation
Step 1: Set the Hostname : Set your system’s fully qualified domain name:
hostnamectl set-hostname server.example.comNote: Replace server.example.com with your domain name.
Step 2: Download the HestiaCP Installation Script
Download the installation script for HestiaCP using wget:
wget https://raw.githubusercontent.com/hestiacp/hestiacp/release/install/hst-install.shStep 3: Run the Installation Script
Run the installation script and follow the prompts to install HestiaCP:
bash hst-install.shDuring Installation Output:
                _   _           _   _        ____ ____
               | | | | ___  ___| |_(_) __ _ / ___|  _ \
               | |_| |/ _ \/ __| __| |/ _` | |   | |_) |
               |  _  |  __/\__ \ |_| | (_| | |___|  __/
               |_| |_|\___||___/\__|_|\__,_|\____|_|

                          Hestia Control Panel
                                  1.8.12
                            www.hestiacp.com

========================================================================

Thank you for downloading Hestia Control Panel! In a few moments,
we will begin installing the following components on your server:

   - NGINX Web / Proxy Server
   - Apache Web Server (as backend)
   - PHP-FPM Application Server
   - Bind DNS Server
   - Exim Mail Server + SpamAssassin
   - Dovecot POP3/IMAP Server
   - MariaDB Database Server
   - Vsftpd FTP Server
   - Firewall (iptables) + Fail2Ban Access Monitor

========================================================================
Would you like to continue with the installation? [Y/N]: y
Please use a valid email address (e.g., info@domain.tld).
Please enter admin email address: admin@test.com
Please enter FQDN hostname [vps.server.com]:
Step 4: Login Details and Reboot
After installation, you'll see a message like this and in the message it'll show the username and password,
Congratulations!

You have successfully installed Hestia Control Panel on your server.

Ready to get started? Log in using the following credentials:

    Admin URL:  https://vps.server.com:8083
    Backup URL: https://Your_IP_Address:8083
    Username:   admin
    Password:   SA1dgu62hmswzt8r

--
Sincerely yours,
The Hestia Control Panel development team
Made with love & pride by the open-source community around the world.
You will be prompted to press any key to reboot the system to complete the installation:
[ ! ] IMPORTANT: The system will now reboot to complete the installation process.
Press any key to continue
Step 5: Allow HestiaCP through Firewall
Once server back online, allow and reload access to HestiaCP by enabling port 8083:
- For nftables (Default on Debian 12):
nft add rule inet filter input tcp dport 8083 accept
nft list ruleset- For ufw:
ufw allow 8083/tcp
ufw reload
Access the HestiaCP Panel
After the reboot, access the HestiaCP control panel from your browser:
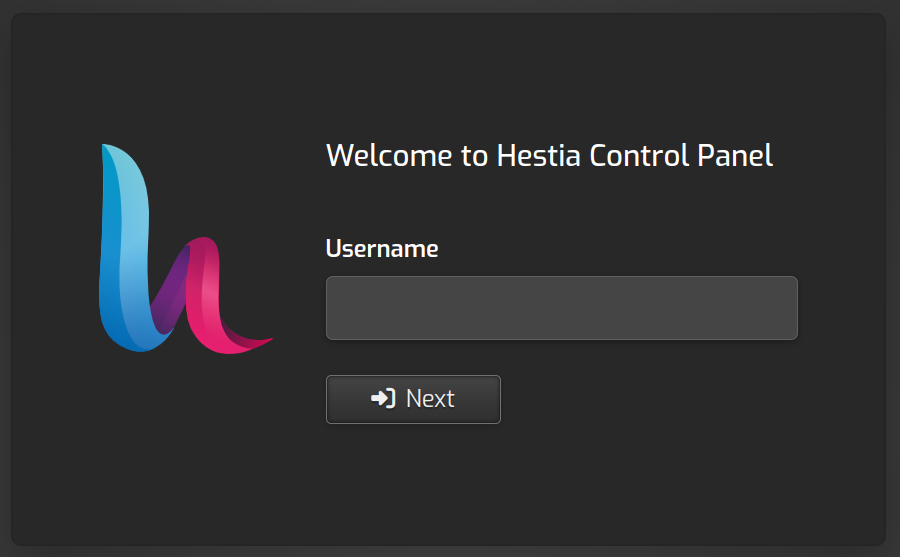
https://your-server-ip:8083Use the username and password provided during the installation to log in.
Enter your username at the login page.
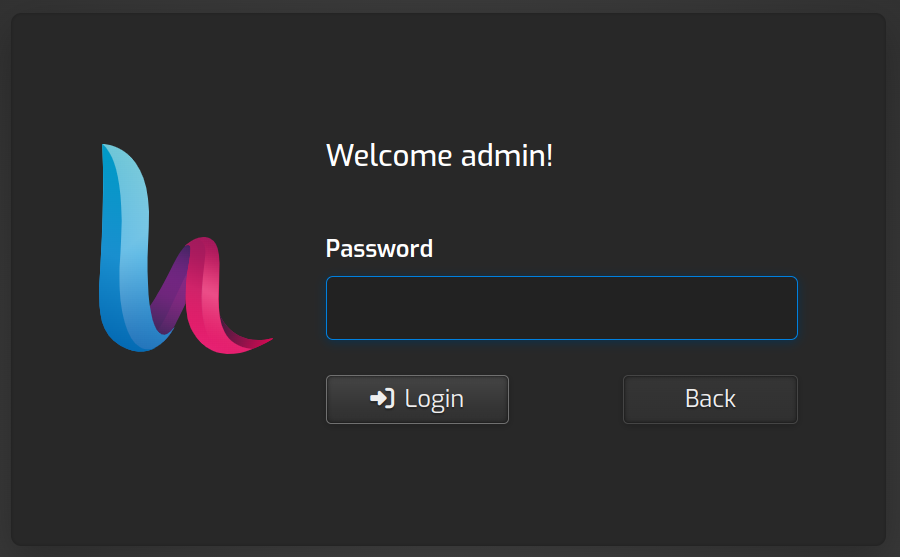
Enter the password provided during installation.
After logging in, you'll be directed to the HestiaCP dashboard, where you can manage your server.
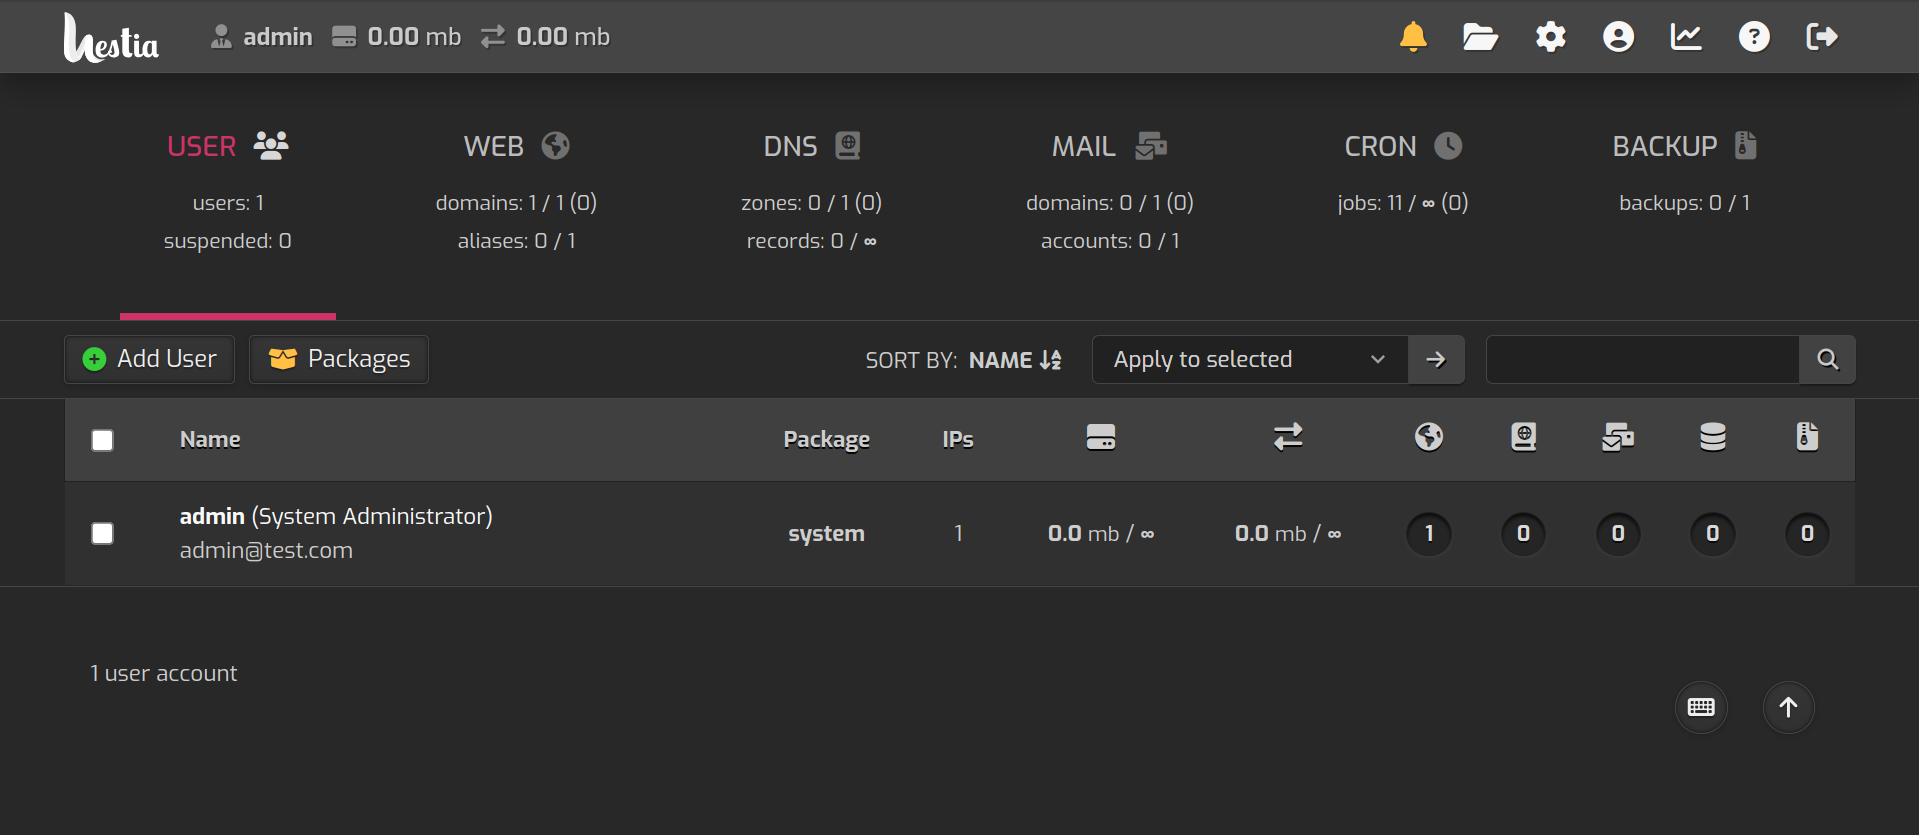
Done. HestiaCP is now fully installed, providing you with a robust, user-friendly platform to manage your server and web hosting with ease.
CrownCloud - Get a SSD powered KVM VPS at $4.5/month!
Use the code WELCOME for 10% off!
1 GB RAM / 25 GB SSD / 1 CPU Core / 1 TB Bandwidth per month
Available Locations: LAX | MIA | ATL | FRA | AMS