How to Install LAMP Stack with MariaDB on Ubuntu 22.10
A LAMP stack is a group of open-source software that is typically installed together to enable a server to host dynamic websites and web apps. This term is actually an acronym which represents the Linux operating system, with the Apache web server. The site data is stored in a MySQL or MariaDB database, and dynamic content is processed by PHP.
First, check for any pending system upgrades.
apt update
apt upgrade
Install Apache
Command to install Apache along with its utilities.
apt install -y apache2 apache2-utilsNext, check the Status of Apache.
systemctl status apache2Output:
root@crown:~# systemctl status apache2
● apache2.service - The Apache HTTP Server
     Loaded: loaded (/lib/systemd/system/apache2.service; enabled; preset: enabled)
     Active: active (running) since Sat 2022-10-15 20:18:49 UTC; 10s ago
       Docs: https://httpd.apache.org/docs/2.4/
   Main PID: 3121 (apache2)
      Tasks: 55 (limit: 2227)
     Memory: 4.9M
        CPU: 43ms
     CGroup: /system.slice/apache2.service
             ├─3121 /usr/sbin/apache2 -k start
             ├─3123 /usr/sbin/apache2 -k start
             └─3124 /usr/sbin/apache2 -k start
If Apache is not active can start using the following command.
systemctl start apache2Use the following command to auto-start Apache at boot time.
systemctl enable apache2You can confirm the Apache2 version with the below command,
apache2 -vOutput:
root@crown:~# apache2 -v
Server version: Apache/2.4.54 (Ubuntu)
Server built:   2022-07-21T19:38:00
Enable and Configure the Firewall
To enable HTTP TCP port,
ufw allow httpOutput:
root@crown:~# ufw allow http
Rules updated
Rules updated (v6)
Next, open your web browser and visit your servers IP address, for example:
Note: Replace "IP-address" with your actual server IP address
You should then see a similar page as shown in the screenshot below,
Install MariaDB Server
To install MariaDB server, run the below command
apt install mariadb-server mariadb-clientTo check the status of MariaDB.
systemctl status mariadbOutput:
root@crown:~# systemctl status mariadb
● mariadb.service - MariaDB 10.6.9 database server
     Loaded: loaded (/lib/systemd/system/mariadb.service; enabled; preset: enabled)
     Active: active (running) since Sat 2022-10-15 20:21:08 UTC; 12s ago
       Docs: man:mariadbd(8)
             https://mariadb.com/kb/en/library/systemd/
    Process: 4193 ExecStartPre=/usr/bin/install -m 755 -o mysql -g root -d /var/run/mysqld (code=exited, s>
    Process: 4194 ExecStartPre=/bin/sh -c systemctl unset-environment _WSREP_START_POSITION (code=exited, >
    Process: 4196 ExecStartPre=/bin/sh -c [ ! -e /usr/bin/galera_recovery ] && VAR= ||   VAR=`cd /usr/bin/>
    Process: 4238 ExecStartPost=/bin/sh -c systemctl unset-environment _WSREP_START_POSITION (code=exited,>
    Process: 4240 ExecStartPost=/etc/mysql/debian-start (code=exited, status=0/SUCCESS)
   Main PID: 4225 (mariadbd)
     Status: "Taking your SQL requests now..."
      Tasks: 14 (limit: 2227)
     Memory: 61.5M
        CPU: 461ms
     CGroup: /system.slice/mariadb.service
             └─4225 /usr/sbin/mariadbd
To start MariaDB if it is not active.
systemctl start mariadbUse the following command to auto start MariaDB at boot time.
systemctl enable mariadbNext, MariaDB database security.
NOTE: In this step, you will be prompted with several questions.
mysql_secure_installationOutput:
root@crown:~# mysql_secure_installation

NOTE: RUNNING ALL PARTS OF THIS SCRIPT IS RECOMMENDED FOR ALL MariaDB
      SERVERS IN PRODUCTION USE!  PLEASE READ EACH STEP CAREFULLY!

In order to log into MariaDB to secure it, we'll need the current
password for the root user. If you've just installed MariaDB, and
haven't set the root password yet, you should just press enter here.

Enter current password for root (enter for none):
OK, successfully used password, moving on...

Setting the root password or using the unix_socket ensures that nobody
can log into the MariaDB root user without the proper authorisation.

You already have your root account protected, so you can safely answer 'n'.

Switch to unix_socket authentication [Y/n] y
Enabled successfully!
Reloading privilege tables..
 ... Success!

You already have your root account protected, so you can safely answer 'n'.

Change the root password? [Y/n] y
New password:
Re-enter new password:
Password updated successfully!
Reloading privilege tables..
 ... Success!

By default, a MariaDB installation has an anonymous user, allowing anyone
to log into MariaDB without having to have a user account created for
them.  This is intended only for testing, and to make the installation
go a bit smoother.  You should remove them before moving into a
production environment.

Remove anonymous users? [Y/n] y
 ... Success!

Normally, root should only be allowed to connect from 'localhost'.  This
ensures that someone cannot guess at the root password from the network.

Disallow root login remotely? [Y/n] y
 ... Success!

By default, MariaDB comes with a database named 'test' that anyone can
access.  This is also intended only for testing, and should be removed
before moving into a production environment.

Remove test database and access to it? [Y/n] y
 - Dropping test database...
 ... Success!
 - Removing privileges on test database...
 ... Success!

Reloading the privilege tables will ensure that all changes made so far
will take effect immediately.

Reload privilege tables now? [Y/n] y
 ... Success!

Cleaning up...

All done!  If you've completed all of the above steps, your MariaDB
installation should now be secure.

Thanks for using MariaDB!
To login to MariaDB.
mariadb -u root -pTo exit from MariaDB.
exitTo check MariaDB Version.
mariadb --versionOutput:
root@crown:~# mariadb --version
mariadb  Ver 15.1 Distrib 10.6.9-MariaDB, for debian-linux-gnu (x86_64) using  EditLine wrapper
Install PHP
PHP 8.1 is the default version of PHP that would be installed on Ubuntu 22.10.
To install PHP.
apt install php libapache2-mod-php php-mysql php-common php-cli php-common php-json php-opcache php-readline php-mbstring php-gd php-dom php-zip php-curlEnable the Apache PHP module and restart the Apache Web server.
a2enmod php
systemctl restart apache2
To check PHP Version.
php --versionOutput:
root@crown:~# php --version
PHP 8.1.7-1ubuntu3 (cli) (built: Sep 13 2022 14:02:34) (NTS)
Copyright (c) The PHP Group
Zend Engine v4.1.7, Copyright (c) Zend Technologies
    with Zend OPcache v8.1.7-1ubuntu3, Copyright (c), by Zend Technologies
To test PHP scripts we need to add the info.php file in the document.
nano /var/www/html/info.phpAdd the following to the file.
<?php phpinfo(); ?>To verify enter the following link in a web browser.
NOTE: Replace with your server IP address below.
http://ip-address/info.php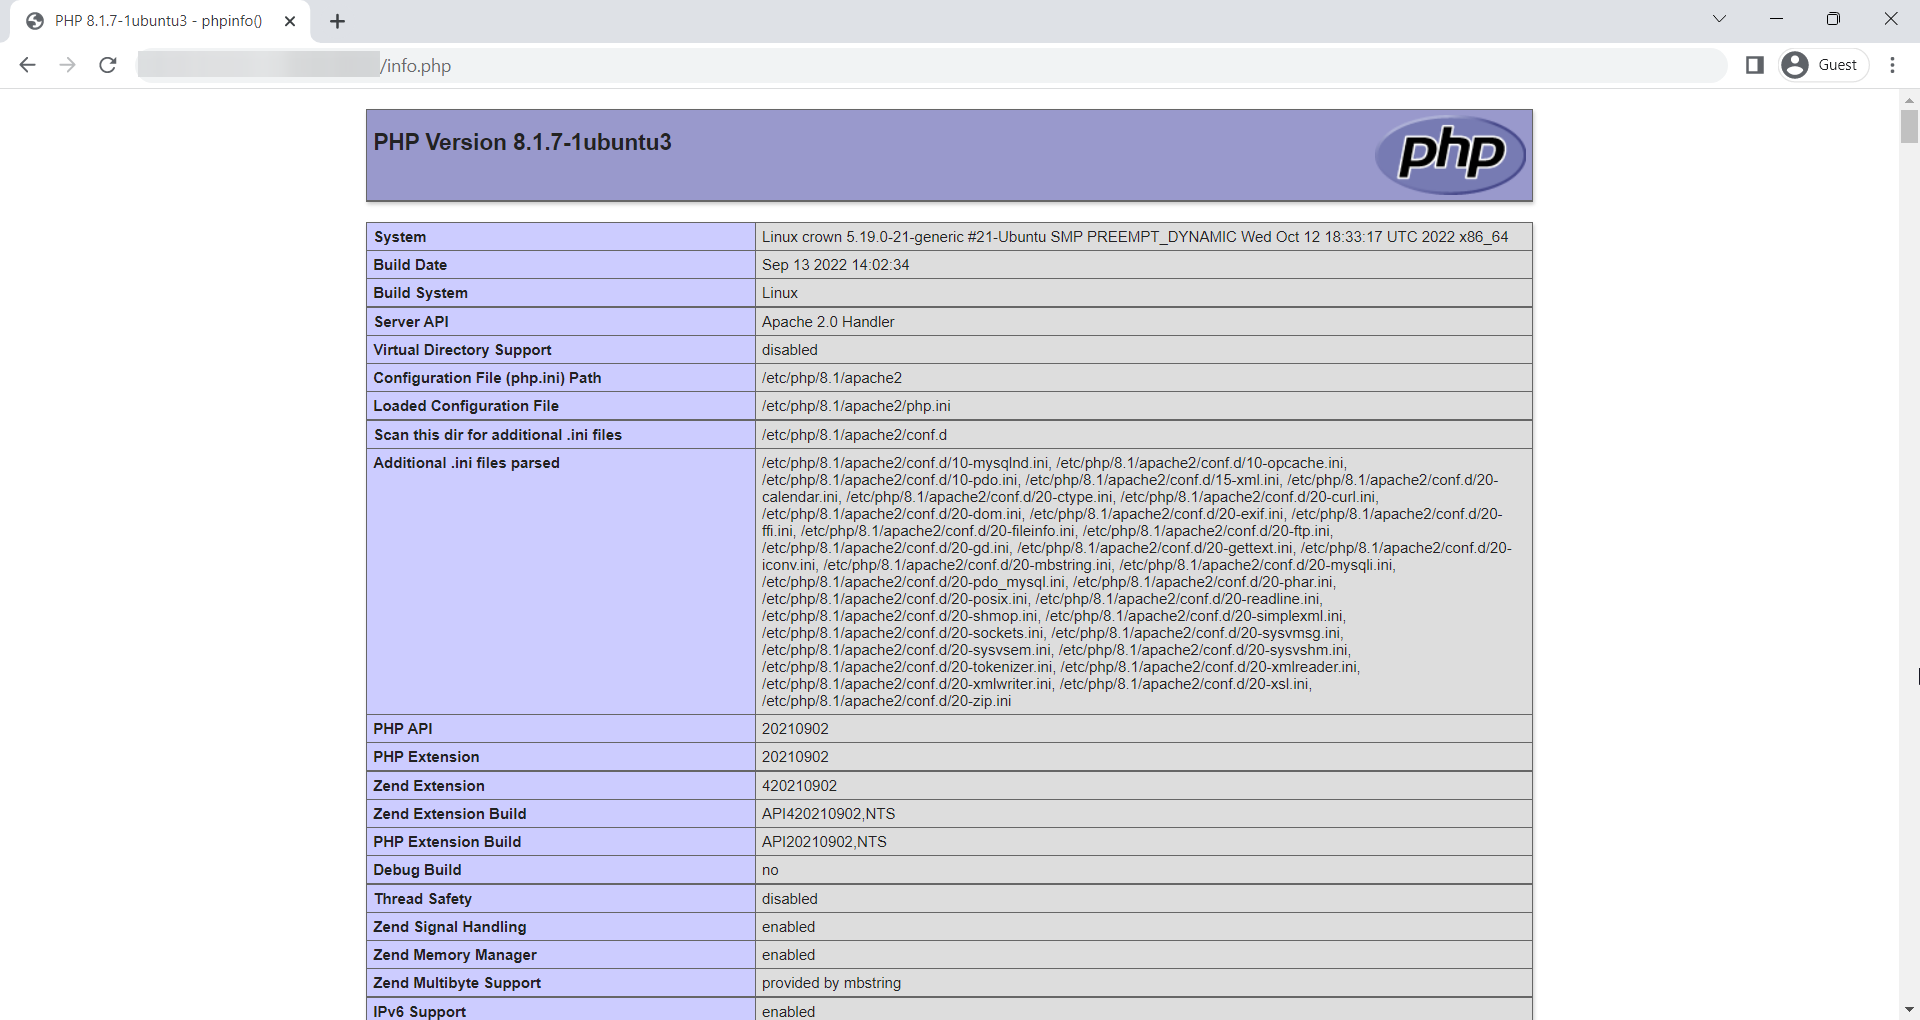
Run PHP-FPM with Apache [Optional]
FPM (FastCGI Process Manager) is an alternative PHP FastCGI implementation with some additional features useful for heavy-loaded sites.
NOTE: This is an optional step, PHP 8.1 is used to run the PHP code but if you want to run PHP code with PHP-FPM follow the below steps.
First, Let us disable PHP,
a2dismod phpNext, Install PHP-FPM.
apt install php8.1-fpmEnable proxy_fcgi and setenvif module.
a2enmod proxy_fcgi setenvifOutput:
root@crown:~# a2enmod proxy_fcgi setenvif
Considering dependency proxy for proxy_fcgi:
Enabling module proxy.
Enabling module proxy_fcgi.
Module setenvif already enabled
To activate the new configuration, you need to run:
  systemctl restart apache2
To enable php8.1-fpm file.
a2enconf php8.1-fpmRestart the Apache.
systemctl restart apache2To enable php-fpm.
systemctl enable php8.1-fpmTo start php-fpm.
systemctl start php8.1-fpmTo check the status of php-fpm.
systemctl status php8.1-fpmOutput:
root@crown:~# systemctl status php8.1-fpm
● php8.1-fpm.service - The PHP 8.1 FastCGI Process Manager
     Loaded: loaded (/lib/systemd/system/php8.1-fpm.service; enabled; preset: enabled)
     Active: active (running) since Sat 2022-10-15 20:26:13 UTC; 58s ago
       Docs: man:php-fpm8.1(8)
   Main PID: 16630 (php-fpm8.1)
     Status: "Processes active: 0, idle: 2, Requests: 0, slow: 0, Traffic: 0req/sec"
      Tasks: 3 (limit: 2227)
     Memory: 9.5M
        CPU: 75ms
     CGroup: /system.slice/php8.1-fpm.service
             ├─16630 "php-fpm: master process (/etc/php/8.1/fpm/php-fpm.conf)"
             ├─16631 "php-fpm: pool www"
             └─16632 "php-fpm: pool www"
Now you have successfully installed the LAMP stack (Apache, MariaDB, and PHP8.1) on Ubuntu 22.10.
CrownCloud - Get a SSD powered KVM VPS at $4.5/month!
Use the code WELCOME for 10% off!
1 GB RAM / 25 GB SSD / 1 CPU Core / 1 TB Bandwidth per month
Available Locations: LAX | MIA | ATL | FRA | AMS