How to Install LEMP Stack (Nginx, MariaDB, PHP7.2) on AlmaLinux 8
LEMP is a combination of free, open source software. The acronym LEMP refers to the first letters of Linux (Operating system), Nginx Server, MySQL (database software), and PHP, PERL or Python, principal components to build a viable general purpose web server.
Install Nginx Web Server
First, we will start by installing the Nginx web server. To complete the installation, use the following command:
yum install nginx -yOutput:
[root@vps ~]# yum install nginx -y
Last metadata expiration check: 1:11:49 ago on Thu 25 Feb 2021 07:02:17 AM EST.
Dependencies resolved.
================================================================================
 Package                     Arch   Version                     Repo       Size
================================================================================
Installing:
 nginx                       x86_64 1:1.14.1-9.module_el8.0.0+6007+fd7c418b
                                                                appstream 570 k
Installing dependencies:
 dejavu-fonts-common         noarch 2.35-6.el8                  baseos     74 k
 dejavu-sans-fonts           noarch 2.35-6.el8                  baseos    1.5 M
Once the installation is complete, enable Nginx (to start automatically upon system boot), start the web server and verify the status using the commands below.
systemctl start nginx

systemctl enable nginx

systemctl status nginx
Output:
[root@vps ~]# systemctl status nginx
● nginx.service - The nginx HTTP and reverse proxy server
   Loaded: loaded (/usr/lib/systemd/system/nginx.service; enabled; vendor prese>
  Drop-In: /usr/lib/systemd/system/nginx.service.d
           └─php-fpm.conf
   Active: active (running) since Thu 2021-02-25 08:15:12 EST; 16s ago
 Main PID: 6968 (nginx)
    Tasks: 3 (limit: 11438)
   Memory: 5.8M
   CGroup: /system.slice/nginx.service
           ├─6968 nginx: master process /usr/sbin/nginx
           ├─6969 nginx: worker process
           └─6970 nginx: worker process
Check Nginx version
nginx -vOutput:
[root@vps ~]# nginx -v
nginx version: nginx/1.14.1
To make your pages available to public, you will have to edit your firewall rules to allow HTTP requests on your web server by using the following commands.
firewall-cmd --permanent --zone=public --add-service=http

firewall-cmd --permanent --zone=public --add-service=https

firewall-cmd --reload
Output:
[root@server ~]# firewall-cmd --permanent --zone=public --add-service=http
success
[root@server ~]# firewall-cmd --permanent --zone=public --add-service=https
success
[root@server ~]# firewall-cmd --reload
success
Verify that the web server is running and accessible by accessing your server’s IP address.
From your browser,
http://IP_address
We need to make user nginx as the owner of web directory. By default it’s owned by the root user.
chown nginx:nginx /usr/share/nginx/html -R Install MariaDB Server
MariaDB is a popular database server. The installation is simple and requires just a few steps as shown.
yum install mariadb-server mariadb -yOutput:
[root@vps ~]# yum install mariadb-server mariadb -y
Last metadata expiration check: 1:15:23 ago on Thu 25 Feb 2021 07:02:17 AM EST.
Dependencies resolved.
================================================================================
 Package                    Arch   Version                      Repo       Size
================================================================================
Installing:
 mariadb                    x86_64 3:10.3.27-3.module_el8.3.0+2028+5e3224e9
                                                                appstream 6.0 M
 mariadb-server             x86_64 3:10.3.27-3.module_el8.3.0+2028+5e3224e9
                                                                appstream  16 M
Installing dependencies:
 libaio                     x86_64 0.3.112-1.el8                baseos     32 k
 mariadb-common             x86_64 3:10.3.27-3.module_el8.3.0+2028+5e3224e9
Once the installation is complete, enable MariaDB (to start automatically upon system boot), start the MariaDB and verify the status using the commands below.
systemctl start mariadb

systemctl enable mariadb

systemctl status mariadb
Output:
[root@vps ~]# systemctl status mariadb
● mariadb.service - MariaDB 10.3 database server
   Loaded: loaded (/usr/lib/systemd/system/mariadb.service; enabled; vendor pre>
   Active: active (running) since Thu 2021-02-25 08:18:42 EST; 13s ago
     Docs: man:mysqld(8)
           https://mariadb.com/kb/en/library/systemd/
 Main PID: 8411 (mysqld)
   Status: "Taking your SQL requests now..."
    Tasks: 30 (limit: 11438)
   Memory: 84.7M
   CGroup: /system.slice/mariadb.service
           └─8411 /usr/libexec/mysqld --basedir=/usr
Finally, you will want to secure your MariaDB installation by issuing the following command.
mysql_secure_installationOutput:
[root@vps ~]# mysql_secure_installation

NOTE: RUNNING ALL PARTS OF THIS SCRIPT IS RECOMMENDED FOR ALL MariaDB
      SERVERS IN PRODUCTION USE!  PLEASE READ EACH STEP CAREFULLY!

In order to log into MariaDB to secure it, we'll need the current
password for the root user.  If you've just installed MariaDB, and
you haven't set the root password yet, the password will be blank,
so you should just press enter here.

Enter current password for root (enter for none):
OK, successfully used password, moving on...

Setting the root password ensures that nobody can log into the MariaDB
root user without the proper authorisation.

Set root password? [Y/n] y
New password:
Re-enter new password:
Password updated successfully!
Reloading privilege tables..
 ... Success!
Once secured, you can connect to MySQL and review the existing databases on your database server by using the following command.
mysql -e "SHOW DATABASES;" -pOutput:
[root@server ~]# mysql -e "SHOW DATABASES;" -p
Enter password:
+--------------------+
| Database           |
+--------------------+
| information_schema |
| mysql              |
| performance_schema |
+--------------------+
[root@server ~]#
Install PHP
To Install PHP-FPM by running the following command.
yum install php php-mysqlnd php-fpm php-opcache php-gd php-xml php-mbstring php-json -yOutput:
[root@vps ~]# yum install php php-mysqlnd php-fpm php-opcache php-gd php-xml php-mbstring -y
Last metadata expiration check: 1:23:47 ago on Thu 25 Feb 2021 07:02:17 AM EST.
Package php-fpm-7.2.24-1.module_el8.3.0+2010+7c76a223.x86_64 is already installed.
Package php-xml-7.2.24-1.module_el8.3.0+2010+7c76a223.x86_64 is already installed.
Package php-mbstring-7.2.24-1.module_el8.3.0+2010+7c76a223.x86_64 is already installed.
Dependencies resolved.
================================================================================
 Package     Arch   Version                                     Repo       Size
================================================================================
Installing:
 php         x86_64 7.2.24-1.module_el8.3.0+2010+7c76a223       appstream 1.5 M
Once the installation is complete, enable php-fpm (to start automatically upon system boot), start the php-fpm and verify the status using the commands below.
systemctl start php-fpm

systemctl enable php-fpm

systemctl status php-fpm
Output:
[root@vps ~]# systemctl status php-fpm
● php-fpm.service - The PHP FastCGI Process Manager
   Loaded: loaded (/usr/lib/systemd/system/php-fpm.service; enabled; vendor pre>
   Active: active (running) since Thu 2021-02-25 08:26:10 EST; 38s ago
 Main PID: 8594 (php-fpm)
   Status: "Processes active: 0, idle: 5, Requests: 0, slow: 0, Traffic: 0req/s>
    Tasks: 6 (limit: 11438)
   Memory: 22.7M
   CGroup: /system.slice/php-fpm.service
           ├─8594 php-fpm: master process (/etc/php-fpm.conf)
           ├─8658 php-fpm: pool www
           ├─8659 php-fpm: pool www
           ├─8660 php-fpm: pool www
By default, PHP-FPM runs as the apache user. Since we are using Nginx web server, we need to change following line.
vi /etc/php-fpm.d/www.conf

user = apache
group = apache
Change them to
user = nginx
group = nginx
Once changed, need to reload php-fpm
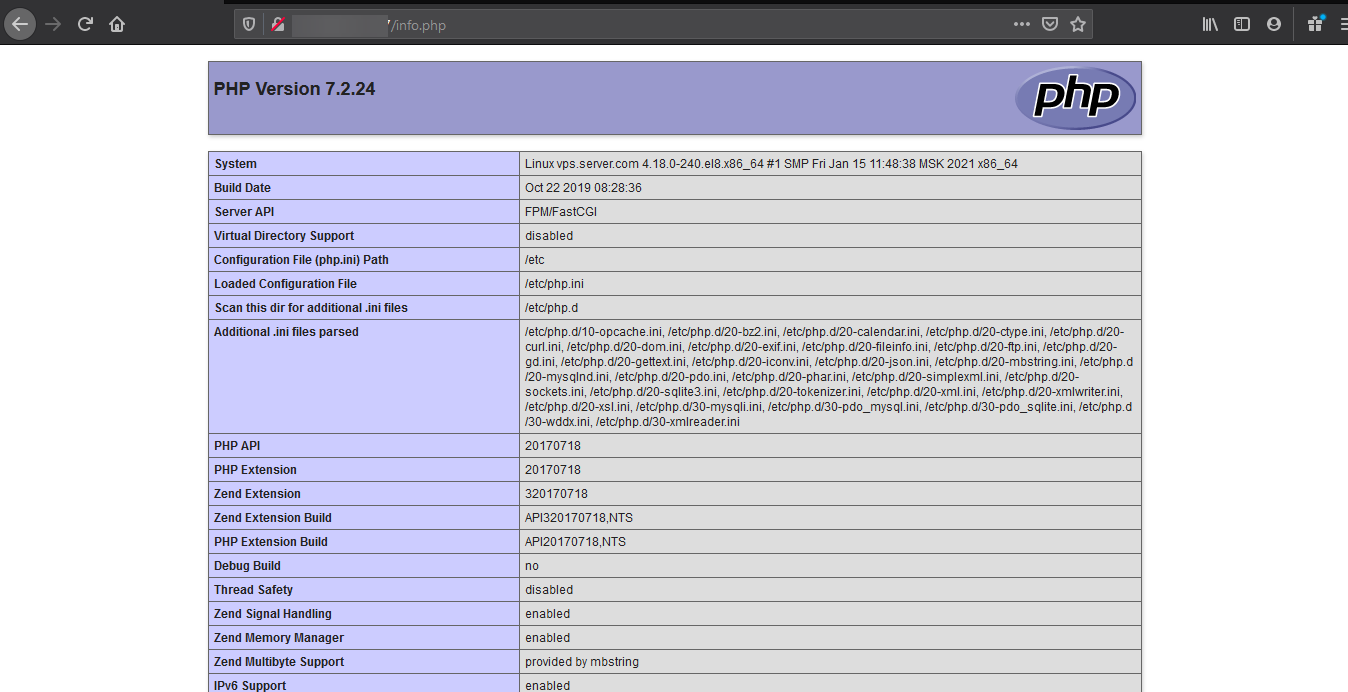
systemctl reload php-fpmTest your PHP, by creating a simple info.php file with a phinfo() in it. The file should be placed in the directory root for your web server, which is /usr/share/nginx/html/info.php.
To create the file use:
echo "<?php phpinfo() ?>" > /usr/share/nginx/html/info.phpRestart the Nginx and PHP-FPM.
systemctl restart nginx php-fpmNow again, access http://localhost/info.php or http://yourserver-ip-address/info.php. You should see a page similar to below one.
Done!
CrownCloud - Get a SSD powered KVM VPS at $4.5/month!
Use the code WELCOME for 10% off!
1 GB RAM / 25 GB SSD / 1 CPU Core / 1 TB Bandwidth per month
Available Locations: LAX | MIA | ATL | FRA | AMS