How to Install LEMP Stack (Nginx, MariaDB, PHP7.2) on CentOS 8
Install Nginx Web Server on CentOS 8
First, we will start by installing the Nginx web server. To complete the installation, use the following command:
yum install nginx -yOutput:
[root@my ~]# yum install nginx -y
Last metadata expiration check: 0:08:46 ago on Fri 20 Mar 2020 10:33:29 AM EDT.
Dependencies resolved.
================================================================================
 Package          Arch   Version                                Repo       Size
================================================================================
Installing:
 nginx            x86_64 1:1.14.1-9.module_el8.0.0+184+e34fea82 AppStream 570 k
Installing dependencies:
 nginx-all-modules
                  noarch 1:1.14.1-9.module_el8.0.0+184+e34fea82 AppStream  23 k
 nginx-filesystem noarch 1:1.14.1-9.module_el8.0.0+184+e34fea82 AppStream  24 k
 nginx-mod-http-image-filter
                  x86_64 1:1.14.1-9.module_el8.0.0+184+e34fea82 AppStream  35 k
 nginx-mod-http-perl
                  x86_64 1:1.14.1-9.module_el8.0.0+184+e34fea82 AppStream  45 k
 nginx-mod-http-xslt-filter
                  x86_64 1:1.14.1-9.module_el8.0.0+184+e34fea82 AppStream  33 k
 nginx-mod-mail   x86_64 1:1.14.1-9.module_el8.0.0+184+e34fea82 AppStream  64 k
 nginx-mod-stream x86_64 1:1.14.1-9.module_el8.0.0+184+e34fea82 AppStream  85 k
Enabling module streams:
 nginx                   1.14

Transaction Summary
================================================================================
Install  8 Packages
Once the installation is complete, enable Nginx (to start automatically upon system boot), start the web server and verify the status using the commands below.
systemctl start nginx

systemctl enable nginx

systemctl status nginx
Output:
[root@my ~]# systemctl start nginx
[root@my ~]# systemctl enable nginx
Created symlink /etc/systemd/system/multi-user.target.wants/nginx.service → /usr/lib/systemd/system/nginx.service.
[root@my ~]# systemctl status nginx
● nginx.service - The nginx HTTP and reverse proxy server
   Loaded: loaded (/usr/lib/systemd/system/nginx.service; enabled; vendor prese>
   Active: active (running) since Fri 2020-03-20 10:45:12 EDT; 12s ago
 Main PID: 32182 (nginx)
    Tasks: 3 (limit: 11515)
   Memory: 9.5M
Check Nginx version
nginx -vOutput:
[root@my ~]# nginx -v
nginx version: nginx/1.14.1
To make your pages available to public, you will have to edit your firewall rules to allow HTTP requests on your web server by using the following commands.
firewall-cmd --permanent --zone=public --add-service=http

firewall-cmd --permanent --zone=public --add-service=https

firewall-cmd --reload
Output:
[root@server ~]# firewall-cmd --permanent --zone=public --add-service=http
success
[root@server ~]# firewall-cmd --permanent --zone=public --add-service=https
success
[root@server ~]# firewall-cmd --reload
success
Verify that the web server is running and accessible by accessing your server’s IP address.
From your browser,
http://IP_address
We need to make user nginx as the owner of web directory. By default it’s owned by the root user.
chown nginx:nginx /usr/share/nginx/html -R Install MariaDB Server
MariaDB is a popular database server. The installation is simple and requires just a few steps as shown.
yum install mariadb-server mariadb -yOutput:
[root@server ~]# yum install mariadb-server mariadb
Last metadata expiration check: 1:28:38 ago on Tue 22 Oct 2019 03:03:52 PM EDT.
Dependencies resolved.
================================================================================
Package                    Arch   Version                      Repository
                                                                          Size
================================================================================
Installing:
mariadb                    x86_64 3:10.3.11-2.module_el8.0.0+35+6f2527ed
                                                         AppStream 6.2 M
mariadb-server             x86_64 3:10.3.11-2.module_el8.0.0+35+6f2527ed
                                                         AppStream  16 M
Installing dependencies:
mariadb-common             x86_64 3:10.3.11-2.module_el8.0.0+35+6f2527ed                                                                                                                          AppStream  62 k
mariadb-connector-c        x86_64 3.0.7-1.el8
AppStream 148 k
Once the installation is complete, enable MariaDB (to start automatically upon system boot), start the mariaDB and verify the status using the commands below.
systemctl start mariadb

systemctl enable mariadb

systemctl status mariadb
Output:
[root@server ~]# systemctl enable mariadb
[root@server ~]# systemctl start mariadb
[root@server ~]# systemctl status mariadb
● mariadb.service - MariaDB 10.3 database server
Loaded: loaded (/usr/lib/systemd/system/mariadb.service; enabled; vendor pre>
Active: active (running) since Tue 2019-10-22 16:35:50 EDT; 50s ago
Docs: man:mysqld(8)
https://mariadb.com/kb/en/library/systemd/
    Main PID: 2630 (mysqld)
Finally, you will want to secure your MariaDB installation by issuing the following command.
mysql_secure_installationOutput:
[root@server ~]# mysql_secure_installation

NOTE: RUNNING ALL PARTS OF THIS SCRIPT IS RECOMMENDED FOR ALL MariaDB
SERVERS IN PRODUCTION USE!  PLEASE READ EACH STEP CAREFULLY!
In order to log into MariaDB to secure it, we'll need the current
password for the root user.  If you've just installed MariaDB, and
you haven't set the root password yet, the password will be blank,
so you should just press enter here.

Enter current password for root (enter for none):
OK, successfully used password, moving on...

Setting the root password ensures that nobody can log into the MariaDB
root user without the proper authorisation.

Set root password? [Y/n] y
New password:
Re-enter new password:
Password updated successfully!
Reloading privilege tables..
... Success!
Once secured, you can connect to MySQL and review the existing databases on your database server by using the following command.
mysql -e "SHOW DATABASES;" -pOutput:
[root@server ~]# mysql -e "SHOW DATABASES;" -p
Enter password:
+--------------------+
| Database           |
+--------------------+
| information_schema |
| mysql              |
| performance_schema |
+--------------------+
[root@server ~]#
Install PHP
To Install PHP-FPM on CentOS 8
yum install php php-mysqlnd php-fpm php-opcache php-gd php-xml php-mbstring -yOutput:
[root@my ~]# yum install php php-mysqlnd php-fpm php-opcache php-gd php-xml php-mbstring -y
Last metadata expiration check: 0:07:44 ago on Fri 20 Mar 2020 10:59:28 AM EDT.
Dependencies resolved.
================================================================================
 Package           Arch   Version                               Repo       Size
================================================================================
Installing:
 php               x86_64 7.2.11-2.module_el8.1.0+209+03b9a8ff  AppStream 1.5 M
 php-fpm           x86_64 7.2.11-2.module_el8.1.0+209+03b9a8ff  AppStream 1.6 M
 php-gd            x86_64 7.2.11-2.module_el8.1.0+209+03b9a8ff  AppStream  84 k
 php-mbstring      x86_64 7.2.11-2.module_el8.1.0+209+03b9a8ff  AppStream 581 k
 php-mysqlnd       x86_64 7.2.11-2.module_el8.1.0+209+03b9a8ff  AppStream 190 k
 php-opcache       x86_64 7.2.11-2.module_el8.1.0+209+03b9a8ff  AppStream 230 k
 php-xml           x86_64 7.2.11-2.module_el8.1.0+209+03b9a8ff  AppStream 189 k
Installing dependencies:
 apr               x86_64 1.6.3-9.el8                           AppStream 125 k
 apr-util          x86_64 1.6.1-6.el8                           AppStream 105 k
 centos-logos-httpd
                   noarch 80.5-2.el8                            AppStream  24 k
 httpd             x86_64 2.4.37-16.module_el8.1.0+256+ae790463 AppStream 1.7 M
 httpd-filesystem  noarch 2.4.37-16.module_el8.1.0+256+ae790463 AppStream  35 k
 httpd-tools       x86_64 2.4.37-16.module_el8.1.0+256+ae790463 AppStream 103 k
 mod_http2         x86_64 1.11.3-3.module_el8.1.0+213+acce2796  AppStream 158 k
 php-cli           x86_64 7.2.11-2.module_el8.1.0+209+03b9a8ff  AppStream 3.1 M
 php-common        x86_64 7.2.11-2.module_el8.1.0+209+03b9a8ff  AppStream 655 k
 php-pdo           x86_64 7.2.11-2.module_el8.1.0+209+03b9a8ff  AppStream 122 k
Installing weak dependencies:
 apr-util-bdb      x86_64 1.6.1-6.el8                           AppStream  25 k
 apr-util-openssl  x86_64 1.6.1-6.el8                           AppStream  27 k
Enabling module streams:
 httpd                    2.4
 php                      7.2

Transaction Summary
================================================================================
Install  19 Packages
Once the installation is complete, enable php-fpm (to start automatically upon system boot), start the php-fpm and verify the status using the commands below.
systemctl start php-fpm

systemctl enable php-fpm

systemctl status php-fpm
Output:
[root@my ~]# systemctl start php-fpm
[root@my ~]# systemctl enable php-fpm
Created symlink /etc/systemd/system/multi-user.target.wants/php-fpm.service → /usr/lib/systemd/system/php-fpm.service.
[root@my ~]# systemctl status php-fpm
● php-fpm.service - The PHP FastCGI Process Manager
   Loaded: loaded (/usr/lib/systemd/system/php-fpm.service; enabled; vendor pre>
By default, PHP-FPM runs as the apache user. Since we are using Nginx web server, we need to change following line.
vi /etc/php-fpm.d/www.conf

user = apache
group = apache
Change them to
user = nginx
group = nginx
Once changed, need to reload php-fpm
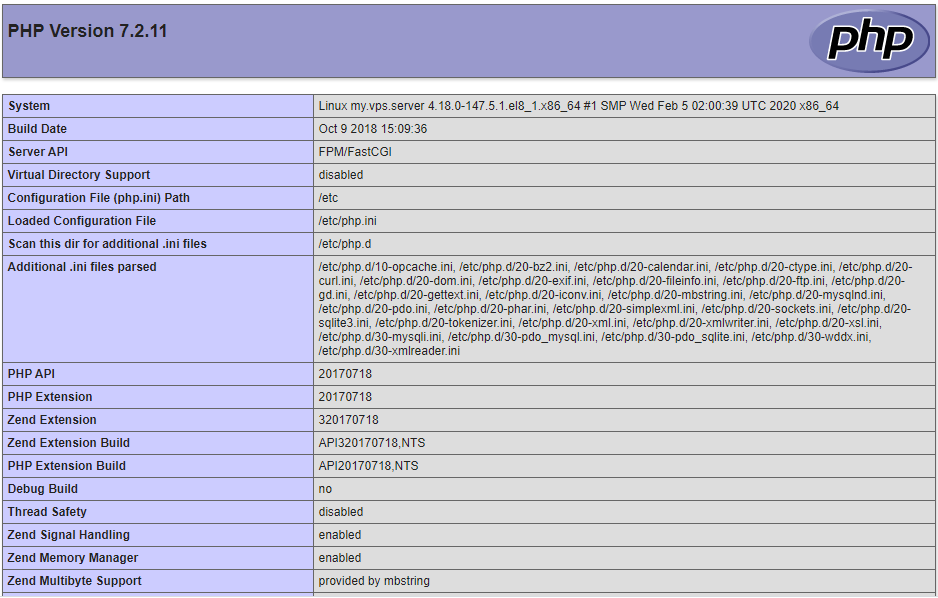
systemctl reload php-fpmTest your PHP, by creating a simple info.php file with a phinfo() in it. The file should be placed in the directory root for your web server, which is /usr/share/nginx/html/info.php.
To create the file use:
echo "<?php phpinfo() ?>" > /usr/share/nginx/html/info.phpRestart the Nginx and PHP-FPM.
systemctl restart nginx php-fpmNow again, access http://localhost/info.php or http://yourserver-ip-address/info.php. You should see a page similar to below one.
Done!
CrownCloud - Get a SSD powered KVM VPS at $4.5/month!
Use the code WELCOME for 10% off!
1 GB RAM / 25 GB SSD / 1 CPU Core / 1 TB Bandwidth per month
Available Locations: LAX | MIA | ATL | FRA | AMS