How to Install Let's Encrypt SSL with LEMP Stack on Rocky Linux 8
Let's Encrypt is a non-profit certificate authority run by Internet Security Research Group that provides X.509 certificates for Transport Layer Security encryption at no charge. In this article, we are going to learn how to install Let's Encrypt SSL on Rocky Linux 8. So, let’s get started.
Checkout the Let's Encrypt SSL Project Here.
Get started with $5 VPS from CrownCloud. Check our latest offers : CrownCloud VPS [ 24x7 In-House Customer Support ]
Pre-requisites :
-
A system with Rocky Linux 8 installed and running.
-
rootaccess to the system. - LEMP Stack installed and running, for this, you can refer to one of our guides on installing the LEMP Stack (Nginx, MariaDB, and PHP).
Once you're all set, we'll proceed with Let's Encrypt SSL installation and configuration.
Install Let’s Encrypt SSL Certificate
Let's issue an SSL certificate for the domain. For this, we will need the EPEL repository and the mod_ssl package on Rocky Linux 8 operating system.
Update and install EPEL repository and the mod_ssl package on the system using the below command:
dnf install epel-release mod_ssl -yNext, we will install the certbot client which is used to create Let's Encrypt certificates:
dnf install python3-certbot-nginx -yInstall SSL Certificate
Use the certbot command to issue a Let's Encrypt certificate. Replace dev1.domainhere.info and dev@dev1.domainhere.info with your domain name and email :
certbot --nginx --agree-tos --redirect --hsts --staple-ocsp --email dev@dev1.domainhere.info -d dev1.domainhere.infoSSL certificates are valid for 90 days. The renewal process is now automated, you do not have to renew this manually.
Enable Firewall:
firewall-cmd --permanent --add-service=http

firewall-cmd --permanent --add-service=https

firewall-cmd --reload
Restart Nginx
Restart apache to avoid getting error messages.
systemctl restart nginx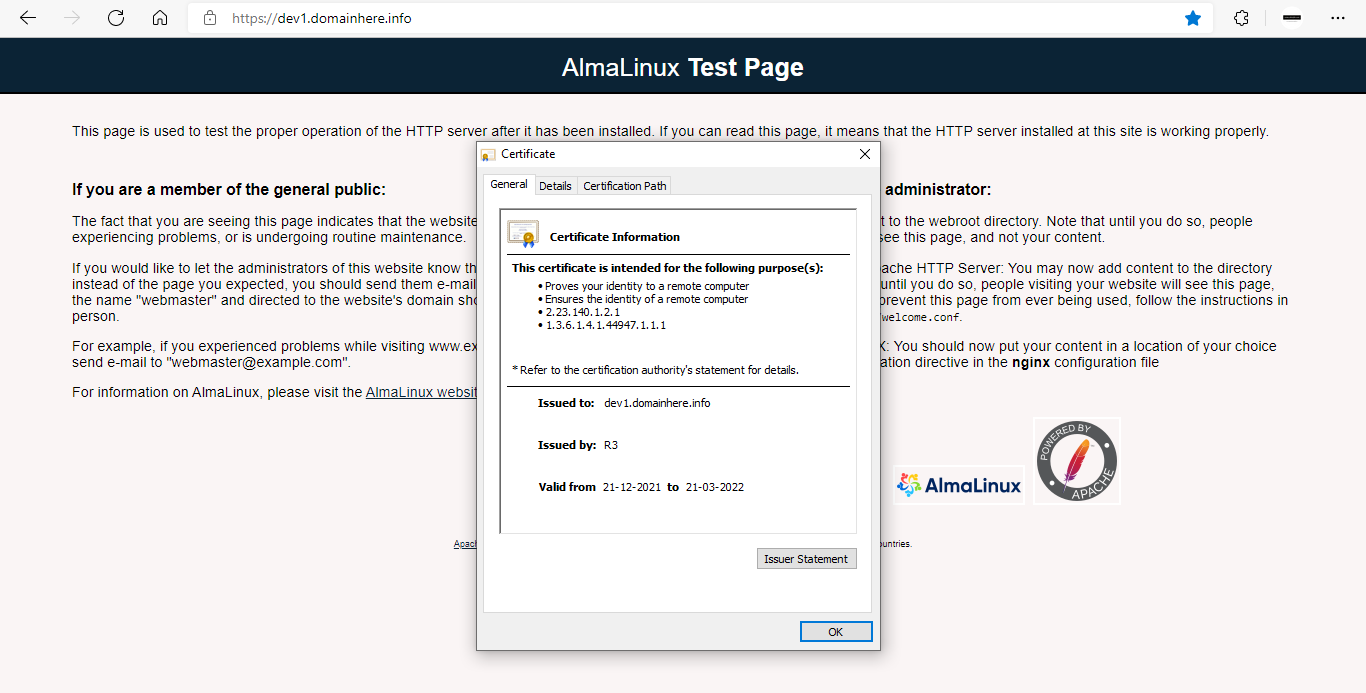
Now you have successfully installed Let's Encrypt SSL with LEMP Stack on Rocky Linux 8.
CrownCloud - Get a SSD powered KVM VPS at $4.5/month!
Use the code WELCOME for 10% off!
1 GB RAM / 25 GB SSD / 1 CPU Core / 1 TB Bandwidth per month
Available Locations: LAX | MIA | ATL | FRA | AMS