How to Install Mastodon on Debian 11
Mastodon is free and open-source software for running self-hosted social networking services. It's a decentralized social network made up of independent servers organized around specific themes, topics, or interests.
Prerequisites
- Fully Qualified Domain Name with DNS "A" record set and pointing to the server's IP address.
- An Operating System with Debian 11 along with root user access.
Update the System
Update the current packages, repositories using below command,
apt update -y

apt upgrade -y
Configure PostgreSQL Database Server
PostgreSQL is available in the default Debian repository, So now, we will install the latest version of PostgreSQL from the upstream repository using below command,
echo "deb [signed-by=/etc/apt/keyrings/postgresql.asc] http://apt.postgresql.org/pub/repos/apt $(lsb_release -cs)-pgdg main" | tee /etc/apt/sources.list.d/pgdg.listImport the PostgreSQL public key using below command,
mkdir -p /etc/apt/keyrings/

wget --quiet -O - https://www.postgresql.org/media/keys/ACCC4CF8.asc | tee /etc/apt/keyrings/postgresql.asc
Update repository index and install PostgreSQL using following command,
apt update

apt install -y postgresql postgresql-contrib
PostgreSQL database server will automatically start and listens on 127.0.0.1:5432, you can check with the following command,
ss -lnpt | grep postgresOutput:
root@vps:~# ss -lnpt | grep postgres
LISTEN 0      244        127.0.0.1:5432      0.0.0.0:*    users:(("postgres",pid=13253,fd=6))
LISTEN 0      244            [::1]:5432         [::]:*    users:(("postgres",pid=13253,fd=5))
root@vps:~#
While installation process the postgres user is already created, It’s the super user for PostgreSQL database server.
We can use sudo to switch to the postgres user and log into the PostgreSQL console like below and create user/database,
sudo -u postgres -i psql

CREATE DATABASE mastodon;

CREATE USER mastodon;

ALTER USER mastodon WITH ENCRYPTED PASSWORD 'StrongPassword';

ALTER USER mastodon createdb;

ALTER DATABASE mastodon OWNER TO mastodon;

\q
Replace
StrongPasswordwith actual password.
Output:
root@vps:~# sudo -u postgres -i psql
psql (13.11 (Debian 13.11-0+deb11u1))
Type "help" for help.

postgres=# CREATE DATABASE mastodon;
CREATE DATABASE
postgres=# CREATE USER mastodon;
CREATE ROLE
postgres=# ALTER USER mastodon WITH ENCRYPTED PASSWORD 'password';
ALTER ROLE
postgres=# ALTER USER mastodon createdb;
ALTER ROLE
postgres=# ALTER DATABASE mastodon OWNER TO mastodon;
ALTER DATABASE
postgres=# \q
Install Ruby
To install Mastodon it requires Ruby 2.5+ and the Debian 11 repository includes the ruby package, so run the below command to install it,
apt install ruby ruby-devCheck the Ruby version using below command,
ruby -vOutput:
root@vps:~# ruby -v
ruby 2.7.4p191 (2021-07-07 revision a21a3b7d23) [x86_64-linux-gnu]
root@vps:~#
Download and Configure Mastodon
First, Create the mastodon user.
adduser mastodon --system --group --disabled-loginInstall git tool using below command,
apt install gitRun the below command to clone the Mastodon code repository from Github,
git clone https://github.com/tootsuite/mastodon.gitNow, Create the /var/www/ directory, if it’s not already created.
mkdir -p /var/www/Move the cloned mastodon directory to /var/www/.
mv mastodon/ /var/www/Change the owner to mastodon.
chown mastodon:mastodon /var/www/mastodon/ -RChange the directory and check out the latest stable release of Mastodon.
You can visit to the Github releases page to check the latest stable version. We're using v4.1.2.
cd /var/www/mastodon/

root@vps:/var/www/mastodon# sudo -u mastodon git checkout v4.1.2
Output:
root@vps:/var/www/mastodon# sudo -u mastodon git checkout v4.1.2
Note: switching to 'v4.1.2'.

You are in 'detached HEAD' state. You can look around, make experimental
changes and commit them, and you can discard any commits you make in this
state without impacting any branches by switching back to a branch.

If you want to create a new branch to retain commits you create, you may
do so (now or later) by using -c with the switch command. Example:

  git switch -c <new-branch-name>

Or undo this operation with:

  git switch -

Turn off this advice by setting config variable advice.detachedHead to false

HEAD is now at 4b9e4f639 Bump version to v4.1.2
root@vps:/var/www/mastodon#
Install the Rube dependency manager: bundler using below command,
gem install bundlerOutput:
root@vps:/var/www/mastodon# gem install bundler
Fetching bundler-2.4.13.gem
Successfully installed bundler-2.4.13
Parsing documentation for bundler-2.4.13
Installing ri documentation for bundler-2.4.13
Done installing documentation for bundler after 0 seconds
1 gem installed
root@vps:/var/www/mastodon#
Install Node.js
Update the repository and install the install Node.JS,
curl -sL https://deb.nodesource.com/setup_16.x | bash -

apt install nodejs
Install Yarn, a Node.js package manager.
echo "deb https://dl.yarnpkg.com/debian/ stable main" | tee /etc/apt/sources.list.d/yarn.list

curl -sL https://dl.yarnpkg.com/debian/pubkey.gpg | apt-key add -

apt update

apt -y install yarn
Install required packages to compile source code.
apt install redis-server optipng pngquant jhead jpegoptim gifsicle nodejs imagemagick ffmpeg libpq-dev libxml2-dev libxslt1-dev file g++ libprotobuf-dev protobuf-compiler pkg-config gcc autoconf bison build-essential libssl-dev libyaml-dev libreadline6-dev zlib1g-dev libncurses5-dev libffi-dev libgdbm-dev libidn11-dev libicu-dev libjemalloc-devThen, Install the Mastodon dependency package,
sudo -u mastodon bundle config deployment 'true'

sudo -u mastodon bundle config without 'development test'

sudo -u mastodon bundle install -j$(getconf _NPROCESSORS_ONLN)
Now, Run the setup wizard.
sudo -u mastodon RAILS_ENV=production bundle exec rake mastodon:setupIt'll prompt you some questions, update the answers accordingly,
Your instance is identified by its domain name. Changing it afterward will break things.
Domain name: mastodon-demo.info
Domain name: Enter the domain name you want to use for Mastodon site.
Single user mode disables registrations and redirects the landing page to your public profile.
Do you want to enable single user mode? No
Enable single user mode: If you want visitors to be able to register on your Mastodon instance then don't enable the single user mode.
Are you using Docker to run Mastodon? noAre you using Docker to run Mastodon: No.
PostgreSQL host: 127.0.0.1
PostgreSQL port: 5432
Name of PostgreSQL database: mastodon
Name of PostgreSQL user: mastodon
Password of PostgreSQL user: Enter the password for the mastodon user which is created earlier.
Database configuration works! 🎆
PostgreSQL host: 127.0.0.1
PostgreSQL port: 5432
PostgreSQL database: mastodon
PostgreSQL user: mastodon
PostgreSQL user password: enter the password for the mastodon user which is created in earlier step.
The DB, Username and Password entered here would be used to create a new DB account in postgresql.
Redis host: 127.0.0.1
Redis port: 6379
Redis password:
Redis host: 127.0.0.1
Redis port: 6379
Redis password: Just press Enter, because there’s no password for Redis.
Do you want to store uploaded files on the cloud? NoDo you want to store uploaded files on the cloud? : I choose No because i just want to store files on my own server, If you want to store user-uploaded file in S3 object storage then you can choose Yes
Do you want to send e-mails from localhost? No
SMTP server: smtp.mailgun.org
SMTP port: 587
SMTP username:
SMTP password:
SMTP authentication: plain
SMTP OpenSSL verify mode: none
Enable STARTTLS: auto
Do you want to send emails from localhost? : I choose No and entered login credentials because i've not created SMTP relay, if you created the SMTP relay then choose Yes and enter the login details according that.
E-mail address to send e-mails "from": Mastodon <notifications@mastodon-demo.info>E-mail address to send e-mails “from”: Press Enter to use the default sender email address.
Send a test e-mail with this configuration right now? Yes
Send test e-mail to: Enter_Your_Email_Address

This configuration will be written to .env.production
Save configuration? Yes

Now that configuration is saved, the database schema must be loaded.
If the database already exists, this will erase its contents.
Prepare the database now? Yes
Send a test e-mail with this configuration right now? : Choose Yes to send a test email. Send test e-mail to : Enter your email address to test. Save configuration? : Choose Yes.
Finally, choose Yes to compile CSS/JS assets.
The final step is compiling CSS/JS assets.
This may take a while and consume a lot of RAM.
Compile the assets now? Yes
Running `RAILS_ENV=production rails assets:precompile` ...

Done!

All done! You can now power on the Mastodon server 🐘
Once that’s done, it'll prompt you to create admin user so you can create an admin user.
Do you want to create an admin user straight away? Yes
Username: admin
E-mail: admin@admin.com
You can login with the password: db5a05712f278566dcf83a807b681d05
You can change your password once you login.
root@vps:/var/www/mastodon#
Update the domain name with actual domain name.
The default login details forMastodonis showed above.
Start Mastodon
Copy the convenient systemd service templates to /etc/systemd/system/ directory,
cp /var/www/mastodon/dist/mastodon*.service /etc/systemd/system/We need to make some changes in .service files, now change the working directory from /home/mastodon/live/ to /var/www/mastodon/.
sed -i 's/home\/mastodon\/live/var\/www\/mastodon/g' /etc/systemd/system/mastodon-*.serviceChange /home/mastodon/.rbenv/shims/bundle to /usr/local/bin/bundle.
sed -i 's/home\/mastodon\/.rbenv\/shims/usr\/local\/bin/g' /etc/systemd/system/mastodon-*.serviceReload systemd to save changes to take effect.
systemctl daemon-reloadStart the 3 systemd services.
systemctl enable --now mastodon-web mastodon-sidekiq mastodon-streamingCheck status, make sure they are all in active (running) state.
systemctl status mastodon-web mastodon-sidekiq mastodon-streamingOutput:
root@vps:/var/www/mastodon# sudo systemctl status mastodon-web mastodon-sidekiq mastodon-streaming
● mastodon-web.service - mastodon-web
     Loaded: loaded (/etc/systemd/system/mastodon-web.service; enabled; vendor preset: enabled)
     Active: active (running) since Mon 2023-06-05 14:29:41 UTC; 4s ago
   Main PID: 31103 (ruby2.7)
      Tasks: 1 (limit: 4675)
     Memory: 130.8M
        CPU: 4.835s
     CGroup: /system.slice/mastodon-web.service
             └─31103 puma 5.6.5 (tcp://127.0.0.1:3000) [mastodon]

● mastodon-sidekiq.service - mastodon-sidekiq
     Loaded: loaded (/etc/systemd/system/mastodon-sidekiq.service; enabled; vendor preset: enabled)
     Active: active (running) since Mon 2023-06-05 14:29:41 UTC; 4s ago
   Main PID: 31104 (ruby2.7)
      Tasks: 1 (limit: 4675)
     Memory: 76.9M
        CPU: 4.818s
     CGroup: /system.slice/mastodon-sidekiq.service
             └─31104 ruby2.7 /var/www/mastodon/vendor/bundle/ruby/2.7.0/bin/sidekiq -c 25

● mastodon-streaming.service - mastodon-streaming
     Loaded: loaded (/etc/systemd/system/mastodon-streaming.service; enabled; vendor preset: enabled)
     Active: active (running) since Mon 2023-06-05 14:29:41 UTC; 4s ago
   Main PID: 31105 (node)
      Tasks: 14 (limit: 4675)
     Memory: 145.7M
        CPU: 4.292s
     CGroup: /system.slice/mastodon-streaming.service
             ├─31105 /usr/bin/node ./streaming
             └─31115 /usr/bin/node /var/www/mastodon/streaming
Run the below command to check the Mastodon is listing on port 3000 or not,
sudo ss -lnpt | grep 3000Output:
root@vps:/var/www/mastodon# sudo ss -lnpt | grep 3000
LISTEN 0      1024       127.0.0.1:3000      0.0.0.0:*    users:(("ruby2.7",pid=31138,fd=5),("ruby2.7",pid=31130,fd=5),("ruby2.7",pid=31103,fd=5))
root@vps:/var/www/mastodon#
Reload systemd and restart Mastodon.
systemctl daemon-reload

systemctl restart mastodon-web
Configure Nginx
Install Nginx web server from the default Debian 11 software repository.
apt install nginxCopy the Nginx configuration file.
cp /var/www/mastodon/dist/nginx.conf /etc/nginx/conf.d/mastodon.confEdit the new file.
nano /etc/nginx/conf.d/mastodon.confFind the following line in both the port 80 server block and port 443 server block.
server_name mastodon-demo.info;Replace the
mastodon-demo.infoto actual domain name
Find the following line in both the port 80 server block and port 443 server block.
Change the root path to /var/www/mastodon/public.
root /home/mastodon/live/public;

to

root /var/www/mastodon/public;
Find and Update the following two lines.
# ssl_certificate /etc/letsencrypt/live/example.com/fullchain.pem;
# ssl_certificate_key /etc/letsencrypt/live/example.com/privkey.pem;

to

ssl_certificate /etc/ssl/certs/ssl-cert-snakeoil.pem;
ssl_certificate_key /etc/ssl/private/ssl-cert-snakeoil.key;
Save and close the file.
Now, create the cache directory.
mkdir -p /var/nginx/cache/Test Nginx configuration using below command,
nginx -tOuptut:
root@vps:/var/www/mastodon# nginx -t
nginx: the configuration file /etc/nginx/nginx.conf syntax is ok
nginx: configuration file /etc/nginx/nginx.conf test is successful
root@vps:/var/www/mastodon#
If the test is successful, reload Nginx for the changes to take effect.
systemctl reload nginxNow you can be able to see the Mastodon forum at http://mastodon-demo.info.
Setup SSL Certificates
Run the below command to install Let’s Encrypt client (certbot) on Debian 11 server.
apt install certbot python3-certbot-nginxNow, run the following command to obtain and install TLS certificate.
certbot --nginx --agree-tos --redirect --hsts --staple-ocsp --email Your_Email@.com -d mastodon-demo.infoReplace the
mastodon-demo.infowith your actual domain name
Replace the Your_Email@.com with your actual email address
Output:
IMPORTANT NOTES:
 - Congratulations! Your certificate and chain have been saved at:
   /etc/letsencrypt/live/mastodon-demo.info/fullchain.pem
   Your key file has been saved at:
   /etc/letsencrypt/live/mastodon-demo.info/privkey.pem
   Your certificate will expire on 2023-09-03. To obtain a new or
   tweaked version of this certificate in the future, simply run
   certbot again with the "certonly" option. To non-interactively
   renew *all* of your certificates, run "certbot renew"
 - If you like Certbot, please consider supporting our work by:

   Donating to ISRG / Let's Encrypt:   https://letsencrypt.org/donate
   Donating to EFF:                    https://eff.org/donate-le
Access Mastodon
Now access Mastodon forum via HTTPS at https://mastodon-demo.info.
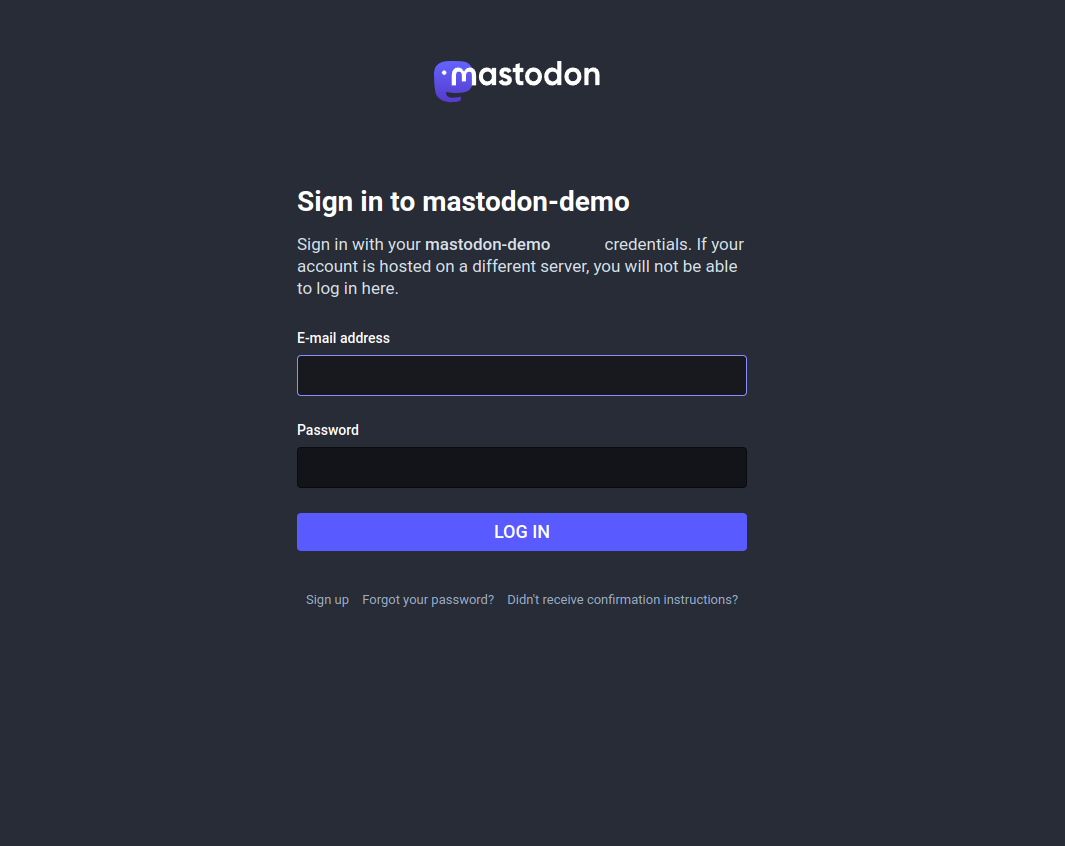
You can Sign In or Create New Account,
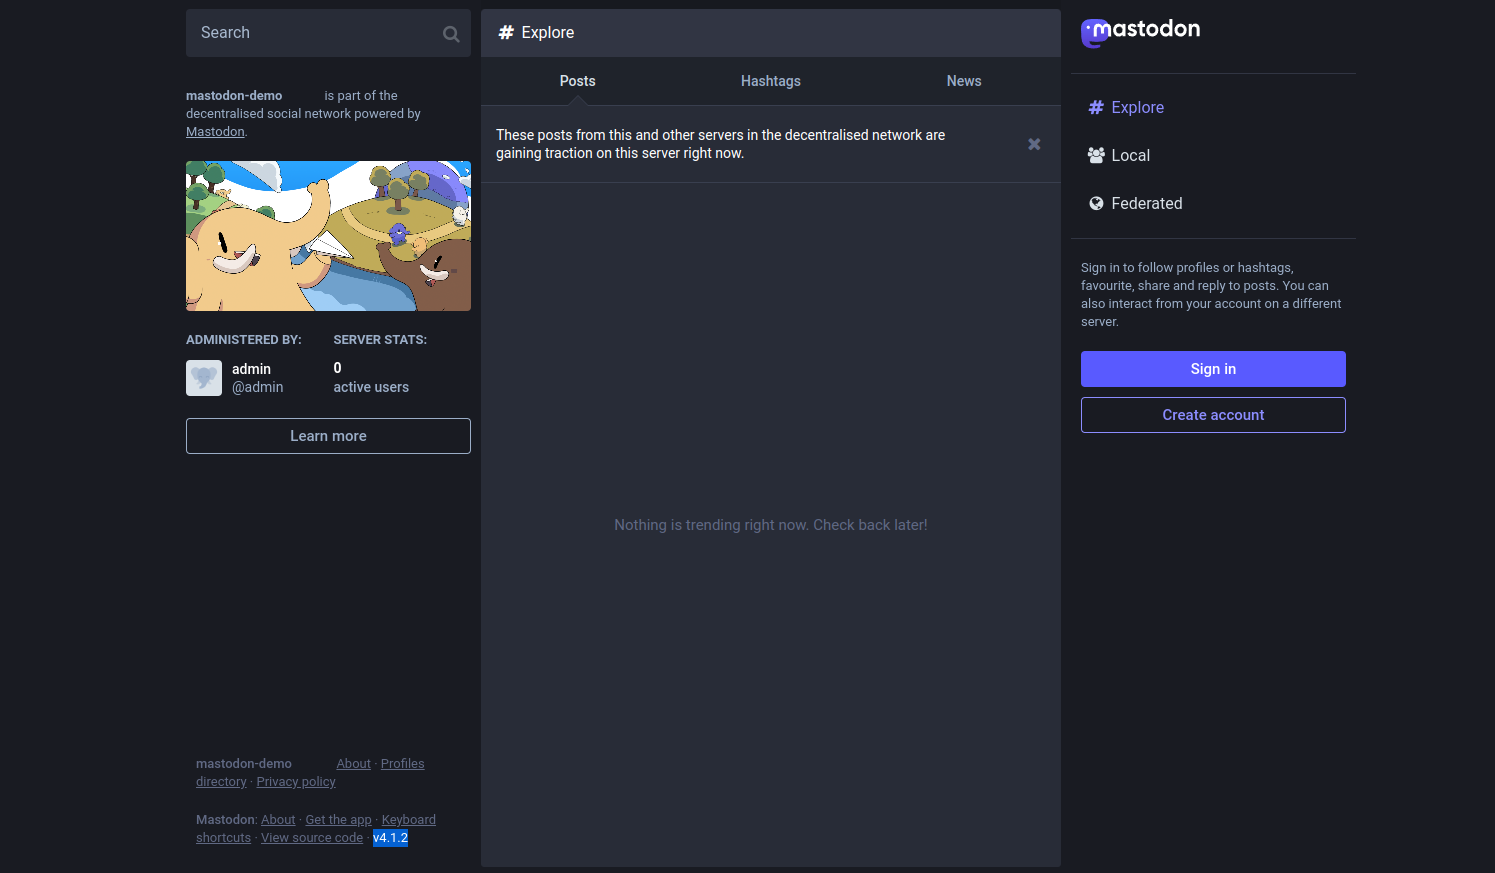
Sign in using the login credentials which generated by system above,
Dashboar will look like below,

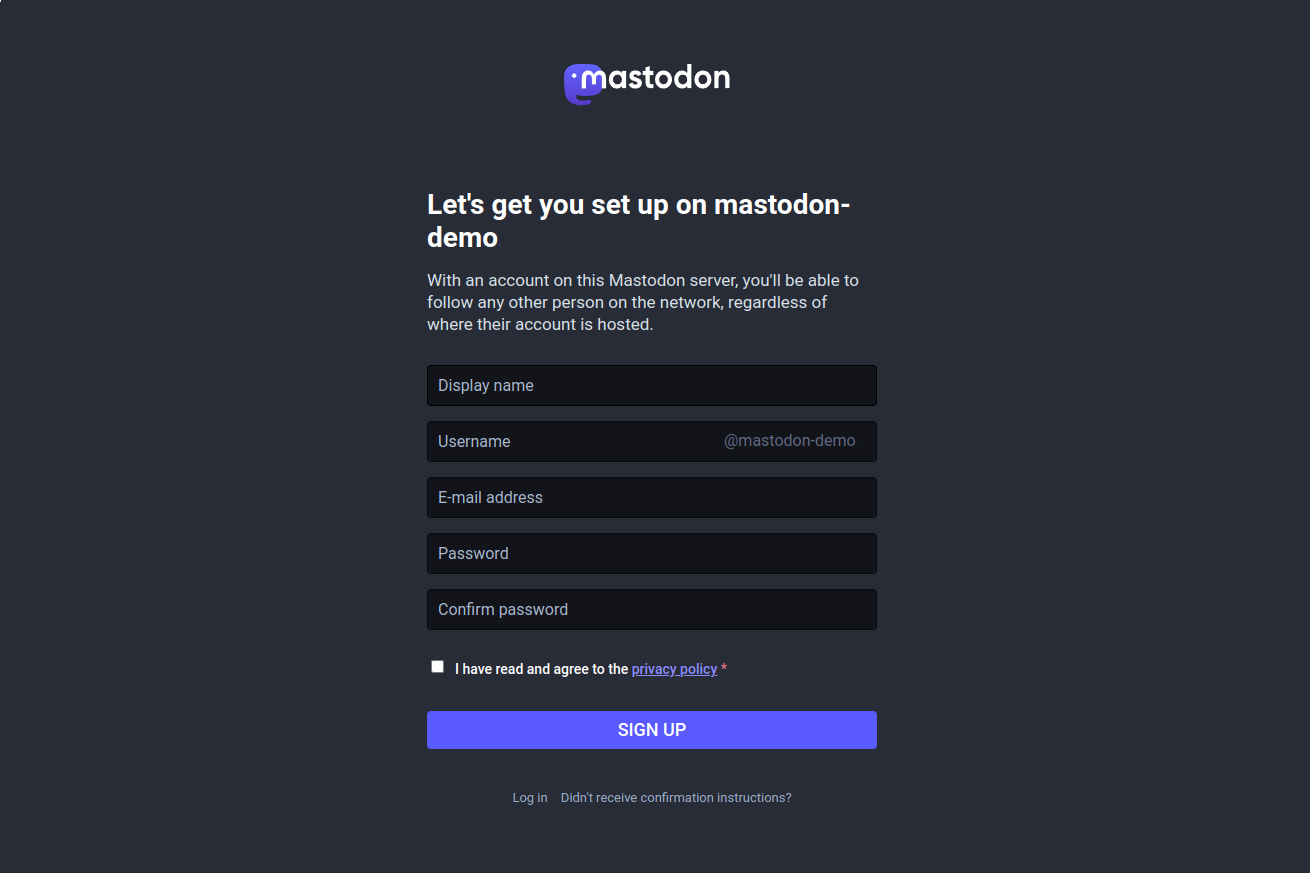
Fill the details to Create Account,
This is how you can install Mastodon on Debian 11 Server.
CrownCloud - Get a SSD powered KVM VPS at $4.5/month!
Use the code WELCOME for 10% off!
1 GB RAM / 25 GB SSD / 1 CPU Core / 1 TB Bandwidth per month
Available Locations: LAX | MIA | ATL | FRA | AMS