How to Install Nagios Core on CentOS Stream 9
Nagios Core, formerly known as Nagios, is a free and open-source computer-software application that monitors systems, networks, and infrastructure. Nagios offers monitoring and alerting services for servers, switches, applications, and services. It alerts users when things go wrong and alert them a second time when the problem has been resolved.
Pre-requisites :
-
A system with CentOS Stream 9 installed and running.
-
rootaccess to the system. - LAMP Stack installed and running, for this, you can refer to one of our guides on installing the LAMP Stack (Apache, MariaDB, and PHP).
Once you're all set, we'll proceed with Nagios Core installation and configuration.
Install Wget & Developer Tools
yum groupinstall "Development tools"

yum install wget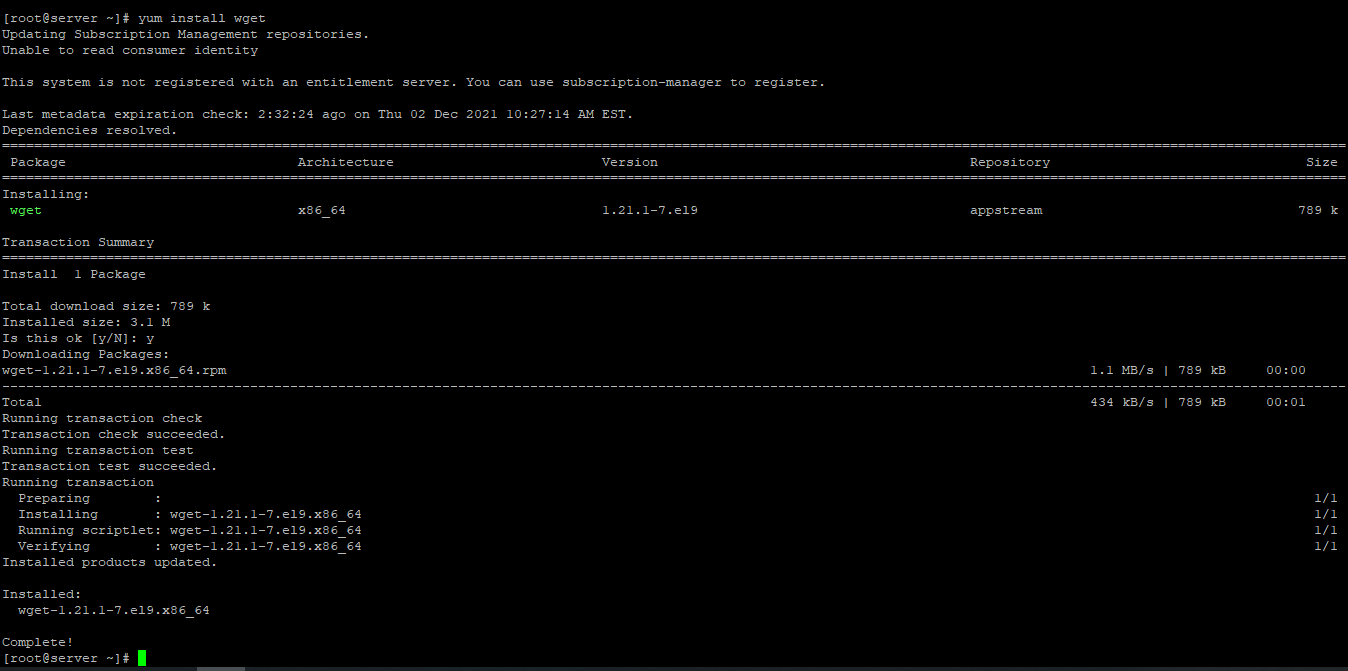
Disable SELinux
Next, let us disable SELinux. We are going to set SELinux to permissive. Edit this file:
vi /etc/selinux/configThen update, Edit this line to permissive:
SELINUX=permissive Install Required Dependencies
Before installing Nagios need to install some required libraries to Nagios Core work properly
yum install -y httpd httpd-tools php gcc glibc glibc-common gd gd-devel make net-snmpCreate Nagios User and Group
useradd nagios
groupadd nagcmd
Next, add both the Nagios and the apache user to the nagcmd group
usermod -G nagcmd nagios
usermod -G nagcmd apache
Download Nagios Core and Nagios Plugin
Check latest version here: Nagios Core Official
Create a directory to install Nagios
mkdir /root/nagios
cd /root/nagios
Command to download Nagios and Nagios plugins
wget https://assets.nagios.com/downloads/nagioscore/releases/nagios-4.4.6.tar.gz
wget https://nagios-plugins.org/download/nagios-plugins-2.2.1.tar.gz
And extract Nagios and its Plugins
tar -xvf nagios-4.4.6.tar.gz
tar -xvf nagios-plugins-2.2.1.tar.gz
Configure Nagios
Enter into Nagios directory
cd nagios-4.4.6/And run Nagios Configure file
./configure --with-command-group=nagcmdAfter configuring, compile and installing required libraries using the make command
make all
make install
In the above output, we can see it listed some libraries to install we can install those using the make install command
for eg,
make install-init
make install-commandmode
make install-config
Remember, these are SAMPLE config files. You'll need to read the documentation for more information on how to define services, hosts, etc. to fit your particular needs.
To get Email alerts configure the file /usr/local/nagios/etc/objects/contacts.cfg
vi /usr/local/nagios/etc/objects/contacts.cfg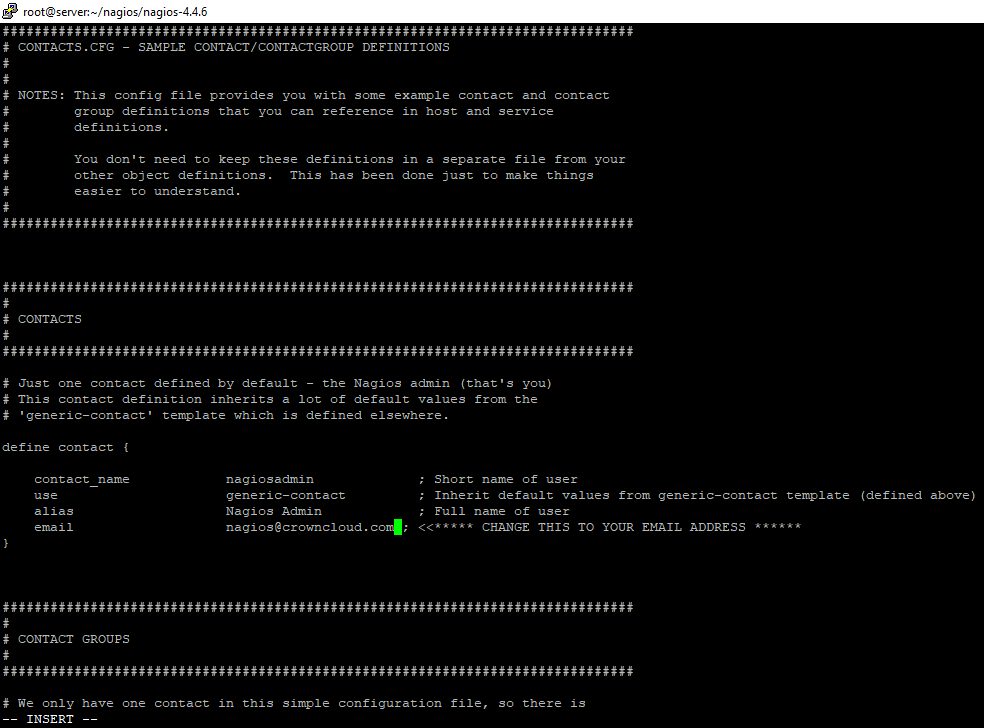
NOTE: Replace your Email ID in place of nagios@crowncloud.com
Install and Configure Web Interface for Nagios
Command to install Web interface
make install-webconfCommand to set a password for the Web interface
htpasswd -s -c /usr/local/nagios/etc/htpasswd.users nagiosadminRestart Apache
systemctl start httpd.serviceEnable Port 80 & 443
firewall-cmd --zone=public --add-port=80/tcp --permanent
firewall-cmd --zone=public --add-port=443/tcp --permanent
firewall-cmd --reload
Compile and Install Nagios Plugin libraries
Switch to Nagios Plugin
cd /root/nagios
cd nagios-plugins-2.2.1/
And run Nagios Plugin Configuration file
./configure --with-nagios-user=nagios --with-nagios-group=nagiosNext, Compile and Install required libraries
make all
make install
Command to verify Nagios Configuration Files
/usr/local/nagios/bin/nagios -v /usr/local/nagios/etc/nagios.cfgEnable Nagios Services
systemctl enable nagios
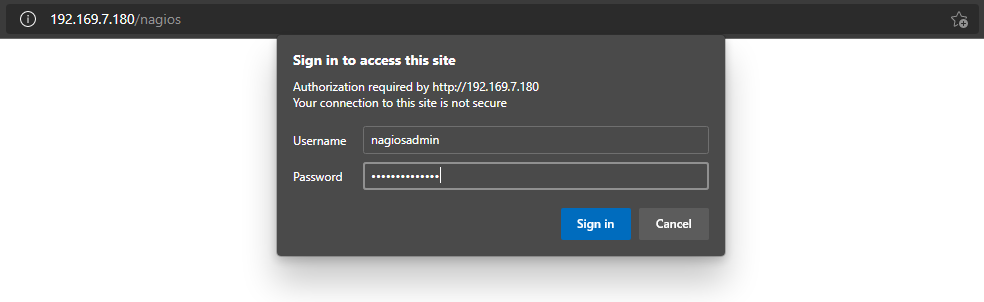
systemctl enable httpd Login to the Nagios Web Interface
Open a Web browser and enter the following URL to login Nagios Web Interface
NOTE: Replace with your IP address or Fully qualified domain name in place of Your-server-IP-address FQDN
http://Your-server-IP-address/nagios
or
http://FQDN/nagios
NOTE: Login for the Nagios Web Interface is default Username nagiosadmin and the Password you have set before in the previous step.
Nagios Login
Nagios Web Dashboard
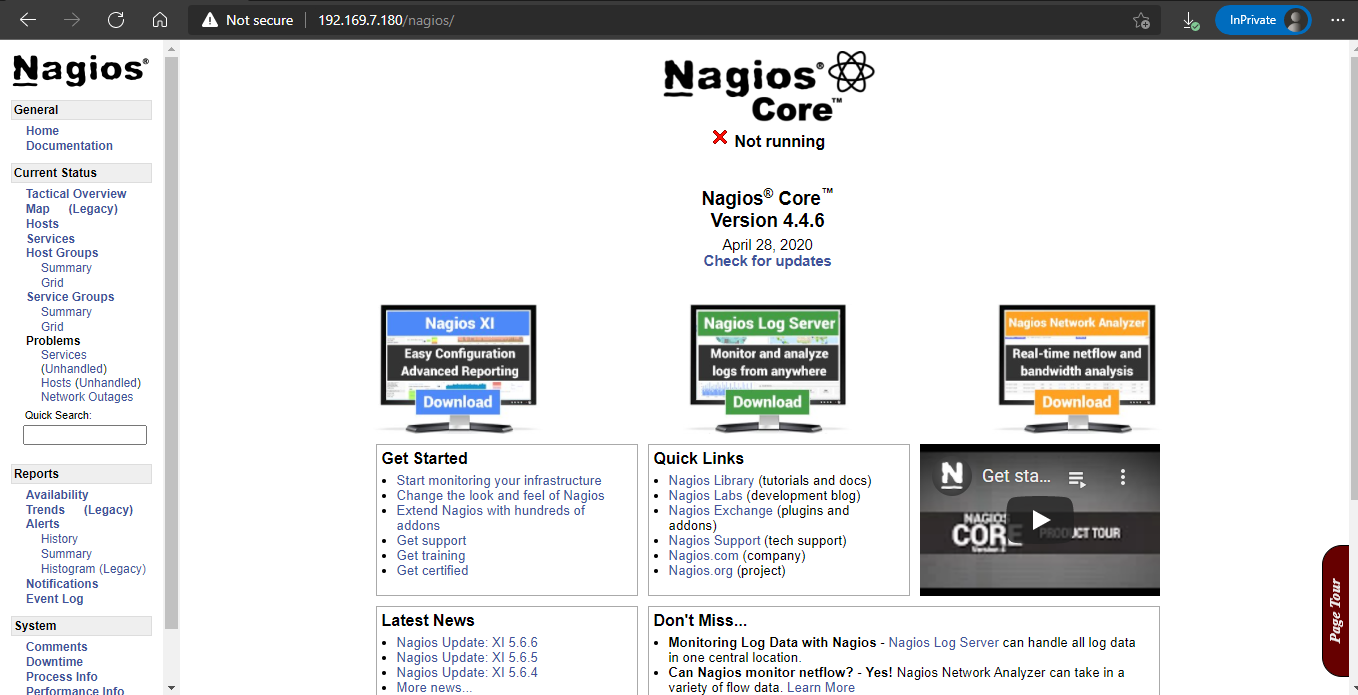
Now you have successfully installed Nagios on CentOS Stream 9.
If you can not configure and face technical difficulties, kindly reach out to us via Support Ticket.
CrownCloud - Get a SSD powered KVM VPS at $4.5/month!
Use the code WELCOME for 10% off!
1 GB RAM / 25 GB SSD / 1 CPU Core / 1 TB Bandwidth per month
Available Locations: LAX | MIA | ATL | FRA | AMS