How to Install NextCloud with LEMP Stack on CentOS Stream 10
NextCloud is a self-hosted cloud storage platform that allows users to store, sync, and share data securely. This guide will walk you through installing NextCloud with the LEMP (Linux, Nginx, MariaDB, PHP) stack on CentOS Stream 10.
Update Your System
Ensure all packages are up to date:
dnf update -yOutput:
[root@vps ~]# dnf update -y
CentOS Stream 10 - BaseOS                       4.8 MB/s | 6.6 MB     00:01
CentOS Stream 10 - AppStream                    3.1 MB/s | 3.1 MB     00:01
CentOS Stream 10 - Extras packages              6.4 kB/s | 3.8 kB     00:00
Dependencies resolved.
================================================================================
 Package                      Arch   Version                    Repo       Size
================================================================================
Installing:
 kernel                       x86_64 6.12.0-56.el10             baseos    6.1 k
Upgrading:
 NetworkManager               x86_64 1:1.51.90-2.el10           baseos    2.2 M
 NetworkManager-libnm         x86_64 1:1.51.90-2.el10           baseos    1.9 M
 NetworkManager-tui           x86_64 1:1.51.90-2.el10           baseos    231 k
 amd-gpu-firmware             noarch 20250212-14.el10           appstream  27 M
 amd-ucode-firmware           noarch 20250212-14.el10           baseos    307 k
 atheros-firmware             noarch 20250212-14.el10           baseos     37 M
 bash                         x86_64 5.2.26-6.el10              baseos    1.8 M
 binutils                     x86_64 2.41-52.el10               baseos    6.2 M
 binutils-gold                x86_64 2.41-52.el10               baseos    737 k
Install Nginx
Install and enable Nginx:
dnf install nginx -y
systemctl enable --now nginx
Output:
[root@vps ~]# dnf install nginx -y
systemctl enable --now nginx
Last metadata expiration check: 0:27:30 ago on Fri 28 Feb 2025 06:04:14 PM UTC.
Dependencies resolved.
================================================================================
 Package                 Arch        Version               Repository      Size
================================================================================
Installing:
 nginx                   x86_64      2:1.26.2-4.el10       appstream       33 k
Installing dependencies:
 centos-logos-httpd      noarch      100.2-2.el10          appstream      855 k
 nginx-core              x86_64      2:1.26.2-4.el10       appstream      661 k
 nginx-filesystem        noarch      2:1.26.2-4.el10       appstream       12 k
 zlib-ng                 x86_64      2.2.3-1.el10          appstream       83 k

Transaction Summary
================================================================================
Install  5 Packages

Total download size: 1.6 M
Installed size: 3.4 M
Downloading Packages:
(1/5): centos-logos-httpd-100.2-2.el10.noarch.r  11 MB/s | 855 kB     00:00
(2/5): nginx-1.26.2-4.el10.x86_64.rpm           332 kB/s |  33 kB     00:00
(3/5): nginx-filesystem-1.26.2-4.el10.noarch.rp 342 kB/s |  12 kB     00:00
(4/5): zlib-ng-2.2.3-1.el10.x86_64.rpm          1.6 MB/s |  83 kB     00:00
(5/5): nginx-core-1.26.2-4.el10.x86_64.rpm      3.8 MB/s | 661 kB     00:00
--------------------------------------------------------------------------------
Total                                           4.1 MB/s | 1.6 MB     00:00
Running transaction check
Transaction check succeeded.
Running transaction test
Transaction test succeeded.
Running transaction
  Preparing        :                                                        1/1
  Running scriptlet: nginx-filesystem-2:1.26.2-4.el10.noarch                1/5
  Installing       : nginx-filesystem-2:1.26.2-4.el10.noarch                1/5
  Installing       : zlib-ng-2.2.3-1.el10.x86_64                            2/5
  Installing       : nginx-core-2:1.26.2-4.el10.x86_64                      3/5
  Installing       : centos-logos-httpd-100.2-2.el10.noarch                 4/5
  Installing       : nginx-2:1.26.2-4.el10.x86_64                           5/5
  Running scriptlet: nginx-2:1.26.2-4.el10.x86_64                           5/5

Installed:
  centos-logos-httpd-100.2-2.el10.noarch
  nginx-2:1.26.2-4.el10.x86_64
  nginx-core-2:1.26.2-4.el10.x86_64
  nginx-filesystem-2:1.26.2-4.el10.noarch
  zlib-ng-2.2.3-1.el10.x86_64

Complete!
Created symlink '/etc/systemd/system/multi-user.target.wants/nginx.service' → '/usr/lib/systemd/system/nginx.service'.
Verify that Nginx is running:
systemctl status nginxOutput:
[root@vps ~]# systemctl status nginx
● nginx.service - The nginx HTTP and reverse proxy server
     Loaded: loaded (/usr/lib/systemd/system/nginx.service; enabled; preset: di>
     Active: active (running) since Fri 2025-02-28 18:31:47 UTC; 1min 7s ago
 Invocation: fdd17755c8f34689be3dcfa339983e5b
    Process: 25387 ExecStartPre=/usr/bin/rm -f /run/nginx.pid (code=exited, sta>
    Process: 25389 ExecStartPre=/usr/sbin/nginx -t (code=exited, status=0/SUCCE>
    Process: 25392 ExecStart=/usr/sbin/nginx (code=exited, status=0/SUCCESS)
   Main PID: 25396 (nginx)
      Tasks: 5 (limit: 23188)
     Memory: 4.3M (peak: 4.4M)
        CPU: 70ms
     CGroup: /system.slice/nginx.service
             ├─25396 "nginx: master process /usr/sbin/nginx"
             ├─25397 "nginx: worker process"
             ├─25398 "nginx: worker process"
             ├─25399 "nginx: worker process"
             └─25400 "nginx: worker process"

Feb 28 18:31:47 vps.server.com systemd[1]: Starting nginx.service - The nginx H>
Feb 28 18:31:47 vps.server.com nginx[25389]: nginx: the configuration file /etc>
Feb 28 18:31:47 vps.server.com nginx[25389]: nginx: configuration file /etc/ngi>
Feb 28 18:31:47 vps.server.com systemd[1]: Started nginx.service - The nginx HT>
lines 1-22/22 (END)
Install MariaDB (MySQL Server)
Install and start MariaDB:
dnf install mariadb-server -y
systemctl enable --now mariadb
[root@vps ~]# dnf install mariadb-server -y
sudo systemctl enable --now mariadb
Last metadata expiration check: 0:29:34 ago on Fri 28 Feb 2025 06:04:14 PM UTC.
Dependencies resolved.
================================================================================
Package Arch Version Repository Size
================================================================================
Installing:
mariadb-server x86_64 3:10.11.11-1.el10 appstream 9.9 M
Installing dependencies:
checkpolicy x86_64 3.8-1.el10 appstream 358 k
libaio x86_64 0.3.111-22.el10 baseos 25 k
mariadb x86_64 3:10.11.11-1.el10 appstream 1.6 M
mariadb-common noarch 3:10.11.11-1.el10 appstream 32 k
mariadb-connector-c x86_64 3.4.4-1.el10 baseos 211 k
mariadb-connector-c-config noarch 3.4.4-1.el10 baseos 9.9 k
mariadb-errmsg noarch 3:10.11.11-1.el10 appstream 263 k
mysql-selinux noarch 1.0.13-2.el10 appstream 38 k
perl-AutoLoader noarch 5.74-512.el10 baseos 22 k
perl-B x86_64 1.89-512.el10 baseos 176 k
perl-Carp noarch 1.54-511.el10 baseos 30 k
perl-Class-Struct noarch 0.68-512.el10 baseos 23 k
perl-DBD-MariaDB x86_64 1.23-10.el10 appstream 155 k
perl-DBI x86_64 1.643-26.el10 appstream 713 k
perl-Data-Dumper x86_64 2.189-512.el10 baseos 57 k
perl-Digest noarch 1.20-511.el10 baseos 26 k
perl-Digest-MD5 x86_64 2.59-6.el10 baseos 37 k
Complete!
Created symlink '/etc/systemd/system/mysql.service' → '/usr/lib/systemd/system/mariadb.service'.
Created symlink '/etc/systemd/system/mysqld.service' → '/usr/lib/systemd/system/mariadb.service'.
Created symlink '/etc/systemd/system/multi-user.target.wants/mariadb.service' → '/usr/lib/systemd/system/mariadb.service'.Secure the installation:
mysql_secure_installationOutput:
[root@vps ~]# mysql_secure_installation

NOTE: RUNNING ALL PARTS OF THIS SCRIPT IS RECOMMENDED FOR ALL MariaDB
      SERVERS IN PRODUCTION USE!  PLEASE READ EACH STEP CAREFULLY!

In order to log into MariaDB to secure it, we'll need the current
password for the root user. If you've just installed MariaDB, and
haven't set the root password yet, you should just press enter here.

Enter current password for root (enter for none):
OK, successfully used password, moving on...

Setting the root password or using the unix_socket ensures that nobody
can log into the MariaDB root user without the proper authorisation.

You already have your root account protected, so you can safely answer 'n'.

Switch to unix_socket authentication [Y/n] y
Enabled successfully!
Reloading privilege tables..
 ... Success!

You already have your root account protected, so you can safely answer 'n'.

Change the root password? [Y/n] y
New password:
Re-enter new password:
Password updated successfully!
Reloading privilege tables..
 ... Success!

By default, a MariaDB installation has an anonymous user, allowing anyone
to log into MariaDB without having to have a user account created for
them.  This is intended only for testing, and to make the installation
go a bit smoother.  You should remove them before moving into a
production environment.

Remove anonymous users? [Y/n] y
 ... Success!

Normally, root should only be allowed to connect from 'localhost'.  This
ensures that someone cannot guess at the root password from the network.

Disallow root login remotely? [Y/n] y
 ... Success!

By default, MariaDB comes with a database named 'test' that anyone can
access.  This is also intended only for testing, and should be removed
before moving into a production environment.

Remove test database and access to it? [Y/n] y
 - Dropping test database...
 ... Success!
 - Removing privileges on test database...
 ... Success!

Reloading the privilege tables will ensure that all changes made so far
will take effect immediately.

Reload privilege tables now? [Y/n] y
 ... Success!

Cleaning up...

All done!  If you've completed all of the above steps, your MariaDB
installation should now be secure.

Thanks for using MariaDB!
Follow the prompts to configure security settings.
Create a database and user for NextCloud:
mysql -u root -pCREATE DATABASE nextcloud;
CREATE USER 'nextclouduser'@'localhost' IDENTIFIED BY 'StrongPassword';
GRANT ALL PRIVILEGES ON nextcloud.* TO 'nextclouduser'@'localhost';
FLUSH PRIVILEGES;
EXIT; Install PHP 8.2 and Required Extensions
dnf install epel-release -y
dnf install dnf-utils -y
dnf module enable php:8.2 -y
dnf install php php-fpm php-mysqlnd php-curl php-gd php-intl php-mbstring php-xml php-zip php-bz2 php-cli php-common php-opcache php-imagick -y
Modify PHP-FPM configuration:
vi /etc/php-fpm.d/www.confChange:
user = apache
group = apache
to:
user = nginx
group = nginx
Restart PHP-FPM:
systemctl enable --now php-fpmOutput:
systemctl enable --now php-fpm
Created symlink '/etc/systemd/system/multi-user.target.wants/php-fpm.service' → '/usr/lib/systemd/system/php-fpm.service'.
Download and Configure NextCloud
cd /var/www/
curl -O https://download.nextcloud.com/server/releases/latest.tar.bz2
Output:
[root@vps ~]# cd /var/www/
curl -O https://download.nextcloud.com/server/releases/latest.tar.bz2
  % Total    % Received % Xferd  Average Speed   Time    Time     Time  Current
                                 Dload  Upload   Total   Spent    Left  Speed
100  215M  100  215M    0     0  19.7M      0  0:00:10  0:00:10 --:--:-- 23.1M
Install tar
dnf install tar -yOutput:
[root@vps www]# dnf install tar -y
Last metadata expiration check: 0:02:21 ago on Fri 28 Feb 2025 06:39:56 PM UTC.
Dependencies resolved.
=============================================================================================================================================================================================
 Package                                  Architecture                                Version                                              Repository                                   Size
=============================================================================================================================================================================================
Installing:
 tar                                      x86_64                                      2:1.35-7.el10                                        baseos                                      863 k

Transaction Summary
=============================================================================================================================================================================================
Install  1 Package

Total download size: 863 k
Installed size: 3.0 M
Downloading Packages:
tar-1.35-7.el10.x86_64.rpm                                                                                                                                   4.6 MB/s | 863 kB     00:00
---------------------------------------------------------------------------------------------------------------------------------------------------------------------------------------------
Total                                                                                                                                                        1.7 MB/s | 863 kB     00:00
Running transaction check
Transaction check succeeded.
Running transaction test
Transaction test succeeded.
Running transaction
  Preparing        :                                                                                                                                                                     1/1
  Installing       : tar-2:1.35-7.el10.x86_64                                                                                                                                            1/1
  Running scriptlet: tar-2:1.35-7.el10.x86_64                                                                                                                                            1/1

Installed:
  tar-2:1.35-7.el10.x86_64

Complete!
Install bzip2
dnf install bzip2 -yOutput:
[root@vps www]# dnf install bzip2 -y
Last metadata expiration check: 0:03:24 ago on Fri 28 Feb 2025 06:39:56 PM UTC.
Dependencies resolved.
=============================================================================================================================================================================================
 Package                                    Architecture                                Version                                            Repository                                   Size
=============================================================================================================================================================================================
Installing:
 bzip2                                      x86_64                                      1.0.8-25.el10                                      baseos                                       54 k

Transaction Summary
=============================================================================================================================================================================================
Install  1 Package

Total download size: 54 k
Installed size: 93 k
Downloading Packages:
[MIRROR] bzip2-1.0.8-25.el10.x86_64.rpm: Status code: 404 for http://mirror.team-cymru.com/centos-stream/10-stream/BaseOS/x86_64/os/Packages/bzip2-1.0.8-25.el10.x86_64.rpm (IP: 216.31.2.234)
[MIRROR] bzip2-1.0.8-25.el10.x86_64.rpm: Status code: 404 for https://mirror.team-cymru.com/centos-stream/10-stream/BaseOS/x86_64/os/Packages/bzip2-1.0.8-25.el10.x86_64.rpm (IP: 216.31.2.234)
bzip2-1.0.8-25.el10.x86_64.rpm                                                                                                                               100 kB/s |  54 kB     00:00
---------------------------------------------------------------------------------------------------------------------------------------------------------------------------------------------
Total                                                                                                                                                         70 kB/s |  54 kB     00:00
Running transaction check
Transaction check succeeded.
Running transaction test
Transaction test succeeded.
Running transaction
  Preparing        :                                                                                                                                                                     1/1
  Installing       : bzip2-1.0.8-25.el10.x86_64                                                                                                                                          1/1
  Running scriptlet: bzip2-1.0.8-25.el10.x86_64                                                                                                                                          1/1

Installed:
  bzip2-1.0.8-25.el10.x86_64

Complete!
tar -xjf latest.tar.bz2
chown -R nginx:nginx /var/www/nextcloud
chmod -R 755 /var/www/nextcloud Configure Nginx for NextCloud
Create a new Nginx configuration file:
vi /etc/nginx/conf.d/nextcloud.confAdd the following configuration:
server {
    listen 80;
    server_name your_server_ip;
    root /var/www/nextcloud/;
    index index.php index.html index.htm;
    client_max_body_size 512M;

    location / {
        try_files $uri $uri/ /index.php?$query_string;
    }

    location ~ ^/(?:build|tests|config|lib|3rdparty|templates|data)/ {
        deny all;
    }

    location ~ \.php$ {
        include fastcgi_params;
        fastcgi_pass unix:/run/php-fpm/www.sock;
        fastcgi_index index.php;
        fastcgi_param SCRIPT_FILENAME $document_root$fastcgi_script_name;
    }
}
Save and restart Nginx:
systemctl restart nginxSet correct SELinux permissions:
chcon -R -t httpd_sys_rw_content_t /var/www/nextcloud/Allow HTTP/HTTPS traffic:
firewall-cmd --add-service=http --permanent
firewall-cmd --add-service=https --permanent
firewall-cmd --reload
chown -R nginx:nginx /var/www/nextcloud/config
chmod -R 770 /var/www/nextcloud/config
setsebool -P httpd_unified 1
restorecon -Rv /var/www/nextcloud
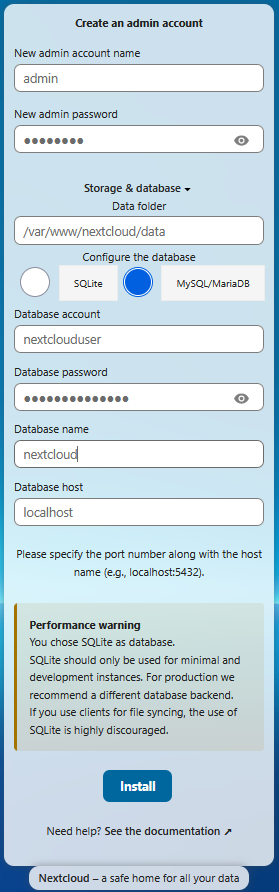
systemctl restart nginx php-fpm Finalize NextCloud Setup
- Open your browser and go to:
http://your_server_ip - Create an admin account.
- Use the following database credentials:
- Database user:
nextclouduser - Database password:
StrongPassword - Database name:
nextcloud - Database host:
localhost
- Database user:
- Click Finish Setup.
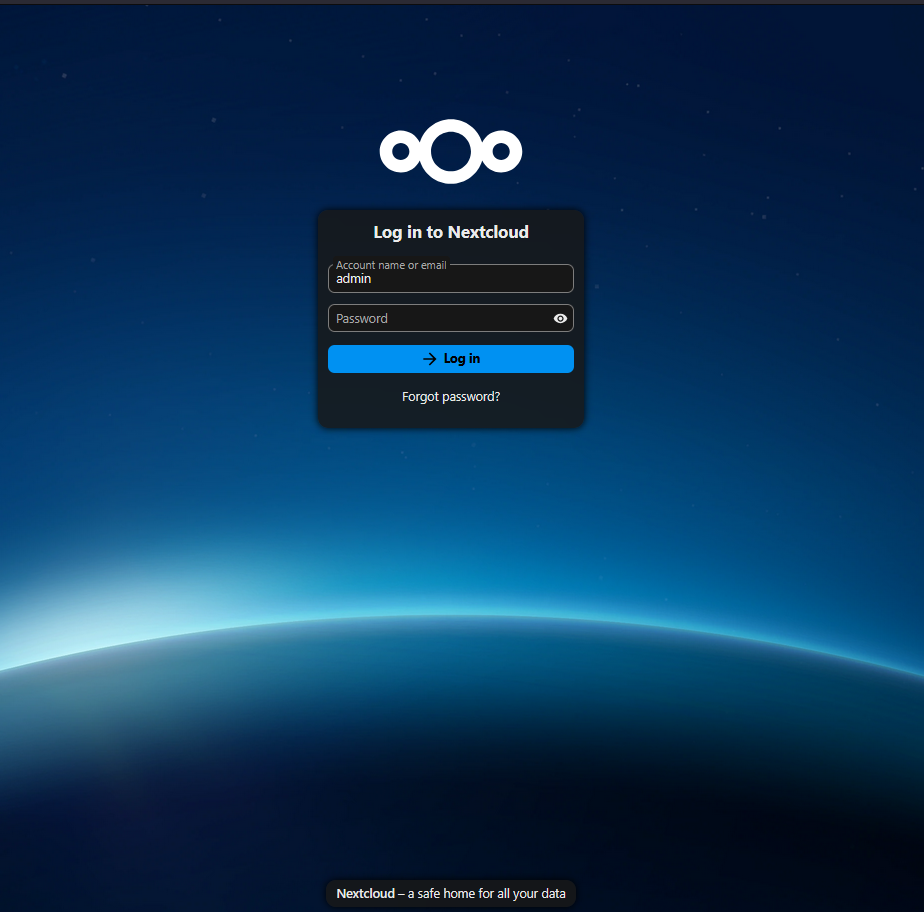
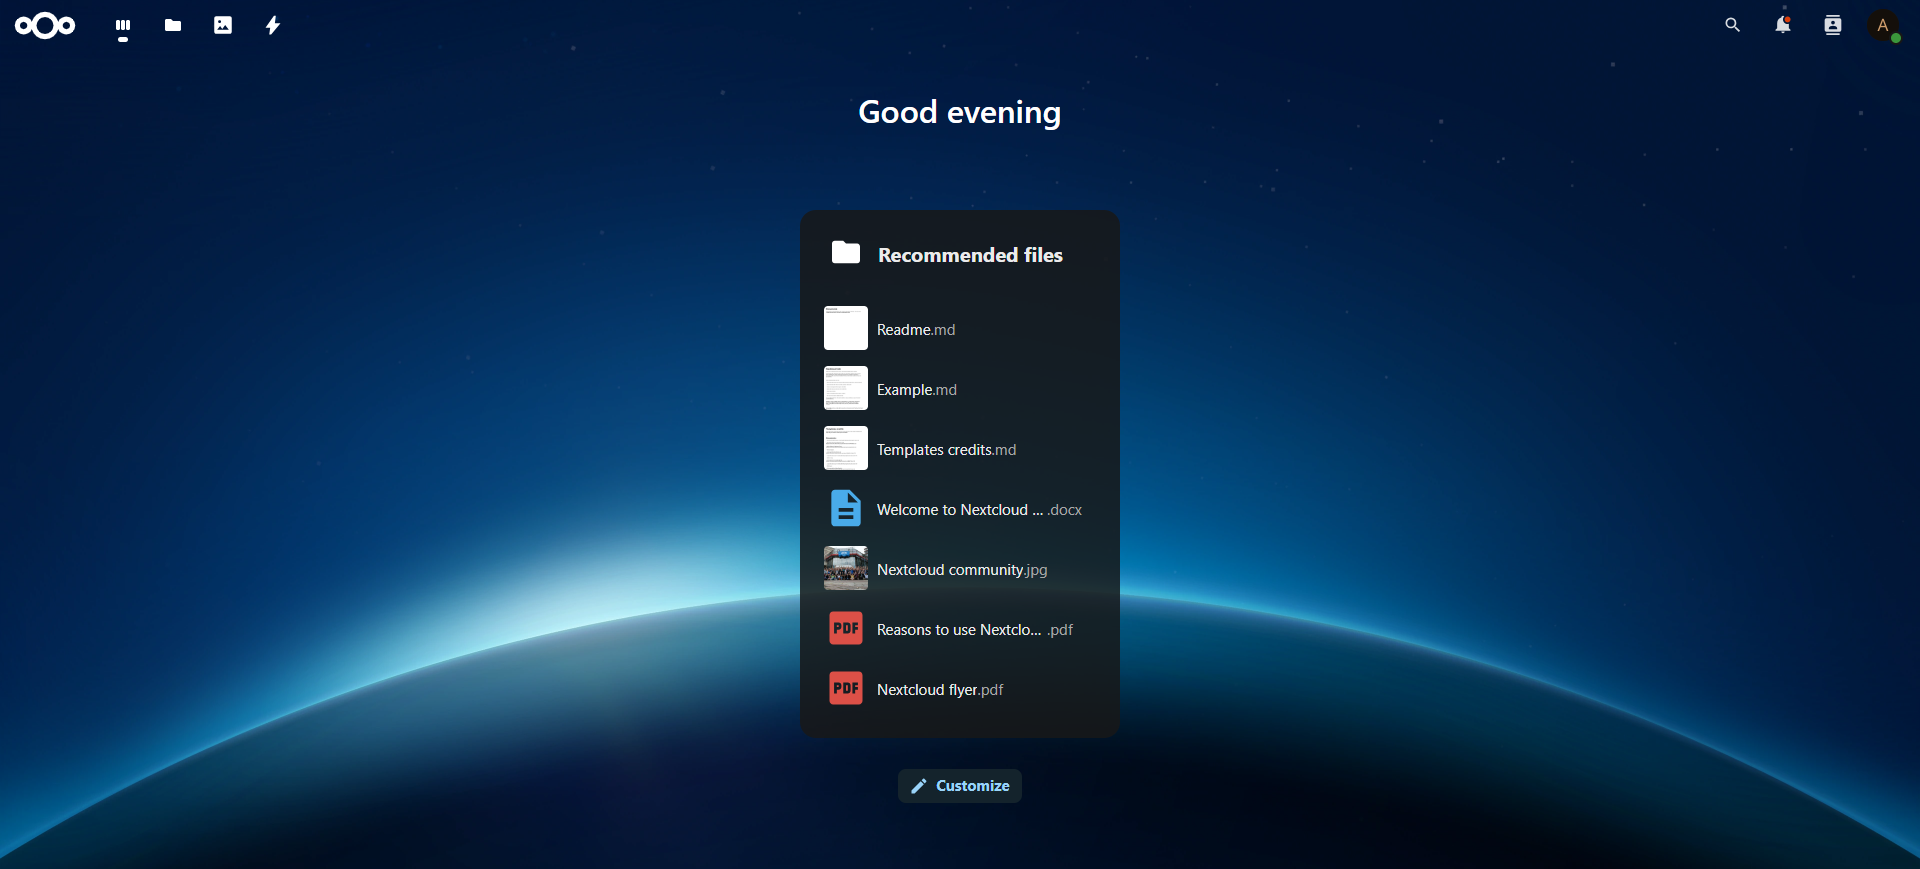

Enjoy your self-hosted cloud storage! 🚀
CrownCloud - Get a SSD powered KVM VPS at $4.5/month!
Use the code WELCOME for 10% off!
1 GB RAM / 25 GB SSD / 1 CPU Core / 1 TB Bandwidth per month
Available Locations: LAX | MIA | ATL | FRA | AMS