How to Install NextCloud with LEMP on CentOS Stream 9
NextCloud can be installed on a private home server or a virtual private server in the cloud. Files can then be uploaded and then synced to a local desktop, laptop, or even a smartphone. This way you have full control of your data.
Pre-requisites :
-
A system with CentOS Stream 9 installed and running.
-
rootaccess to the system. - LEMP Stack installed and running, for this, you can refer to one of our guides on installing the LEMP Stack (Nginx, MariaDB and PHP).
Once you're all set, we'll proceed with NextCloud installation and configuration.
Install Wget & Developer Tools
yum groupinstall "Development tools"

yum install wget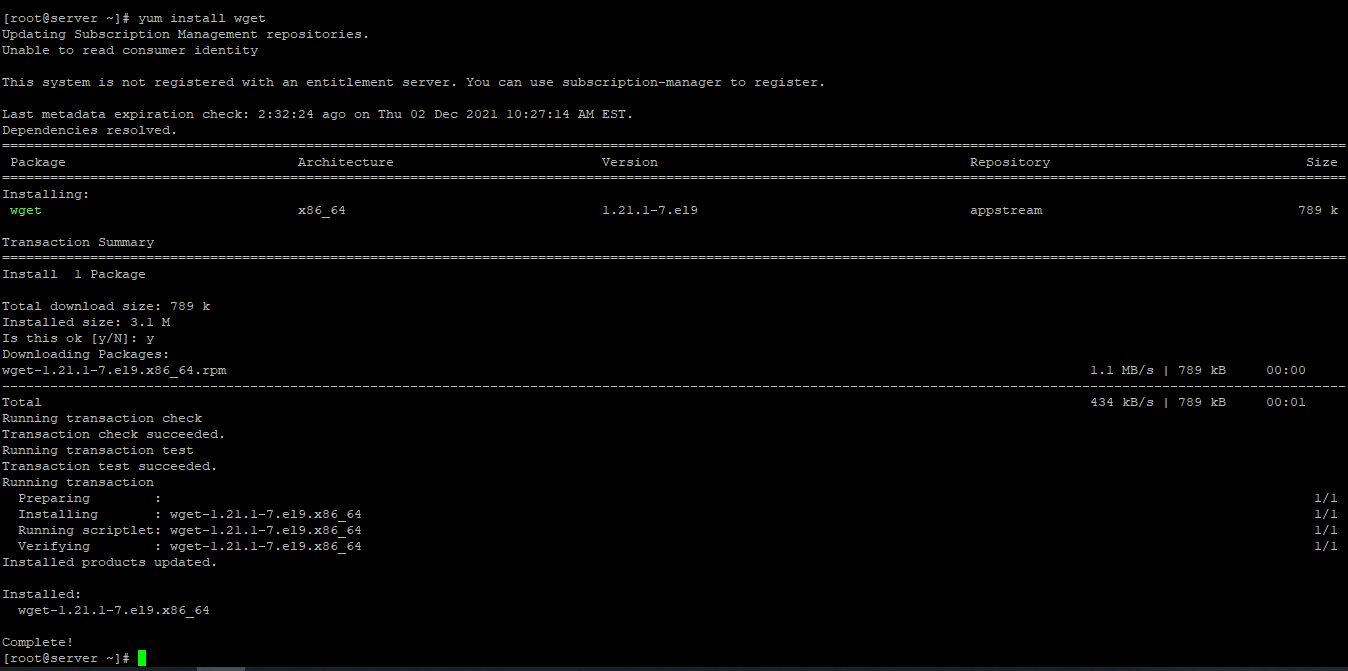
Disable SELinux
Next, let us disable SELinux. We are going to set SELinux to permisive. Edit this file:
vi /etc/selinux/configThen update, Edit this line to permisive:
SELINUX=permisive Download NextCloud
First, navigate to the /var/www/nextcloud directory as follows:
cd /var/www/nextcloudNow, download the latest NextCloud archive from the official website of NextCloud with the following command:
wget https://download.nextcloud.com/server/releases/nextcloud-23.0.0.zipCheck for the latest version here : NextCloud Official.
Check for files with the following command.
lsNow, extract the NextCloud archive file nextcloud-23.0.0.zip with the following command:
unzip nextcloud-23.0.0.zip Setting up FilePermission & Ownership
Now, change the owner and group of the nextcloud/ directory and its contents to Nginx as follows:
sudo chown -R nginx:nginx nextcloudNow, change the permission or the nextcloud/ directory and its content to 775 as follows:
chmod -Rf 755 nextcloudFor , some update needed 777.
chmod -Rf 777 nextcloud/sites/files

chcon -R -t httpd_sys_content_rw_t /var/www/nextcloud/

chown nginx.nginx -R /var/lib/php/session/
Nextcloud required a directory to keep its data. To create a data directory and set the proper permissions on the nextcloud directory
sudo mkdir -p /var/nextcloud/data

sudo chown -R nginx:nginx /var/nextcloud

sudo chmod -R 755 /var/nextcloud
We need PHP-ZIP Module to run NextCloud. Install it using the below code.
yum install php-zipEnable Firewall if not already done.
sudo firewall-cmd --add-service={http,https} --permanent

sudo firewall-cmd --reload
Configuring Nginx vHost
Create a new Nginx configuration file nextcloud.conf for NextCloud with the following command:
vi /etc/nginx/conf.d/nextcloud.confAdd the following codes:
server {
listen 80;

server_name nextcloud.crowncloud.com;
root /var/www/nextcloud;
index index.php;

location / {
    try_files $uri $uri/ /index.php?$args;
}

location = /favicon.ico {
    log_not_found off;
    access_log off;
}

location ~* \.(js|css|png|jpg|jpeg|gif|ico)$ {
    expires max;
    log_not_found off;
}

location = /robots.txt {
    allow all;
    log_not_found off;
    access_log off;
}

location ~ \.php$ {
    include /etc/nginx/fastcgi_params;
    fastcgi_pass unix:/run/php-fpm/www.sock;
    fastcgi_index index.php;
    fastcgi_param SCRIPT_FILENAME $document_root$fastcgi_script_name;
}
}
Change nextcloud.crowncloud.com with
Your Domain Name. If you are using with IP, Please remove the entire server_name line.
Now, press the Esc key, and type in :wq! and press the Enter key to save and exit the file.
Now, restart & check the Nginx & PHP-FPM service with the following commands:
systemctl restart php-fpm

systemctl restart nginx.service
Enable Firewall:
firewall-cmd --permanent --add-service=http

firewall-cmd --permanent --add-service=https

firewall-cmd --reload
Configuring Database
Now create a Database, User & Password for NextCloud:
mysql -u root

CREATE DATABASE ccpresta;

CREATE USER 'username'@'localhost' IDENTIFIED BY 'strong_password';

GRANT ALL PRIVILEGES ON NextCloud.* TO 'username'@'localhost';

FLUSH PRIVILEGES;

exit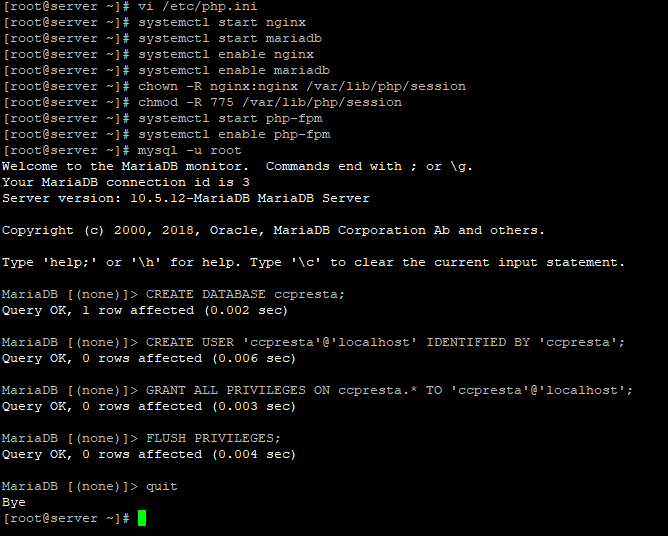
Configuring NextCloud
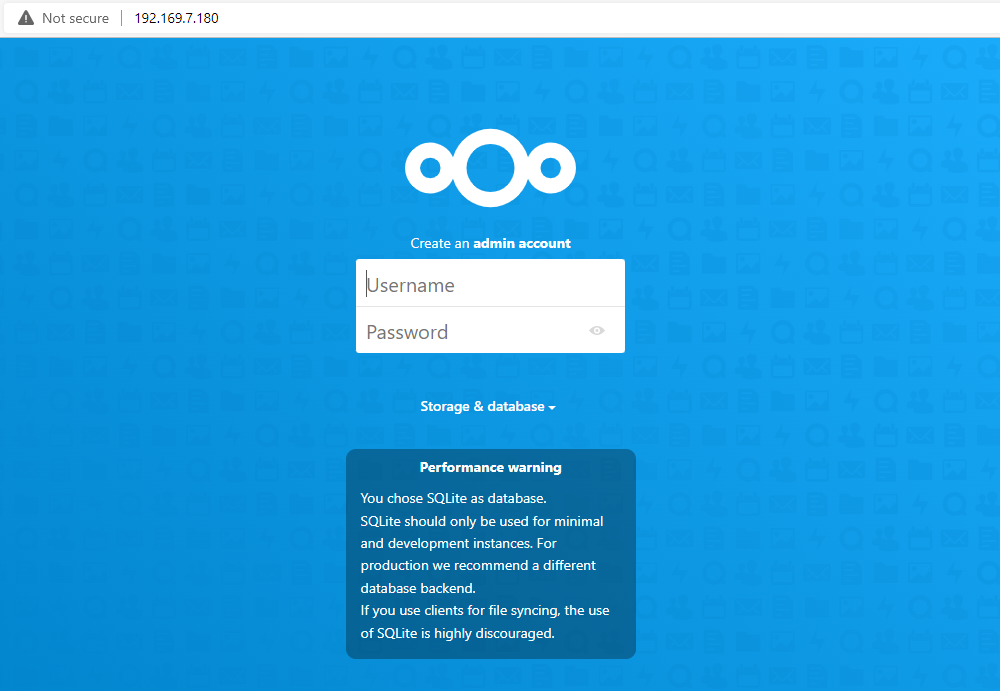
Now open the IP address from your browser, this will redirect you to configuring the final parts of the NextCloud installation.
http://IP_addressReplace the
IP_addresswith the actual IP of the server.
Input the Database details which was configured earlier.
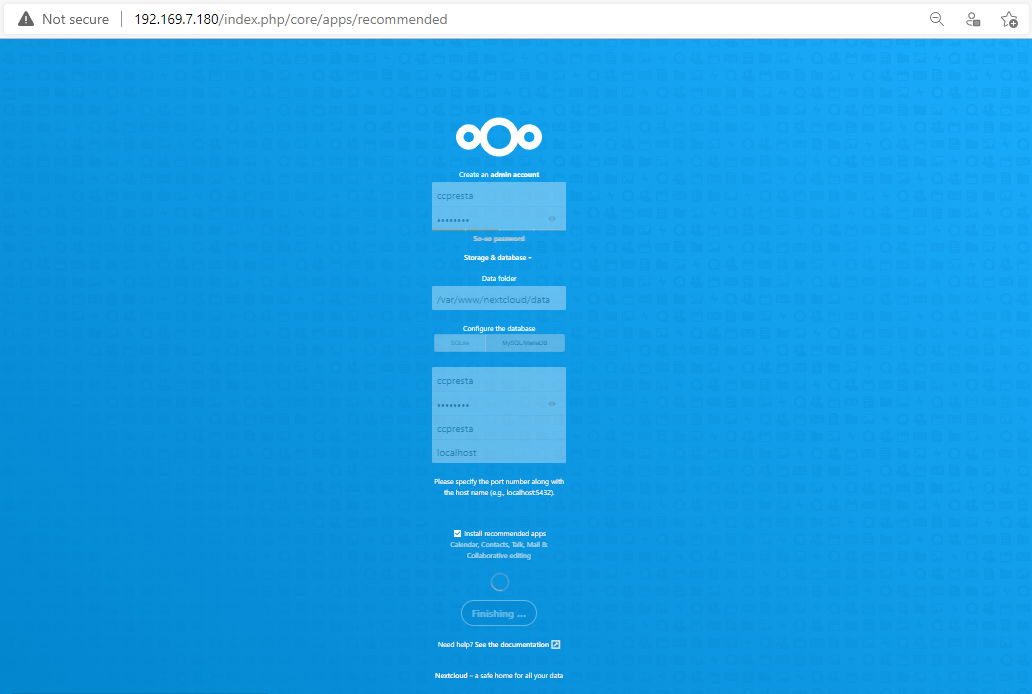
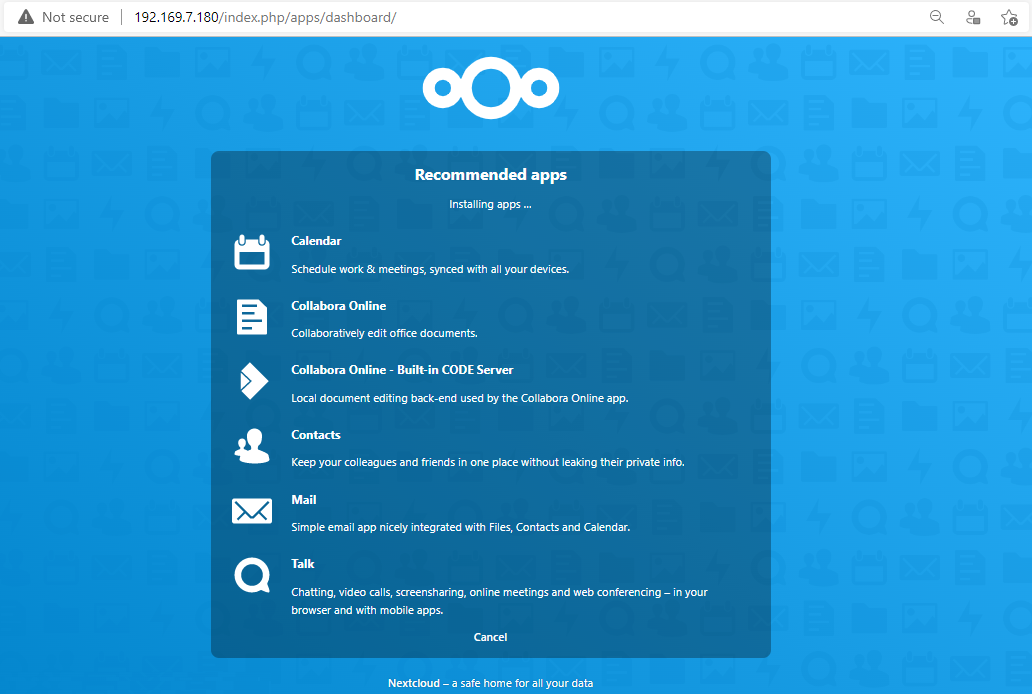
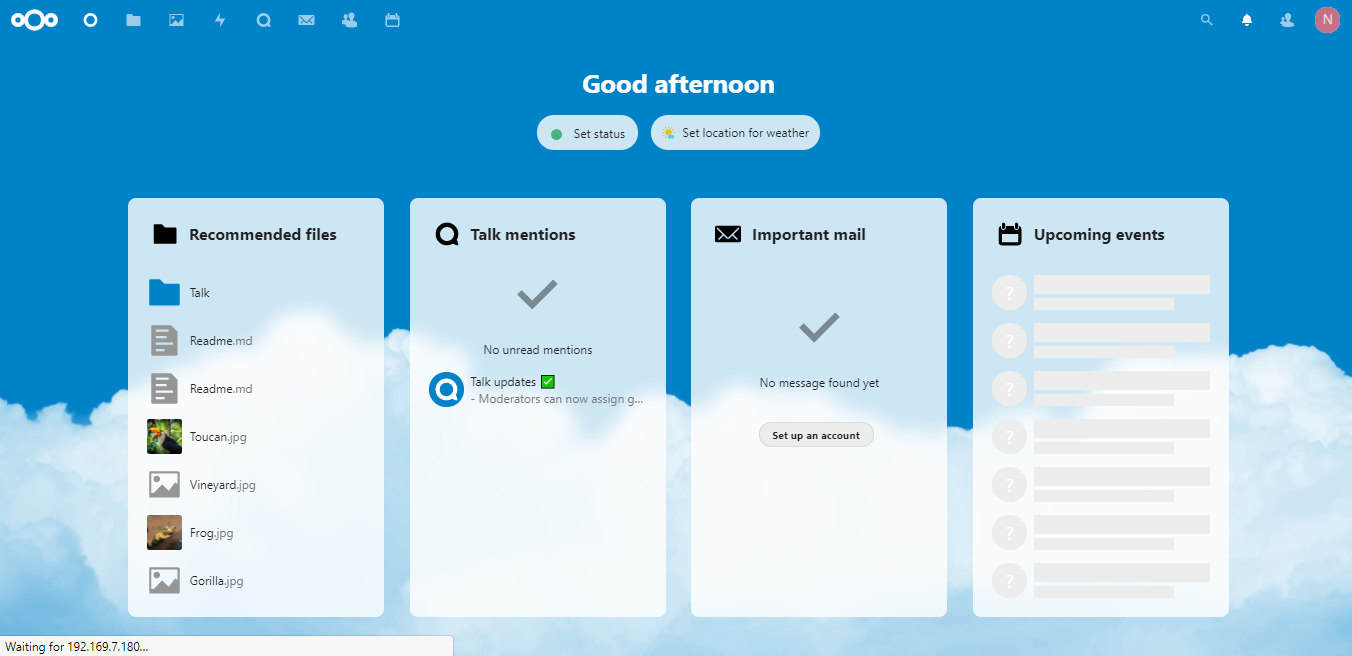
Now you have successfully installed NextCloud with LEMP on your server.
CrownCloud - Get a SSD powered KVM VPS at $4.5/month!
Use the code WELCOME for 10% off!
1 GB RAM / 25 GB SSD / 1 CPU Core / 1 TB Bandwidth per month
Available Locations: LAX | MIA | ATL | FRA | AMS