How to Install PhpMyAdmin in Ubuntu 20.04
In this guide, we will demonstrate how phpmyadmin is installed on a Ubuntu 20.04 system. Phpmyadmin requires a standalone Database or as part of LEMP stack, installed and running on the system before hand.
Prerequisites:
Server with Nginx, PHP and MariaDB. You can find our LEMP Installation guide here.
OR
Server with Apache, PHP and MariaDB. We also have the guide for LAMP Stack as well here.
Installling PhpMyAdmin
apt install phpmyadminOutput:
root@vps:~# apt install phpmyadmin
Reading package lists... Done
Building dependency tree
Reading state information... Done
The following additional packages will be installed:
dbconfig-common dbconfig-mysql icc-profiles-free javascript-common
libjs-jquery libjs-openlayers libjs-sphinxdoc libjs-underscore libzip5
php-bz2 php-google-recaptcha php-mysql php-phpmyadmin-motranslator
php-phpmyadmin-shapefile php-phpmyadmin-sql-parser php-phpseclib
php-psr-cache php-psr-container php-psr-log php-symfony-cache
php-symfony-cache-contracts php-symfony-expression-language
Create Symbolic Link
Create a symbolic link from the installation files to Nginx's document root directory.
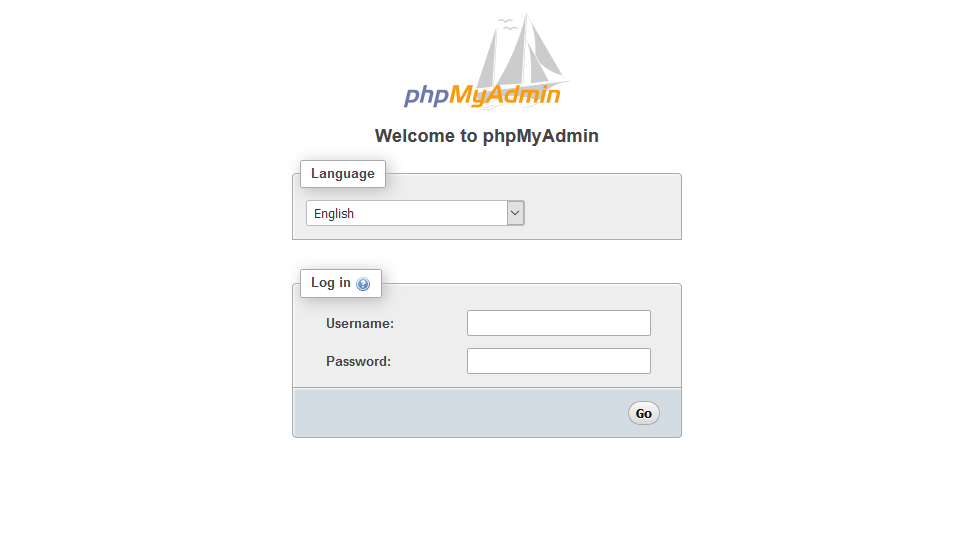
sudo ln -s /usr/share/phpmyadmin /var/www/html/phpmyadminEnter it into your browser's address bar to check phpmyadmin is installed. http://yourserver-ip-address/phpmyadmin/. You should see a page similar to below one.
Done!
CrownCloud - Get a SSD powered KVM VPS at $4.5/month!
Use the code WELCOME for 10% off!
1 GB RAM / 25 GB SSD / 1 CPU Core / 1 TB Bandwidth per month
Available Locations: LAX | MIA | ATL | FRA | AMS