How to Install Rocket.Chat with Docker on AlmaLinux 8
Rocket.Chat is an open-source fully customizable communications platform developed in JavaScript for organizations with high standards of data protection. In this article, we are going to learn how to install Rocket.Chat on AlmaLinux 8. So, let’s get started.
Checkout the Rocket.Chat Project Here.
Try this wiki on our VPS. Starting at just $5/month with 24x7 In-house customer support.
Pre-requisites
-
A system with AlmaLinux 8 installed and running.
-
rootaccess to the system. - Docker installed and running, for this, you can refer to one of our guides on installing Docker on AlmaLinux 8.
Once you're all set, we'll proceed with Rocket.Chat installation and configuration.
Install Nginx
Let's begin with installing Nginx. Install using the below codes.
yum install nginx -yEnable services
systemctl enable nginx

systemctl start nginx

systemctl status nginx
Enable Firewall
firewall-cmd --permanent --add-service=http

firewall-cmd --permanent --add-service=https

firewall-cmd --reload
Install Let’s Encrypt SSL Certificate
Let's issue an SSL certificate for the domain. For this, we will need the EPEL repository and the mod_ssl package on AlmaLinux 8 operating system.
Update and install EPEL repository and the mod_ssl package on the system using the below command:
dnf install epel-release mod_ssl -yNext, we will install the certbot client which is used to create Let's Encrypt certificates:
dnf install python3-certbot-nginx -yInstall SSL Certificate
Use the certbot command to issue a Let's Encrypt certificate. Replace dev.domainhere.info and dev@dev.domainhere.info with your domain name and email:
certbot --nginx --agree-tos --redirect --hsts --staple-ocsp --email dev@dev.domainhere.info -d dev.domainhere.infoSSL certificates are valid for 90 days. The renewal process is now automated, you do not have to renew this manually.
Restart Nginx
Restart apache to avoid getting error messages.
systemctl restart nginx Configuring Nginx Server Blocks
Let's configure nginx.conf with the following command:
nano /etc/nginx/nginx.confReplace the nginx.conf file with the below configuration.
# For more information on configuration, see:
#   * Official English Documentation: http://nginx.org/en/docs/
#   * Official Russian Documentation: http://nginx.org/ru/docs/

user nginx;
worker_processes auto;
error_log /var/log/nginx/error.log;
pid /run/nginx.pid;

# Load dynamic modules. See /usr/share/doc/nginx/README.dynamic.
include /usr/share/nginx/modules/*.conf;

events {
    worker_connections 1024;
}

http {
    log_format  main  '$remote_addr - $remote_user [$time_local] "$request" '
                  '$status $body_bytes_sent "$http_referer" '
                  '"$http_user_agent" "$http_x_forwarded_for"';

    access_log  /var/log/nginx/access.log  main;

    sendfile            on;
    tcp_nopush          on;
    tcp_nodelay         on;
    keepalive_timeout   65;
    types_hash_max_size 2048;

    include             /etc/nginx/mime.types;
    default_type        application/octet-stream;

    # Load modular configuration files from the /etc/nginx/conf.d directory.
    # See http://nginx.org/en/docs/ngx_core_module.html#include
    # for more information.
    include /etc/nginx/conf.d/*.conf;
}
Now, type Ctrl+O and type Ctrl+X to save and exit the file.
Create a new Nginx configuration file dev.conf for the domain with the following command:
vi /etc/nginx/conf.d/dev.confAdd the following codes:
Replace
dev.domainhere.info&192.169.7.180withYour Domain Name & IPand Change SSL Path according to your SSL Path.
upstream app {
    server 192.169.7.180:3000;
}

server {
listen 80 default_server;
server_name dev.domainhere.info;
return 301 https://$server_name$request_uri;
}

server {
    listen 443 ssl; # managed by Certbot
    # The host name to respond to
    server_name dev.domainhere.info;

    ssl_certificate /etc/letsencrypt/live/dev.domainhere.info/fullchain.pem; # managed by Certbot
    ssl_certificate_key /etc/letsencrypt/live/dev.domainhere.info/privkey.pem; # managed by Certbot
    include /etc/letsencrypt/options-ssl-nginx.conf; # managed by Certbot
    ssl_dhparam /etc/letsencrypt/ssl-dhparams.pem; # managed by Certbot

    location / {
    proxy_pass http://app;
    proxy_set_header X-Real-IP  $remote_addr;
    proxy_set_header X-Forwarded-For $remote_addr;
    proxy_set_header Host $host;
    proxy_set_header X-Real-Port $server_port;
    proxy_set_header X-Real-Scheme $scheme;
    }
}
Now, press the Esc key, and type :wq! and press the Enter key to save and exit the file.
For SELinux enabled systems, enable loopback for your upstream in SELinux. Run the below command:
setsebool -P httpd_can_network_connect 1Now, restart & check the Nginx with the following commands:
systemctl restart nginx

systemctl status nginx
Enable ports ( 3000,8000,8080,3002 )
To enable connection through the firewall, follow the commands:
firewall-cmd --zone=public --permanent --add-port 3000/tcp

firewall-cmd --zone=public --permanent --add-port 8000/tcp

firewall-cmd --zone=public --permanent --add-port 8080/tcp

firewall-cmd --zone=public --permanent --add-port 3002/tcp

firewall-cmd --reload
Install Rocket.Chat with Docker
The following instructions use the Docker service to install Rocket.Chat using the Rocket.Chat Docker Image. Let's install Rocket.Chat with Docker using the below commands:
mkdir -p /var/www/rocket.chat/data/runtime/db

mkdir -p /var/www/rocket.chat/data/dump

cd /var/www/rocket.chat
Let's configure docker-compose.yml with the following command:
nano docker-compose.ymlAdd the following configuration:
Edit the ROOT_URL value to be your FQDN.
Edit the ROCKETCHAT_URL to be your Public IP address. Keep the port (3000) the same.
Edit ROCKETCHAT_USER, ROCKETCHAT_PASSWORD, and BOT_NAME.
#CrownCloud
version: '2'

services:
  rocketchat:
    image: registry.rocket.chat/rocketchat/rocket.chat:latest
    command: >
      bash -c
        "for i in `seq 1 30`; do
          node main.js &&
          s=$$? && break || s=$$?;
          echo \"Tried $$i times. Waiting 5 secs...\";
          sleep 5;
        done; (exit $$s)"
    restart: unless-stopped
    volumes:
      - ./uploads:/app/uploads
    environment:
      - PORT=3000
      - ROOT_URL=https://dev.domainhere.info
      - MONGO_URL=mongodb://mongo:27017/rocketchat
      - MONGO_OPLOG_URL=mongodb://mongo:27017/local
      - REG_TOKEN=${REG_TOKEN}
      - Accounts_UseDNSDomainCheck=false
#       - MAIL_URL=smtp://smtp.email
#       - HTTP_PROXY=http://proxy.domain.com
#       - HTTPS_PROXY=http://proxy.domain.com
depends_on:
- mongo
ports:
- 3000:3000
labels:
- "traefik.backend=rocketchat"
- "traefik.frontend.rule=Host: your.domain.tld"

mongo:
image: mongo:4.0
restart: unless-stopped
volumes:
- ./data/db:/data/db
#- ./data/dump:/dump
command: mongod --smallfiles --oplogSize 128 --replSet rs0 --storageEngine=mmapv1
labels:
- "traefik.enable=false"

# this container's job is just run the command to initialize the replica set.
# it will run the command and remove himself (it will not stay running)
mongo-init-replica:
image: mongo:4.0
command: >
bash -c
"for i in `seq 1 30`; do
      mongo mongo/rocketchat --eval \"
        rs.initiate({
          _id: 'rs0',
          members: [ { _id: 0, host: 'localhost:27017' } ]})\" &&
      s=$$? && break || s=$$?;
      echo \"Tried $$i times. Waiting 5 secs...\";
      sleep 5;
    done; (exit $$s)"
depends_on:
- mongo

# hubot, the popular chatbot (add the bot user first and change the password before starting this image)
hubot:
image: rocketchat/hubot-rocketchat:latest
restart: unless-stopped
environment:
- ROCKETCHAT_URL=192.169.7.180:3000
- ROCKETCHAT_ROOM=GENERAL
- ROCKETCHAT_USER=crowncloud
- ROCKETCHAT_PASSWORD=crowncloud_password
- BOT_NAME=crowncloud
# you can add more scripts as you'd like here, they need to be installable by npm
- EXTERNAL_SCRIPTS=hubot-help,hubot-seen,hubot-links,hubot-diagnostics
depends_on:
- rocketchat
labels:
- "traefik.enable=false"
volumes:
- ./scripts:/home/hubot/scripts
# this is used to expose the hubot port for notifications on the host on port 3001, e.g. for hubot-jenkins-notifier
ports:
- 3002:8080

#CrownCloud
Now, type Ctrl+O and type Ctrl+X to save and exit the file.
Start the installation process using the below command:
docker-compose up -dThe installation process will start now. It may take 5-10 mins to complete.
If you have a registration token to automatically register the workspace you can provide it with:
REG_TOKEN={your token here} docker-compose up -dOptionally, if you want a bot, so you don't have to talk to yourself, after you've created an admin user and also a bot user, edit the file docker-compose.yml again to change the variables ROCKETCHAT_USER and ROCKETCHAT_PASSWORD in the hubot section and then start up hubot:
docker-compose up -d hubotTo update the rocketchat docker image to the latest version, you can use the following commands. Your data should not be affected by this, since it's located in the mongo image.
docker pull registry.rocket.chat/rocketchat/rocket.chat:latest

docker-compose stop rocketchat

docker-compose rm rocketchat

docker-compose up -d rocketchat
Automatic Startup & Crash Recovery
Let's enable automatic startup & crash recovery to Rocket.Chat, for that create below config files:
Create the upstart job for MongoDB
nano /etc/init/rocketchat_mongo.confAdd the following configuration:
description "MongoDB service manager for rocketchat"

# Start MongoDB after docker is running
start on (started docker)
stop on runlevel [!2345]

# Automatically Respawn with finite limits
respawn
respawn limit 99 5

# Path to our app
chdir /var/www/rocket.chat

script
    # Showtime
    exec /usr/local/bin/docker-compose up mongo
end script
Now, type Ctrl+O and type Ctrl+X to save and exit the file.
Create the upstart job for Rocket.Chat
nano /etc/init/rocketchat_app.confAdd the following configuration:
description "Rocketchat service manager"

# Start Rocketchat only after mongo job is running
start on (started rocketchat_mongo)
stop on runlevel [!2345]

# Automatically Respawn with finite limits
respawn
respawn limit 99 5

# Path to our app
chdir /var/www/rocket.chat

script
    # Bring up rocketchat app and hubot
    exec /usr/local/bin/docker-compose up rocketchat hubot
end script
Now, type Ctrl+O and type Ctrl+X to save and exit the file.
( Optional ) Registering & Configuring Hubot, the chat bot: Click Here
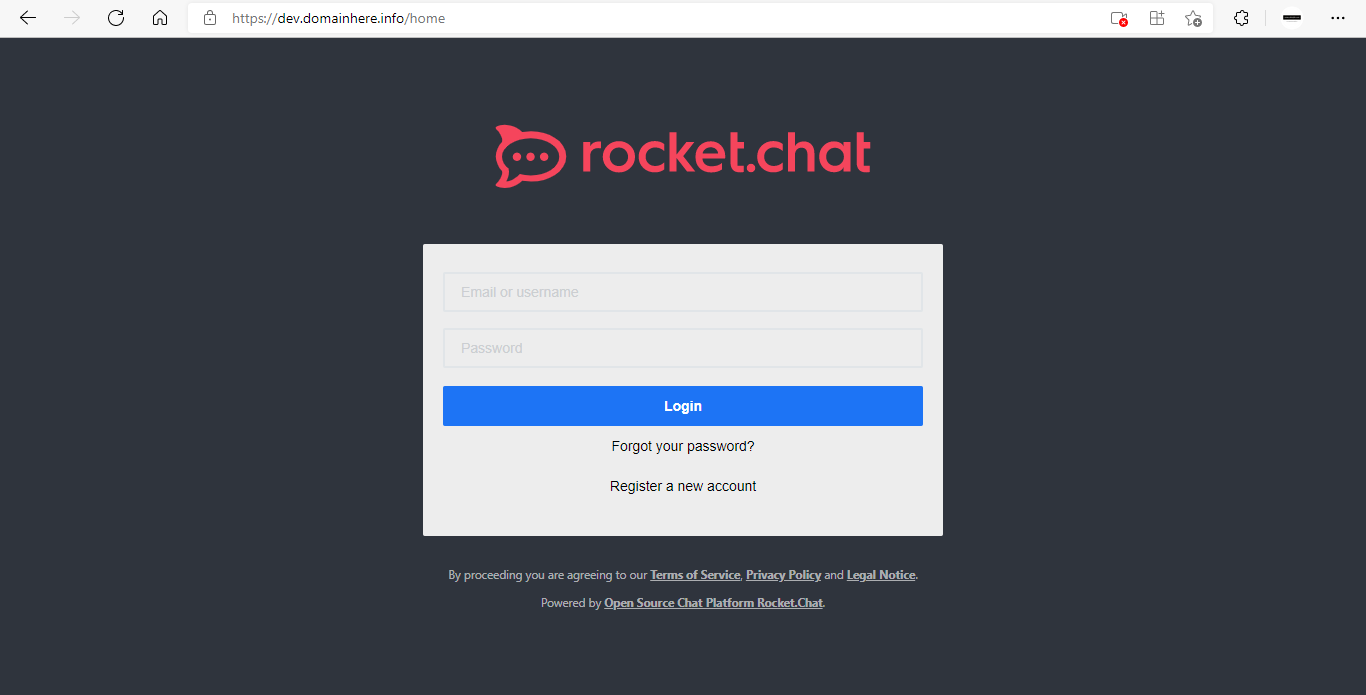
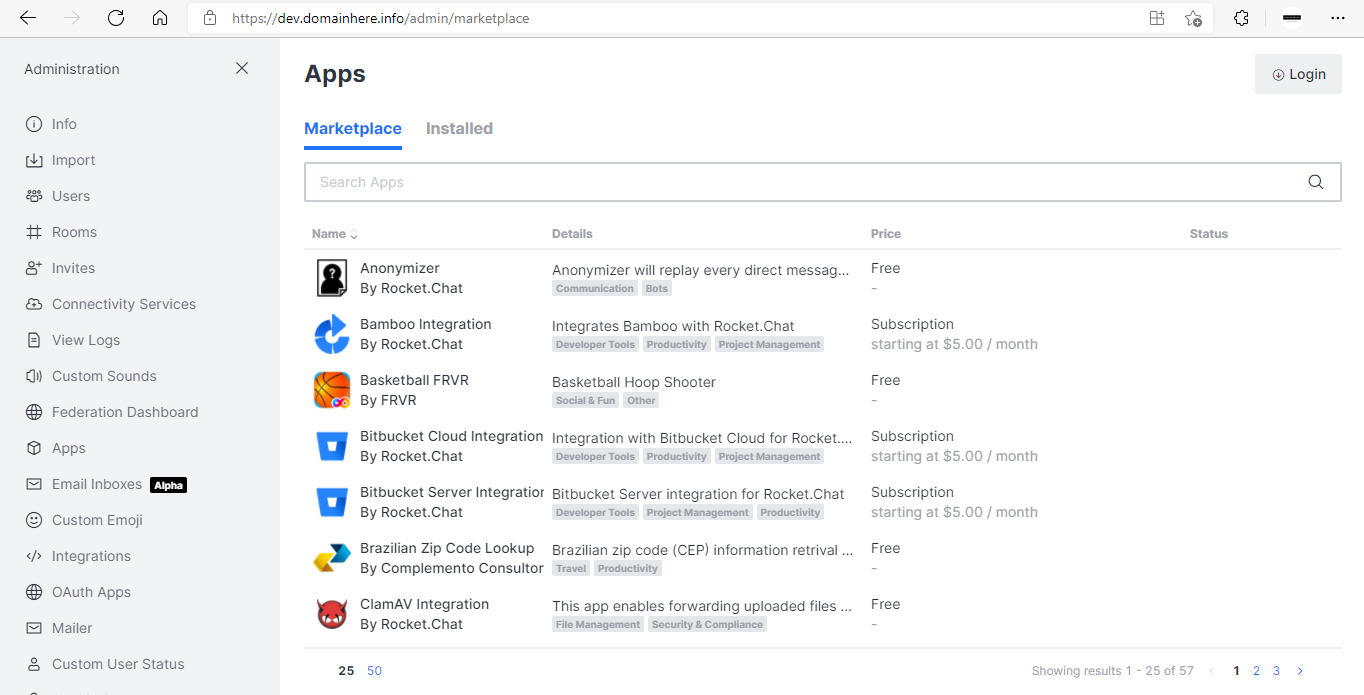
Accessing Rocket.Chat
Now open the IP address or Domain name from your browser, this will redirect you to the Rocket.Chat.
https://dev.domainhere.infoReplace the
dev.domainhere.infowith the actual IP or domain configured on the server.
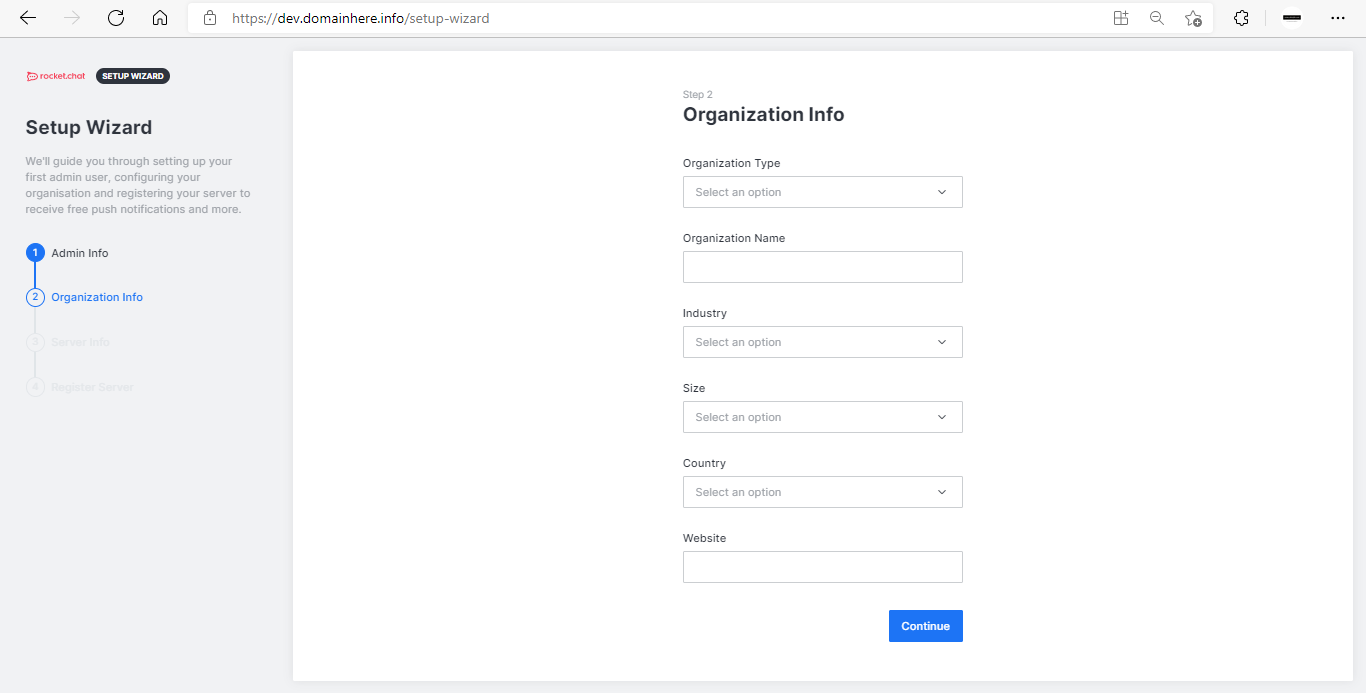
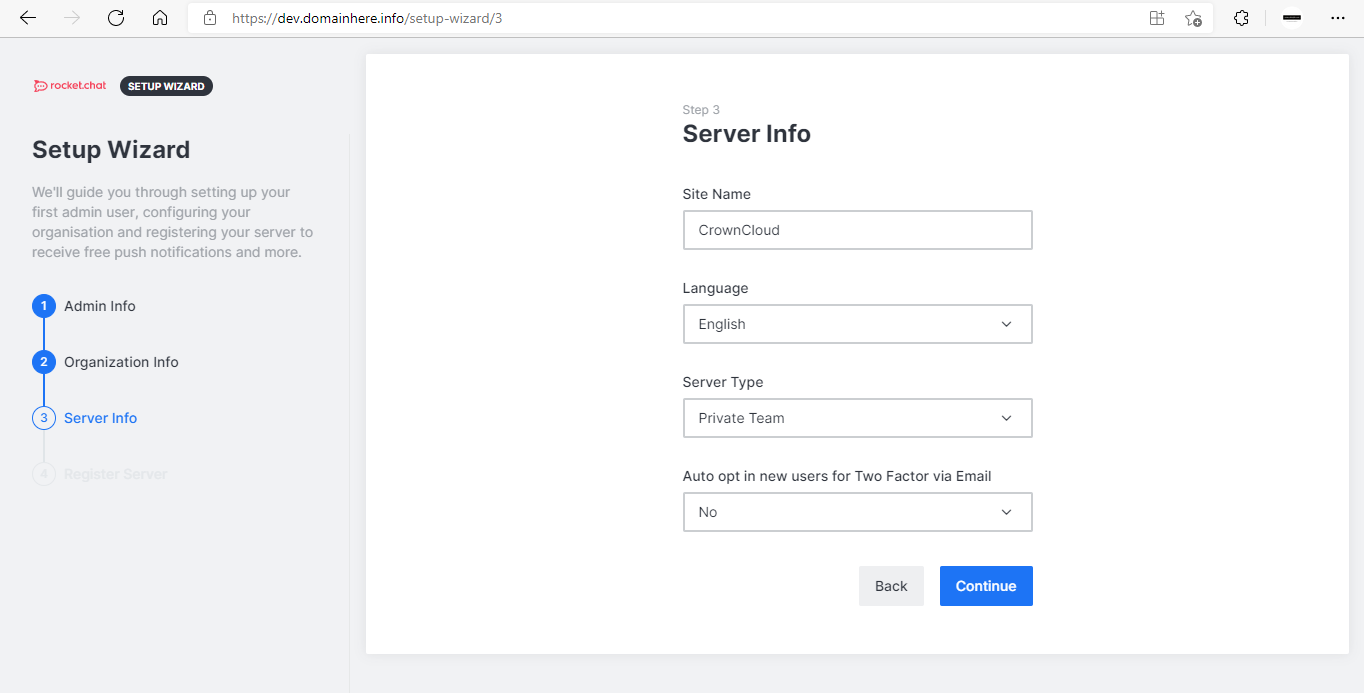
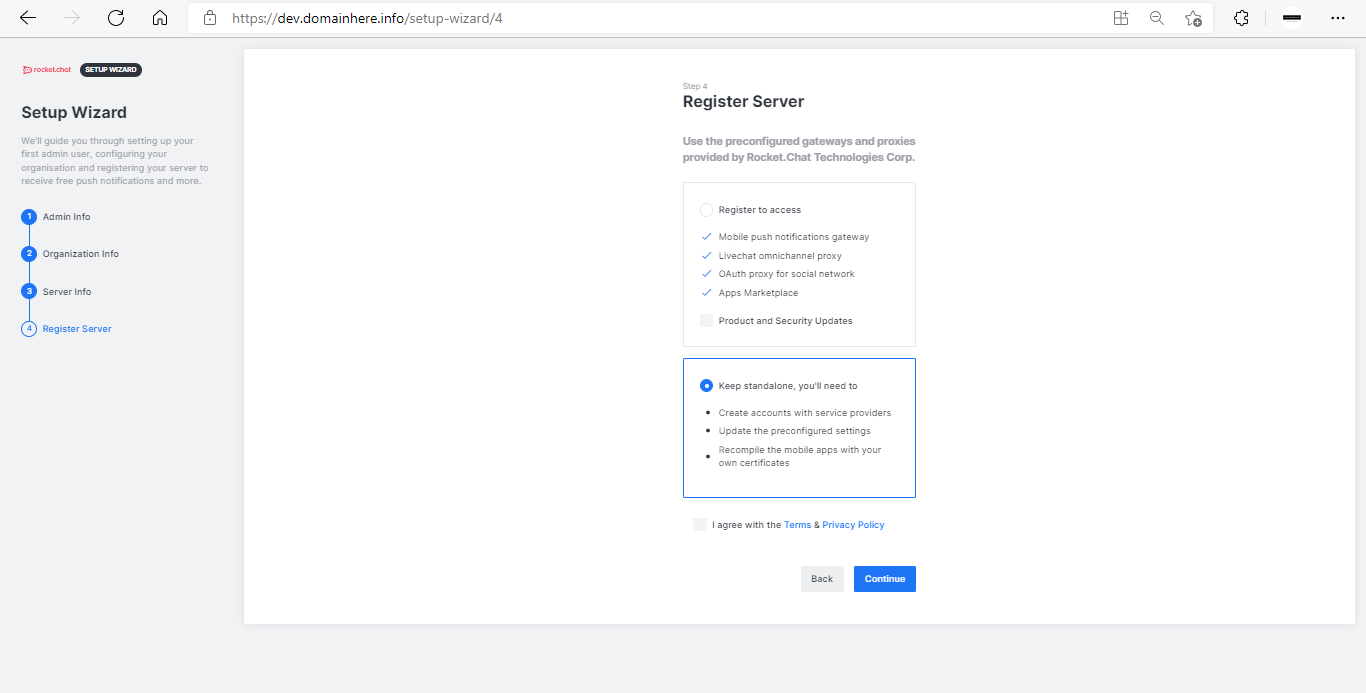
Follow the below steps:

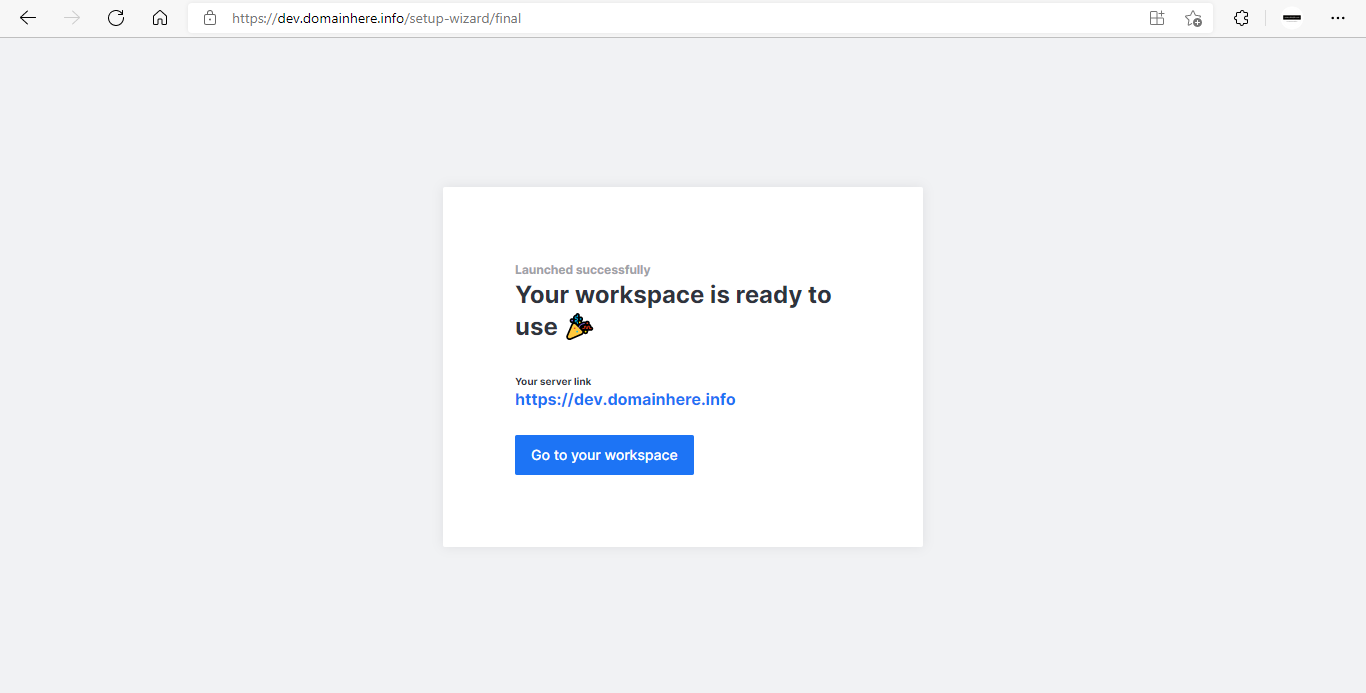
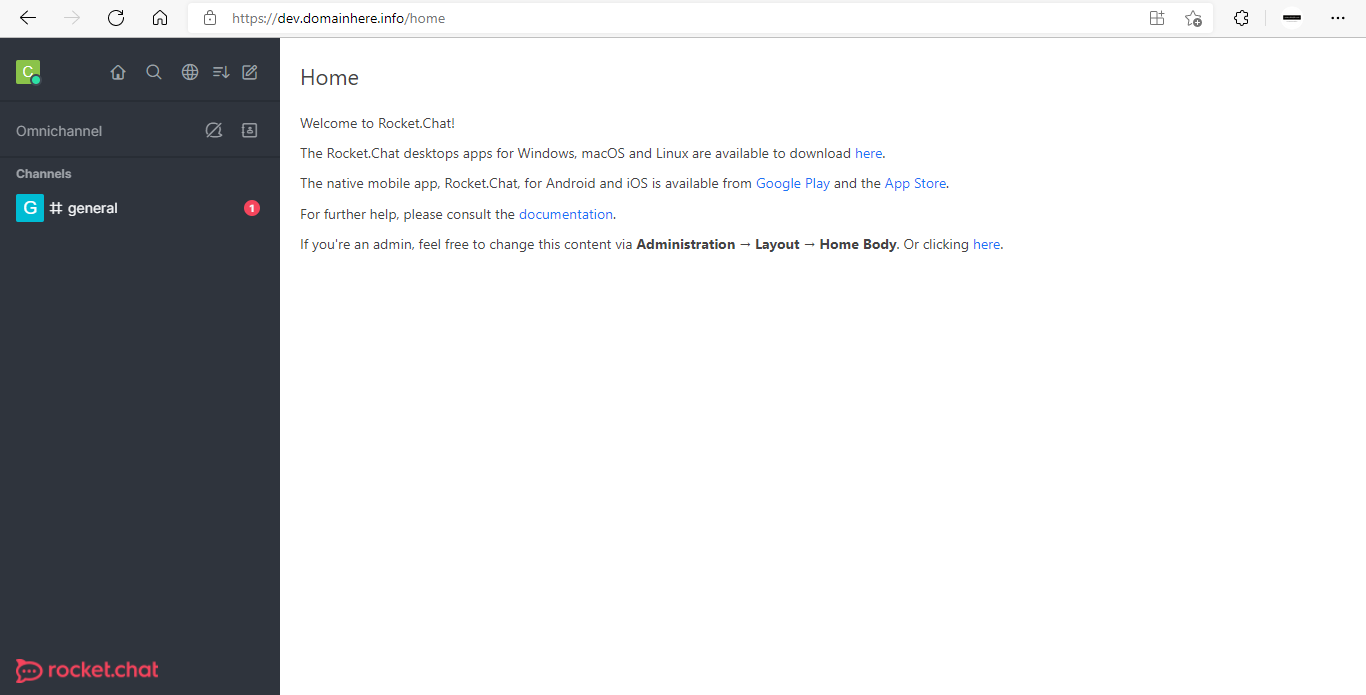

Now you have successfully installed Rocket.Chat with Docker on AlmaLinux 8.
CrownCloud - Get a SSD powered KVM VPS at $4.5/month!
Use the code WELCOME for 10% off!
1 GB RAM / 25 GB SSD / 1 CPU Core / 1 TB Bandwidth per month
Available Locations: LAX | MIA | ATL | FRA | AMS