How to Install Rocky Linux 8
Rocky Linux is a community enterprise operating system designed to be 100% bug-for-bug compatible with America's top enterprise Linux distribution now that its downstream partner has shifted direction. It is under intensive development by the community. Rocky Linux is led by Gregory Kurtzer, founder of the CentOS project.
For CrownCloud users: Please mount the ISO "Rocky Linux 8.X" available from the CD-ROM section.
Once the ISO has mounted (Task Log tab will show the status of the task), navigate to "Power Control" tab and then perform a Reboot task on the server.
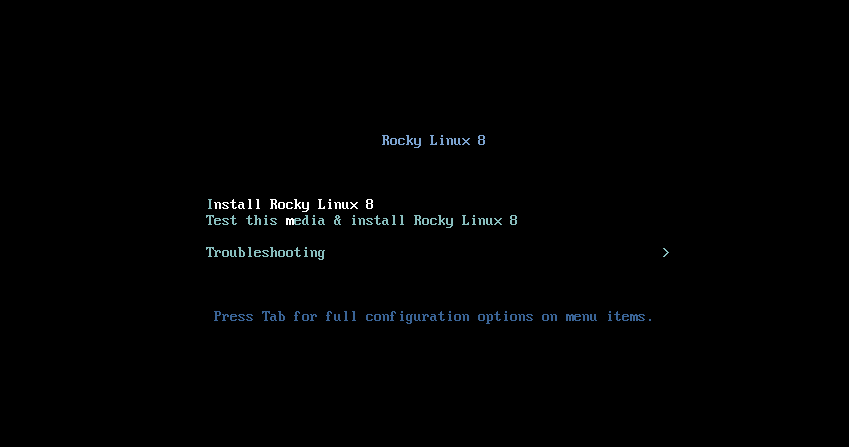
Select "Install Rocky Linux 8"
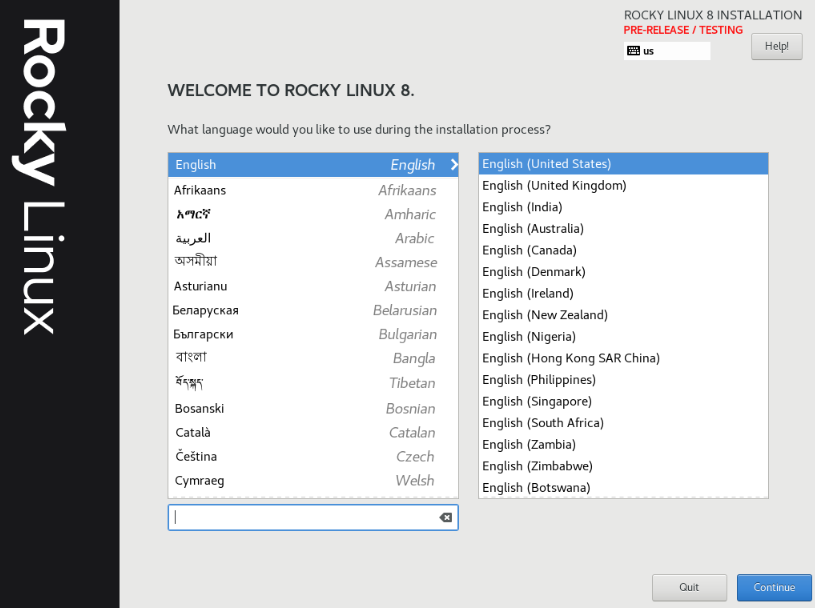
Select the desired language and click on continue.
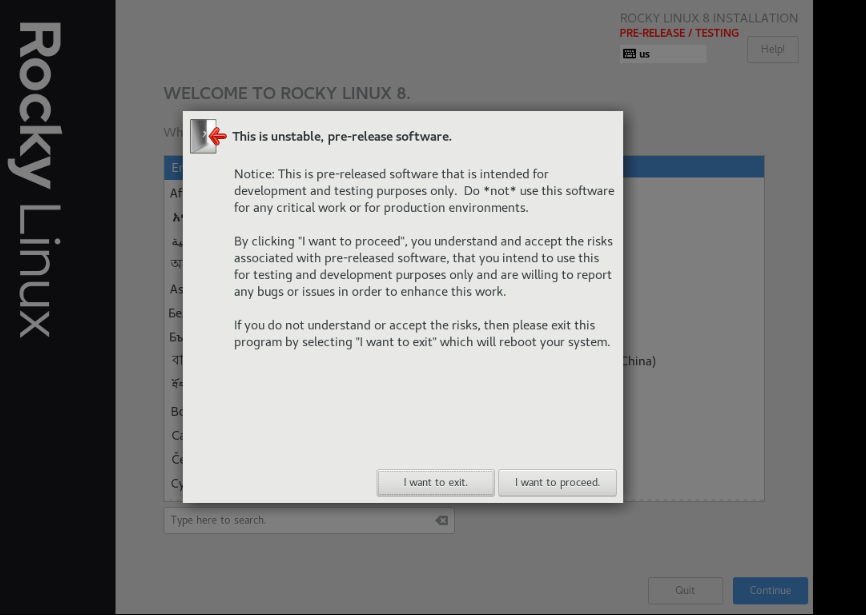
As mentioned earlier, this install is only meant for testing environment. The Installer will prompt you about this and you can continue with the install by clicking on "I want to proceed" once you've read and understood the message.
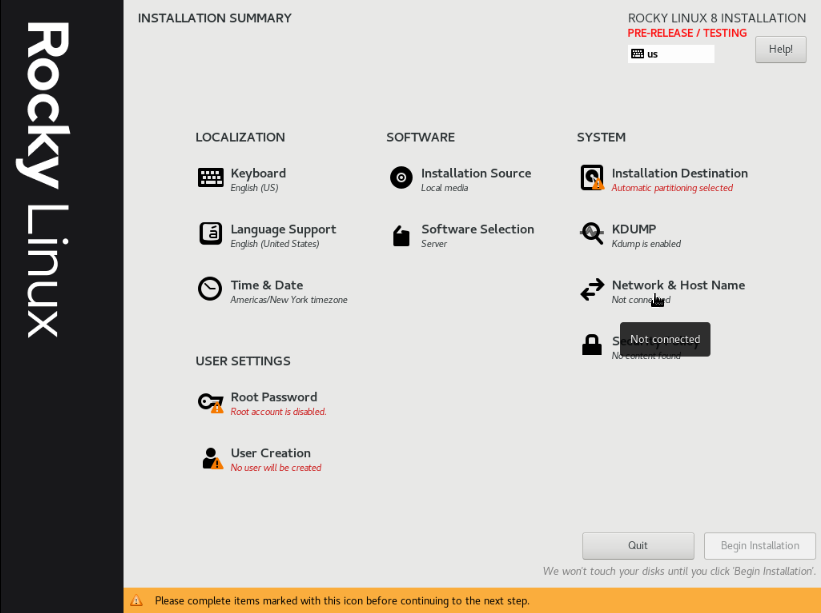
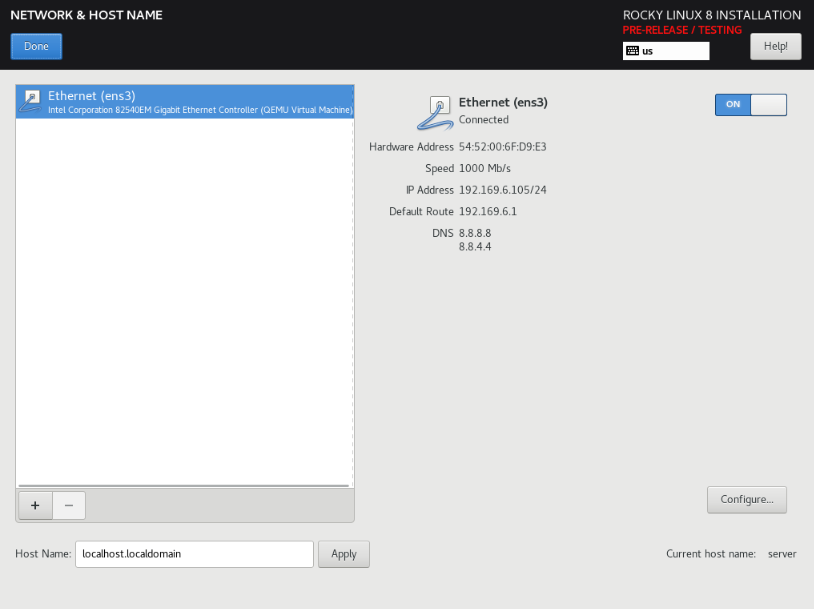
Select Network & Hostname and configure.
If you would like to keep the Network Dynamic / DHCP (default configuration), Enable the network and click on Done.
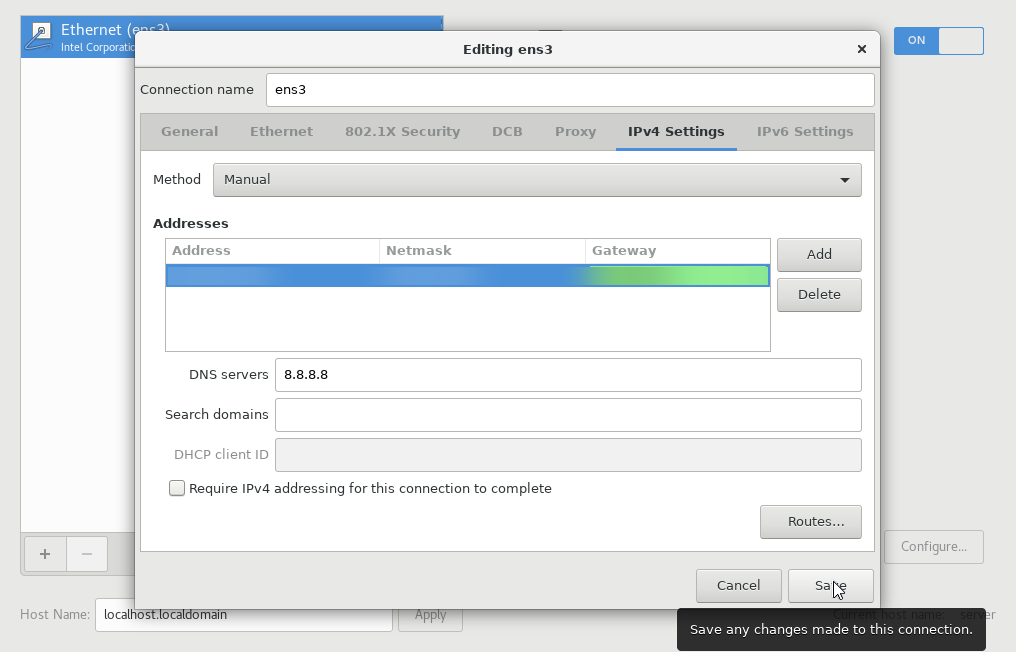
(Optional) Static Network Configuration
If you would like to configure the Network Static, click on the Configure button and then manually enter the Network information as shown below,
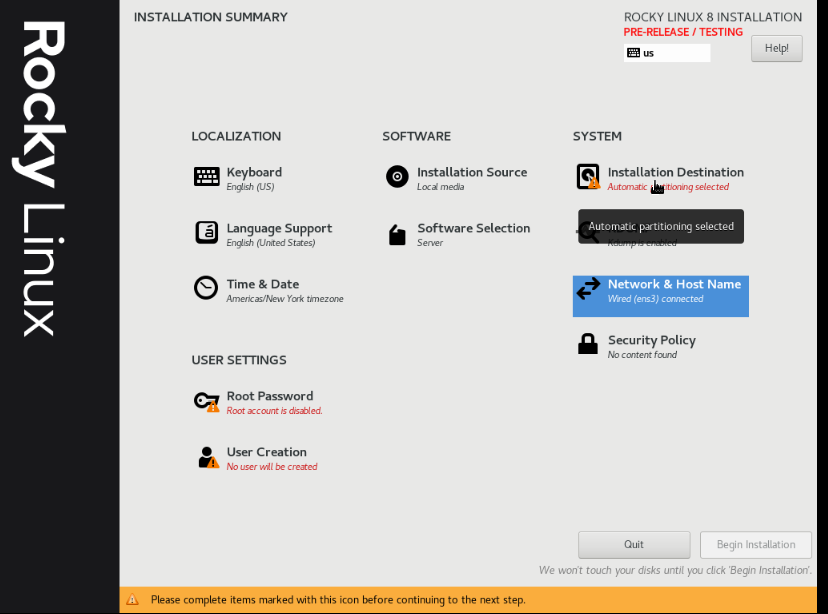
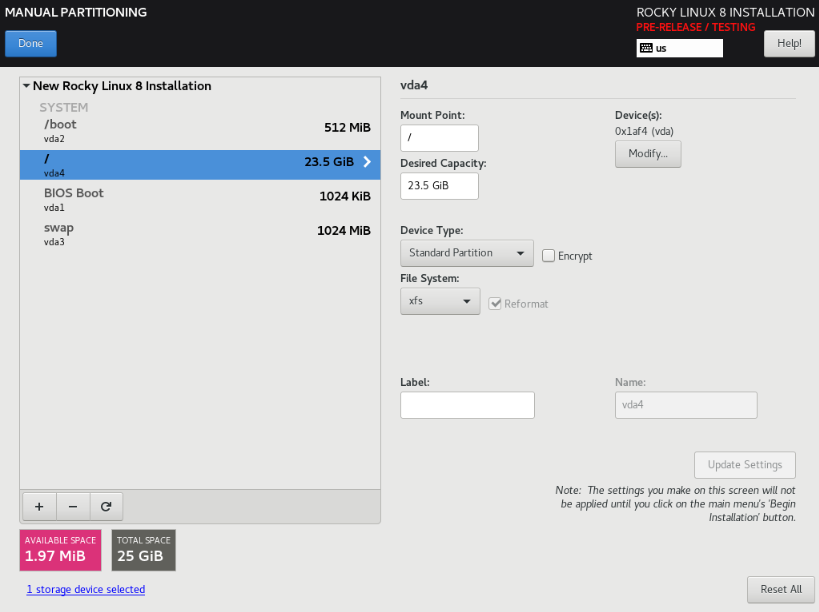
Disk Partitioning Configuration
After Select Installation & Destination.
Select standard Partition and assign disk required and done.
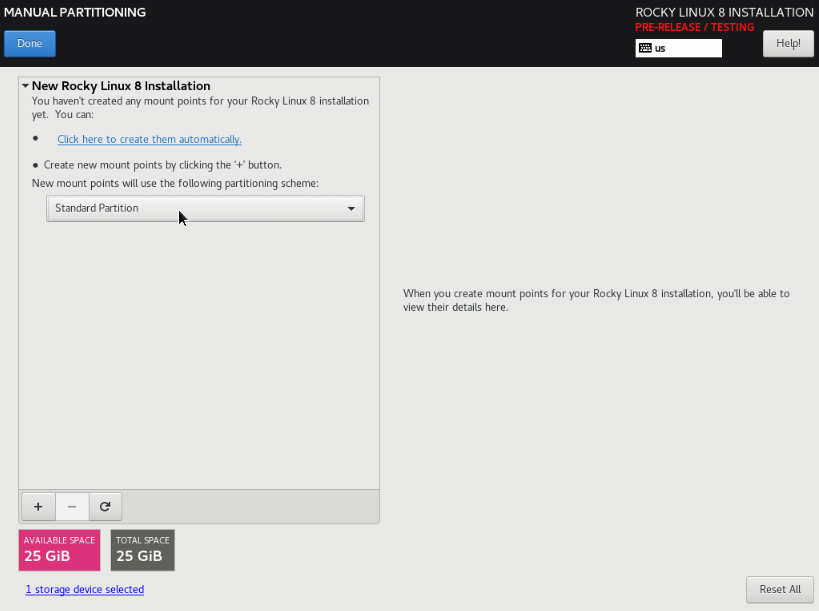
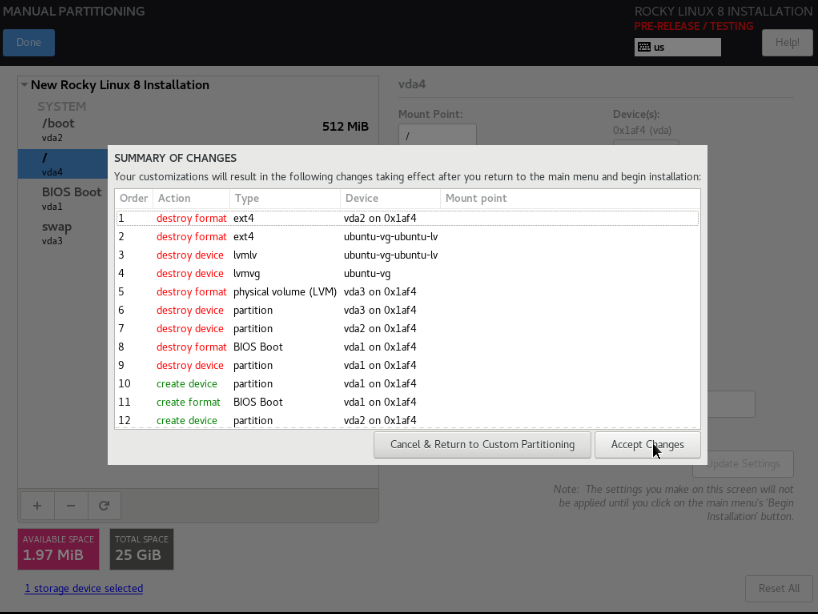
Then select Accept changes.
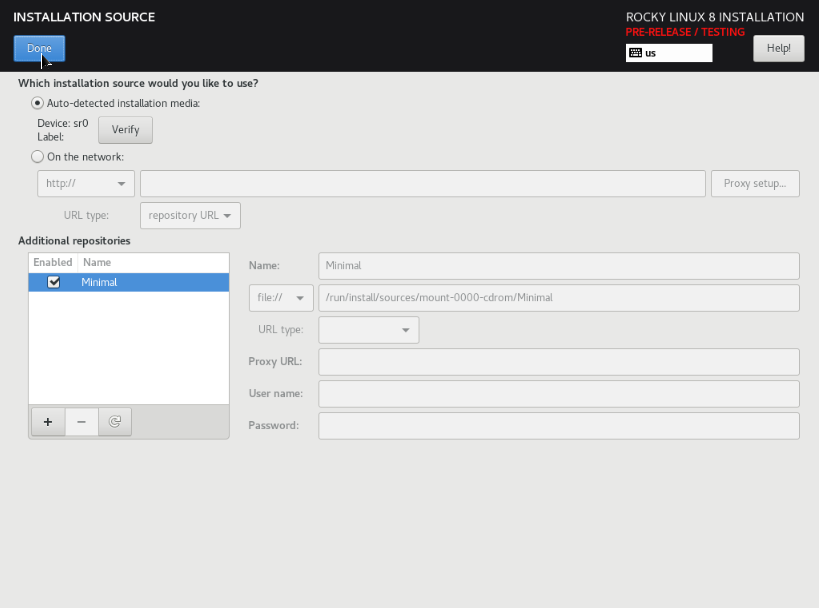
Installation Source Configuration
After Select Installation Source.

Select auto detected installation media -> verify -> Minimal and press done.
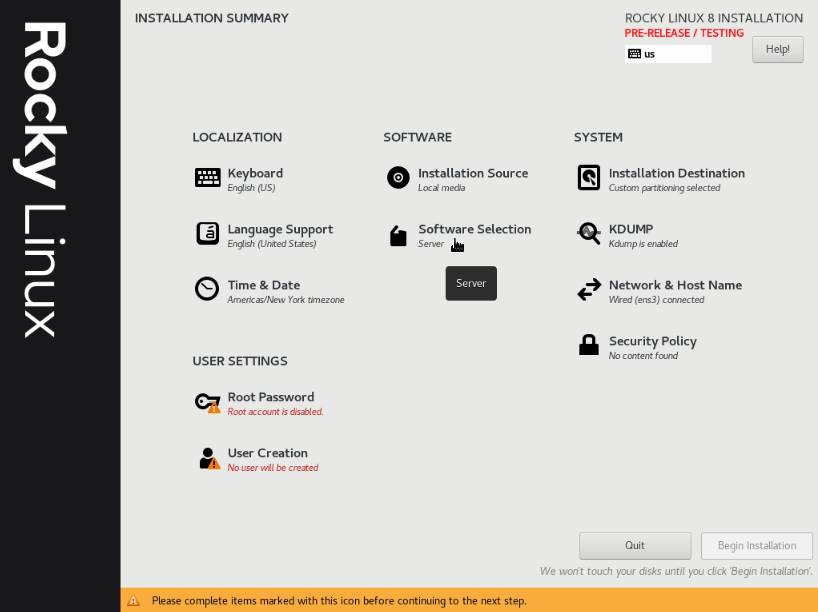
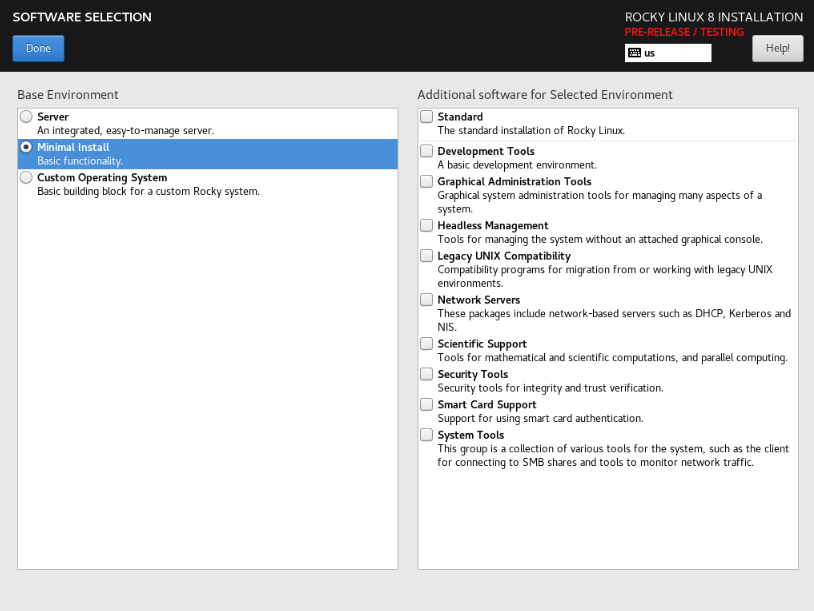
Software Selection
After Select Software Selection -> Minimal Install and press done.
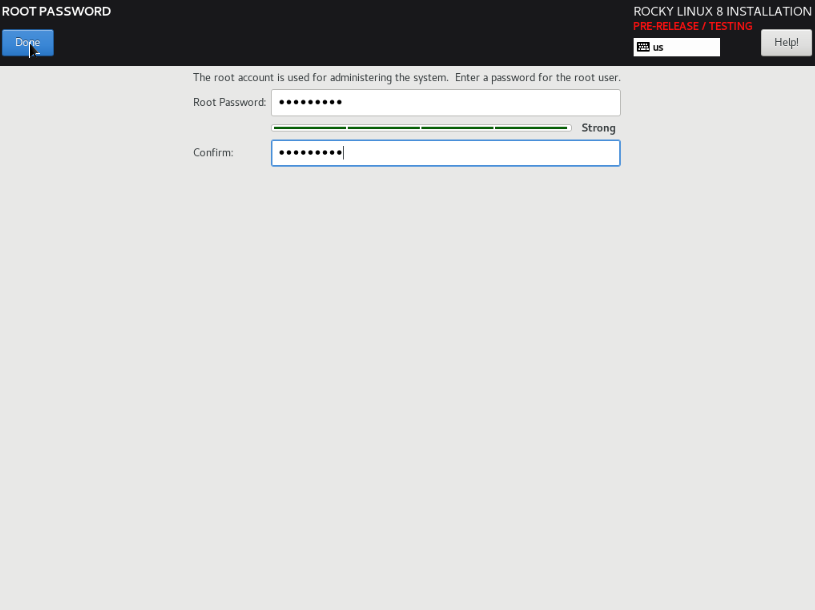
Login Password Configuration
select the root password to set ‘root’ password.

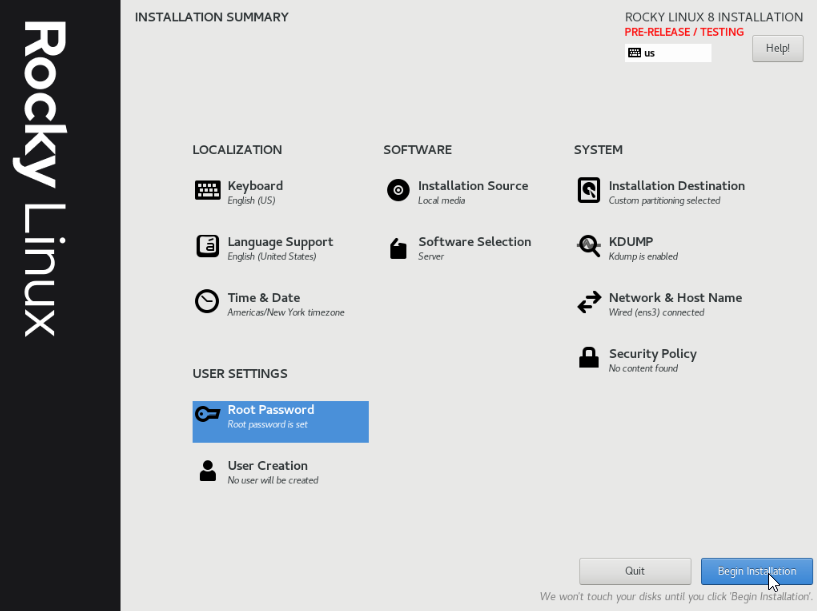
Begin Installation
And Begin Installation.
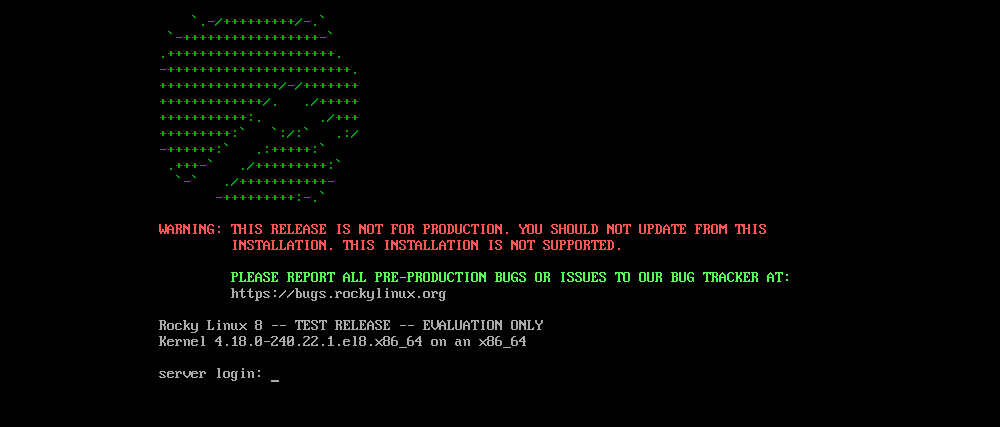
After installation is completed reboot the server. Wait for a few minutes for the reboot to complete, after which you will see the login prompt.
Note: You can also use SSH to connect to your VPS at this point.
Done!
CrownCloud - Get a SSD powered KVM VPS at $4.5/month!
Use the code WELCOME for 10% off!
1 GB RAM / 25 GB SSD / 1 CPU Core / 1 TB Bandwidth per month
Available Locations: LAX | MIA | ATL | FRA | AMS