How to Install Windows Server 2025
Login to CrownPanel using the following URL or from here:
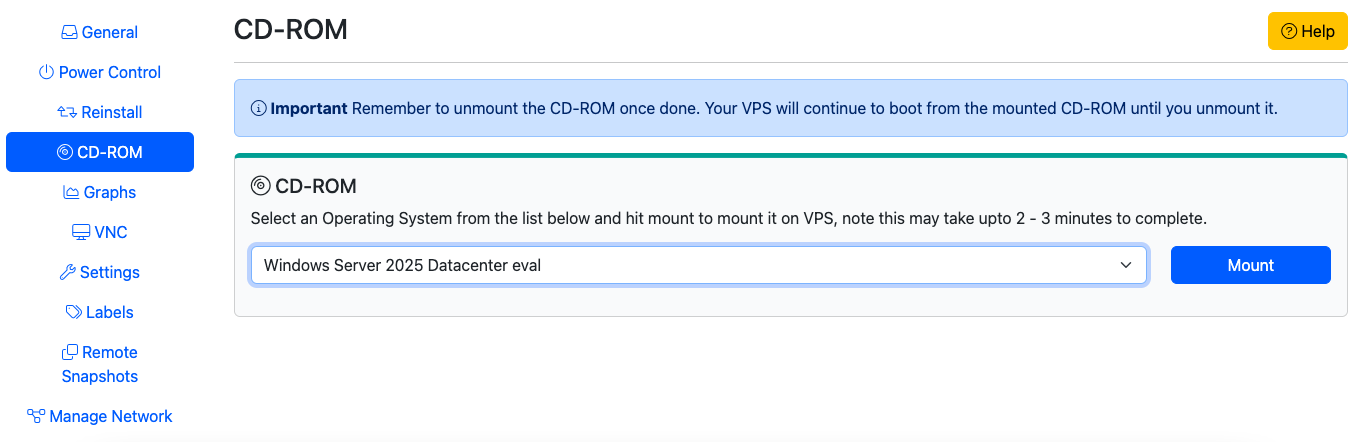
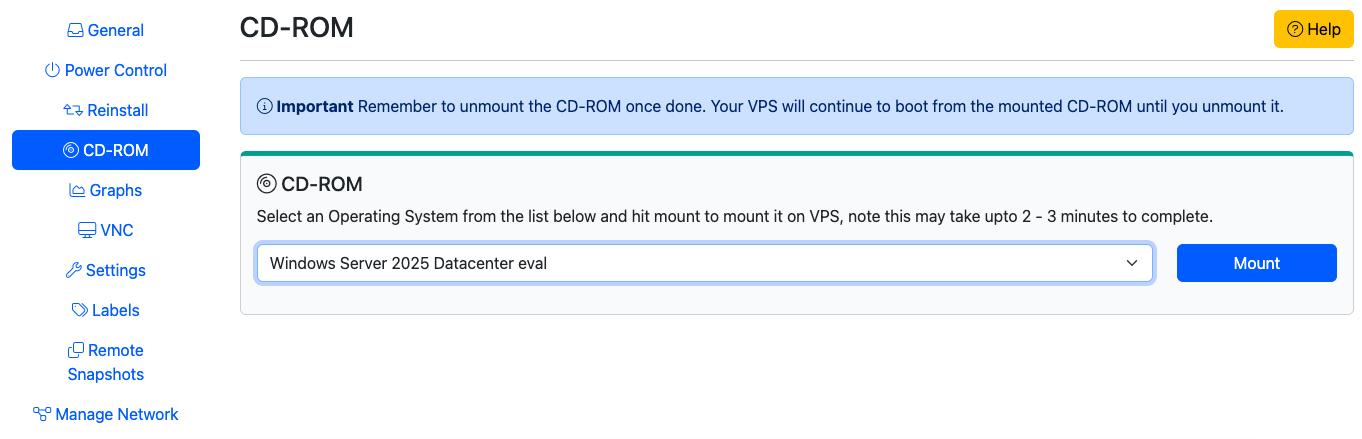
https://crownpanel.comTo begin the installation, you will need to mount the Windows Server ISO. First, click on the CD-ROM, then select the Windows Server ISO from the drop-down menu. Next, click the "Mount" button. This process may take 2-3 minutes to complete
Once the ISO is mounted (you can monitor the progress in the Task Log tab), go to the Power Control tab and initiate a Reboot for the server to boot it with mounted ISO.
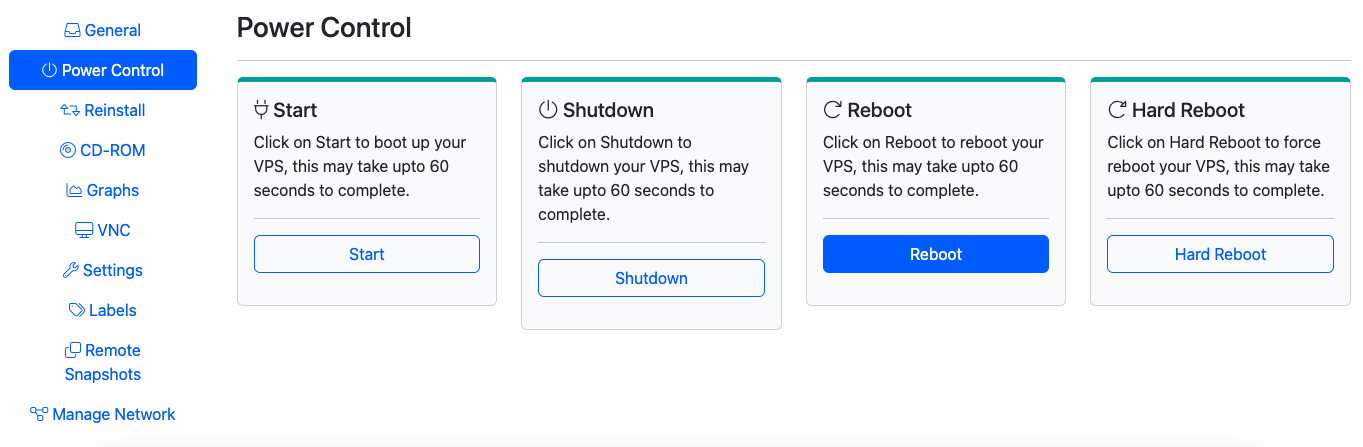
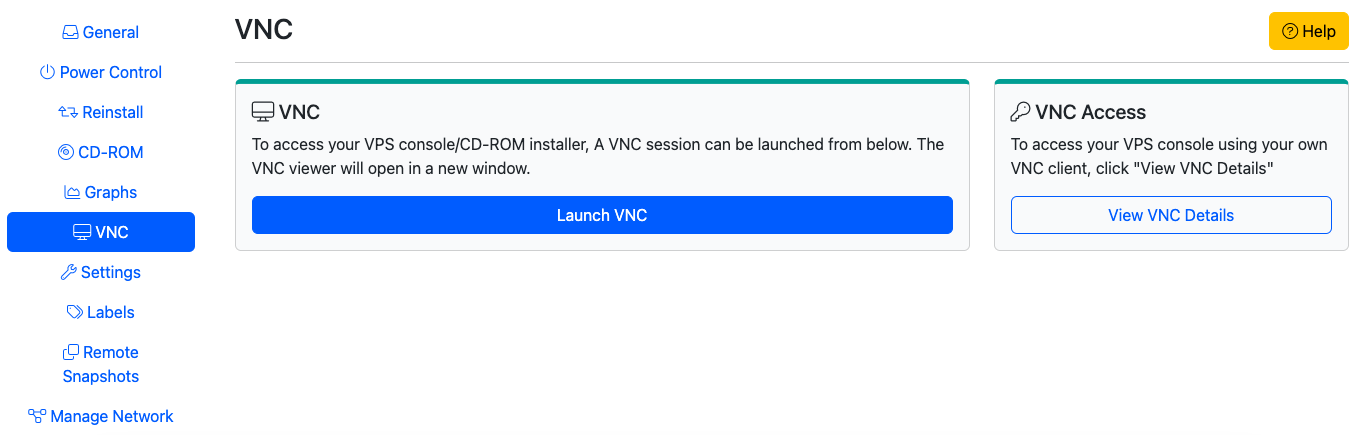
Now, launch VNC to begin the installation. If the VNC does not boot from the mounted Windows Server ISO, you will need to Shut down server and then Boot from the Power Control to boot it from the mounted ISO.
Start Windows Installation
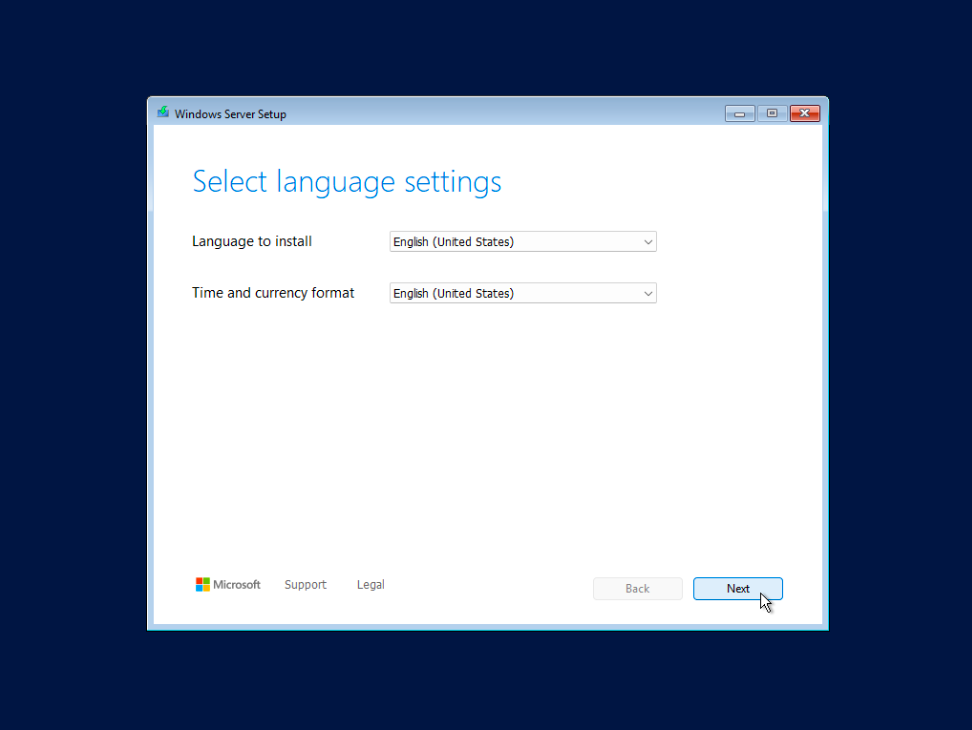
You will see the Windows Server 2025 Installation screen. Select the Language settings and click Next.
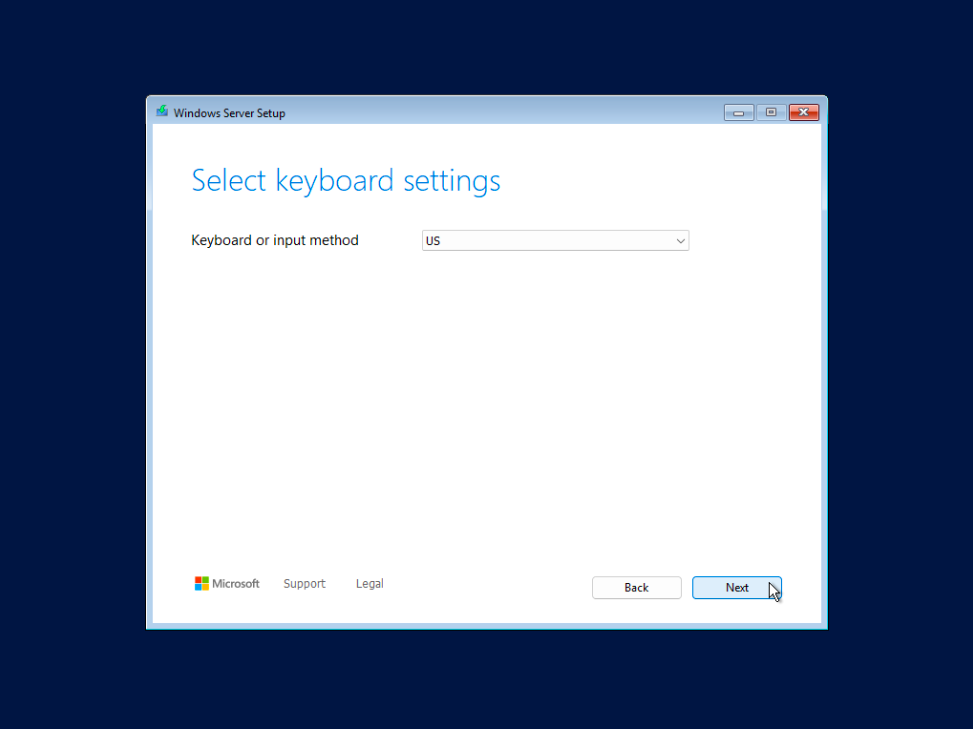
Select the desired Keyboard setting and click on Next.
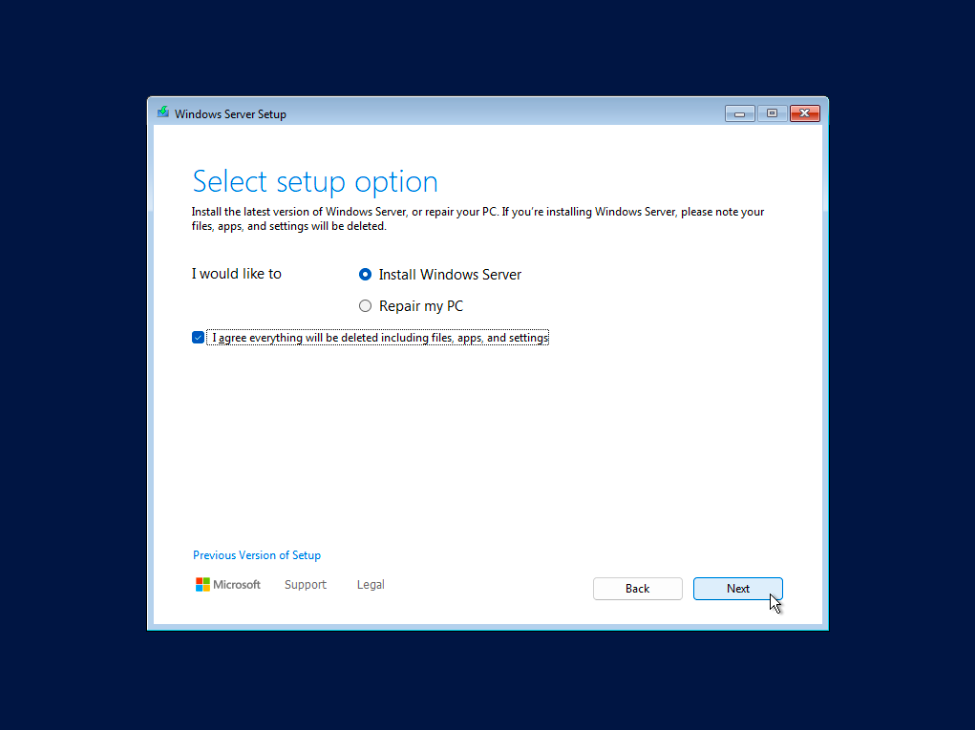
Next, you will be presented with two options: Install Windows Server 2025 and Repair Windows. Select Install Windows Server 2025, check the box to confirm agreement to delete all files, and then click the Next button.
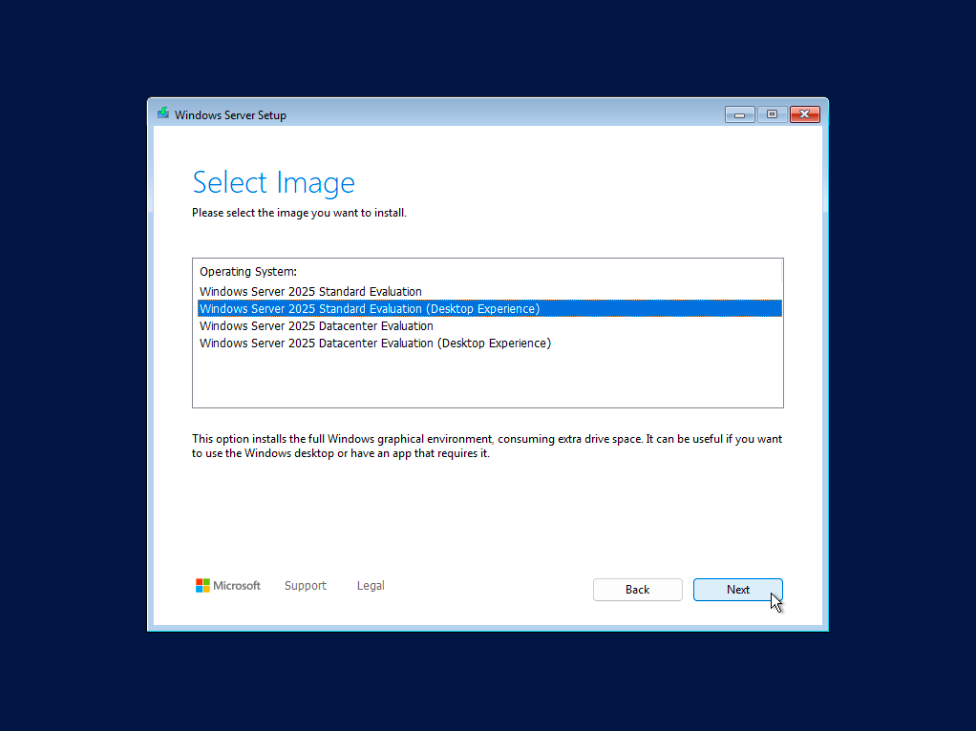
Next, you will be prompted to choose the version of Windows you want to install. Since we typically use Windows with a Graphical User Interface (GUI), select the version labeled Desktop Experience. This option will install the GUI-based Windows Server.
You can also choose between Standard Evaluation or Datacenter Evaluation.
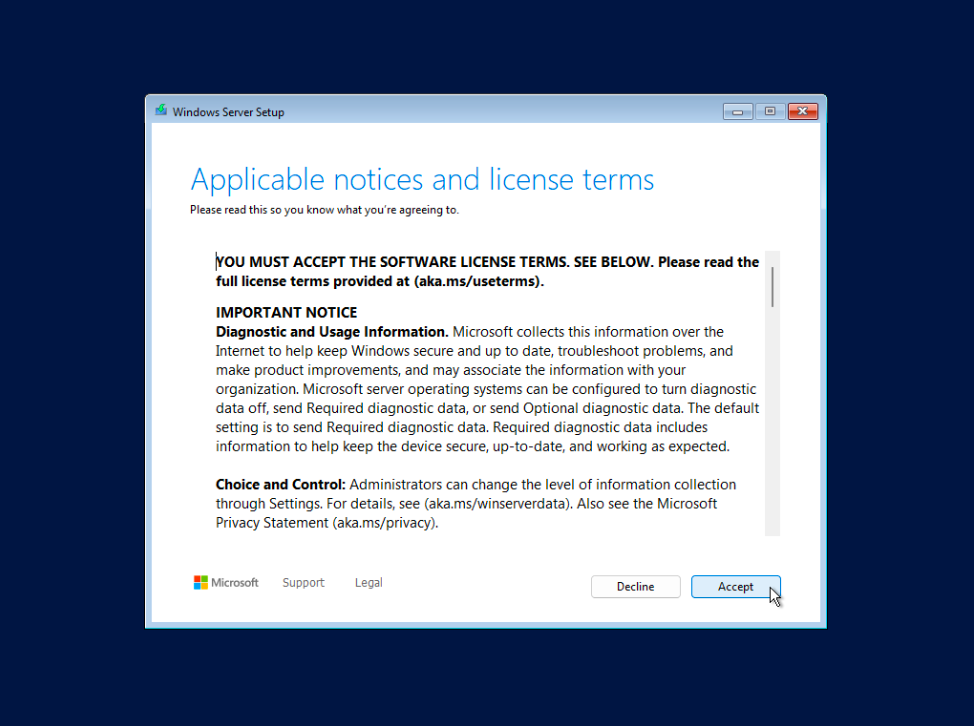
Next, accept the license terms.
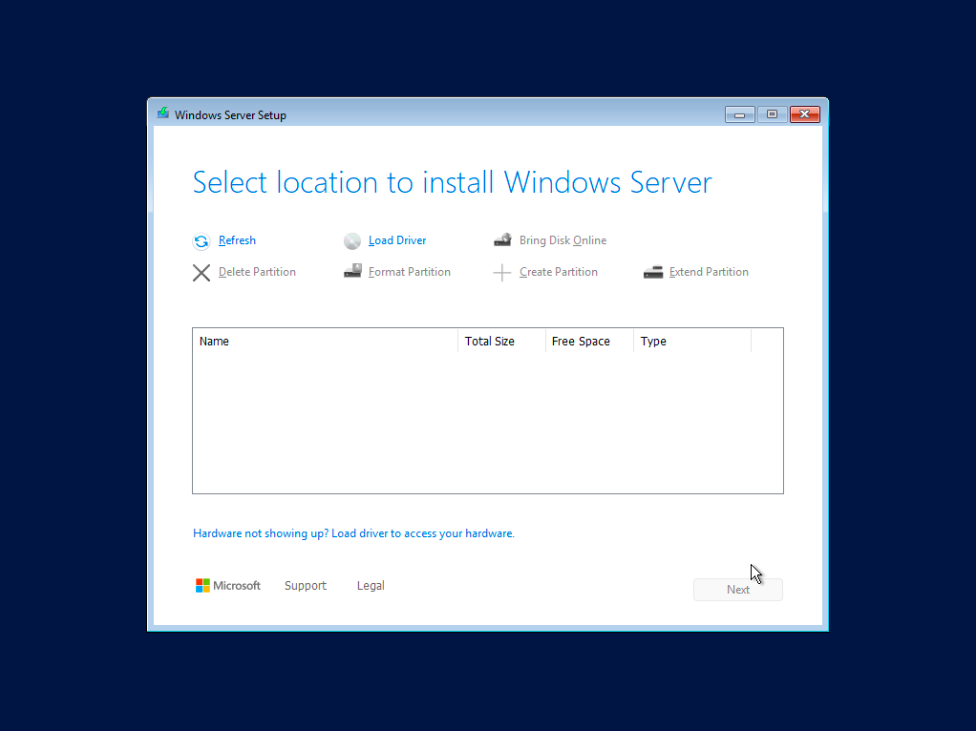
You will now be prompted to select a disk partition to install Windows. However, no disks may be visible at this stage. To resolve this, you will need to install the appropriate disk driver to detect your server's disk.
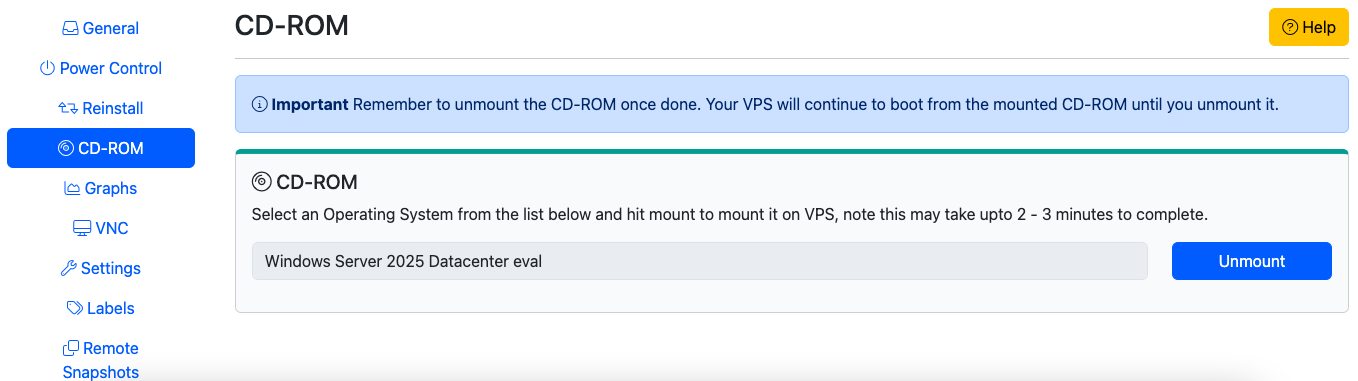
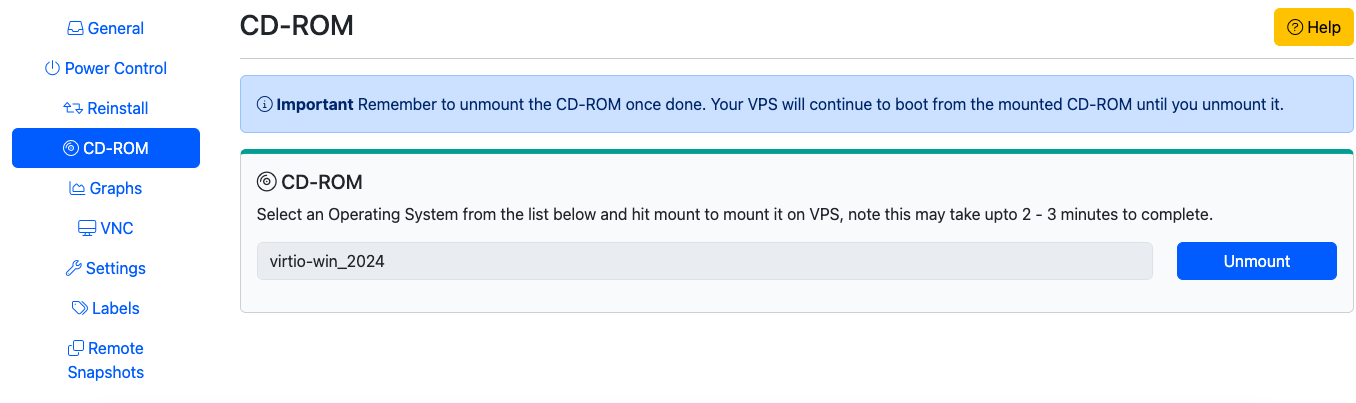
Unmount the current Windwos Server 2025 ISO from CrownPanel
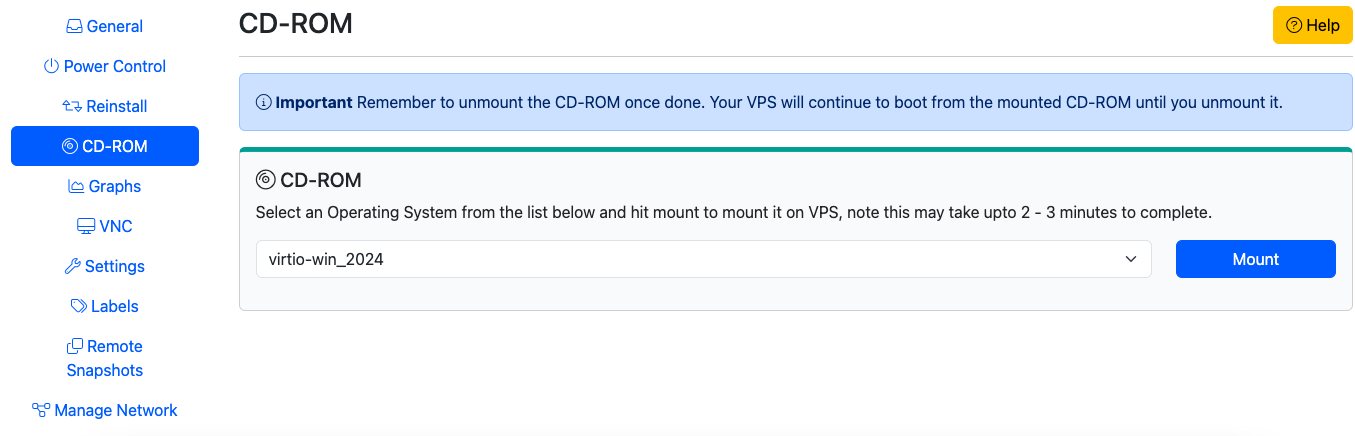
After unmounting, mount the VirtIO driver ISO to your server.
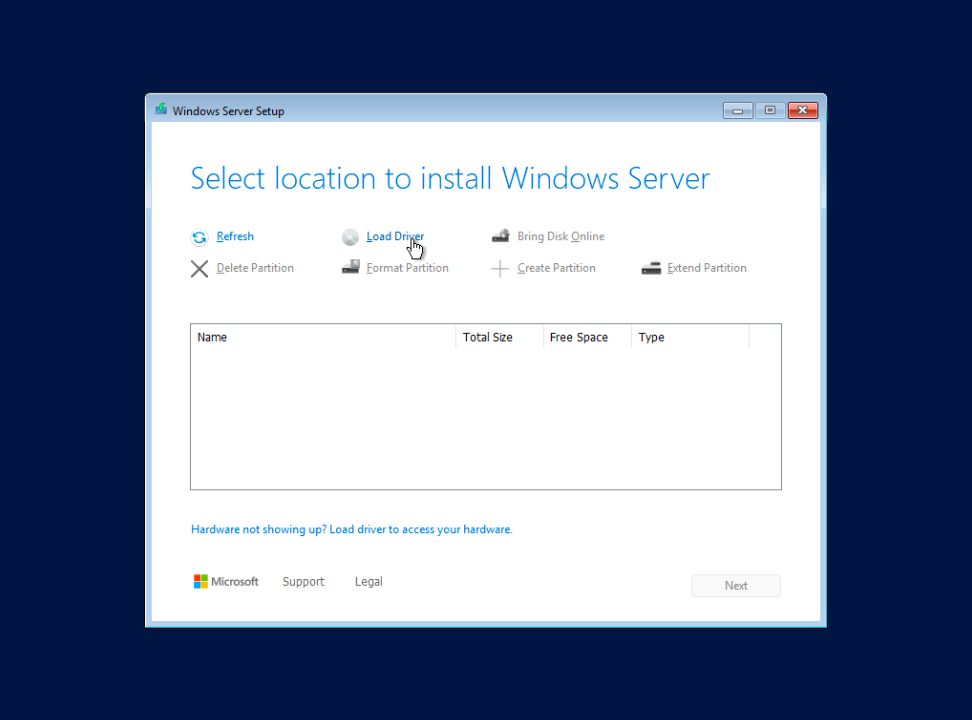
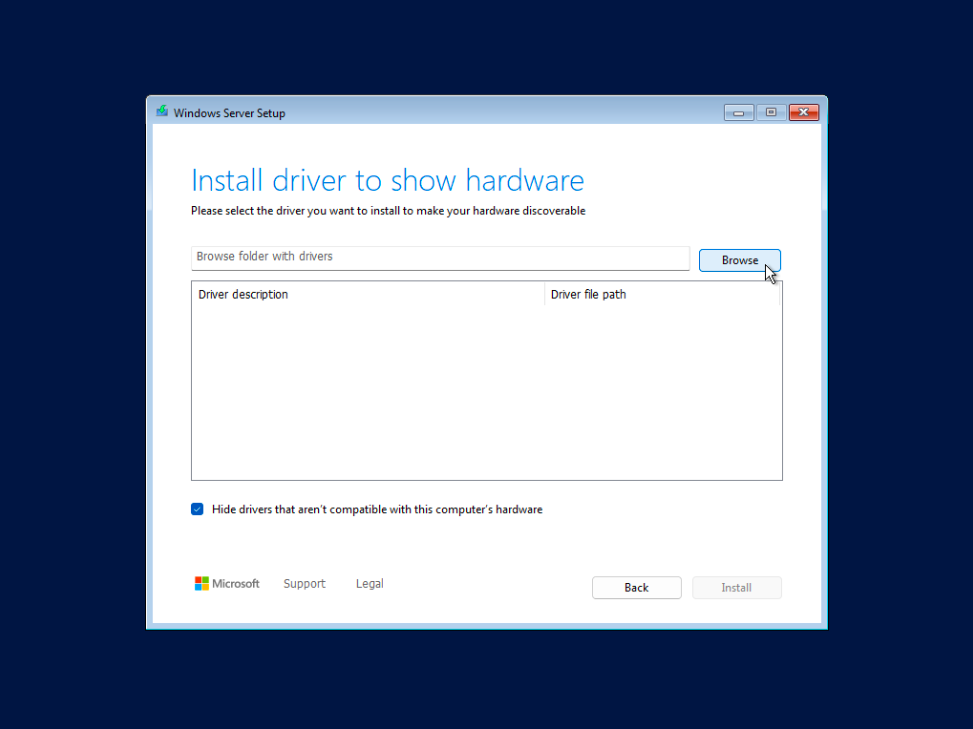
Once the VirtIO Drivers is mounted, click on the "Load Driver" and select the driver as follows:

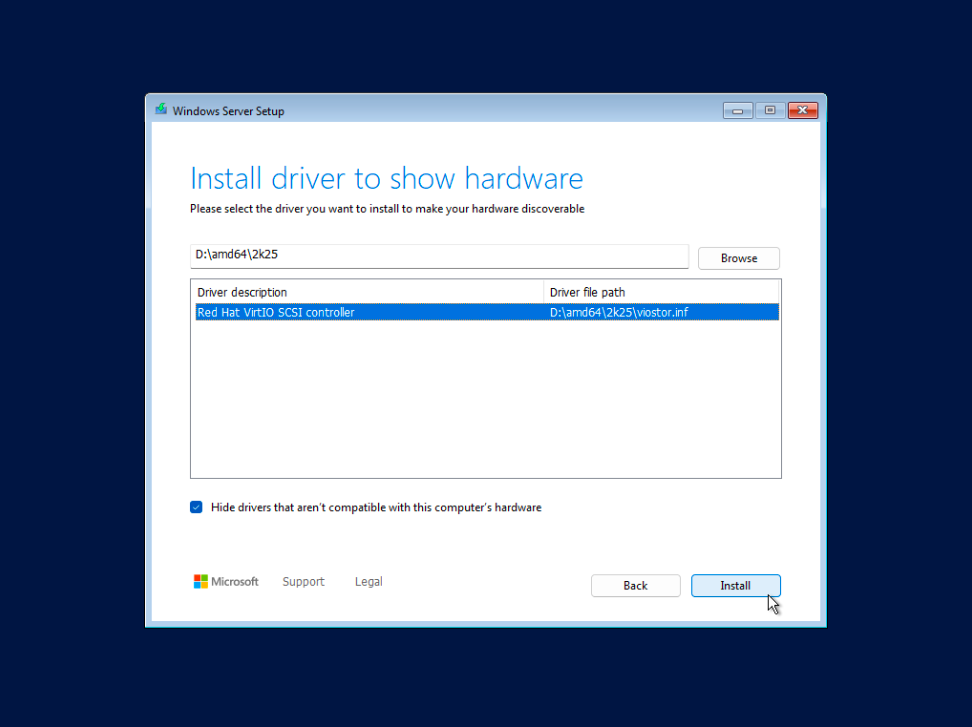
Once the driver is installed, unmount the VirtIO driver and remount the Windows Server 2025 ISO.
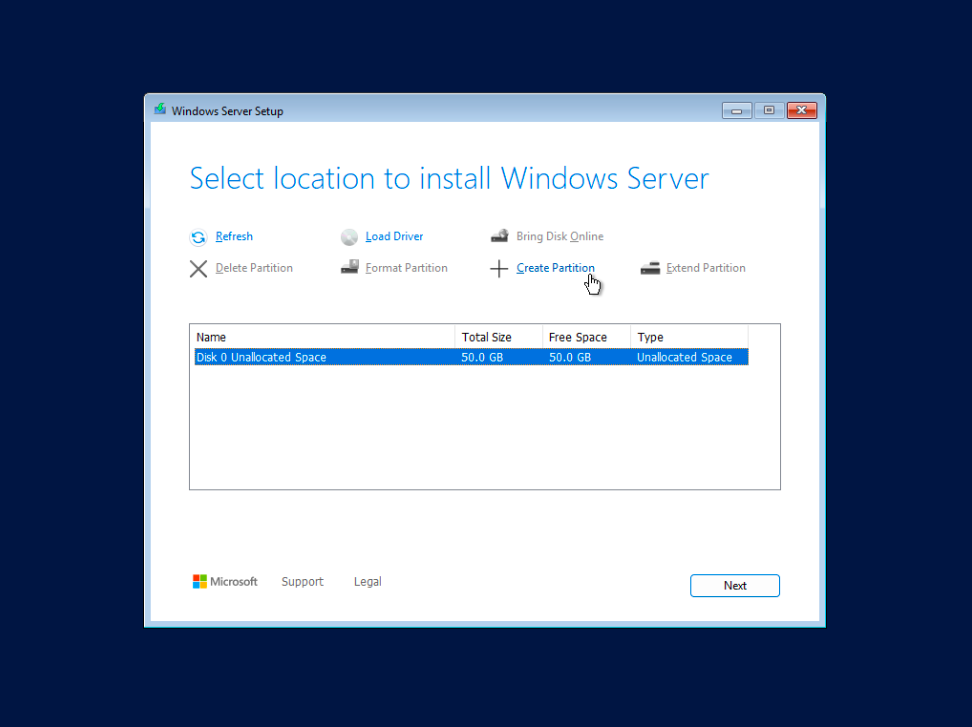
As Driver has been installed, now you can show the available partitions or drives will be displayed. You delete any existing partitions and create new ones based on your specific requirements.
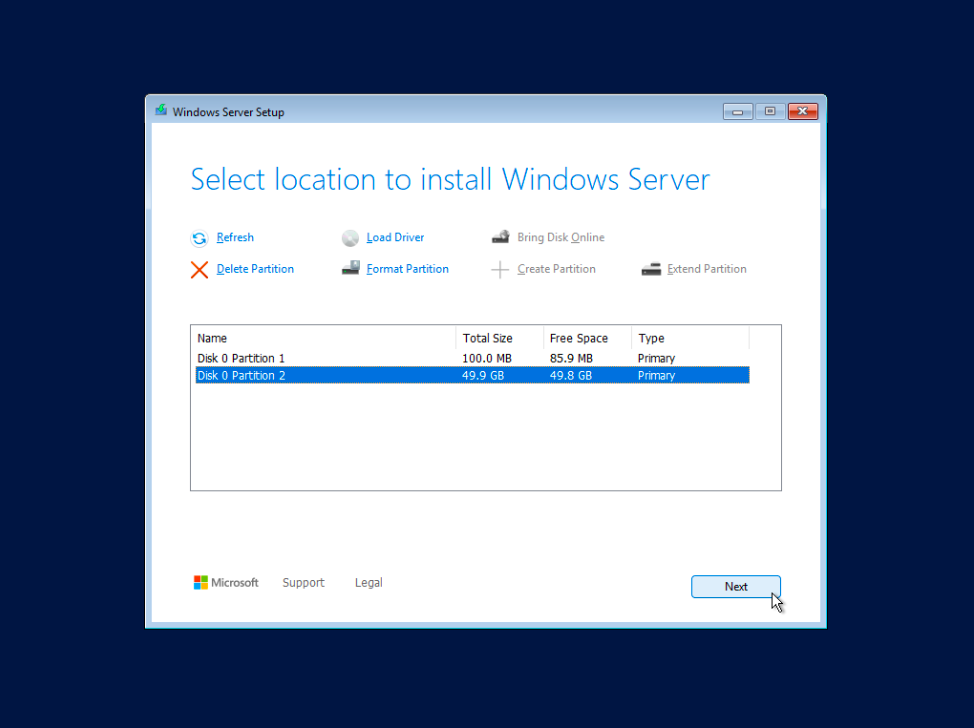
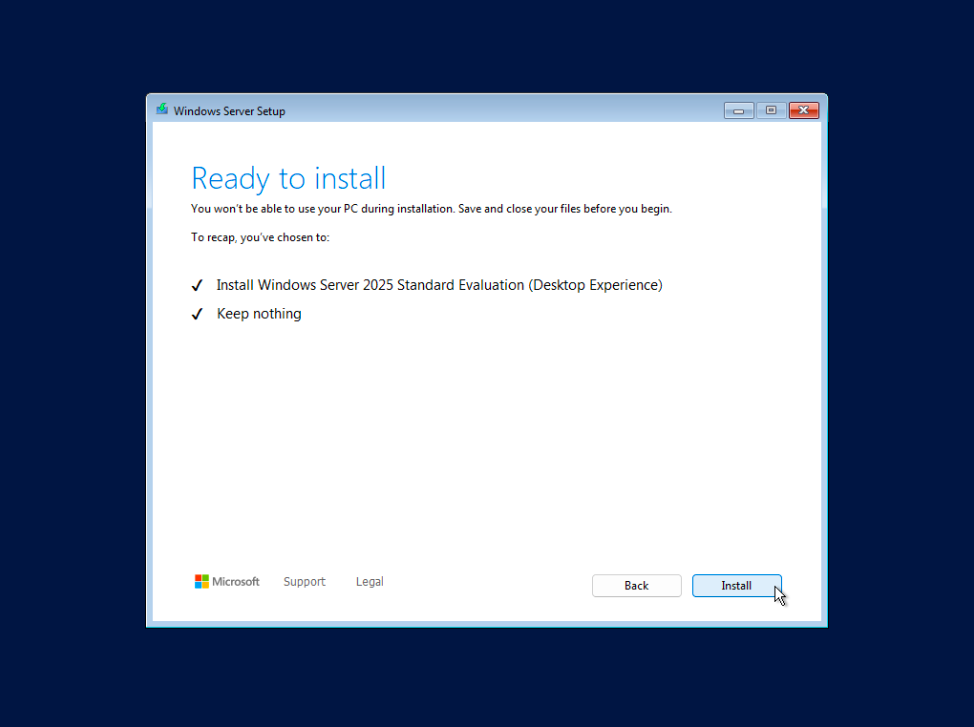
Click on "Next," and then click on "Install."
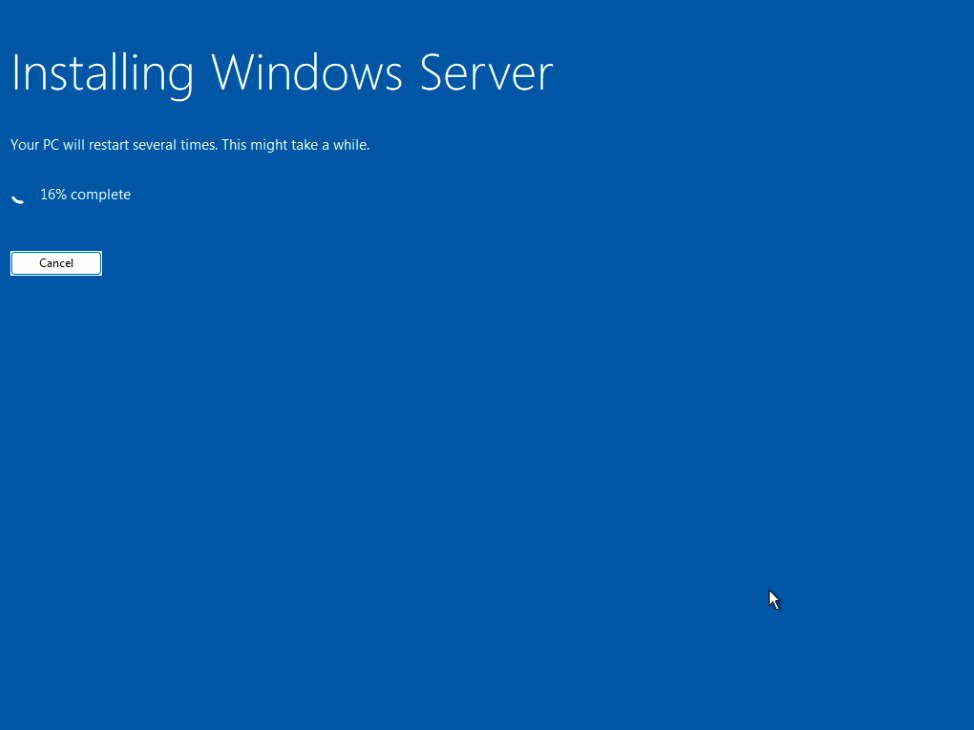
The installation will begin and may take some time to complete.
Once the installation is complete, your server will automatically reboot and boot into Windows Server 2025 OS and you will be asked with set a new password for Administrator.

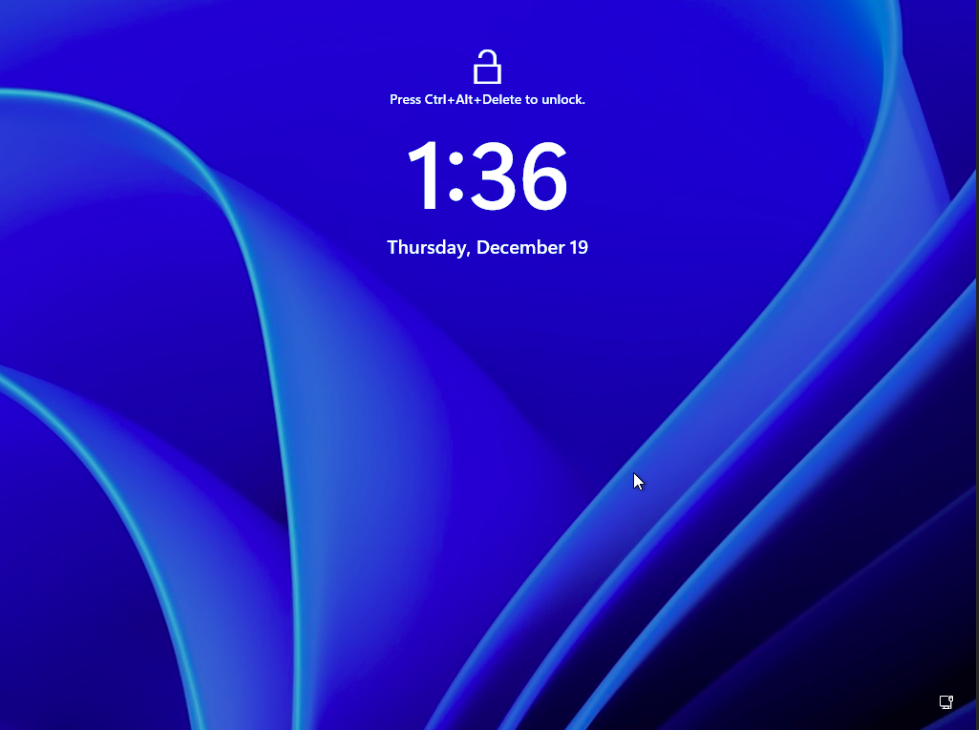
You will be presented with the Windows Server 2025 lock screen. Click on CTRL+ALT+DEL from the side button on the VNC screen. Enter the password that was set earlier, and you will gain access to the Windows Server.
Steps to Enable RDP (Remote Desktop)
Windows provides users with the ability to access the server remotely, but this option is disabled by default by Microsoft.
To enable Remote Desktop connections on the server, follow these steps:
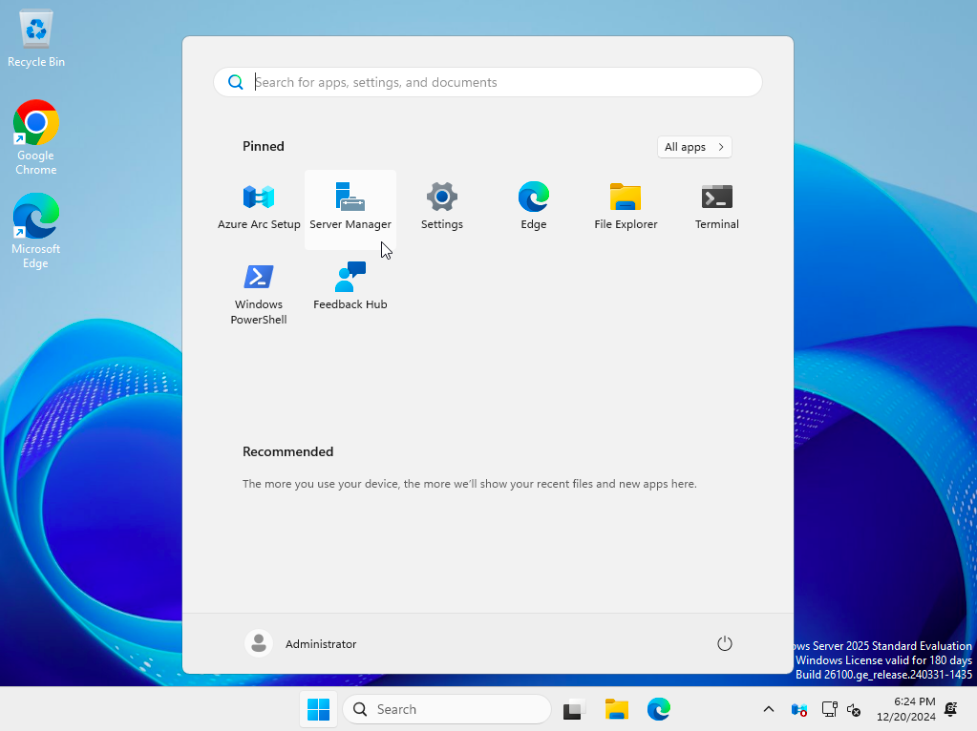
Open the Server Manager from the Windows Start.
Navigate to Local Server, this allows configuring the Server you're in.
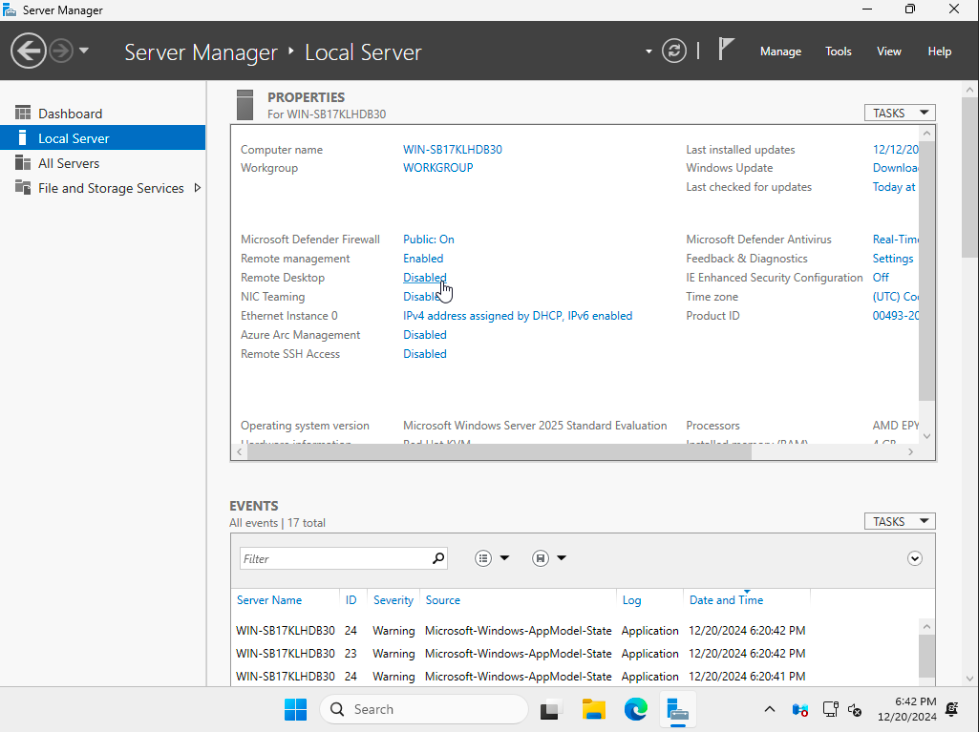
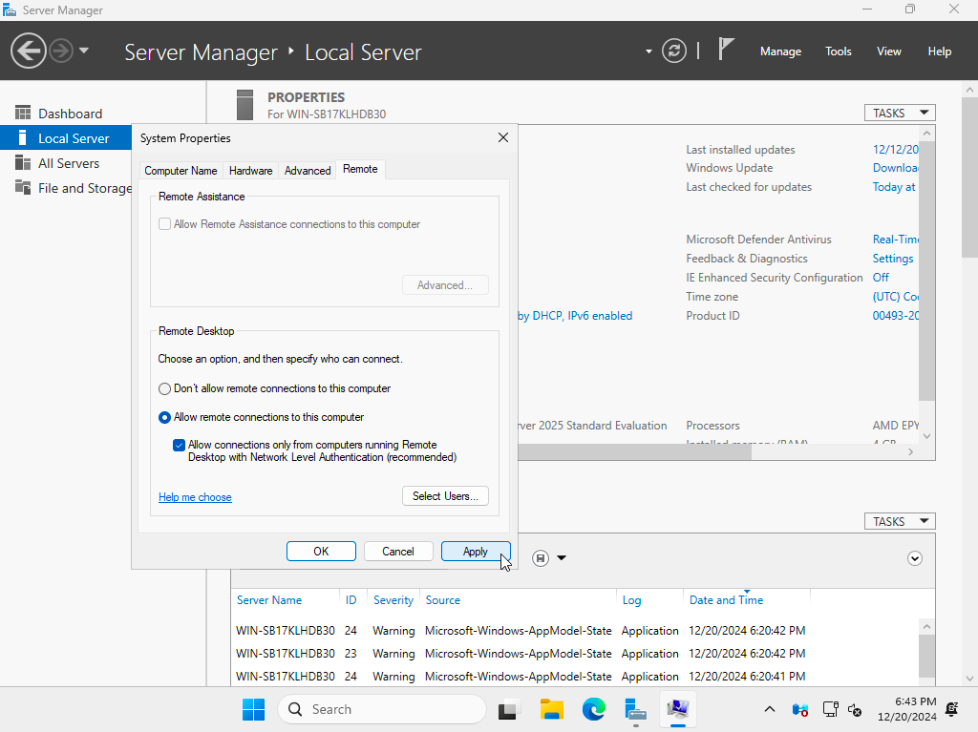
Click on the "Remote Desktop", this will open a dialog box for System Properties.
Select the "Allow remote connections to this computer" option and click on Apply.
Next ensure Firewall allows Remote Desktop connections,
Open Windows Firewall from Windows Start.
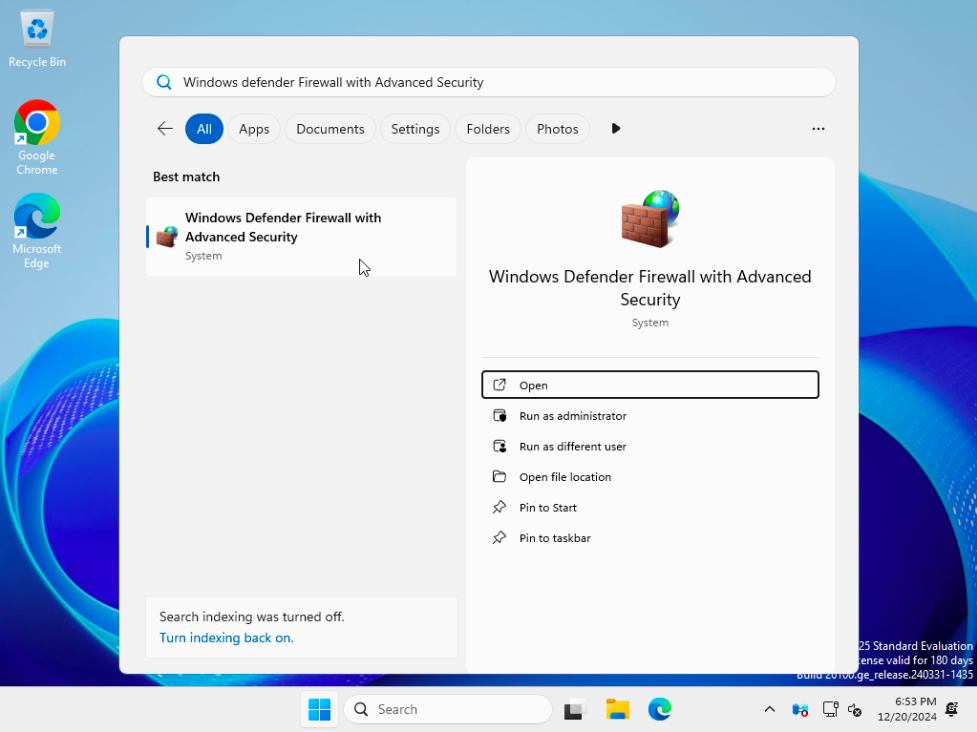
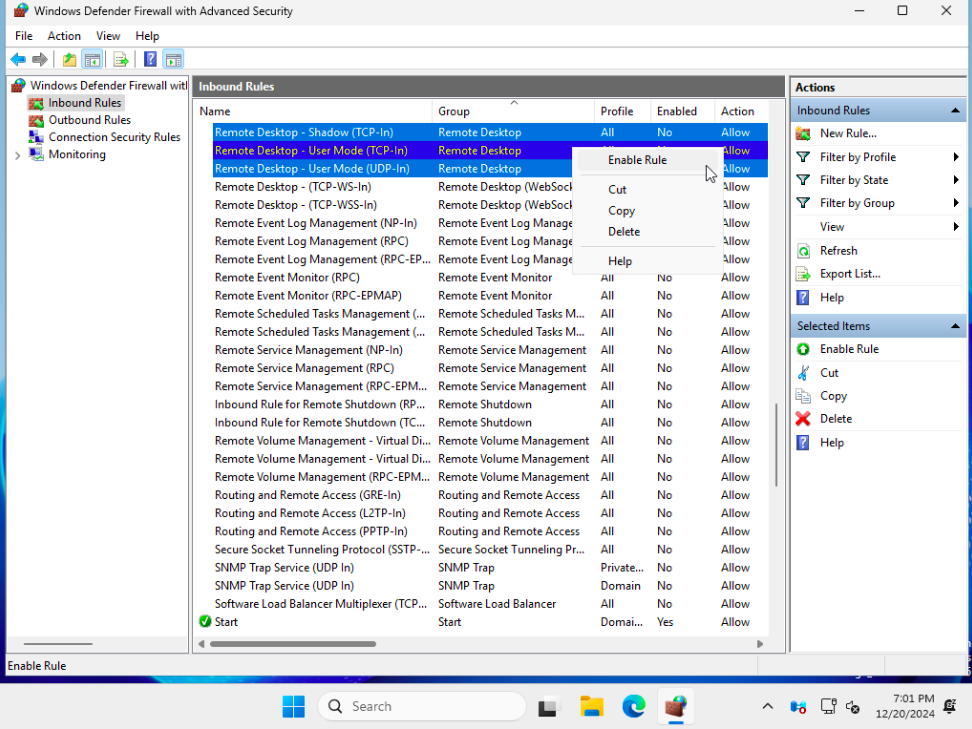
Navigate to "Inbound Rules" and enable the below rules as shown in the picture below.
Once all all done, unmount the Windows Server 2025 ISO and reboot your server.

The Windows installation is complete, and you can now connect to your server via RDP.
CrownCloud - Get a SSD powered KVM VPS at $4.5/month!
Use the code WELCOME for 10% off!
1 GB RAM / 25 GB SSD / 1 CPU Core / 1 TB Bandwidth per month
Available Locations: LAX | MIA | ATL | FRA | AMS