How to Install WordPress on Debian 11
WordPress is a popular tool used to build websites and features to help you publish anything, anywhere. It is also a open source software you can use to create a beautiful website, blog, or app.
In this article we will be installing WordPress on a Debian 11 system along with LEMP Stack. The LEMP Stack includes Nginx Webserver, MariaDB for Database and PHP for handling WordPress application.
Updating the system
We first update the system to make sure that all our installed packages are upto date. Your Debian system can be updated easily with the following command.
apt update

apt upgrade
Installing Nginx
We will start by installing the Nginx web server. To complete the installation, use the following command.
apt-get install nginxOnce the installation is complete, enable Nginx (to start automatically upon system boot), start the web server and verify the status using the commands below.
systemctl start nginx

systemctl enable nginx

systemctl status nginx
Output:
root@server:~# systemctl status nginx
● nginx.service - A high performance web server and a reverse proxy server
 Loaded: loaded (/lib/systemd/system/nginx.service; enabled; vendor preset: enabled)
 Active: active (running) since Tue 2021-08-03 22:10:03 GMT; 14h ago
   Docs: man:nginx(8)
Process: 59970 ExecStartPre=/usr/sbin/nginx -t -q -g daemon on; master_process on; (code=exited, status=0/SUCCESS)
Process: 59971 ExecStart=/usr/sbin/nginx -g daemon on; master_process on; (code=exited, status=0/SUCCESS)
Main PID: 59972 (nginx)
  Tasks: 9 (limit: 4677)
 Memory: 6.0M
    CPU: 150ms
 CGroup: /system.slice/nginx.service
         ├─59972 nginx: master process /usr/sbin/nginx -g daemon on; master_process on;
         ├─59973 nginx: worker process
         ├─59974 nginx: worker process
Installing PHP and MariaDB Server
Install PHP, PHP-FPM, and MariaDB packages by running the following command.
apt-get install php php-mysql php-fpm php-curl php-gd php-intl php-mbstring php-soap php-xml php-xmlrpc php-zip mariadb-server mariadb-clientOnce the installation is complete, enable MariaDB (to start automatically upon system boot), start the mariaDB and verify the status using the commands below.
systemctl start mariadb

systemctl enable mariadb

systemctl status mariadb
Output:
root@server:~# systemctl status mariadb
● mariadb.service - MariaDB 10.5.11 database server
 Loaded: loaded (/lib/systemd/system/mariadb.service; >
 Active: active (running) since Tue 2021-08-03 14:12:2>
   Docs: man:mariadbd(8)
         https://mariadb.com/kb/en/library/systemd/
Main PID: 1818 (mariadbd)
 Status: "Taking your SQL requests now..."
  Tasks: 8 (limit: 4677)
 Memory: 84.2M
    CPU: 20.827s
 CGroup: /system.slice/mariadb.service
         └─1818 /usr/sbin/mariadbd
Enable PHP-FPM service, start the PHP-FPM service and verify the status using the commands below.
systemctl start php7.4-fpm

systemctl enable php7.4-fpm

systemctl status php7.4-fpm
Output:
● php7.4-fpm.service - The PHP 7.4 FastCGI Process Manager
 Loaded: loaded (/lib/systemd/system/php7.4-fpm.service; enabled; vendor preset: enabled)
 Active: active (running) since Tue 2021-08-03 21:57:30 GMT; 14h ago
   Docs: man:php-fpm7.4(8)
Main PID: 58325 (php-fpm7.4)
 Status: "Processes active: 0, idle: 2, Requests: 0, slow: 0, Traffic: 0req/sec"
  Tasks: 3 (limit: 4677)
 Memory: 10.9M
    CPU: 4.828s
 CGroup: /system.slice/php7.4-fpm.service
         ├─58325 php-fpm: master process (/etc/php/7.4/fpm/php-fpm.conf)
         ├─58327 php-fpm: pool www
         └─58328 php-fpm: pool www
Finally, you will want to secure your MariaDB installation by issuing the following command.
mysql_secure_installationOutput:
root@server:~# mysql_secure_installation

NOTE: RUNNING ALL PARTS OF THIS SCRIPT IS RECOMMENDED FOR ALL MariaDB
      SERVERS IN PRODUCTION USE!  PLEASE READ EACH STEP CAREFULLY!

In order to log into MariaDB to secure it, we'll need the current
password for the root user. If you've just installed MariaDB, and
haven't set the root password yet, you should just press enter here.

Enter current password for root (enter for none):
OK, successfully used password, moving on...
Creating Database
Log into MySQL with the following command.
mysqlFirst, we'll create a new database.
MariaDB [(none)]> CREATE DATABASE wordpress_db;Next, create a new MySQL user account that we will use to operate on WordPress's new database, with username "wordpress_user".
MariaDB [(none)]> CREATE USER 'wordpress_user'@'localhost' IDENTIFIED BY 'password';Link the user and DB together by granting our user access to the database.
MariaDB [(none)]> GRANT ALL PRIVILEGES ON wordpress_db.* to wordpress_user@'localhost';Flush the privileges so that MySQL knows about the user permissions we just added.
MariaDB [(none)]> FLUSH PRIVILEGES;Exit out of the MySQL command prompt by typing.
MariaDB [(none)]> exit Output:
root@server:~# mysql
Welcome to the MariaDB monitor.  Commands end with ; or \g.
Your MariaDB connection id is 62
Server version: 10.5.11-MariaDB-1 Debian 11

Copyright (c) 2000, 2018, Oracle, MariaDB Corporation Ab and others.

Type 'help;' or '\h' for help. Type '\c' to clear the current input statement.

MariaDB [(none)]> CREATE DATABASE wordpress_db;
Query OK, 1 row affected (0.001 sec)

MariaDB [(none)]>
MariaDB [(none)]> CREATE USER 'wordpress_user'@'localhost' IDENTIFIED BY 'password';
Query OK, 0 rows affected (0.004 sec)

MariaDB [(none)]> GRANT ALL PRIVILEGES ON wordpress_db.* to wordpress_user@'localhost';
Query OK, 0 rows affected (0.002 sec)

MariaDB [(none)]> FLUSH PRIVILEGES;
Query OK, 0 rows affected (0.001 sec)

MariaDB [(none)]> exit
Bye
Download and Install WordPress
Download Wordpress.
wget -O /tmp/wordpress.tar.gz https://wordpress.org/latest.tar.gzUnzip the downloaded WordPress file.
tar -xzvf /tmp/wordpress.tar.gz -C /var/www/htmlChange the permission of the site directory and revert changes after installing WordPress.
chown -R www-data.www-data /var/www/html/wordpress

chmod -R 755 /var/www/html/wordpress
Creating an NGINX Virtual Host
Create a Virtual Host (Server Blocks) for WordPress website on the Nginx server by running the following command.
nano /etc/nginx/conf.d/wordpress.confAdd the content to file.
server {
        listen 80;
        listen [::]:80;
        root /var/www/html/wordpress;
        index index.php index.html index.htm;
        error_log /var/log/nginx/wordpress_error.log;
        access_log /var/log/nginx/wordpres_access.log;
        client_max_body_size 100M;
        location / {
                try_files $uri $uri/ /index.php?$args;
        }
        location ~ \.php$ {
                include snippets/fastcgi-php.conf;
                fastcgi_pass unix:/run/php/php7.4-fpm.sock;
                fastcgi_param SCRIPT_FILENAME $document_root$fastcgi_script_name;
        }
}
Remove the default server block to enable your WordPress website.
rm /etc/nginx/sites-enabled/default

rm /etc/nginx/sites-available/default
Next, test to make sure that there are no syntax errors in any of your Nginx files.
nginx -tIf there aren’t any problems, restart Nginx to enable your changes.
systemctl reload nginxNavigate to your browser.
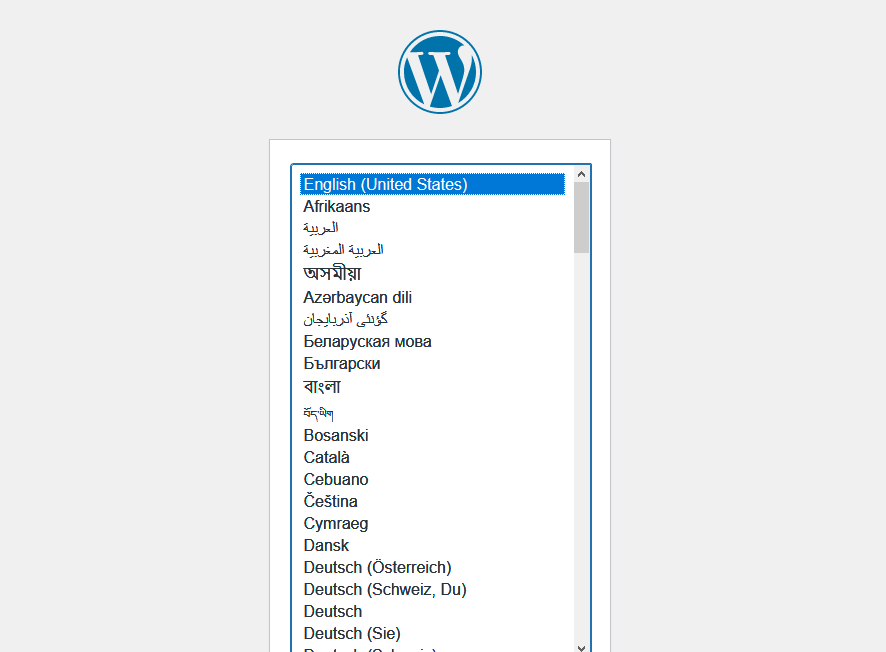
Provide the requested information.
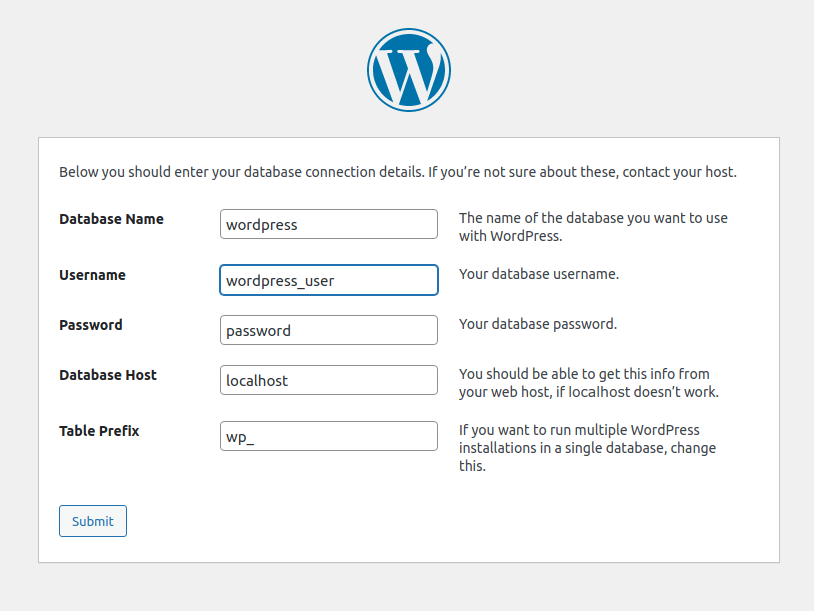
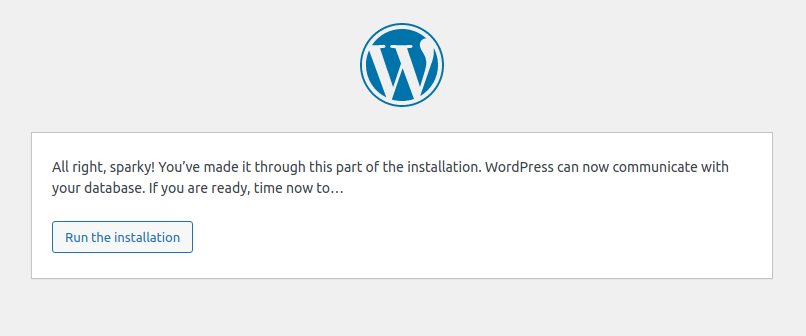
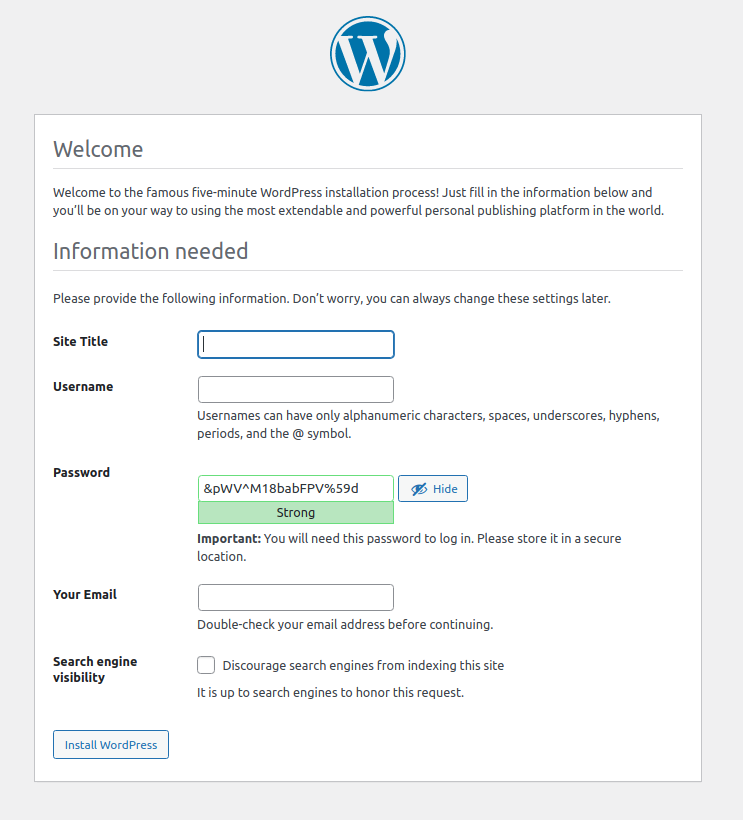
Start a WordPress installation by clicking on the Run the installation button.
Once the Wordpress is installed login with your new user credentials.
Done!!
CrownCloud - Get a SSD powered KVM VPS at $4.5/month!
Use the code WELCOME for 10% off!
1 GB RAM / 25 GB SSD / 1 CPU Core / 1 TB Bandwidth per month
Available Locations: LAX | MIA | ATL | FRA | AMS