How to Install WordPress with LAMP on CentOS Stream 9
WordPress is a commonly used PHP-based CMS (Content Management System). For small businesses, personal blogs & websites, WordPress can be a good fit. In this article, we are going to learn how to install WordPress on CentOS Stream 9. So, let’s get started.
Pre-requisites :
-
A system with CentOS Stream 9 installed and running.
-
rootaccess to the system. - LAMP Stack installed and running, for this, you can refer to one of our guides on installing the LAMP Stack (Apache, MariaDB, and PHP.
Once you're all set, we'll proceed with WordPress installation and configuration.
Install Wget & Developer Tools
yum groupinstall "Development tools"

yum install wget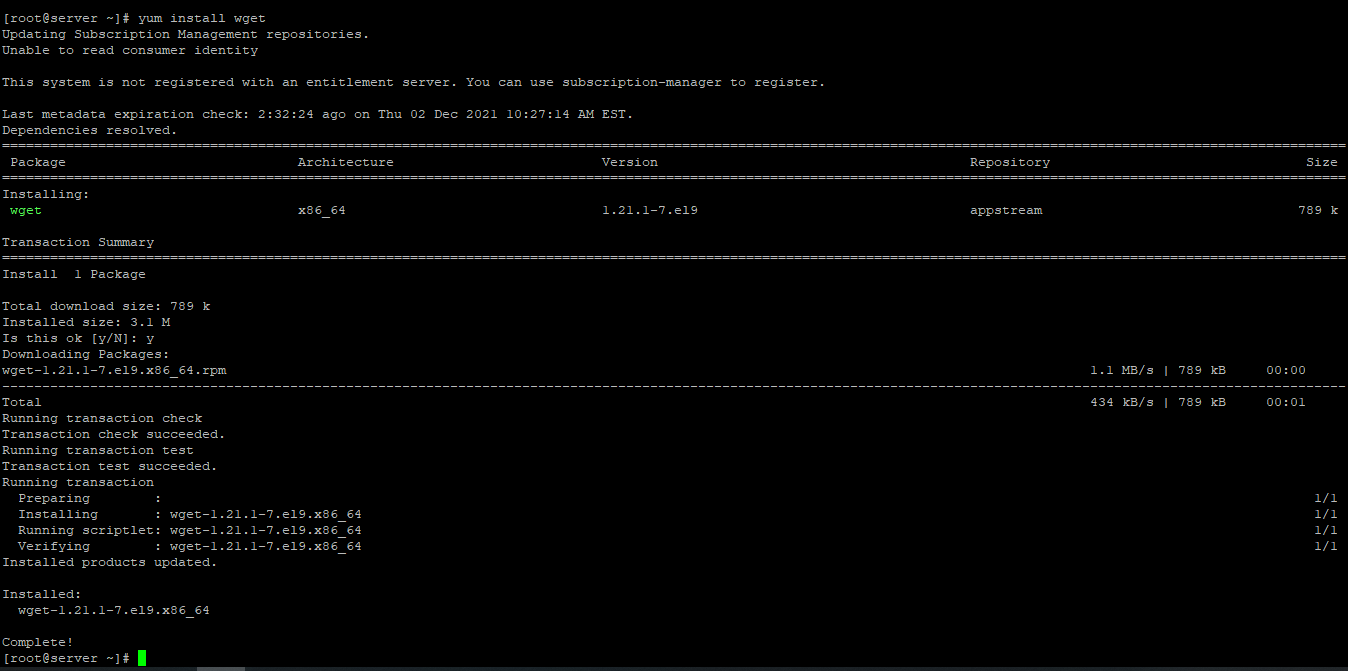
Download WordPress
First, navigate to the/var/www directory as follows:
cd /var/wwwNow, download the latest WordPress archive from the official website of WordPress with the following command:
wget https://wordpress.org/latest.tar.gzCheck for files with the following command.
lsNow, extract the WordPress archive file latest.tar.gz with the following command:
tar xvzf latest.tar.gzOnce the WordPress archive file latest.tar.gz is extracted, a new directory wordpress/ should be created in the folder. Now, you can remove the latest.tar.gz file as follows:
rm -v latest.tar.gz Setting up FilePermission & Ownership
Now, change the owner and group of the wordpress/ directory and its contents to apache as follows:
chown -Rf apache:apache ./wordpress/Now, change the permission or the wordpress/ directory and its content to 775 as follows:
chmod -Rf 775 ./wordpress/Use this command only if you have enabled SELinux, Otherwise don't.
semanage fcontext -a -t httpd_sys_rw_content_t \ "/var/www/wordpress(/.*)?"For the SELinux changes to take effect.
restorecon -Rv /var/www/wordpress Configuring Apache vHost
Now, create a new Apache configuration file wordpress.conf for WordPress with the following command:
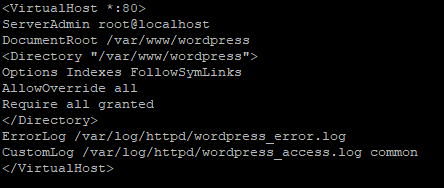
vi /etc/httpd/conf.d/wordpress.confNow, press i to go to INSERT mode and type in the following lines of codes in the wordpress.conf file.
<VirtualHost *:80>
ServerAdmin root@localhost
DocumentRoot /var/www/wordpress
<Directory "/var/www/wordpress">
Options Indexes FollowSymLinks
AllowOverride all
Require all granted
</Directory>
ErrorLog /var/log/httpd/wordpress_error.log
CustomLog /var/log/httpd/wordpress_access.log common
</VirtualHost>
Finally, the wordpress.conf will look like the image shown below.
Now, press the Esc key, and type in :wq! and press the Enter key to save and exit the file.
Now, restart & check the Apache httpd service with the following commands:
systemctl restart httpd

systemctl restart httpd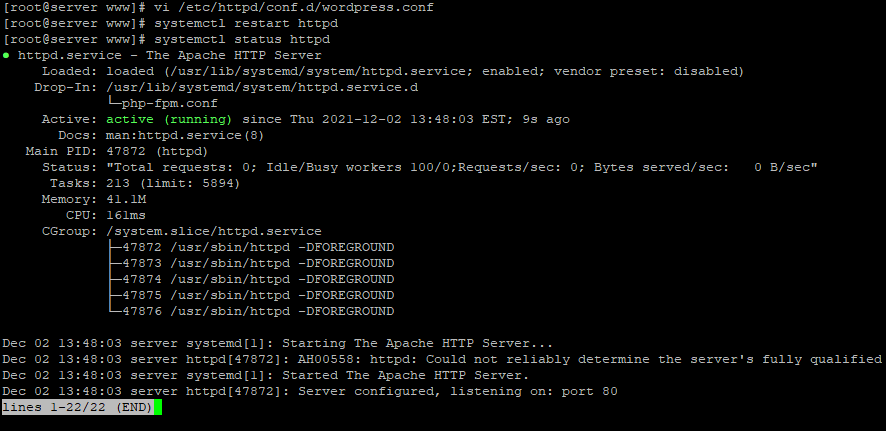
Configuring Database
Now create a Database, User & Password for WordPress:
mysql -u root

CREATE DATABASE wordpress;

GRANT ALL ON wordpress.* TO 'wordpress'@'localhost' IDENTIFIED BY 'secret';

FLUSH PRIVILEGES;

quit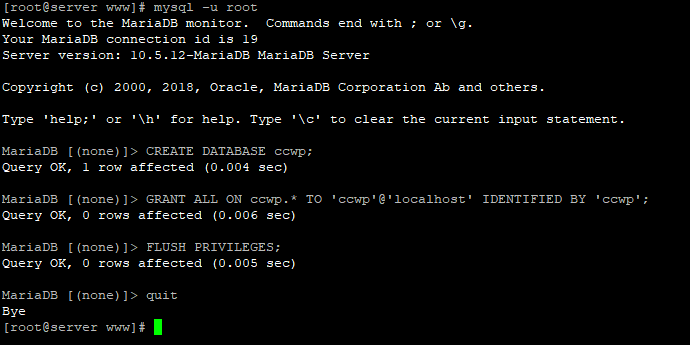
Configuring WordPress
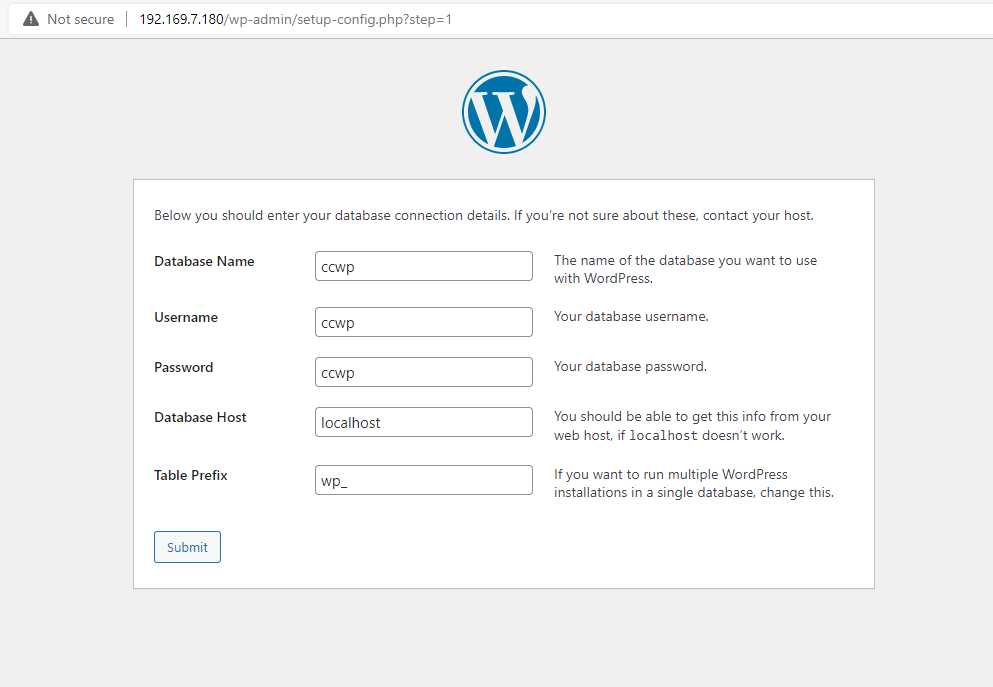
Now open the IP address from your browser, this will redirect you to the wp-admin part of configuring the final parts of WordPress installation.
http://IP_addressReplace the
IP_addresswith the actual IP of the server.
Input the Database details which was configured earlier.
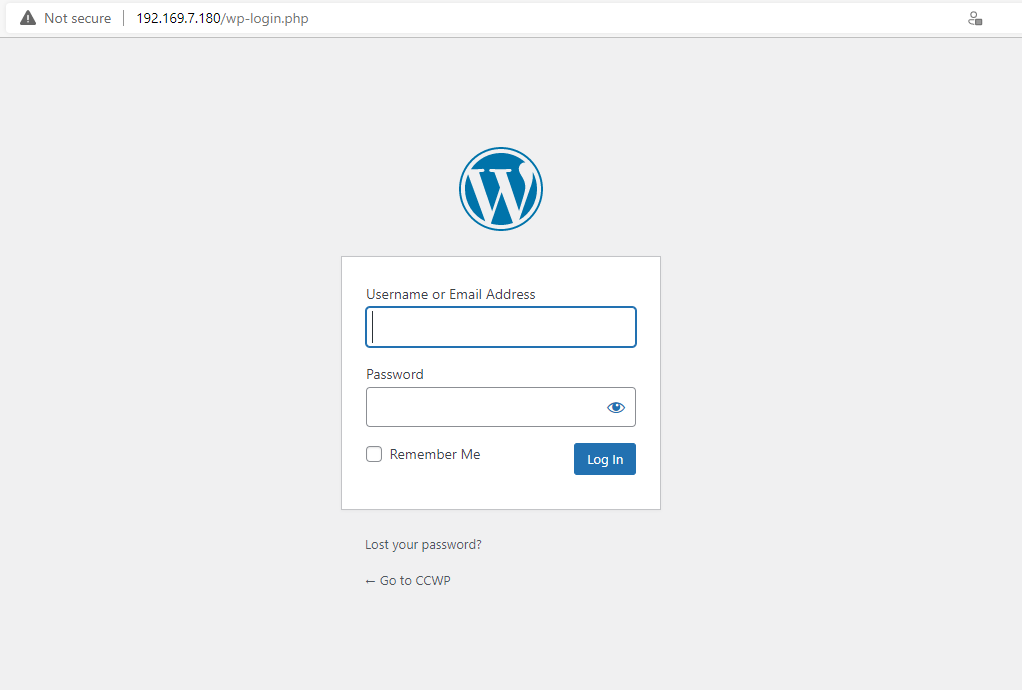
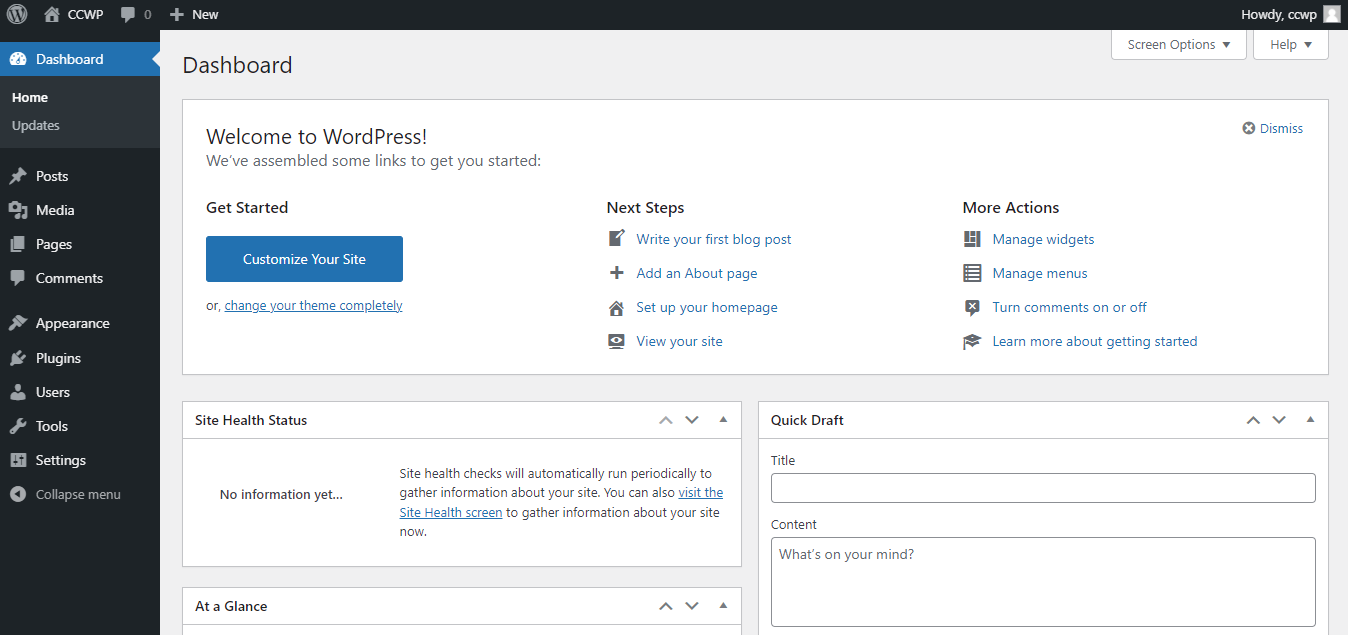
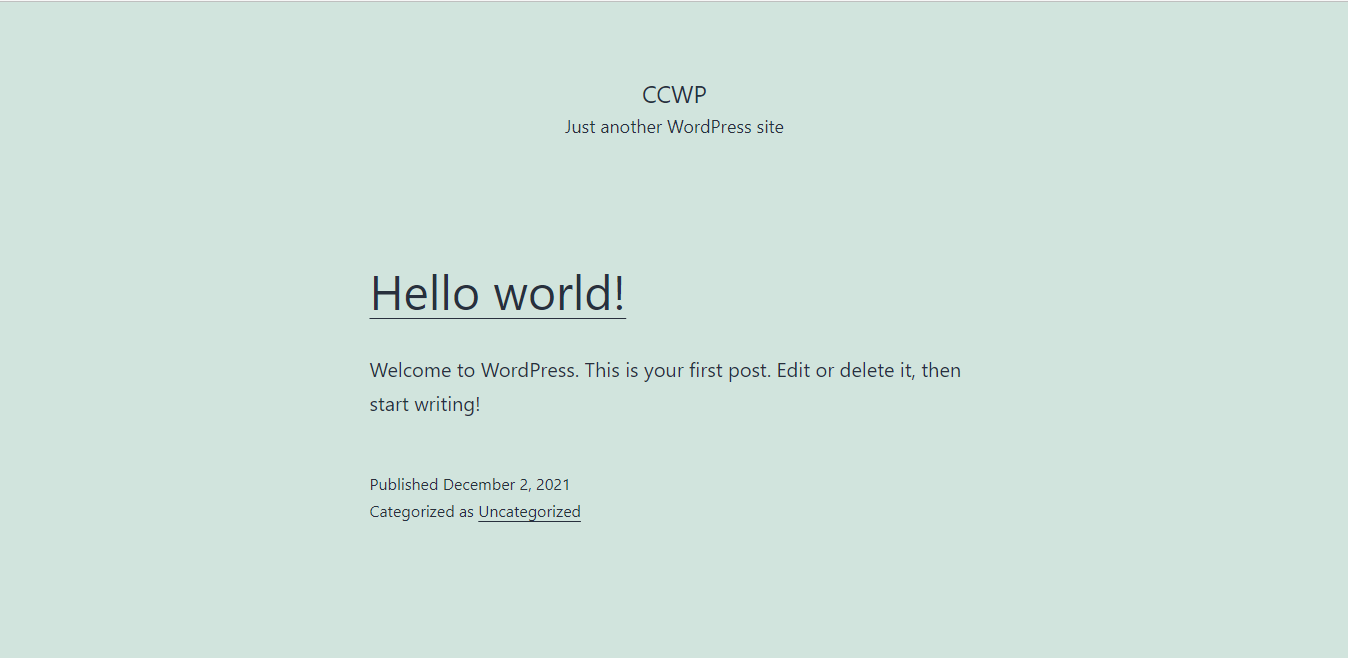
Now you have successfully installed WordPress with LAMP on your server.
CrownCloud - Get a SSD powered KVM VPS at $4.5/month!
Use the code WELCOME for 10% off!
1 GB RAM / 25 GB SSD / 1 CPU Core / 1 TB Bandwidth per month
Available Locations: LAX | MIA | ATL | FRA | AMS