How to Install WordPress with LEMP Stack on Ubuntu 22.10
WordPress is one of the most popular website-building tools available out there. It is a simple way to get your online presence and perfect for those who do not know how to code and want a simple and effective way to share and build your story on the internet.
Prerequisites:
-
Root access to your Ubuntu 22.10 server.
- LEMP Stack installed and running. Learn how to setup LEMP Stack.
Creating Database
Log into MySQL with the following command.
mysql -u root -pFirst, we'll create a new database.
CREATE DATABASE wordpress_db;Next, create a new MySQL user account that we will use to operate on WordPress's new database, with the username "wordpress_user".
CREATE USER 'wordpress_user'@'localhost' IDENTIFIED BY 'password';Link the user and DB together by granting our user access to the database.
GRANT ALL PRIVILEGES ON wordpress_db.* to wordpress_user@'localhost';Flush the privileges so that MySQL knows about the user permissions we just added.
FLUSH PRIVILEGES;Exit out of the MySQL command prompt by typing.
exitOutput:
root@crown:~# mysql
Welcome to the MariaDB monitor.  Commands end with ; or \g.
Your MariaDB connection id is 42
Server version: 10.6.9-MariaDB-1 Ubuntu 22.10

Copyright (c) 2000, 2018, Oracle, MariaDB Corporation Ab and others.

Type 'help;' or '\h' for help. Type '\c' to clear the current input statement.

MariaDB [(none)]> CREATE DATABASE wordpress_db;
Query OK, 1 row affected (0.001 sec)

MariaDB [(none)]> CREATE USER 'wordpress_user'@'localhost' IDENTIFIED BY 'crown@';
Query OK, 0 rows affected (0.003 sec)

MariaDB [(none)]> GRANT ALL PRIVILEGES ON wordpress_db.* to wordpress_user@'localhost';
Query OK, 0 rows affected (0.001 sec)

MariaDB [(none)]> FLUSH PRIVILEGES;
Query OK, 0 rows affected (0.002 sec)

MariaDB [(none)]> exit
Bye
Download and Install WordPress
Download the latest WordPress,
wget -O /tmp/wordpress.tar.gz https://wordpress.org/latest.tar.gzUnzip the downloaded WordPress file.
tar -xzvf /tmp/wordpress.tar.gz -C /var/www/wordpressYou can replace the word
wordpresswith any other name that is related to the site. Please be sure to use replacewordpresswith the actual directory name.
Change the permission of the site directory.
chown -R www-data:www-data /var/www/wordpress Create a Server Block or vHost
We will create a server block (also called vHost) for the Wordpress site and have it's own configuration.
Create a new configuration file using your favourite editor,
vi /etc/nginx/sites-available/example.comReplace
example.comwith actual domain name.
And insert the following content into the file.
 server {
  listen 80;
  listen [::]:80;
  #server_name _;
  server_name example.com
  root /var/www/wordpress/;
  index index.php index.html index.htm index.nginx-debian.html;

  location / {
    try_files $uri $uri/ /index.php;
  }

  location ~ \.php$ {
    fastcgi_pass unix:/run/php/php8.1-fpm.sock;
    fastcgi_param SCRIPT_FILENAME $document_root$fastcgi_script_name;
    include fastcgi_params;
    include snippets/fastcgi-php.conf;
  }

 # A long browser cache lifetime can speed up repeat visits to your page
  location ~* \.(jpg|jpeg|gif|png|webp|svg|woff|woff2|ttf|css|js|ico|xml)$ {
       access_log        off;
       log_not_found     off;
       expires           360d;
  }

  # disable access to hidden files
  location ~ /\.ht {
      access_log off;
      log_not_found off;
      deny all;
  }
}
Save and exit the file.
Next create a symbolic link of the configuration in the sites-enabled directory with the following command:
ln -s /etc/nginx/sites-available/example.com /etc/nginx/sites-available/Confirm that the configuration is all OK and there are no errors.
nginx -tyou would see an output like below:
root@vps:~# nginx -t
nginx: the configuration file /etc/nginx/nginx.conf syntax is ok
nginx: configuration file /etc/nginx/nginx.conf test is successful
Now that the configuration has no errors, restart the web server:
systemctl restart nginxNavigate to your browser and open the server's IP address or the associated domain name,
http://IP_ADDRESS/ or http://example.com
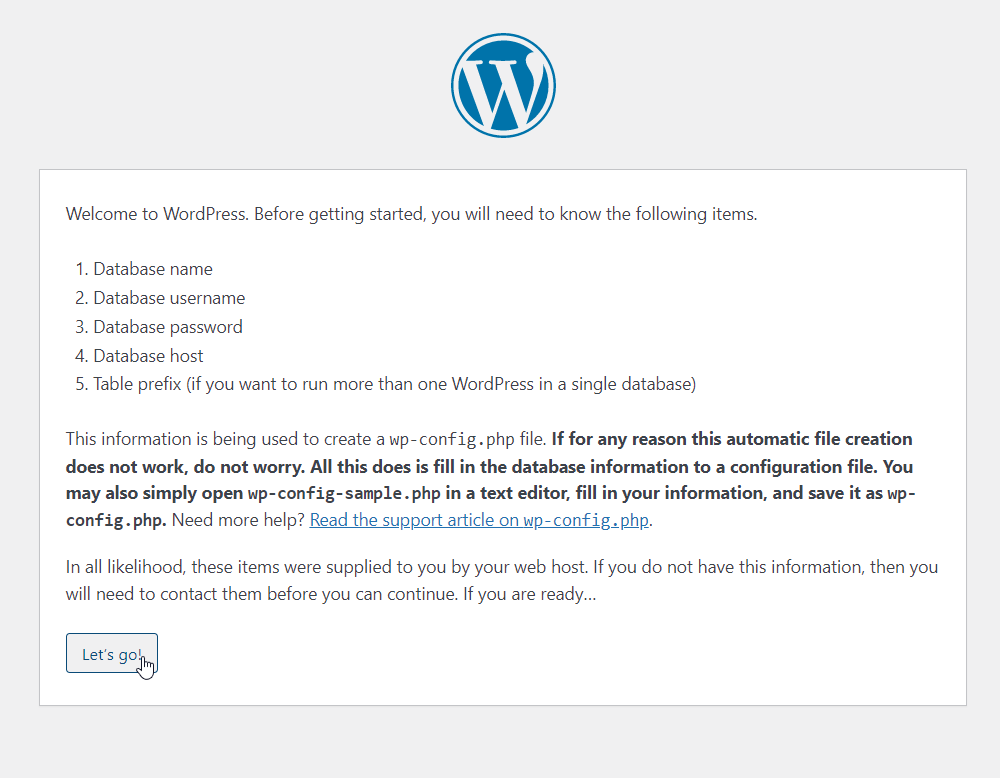
Start a WordPress installation by clicking on the Run the installation button.
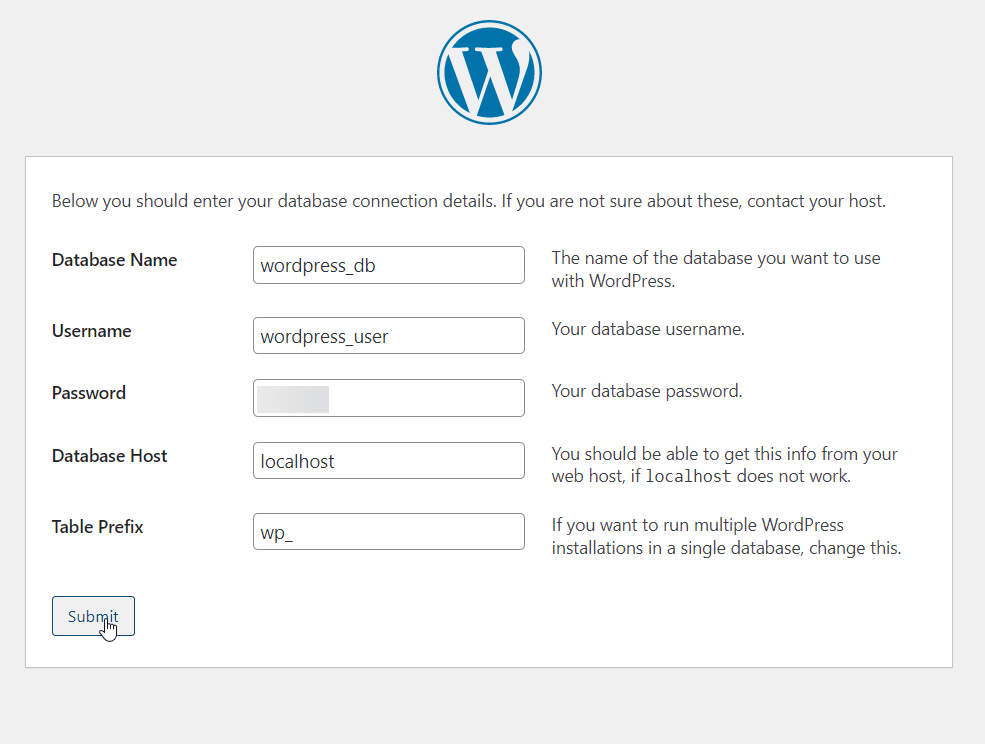
Provide the requested information.
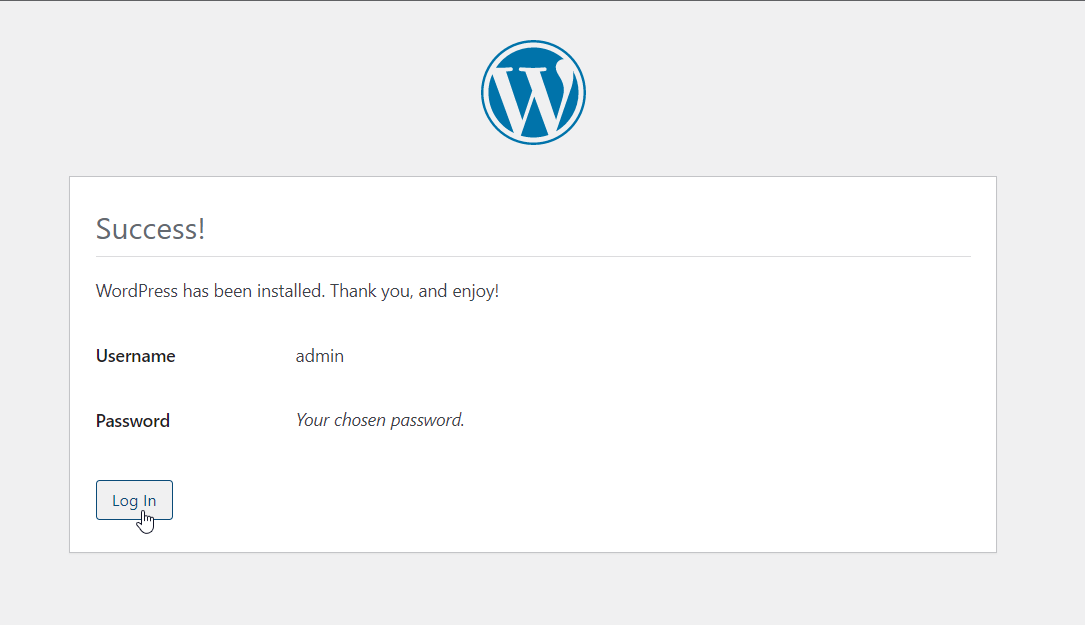
Once WordPress has been installed log in with your new user credentials.

CrownCloud - Get a SSD powered KVM VPS at $4.5/month!
Use the code WELCOME for 10% off!
1 GB RAM / 25 GB SSD / 1 CPU Core / 1 TB Bandwidth per month
Available Locations: LAX | MIA | ATL | FRA | AMS