How to Install WordPress with LEMP on CentOS Stream 10
WordPress is a commonly used PHP-based CMS (Content Management System). For small businesses, personal blogs & websites, WordPress can be a good fit. In this article, we are going to learn how to install WordPress on CentOS Stream 10. So, let’s get started.
Pre-requisites:
- A system with CentOS Stream 10 installed and running.
rootaccess to the system.- LEMP Stack installed and running, for this, you can refer to one of our guides on installing the LEMP Stack (Nginx, MariaDB and PHP).
Once you're all set, we'll proceed with WordPress installation and configuration.
Install Wget & Developer Tools
yum groupinstall "Development tools"
yum install wget
Output
Last metadata expiration check: 0:17:27 ago on Sat 22 Feb 2025 06:29:45 PM UTC.
Dependencies resolved.
=================================================================================
 Package       Architecture    Version                  Repository          Size
=================================================================================
Installing:
 wget          x86_64          1.24.5-5.el10            appstream          803 k

Transaction Summary
=================================================================================
Install  1 Package

Total download size: 803 k
Installed size: 3.3 M
Is this ok [y/N]: y
Downloading Packages:
wget-1.24.5-5.el10.x86_64.rpm                    6.0 MB/s | 803 kB     00:00
---------------------------------------------------------------------------------
Total                                            2.2 MB/s | 803 kB     00:00
Running transaction check
Transaction check succeeded.
Running transaction test
Transaction test succeeded.
Running transaction
  Preparing        :                                                         1/1
  Installing       : wget-1.24.5-5.el10.x86_64                               1/1
  Running scriptlet: wget-1.24.5-5.el10.x86_64                               1/1

Installed:
  wget-1.24.5-5.el10.x86_64
Download WordPress
First, navigate to the /var/www directory as follows:
cd /var/www/htmlNow, download the latest WordPress archive from the official website of WordPress with the following command:
wget https://wordpress.org/latest.tar.gzOutput
[root@vps ~]#     cd /var/www/html
[root@vps html]#     wget https://wordpress.org/latest.tar.gz
--2025-02-22 19:00:17--  https://wordpress.org/latest.tar.gz
Resolving wordpress.org (wordpress.org)... 198.143.164.252
Connecting to wordpress.org (wordpress.org)|198.143.164.252|:443... connected.
HTTP request sent, awaiting response... 200 OK
Length: 26780969 (26M) [application/octet-stream]
Saving to: ‘latest.tar.gz’

latest.tar.gz        100%[===================>]  25.54M  34.8MB/s    in 0.7s

2025-02-22 19:00:18 (34.8 MB/s) - ‘latest.tar.gz’ saved [26780969/26780969]
Check for files with the following command:
lsNow, extract the WordPress archive file latest.tar.gz with the following command:
tar xvzf latest.tar.gzOnce the WordPress archive file latest.tar.gz is extracted, a new directory wordpress/ should be created in the folder. Now, you can remove the latest.tar.gz file as follows:
rm -v latest.tar.gz Setting up File Permission & Ownership
Now, change the owner and group of the wordpress/ directory and its contents to Nginx as follows:
chown -R nginx:nginx /var/www/html/wordpressNow, change the permission of the wordpress/ directory and its content to 775 as follows:
chmod -Rf 775 ./wordpress/ Configuring Nginx vHost
Now, create a new Nginx configuration file wordpress.conf for WordPress with the following command:
vi /etc/nginx/conf.d/wordpress.confNow, press i to go to INSERT mode and type in the following lines of code in the wordpress.conf file.
server {
    listen 80;
    server_name yourdomain.com www.yourdomain.com;
    root /var/www/html/wordpress;
    index index.php index.html index.htm;

    location / {
        try_files $uri $uri/ /index.php?$args;
    }

    location = /favicon.ico {
        log_not_found off;
        access_log off;
    }

    location ~* \.(js|css|png|jpg|jpeg|gif|ico)$ {
        expires max;
        log_not_found off;
    }

    location = /robots.txt {
        allow all;
        log_not_found off;
        access_log off;
    }

    location ~ \.php$ {
        include /etc/nginx/fastcgi_params;
        fastcgi_pass unix:/run/php-fpm/www.sock;
        fastcgi_index index.php;
        fastcgi_param SCRIPT_FILENAME $document_root$fastcgi_script_name;
    }
}
Change yourdomain.com with
Your Domain Name. If you are using an IP, please remove the entire server_name line.
Now, press the Esc key, type in :wq!, and press the Enter key to save and exit the file.
Now, restart & check the Nginx service with the following commands:
systemctl restart nginx.service Configuring Database
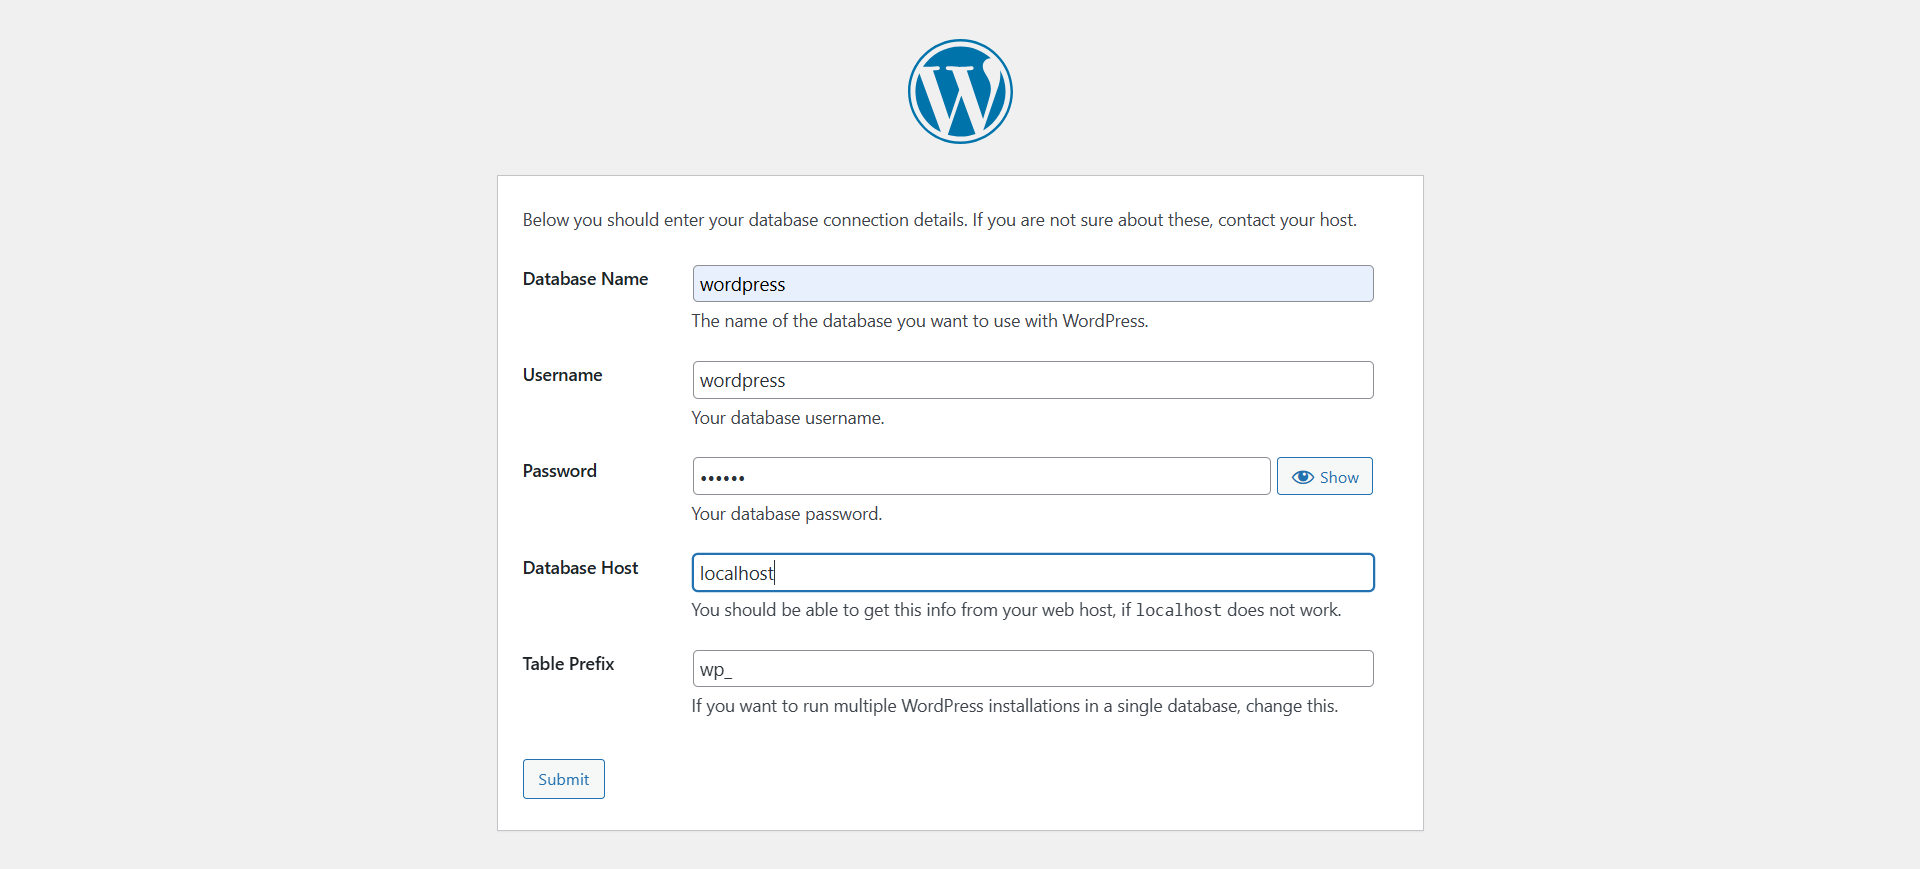
Now create a Database, User & Password for WordPress:
mysql -u rootCREATE DATABASE wordpress;
CREATE USER 'username'@'localhost' IDENTIFIED BY 'strong_password';
GRANT ALL PRIVILEGES ON wordpress.* TO 'username'@'localhost';
FLUSH PRIVILEGES;
quit Configuring WordPress
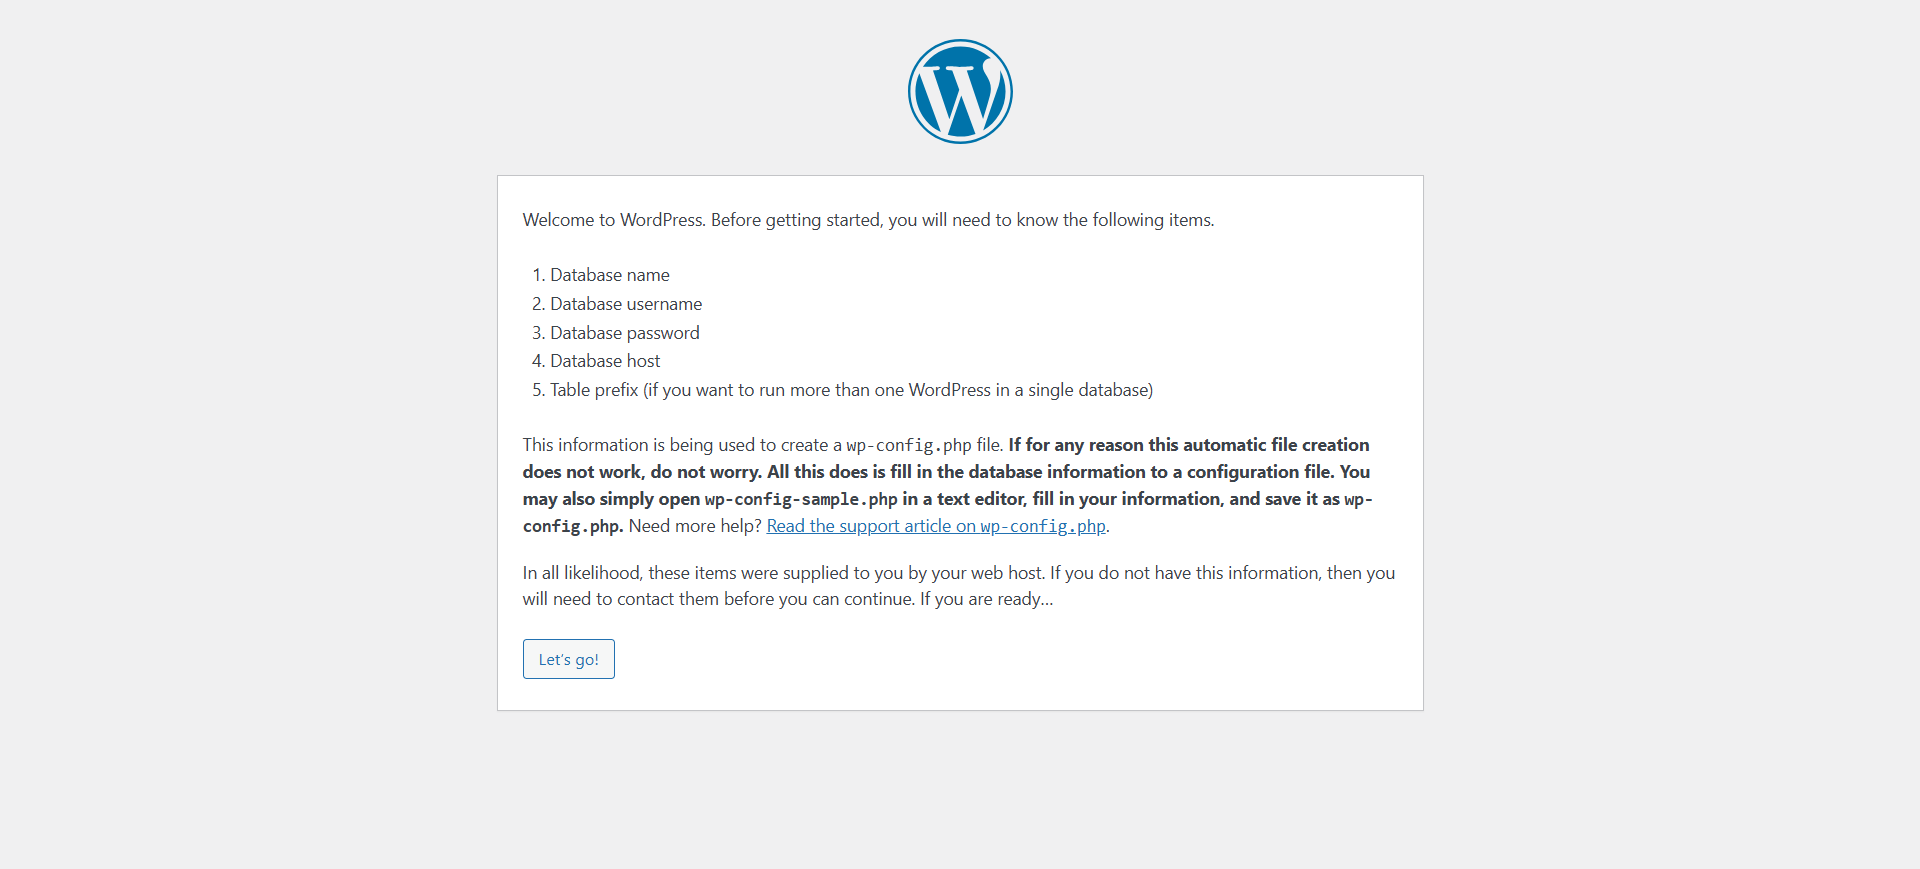
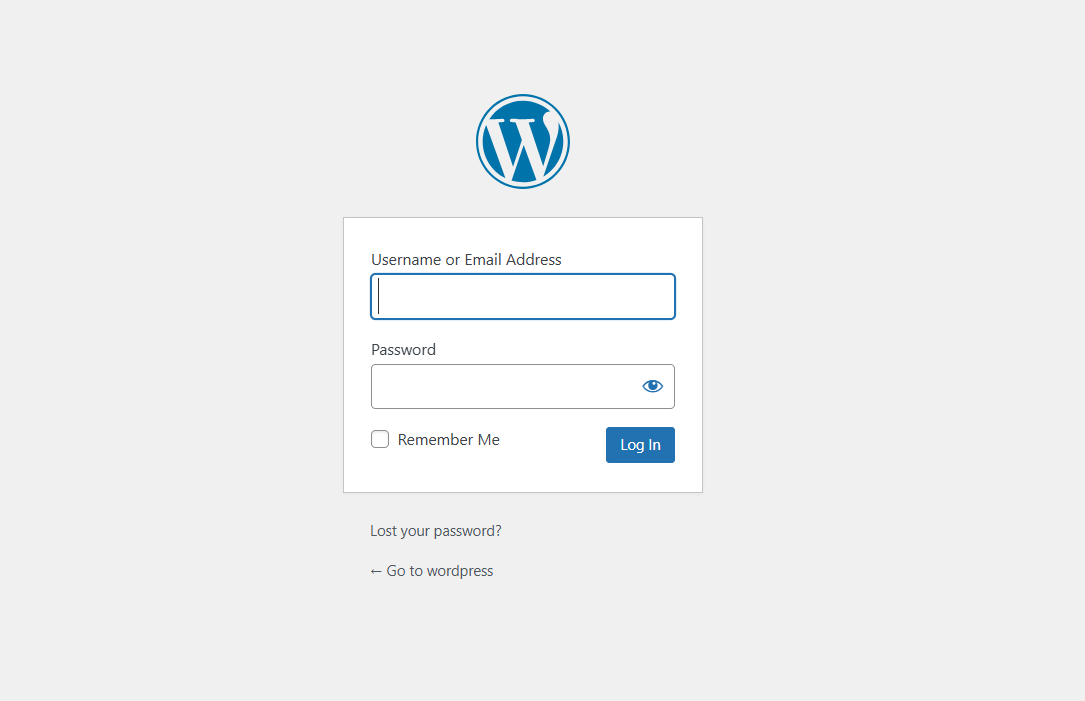
Now open the IP address from your browser, this will redirect you to the wp-admin part of configuring the final parts of WordPress installation.
http://IP_addressReplace the
IP_addresswith the actual IP of the server.
Input the Database details which were configured earlier.

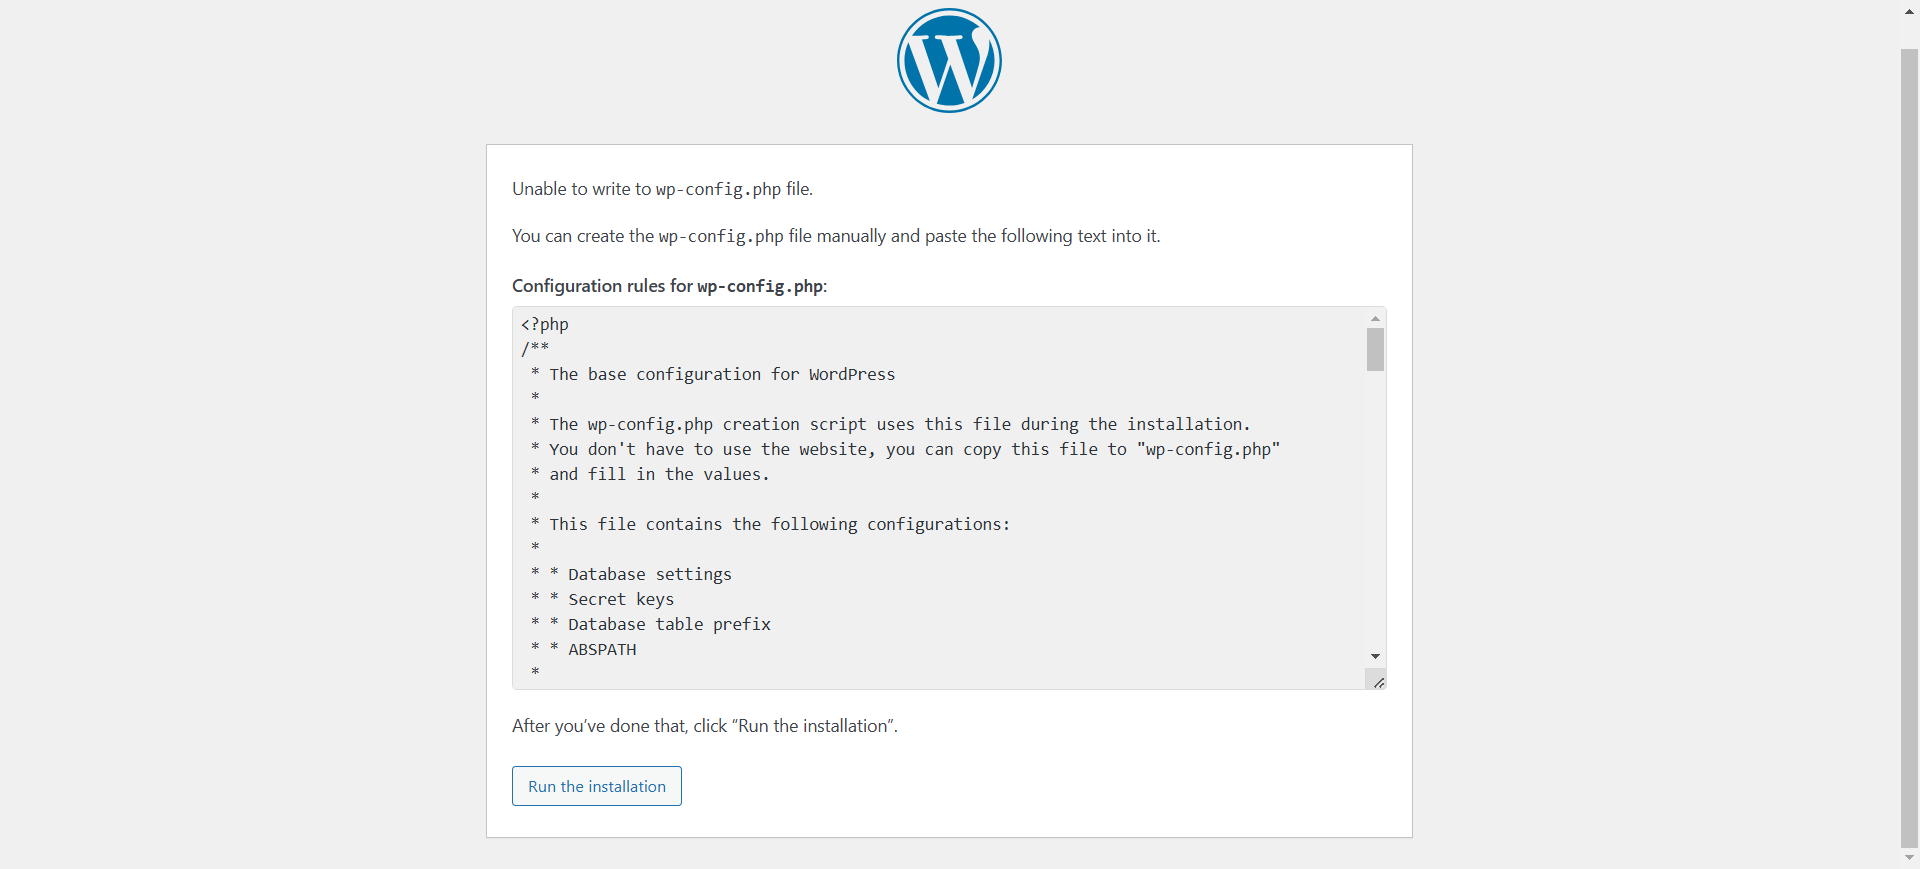
Now you have to make wp-config.php file and copy the code from the screen and paste it into wp-config.php:
cd /var/www/html/wordpress
vi wp-config.php
Now paste the code.
Now, press the Esc key, type in :wq!, and press the Enter key to save and exit the file.
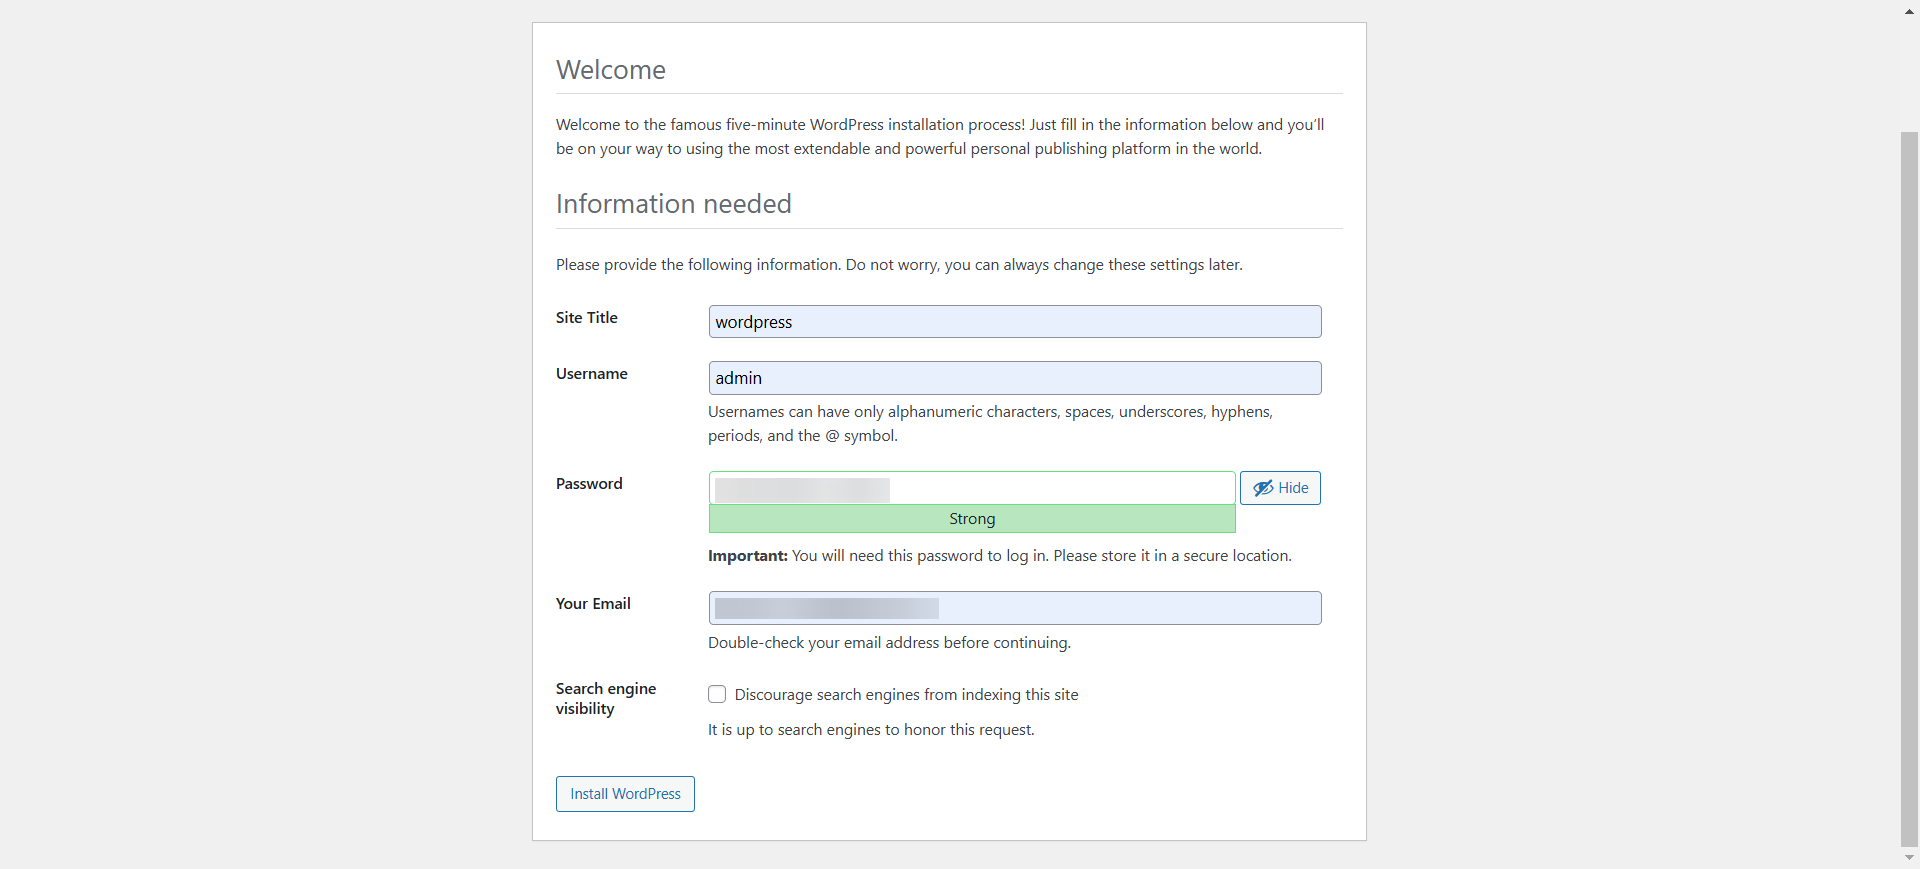
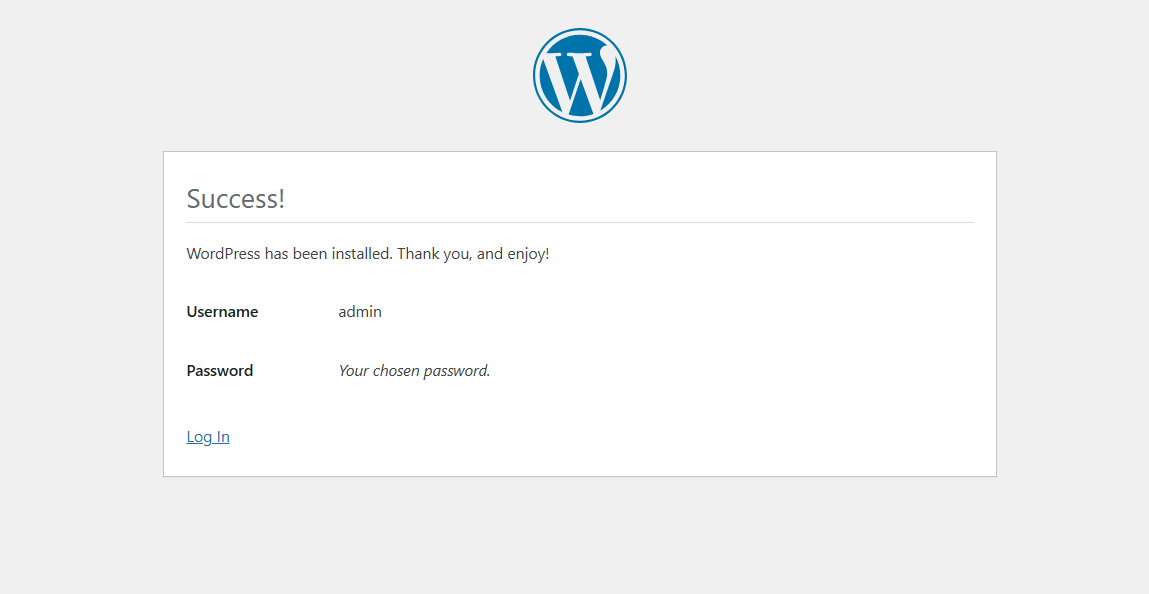
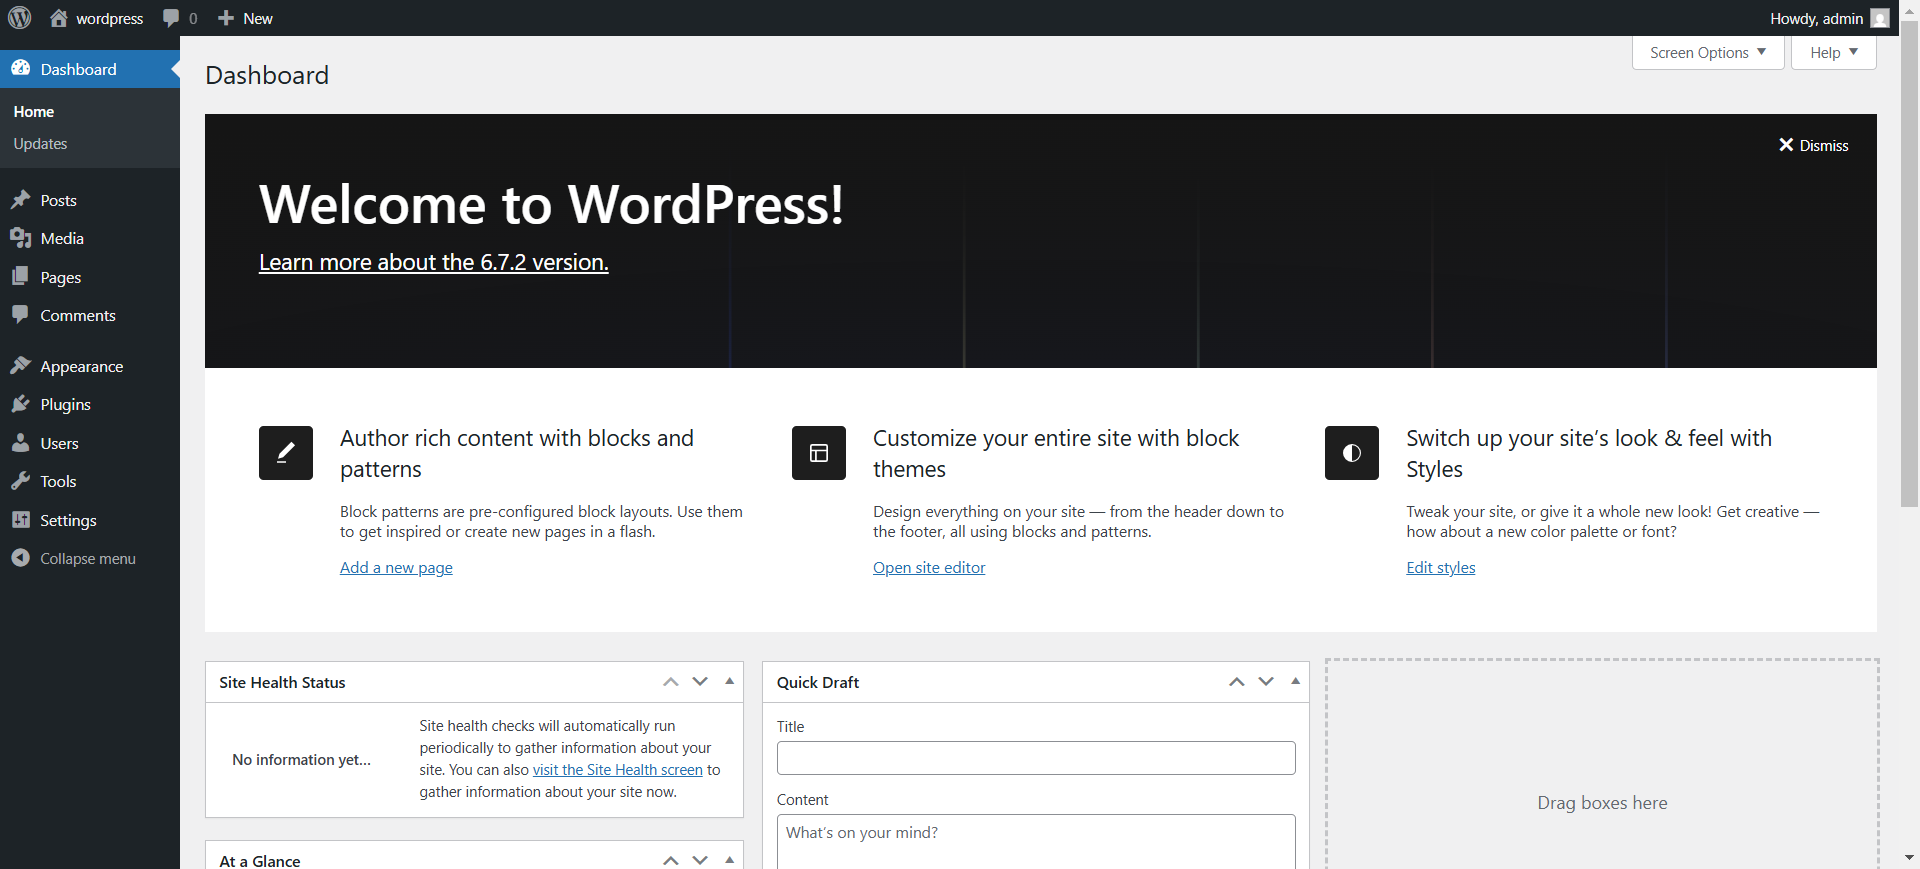
Continue with the installation. Once completed, you have successfully installed WordPress with LEMP on CentOS Stream 10.
CrownCloud - Get a SSD powered KVM VPS at $4.5/month!
Use the code WELCOME for 10% off!
1 GB RAM / 25 GB SSD / 1 CPU Core / 1 TB Bandwidth per month
Available Locations: LAX | MIA | ATL | FRA | AMS