How to Install XAMPP on Windows
XAMPP is a web server distribution based on Apache. It is composed of completely open source software, and supports installation on multiple platforms.
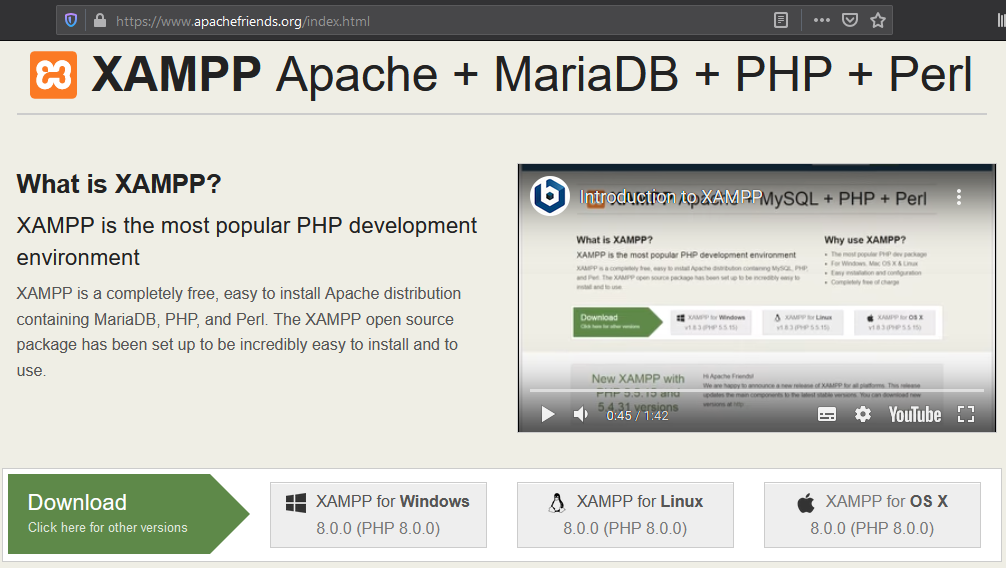
Download the XAMPP
Navigate to the following link from your Windows Server and download the required version of XAMPP for Windows https://www.apachefriends.org/index.html
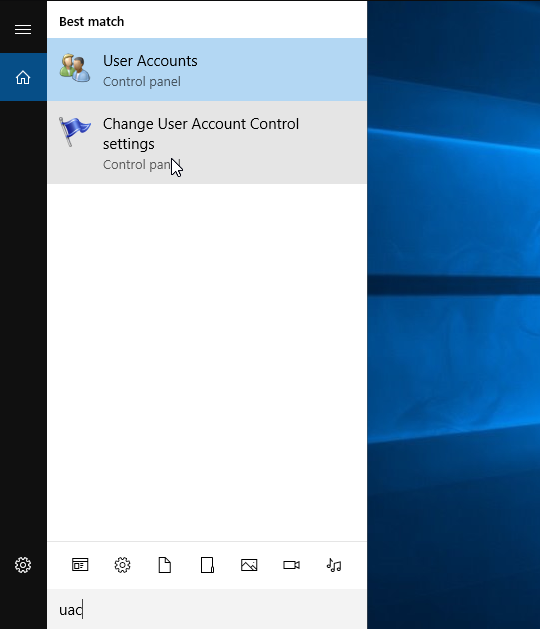
Before beginning the install of XAMPP, you would need to lower the "UAC" settings (User Account Control). Type "UAC" in the search field on your taskbar. Click on "Change User Account Control settings" in the search results.
Drag the slider down to Never notify and click OK.
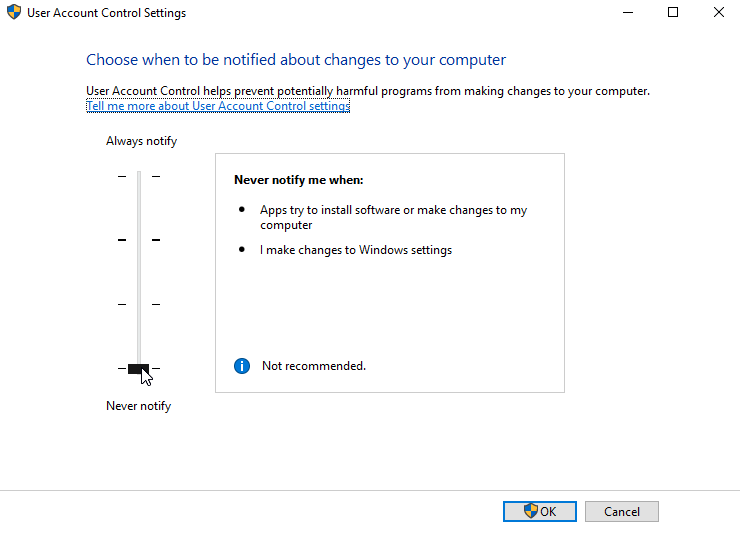
Note: After the install is complete, update the UAC settings back to default.
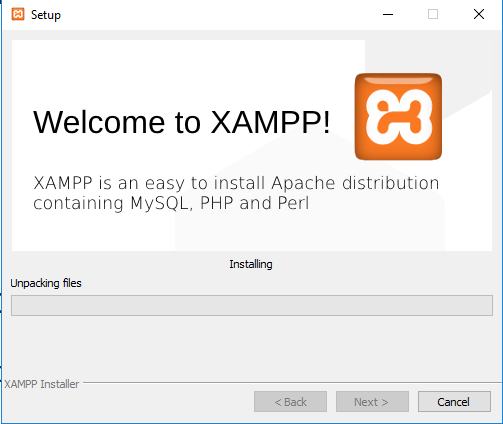
Installing and Starting XAMPP server
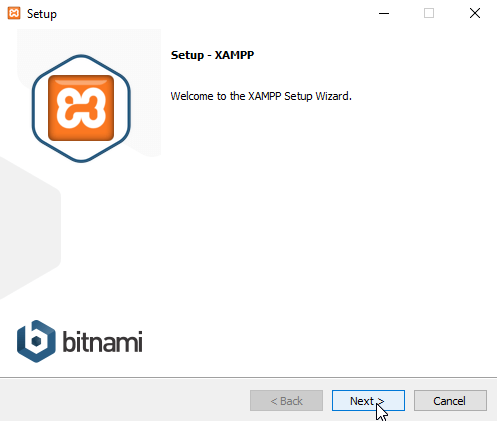
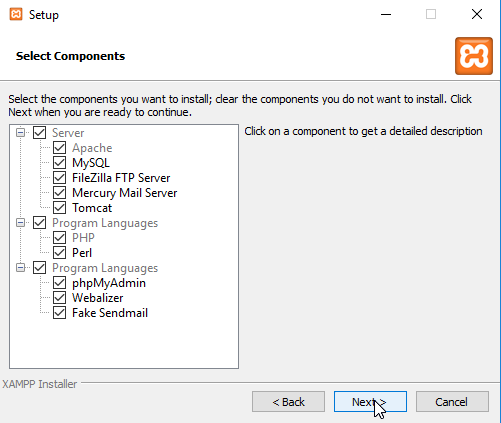
By default, all attributes are included in your XAMPP installation. Next, click on next button.
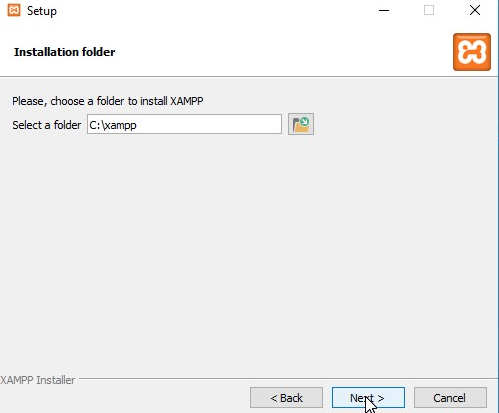
Select Destination Folder and click on next.
Select preferred language.
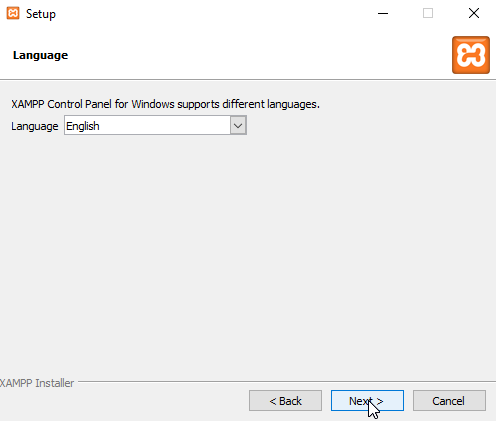
Next, click on next button.
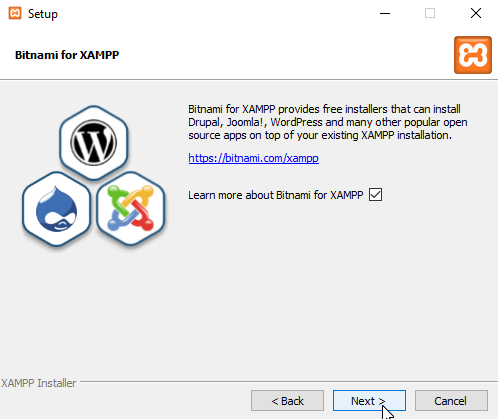
Next, click on next button.
Once the installation is completed, click on finish button.
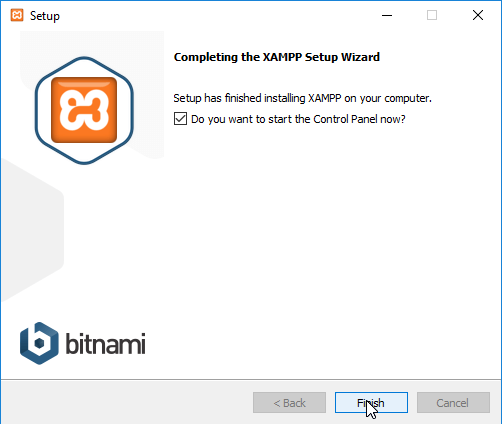
To start Apache and MySql, click on the start button on the control panel.

Firewall Configuration
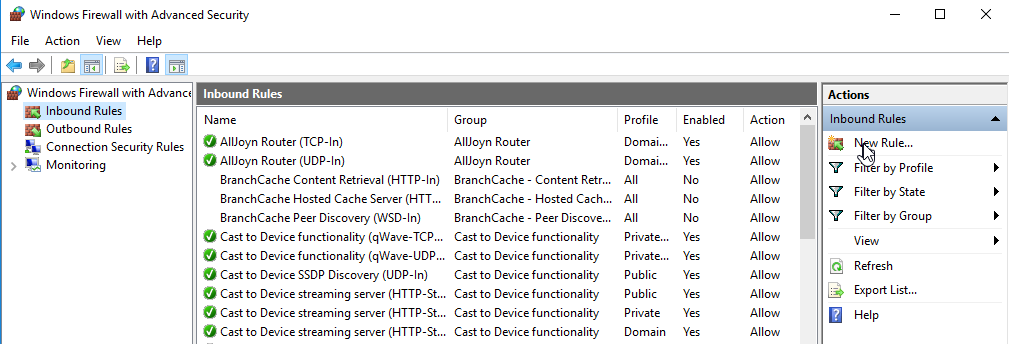
Go into the Windows Firewall settings, click the "Advanced" button.

In the next dialog click "Inbound Rules" - click "New Rule".
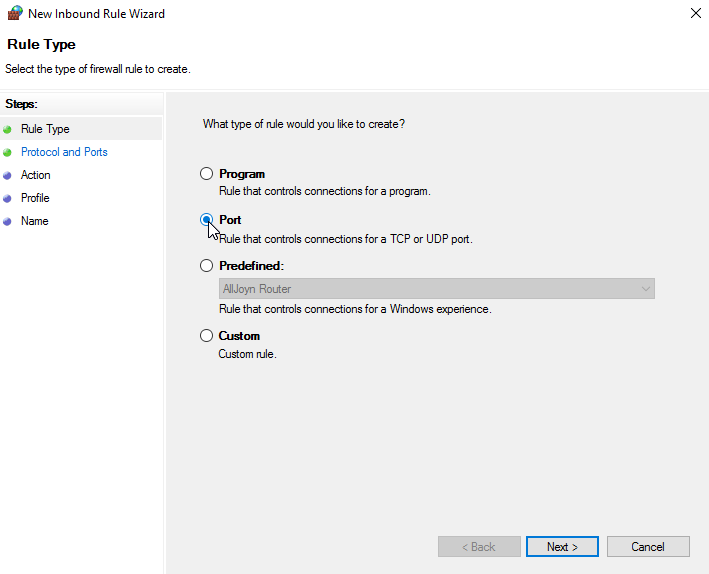
In the rule type window, choose Port
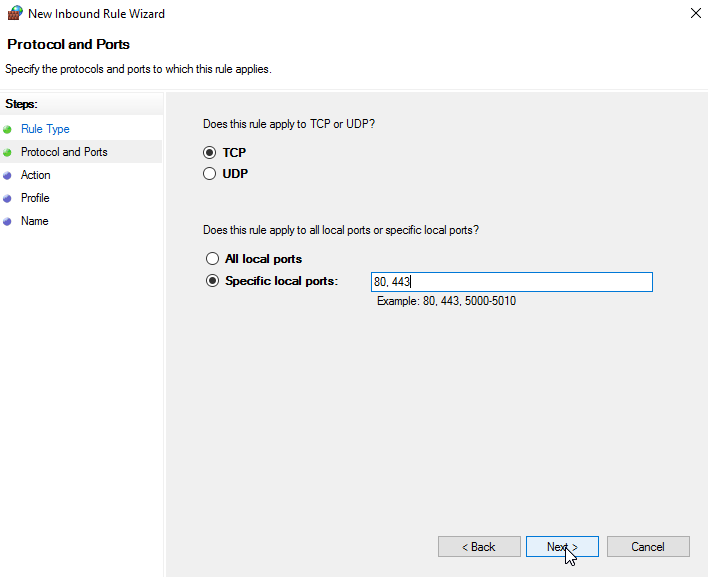
In protocols and ports, leave protocol as TCP, and Local Ports should be "Specific Ports", enter 80,443.
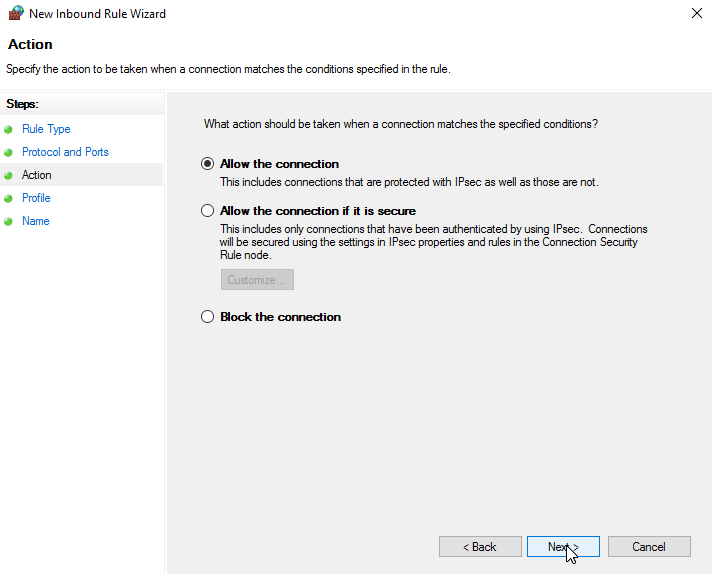
In the action window, Allow the Connection.
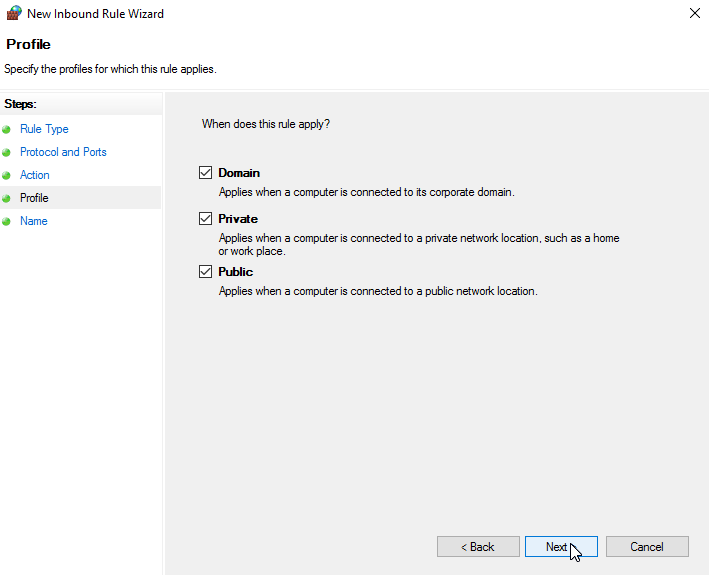
In the profile window, leave them all ticked.
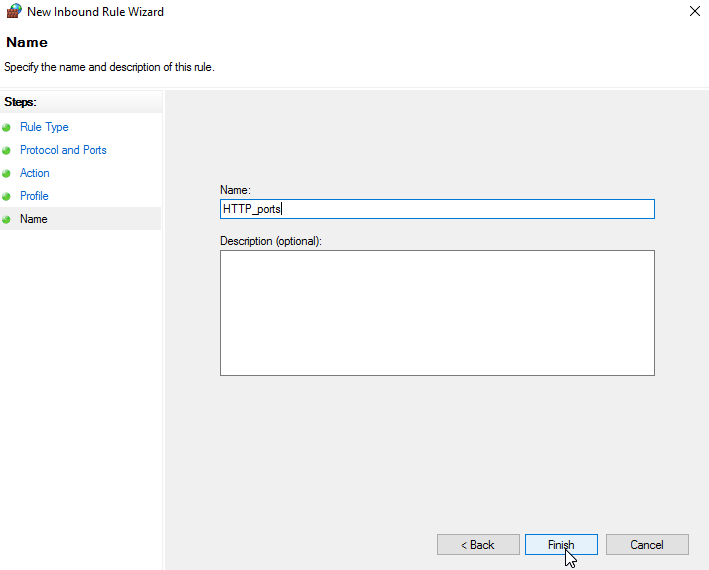
And finally, in the name, call it something useful, like HTTP_ports.
Firewall configuration is now complete and website hosted on the windows server would be publicly accessible.
Open the XAMPP dashboard From your browser,
http://IP_address:80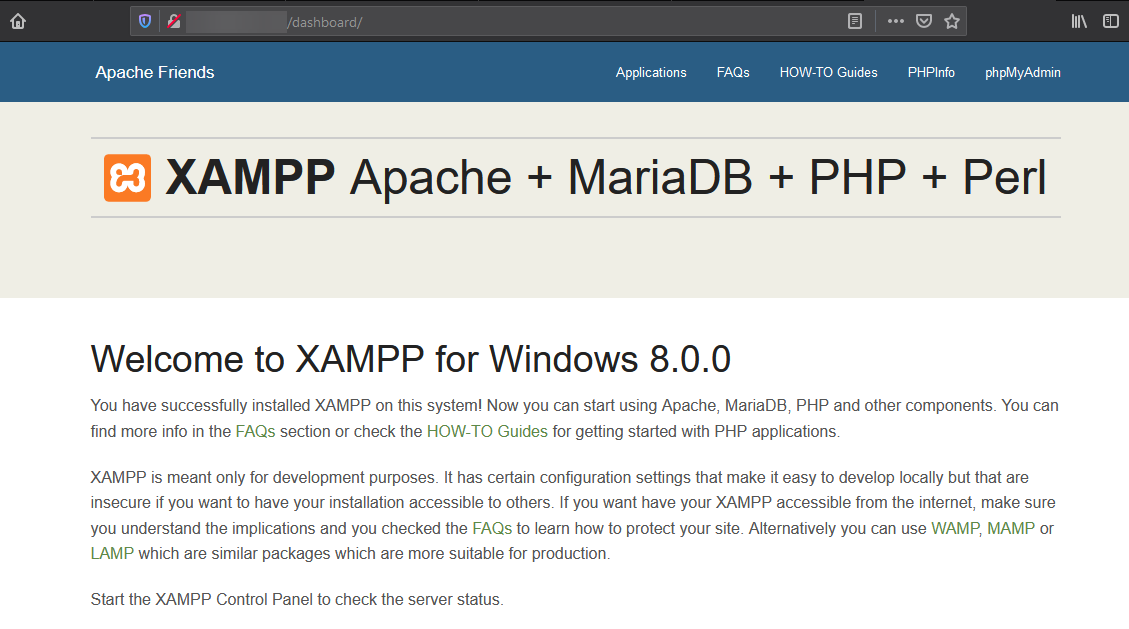
CrownCloud - Get a SSD powered KVM VPS at $4.5/month!
Use the code WELCOME for 10% off!
1 GB RAM / 25 GB SSD / 1 CPU Core / 1 TB Bandwidth per month
Available Locations: LAX | MIA | ATL | FRA | AMS