How to Install Zabbix Monitoring Tool on AlmaLinux 9
Zabbix is an open-source monitoring tool for enterprise-level IT environments, including servers, networks, applications, and services. This guide will walk you through the installation and configuration process on AlmaLinux 9.
Prerequisites
- A server running AlmaLinux 9
- MySQL or MariaDB installed and configured
Update the System
First, update the system packages to ensure everything is up-to-date:
dnf update -y Install and Configure MySQL
Install MySQL server,
dnf install mysql-server -yStart and enable MySQL,
systemctl start mysqld
systemctl enable mysqld
Secure the installation (set root password, remove anonymous users, disallow remote root login, etc.):
mysql_secure_installation Install Zabbix
Disable Zabbix packages provided by EPEL: Edit /etc/yum.repos.d/epel.repo and add the following line under the [epel] section:
excludepkgs=zabbix*Install the official Zabbix repository,
rpm -Uvh https://repo.zabbix.com/zabbix/7.2/release/alma/9/noarch/zabbix-release-latest-7.2.el9.noarch.rpm
dnf clean all
Install Zabbix Server, Frontend, and Agent,
dnf install zabbix-server-mysql zabbix-web-mysql zabbix-nginx-conf zabbix-sql-scripts zabbix-selinux-policy zabbix-agent -y Configure MySQL for Zabbix
Create the Zabbix database and user,
mysql -uroot -pRun the following SQL commands,
CREATE DATABASE zabbix CHARACTER SET utf8mb4 COLLATE utf8mb4_bin;
CREATE USER 'zabbix'@'localhost' IDENTIFIED BY 'Your_Password_Here';
GRANT ALL PRIVILEGES ON zabbix.* TO 'zabbix'@'localhost';
SET GLOBAL log_bin_trust_function_creators = 1;
QUIT;
Note: Replace Your_Password_Here with actual strong password
Import the initial schema and data,
zcat /usr/share/zabbix/sql-scripts/mysql/server.sql.gz | mysql --default-character-set=utf8mb4 -uzabbix -p zabbixDisable the log_bin_trust_function_creators option after importing:
mysql -uroot -pRun,
SET GLOBAL log_bin_trust_function_creators = 0;
QUIT;
Configure Zabbix
Update the Zabbix server configuration file,
nano /etc/zabbix/zabbix_server.confSet the database password,
DBPassword=Your_Password_HereConfigure PHP for the Zabbix frontend: Edit the Nginx configuration file,
nano /etc/nginx/conf.d/zabbix.confUncomment and update the following lines,
listen 8080;
server_name example.com;
Start Zabbix and Related Services
Start the Zabbix server, agent, and other required services,
systemctl restart zabbix-server zabbix-agent nginx php-fpmEnable them to start on boot,
systemctl enable zabbix-server zabbix-agent nginx php-fpm Configure the Firewall
Allow traffic on port 8080 for the Zabbix frontend:
firewall-cmd --add-port=8080/tcp --permanent
firewall-cmd --reload
Open Zabbix UI Web Page
Once the services are started, you can access the Zabbix web frontend via your browser by navigating to the following URL,
http://your-server-ip-or-domain:8080Follow the on-screen instructions to complete the Zabbix frontend installation. Below are the steps with corresponding screenshots for a clear walkthrough:
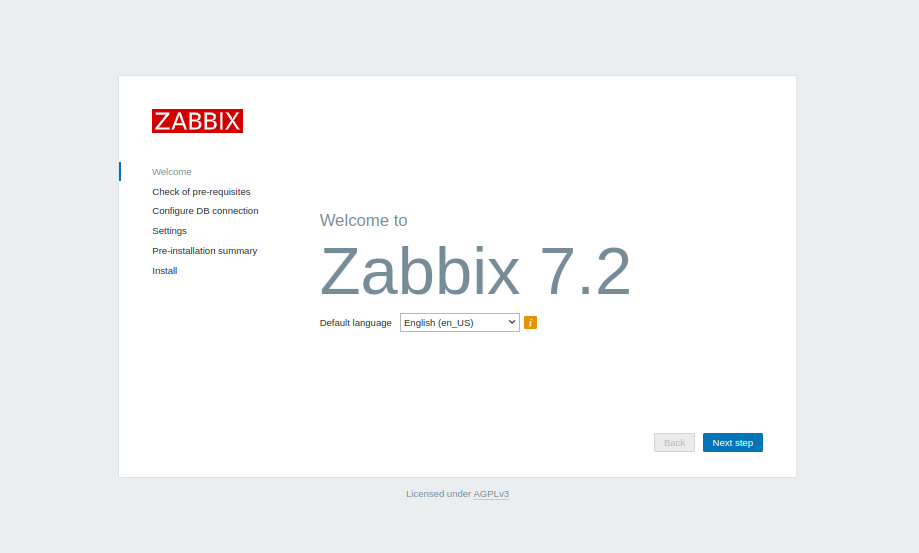
- Zabbix Version and Language Selection, The first page will prompt you to select your desired language for the installation. It will also show the Zabbix version being installed.
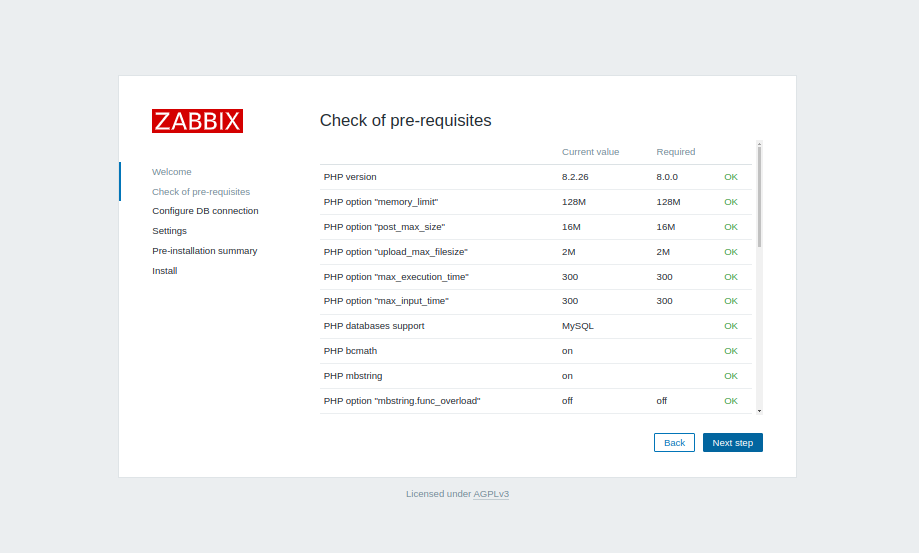
- PHP Versions and Options Check Next, Zabbix will check if the required PHP versions and options are installed on your system. Make sure all requirements are met to proceed.
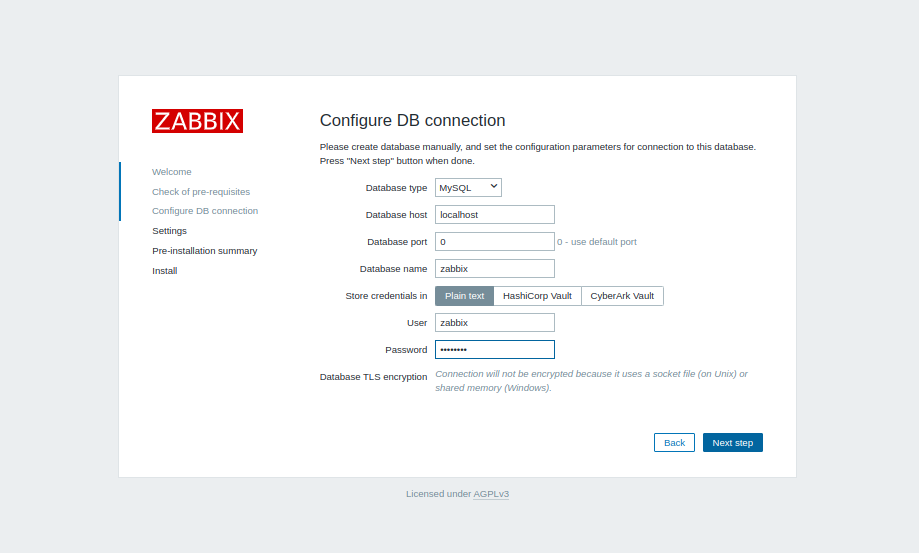
- Configure Database Connection You will then be prompted to configure the database connection. Enter the database details such as the database name, user, and password that were created earlier.
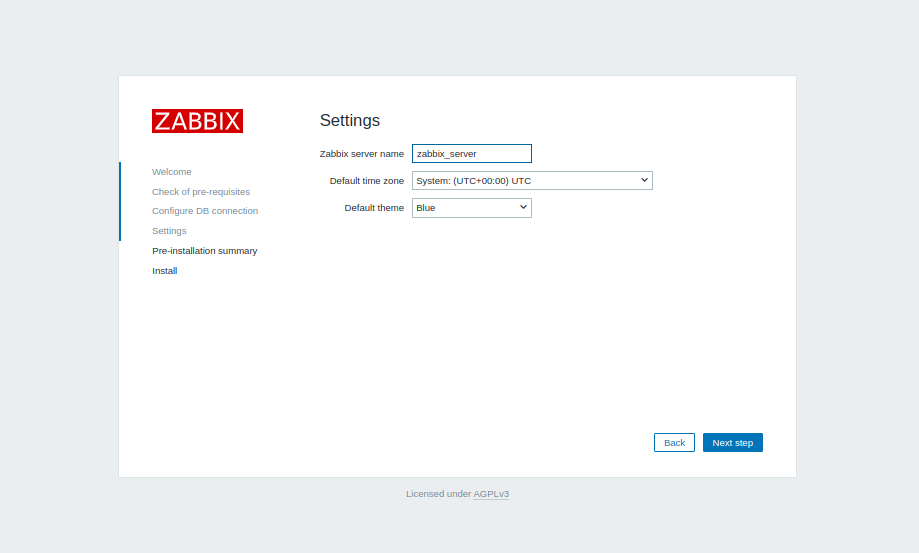
- Configure Server Name, Time Zone, and Default Theme In this step, you will set the server name, time zone, and choose the default theme for the Zabbix frontend.
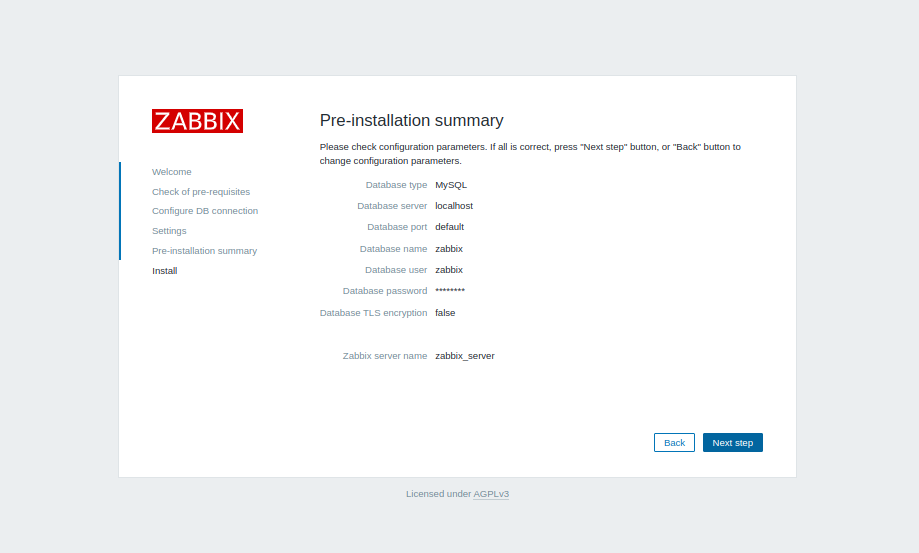
- Pre-Installation Summary The system will display a summary of the configurations and checks before starting the installation process.
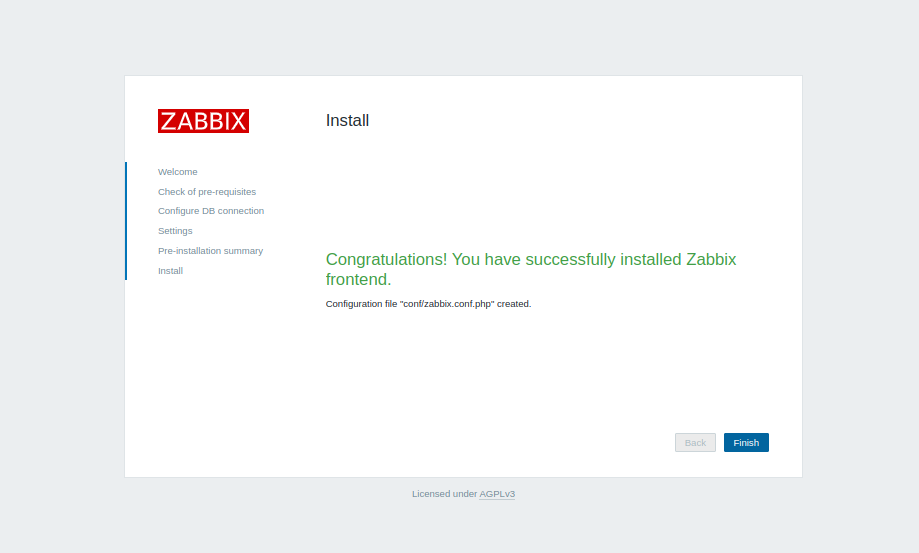
- Installation Process Zabbix will begin the installation process. Once it’s completed, the system will show a success message indicating the installation was successful.
-
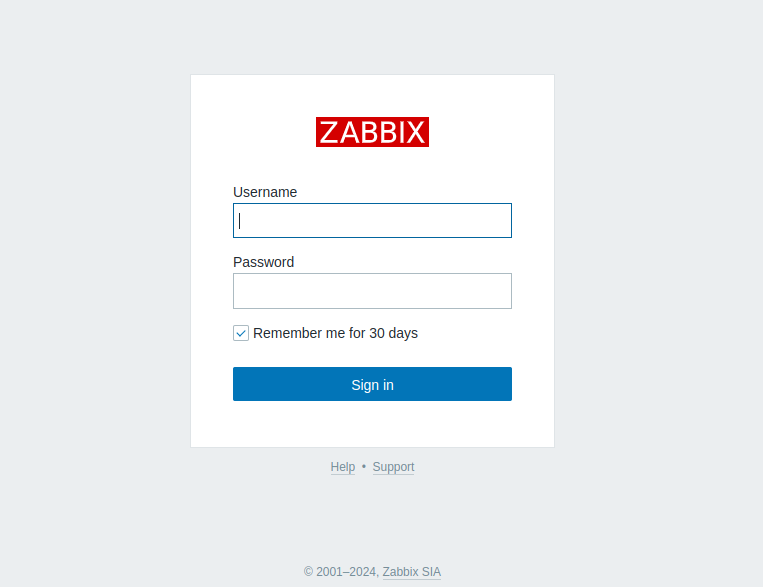
Login to Zabbix After installation, you will be prompted to log in. Use the default credentials to access the Zabbix dashboard.
- Username: Admin
- Password: zabbix
Click Login to proceed.
- Zabbix Dashboard Once logged in, you will be directed to the Zabbix dashboard, where you can begin configuring and monitoring your systems.
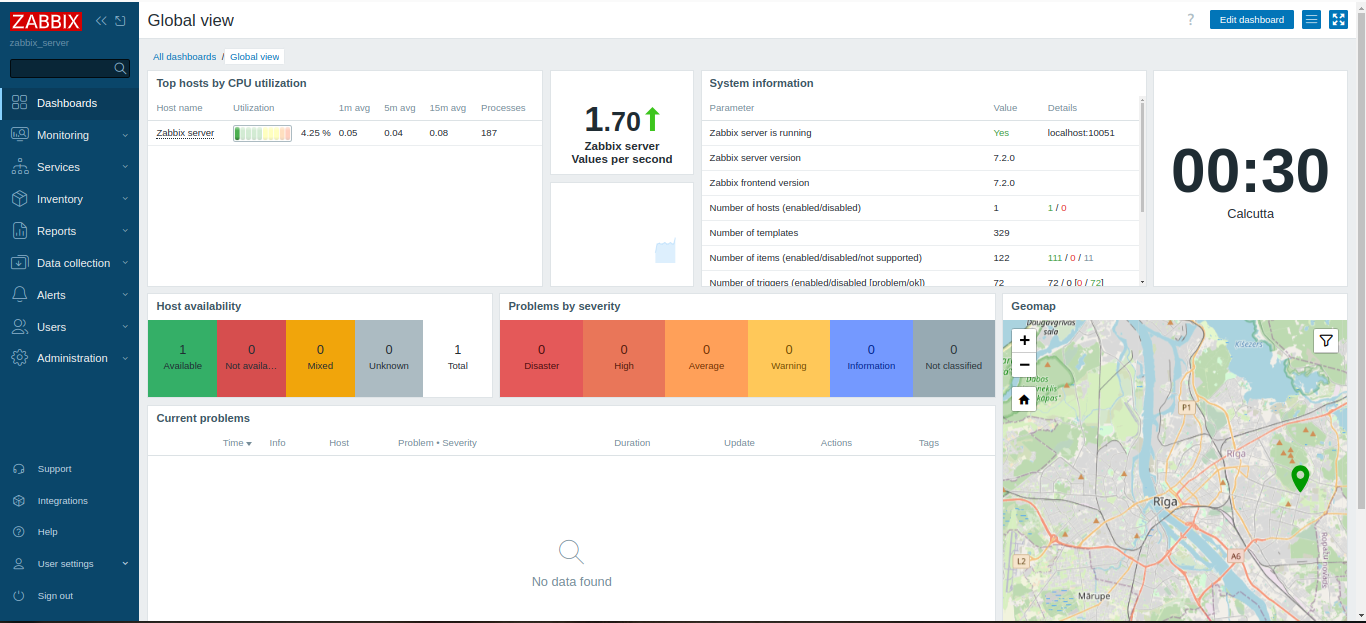
With these steps and screenshots, you should have a complete guide to accessing and setting up the Zabbix UI.
CrownCloud - Get a SSD powered KVM VPS at $4.5/month!
Use the code WELCOME for 10% off!
1 GB RAM / 25 GB SSD / 1 CPU Core / 1 TB Bandwidth per month
Available Locations: LAX | MIA | ATL | FRA | AMS