How to Install Zabbix Monitoring Tool on Ubuntu 22.04
Zabbix is an open-source monitoring tool designed for enterprise-level monitoring of IT environments, including servers, networks, applications, and services. It helps organizations proactively monitor and manage their IT infrastructure by collecting metrics, analyzing data, and generating alerts or notifications.
Prerequisites
Before beginning the installation, ensure that you have:
- A server running Ubuntu 22.04
- A running MariaDB server
- PHP 8.1 (or your preferred version) installed on your system
Update the System
Before begin update the system packages.
apt update -y
apt upgrade -y
Install MariaDB Server
First, install MariaDB Server on your server,
apt update
apt install mariadb-server
Start and enable MariaDB to run at boot,
systemctl start mariadb
systemctl enable mariadb
Steps to Install and Configure Zabbix
Install Zabbix Repository
Run the following commands to install the Zabbix repository, Download Zabbix repository for Ubuntu 22.04 (Zabbix 7.2)
wget https://repo.zabbix.com/zabbix/7.2/release/ubuntu/pool/main/z/zabbix-release/zabbix-release_latest_7.2+ubuntu22.04_all.debInstall the downloaded package
dpkg -i zabbix-release_latest_7.2+ubuntu22.04_all.debUpdate package list,
apt updateInstall Zabbix Server, Frontend, and Agent
Install Zabbix server, frontend, agent, and Nginx configuration,
apt install zabbix-server-mysql zabbix-frontend-php zabbix-nginx-conf zabbix-sql-scripts zabbix-agentCreate Initial Database for Zabbix,
Make sure your MariaDB server is running. Then create the Zabbix database and user, Log in to MariaDB as root.
mysql -u root -pEnter the MariaDB root password when prompted. Create the Zabbix database and user
CREATE DATABASE zabbix CHARACTER SET utf8mb4 COLLATE utf8mb4_bin;

CREATE USER zabbix@localhost IDENTIFIED BY 'Your_Password_Here';

GRANT ALL PRIVILEGES ON zabbix.* TO zabbix@localhost;

SET GLOBAL log_bin_trust_function_creators = 1;

QUIT;
Note: Repalce Your_Password_Here to Actual Strong Password
Next, import the Zabbix schema and data into the newly created database, Import the Zabbix initial schema and data.
zcat /usr/share/zabbix/sql-scripts/mysql/server.sql.gz | mysql --default-character-set=utf8mb4 -uzabbix -p zabbixOutput:
root@vps:~# zcat /usr/share/zabbix/sql-scripts/mysql/server.sql.gz | mysql --default-character-set=utf8mb4 -uzabbix -p zabbix
Enter password:
root@vps:~#
After importing, disable the log_bin_trust_function_creators option.
mysql -u root -pSET GLOBAL log_bin_trust_function_creators = 0;
QUIT;Configure Zabbix Server Database
Edit the Zabbix server configuration file to set the database password, Open the Zabbix server configuration file,
nano /etc/zabbix/zabbix_server.confFind the DBPassword line and update it with your database password,
DBPassword=Your_Password_HereNote: Replace Your_Password_Here with your actual Strong Password
Configure PHP for Zabbix Frontend
Edit the Nginx configuration file for Zabbix frontend to enable PHP, Open the Zabbix Nginx configuration file,
nano /etc/zabbix/nginx.confUncomment and modify the listen and server_name directives,
listen 8080;
server_name example.com;
Start Zabbix Server and Agent Processes
Start the Zabbix server and agent processes, and enable them to start at boot, Restart the Zabbix server, agent, Nginx, and PHP services,
systemctl restart zabbix-server zabbix-agent nginx php8.1-fpmEnable Zabbix server, agent, Nginx, and PHP services to start at boot,
systemctl enable zabbix-server zabbix-agent nginx php8.1-fpm Open Zabbix UI Web Page
Once the services are started, you can access the Zabbix web frontend via your browser by navigating to the following URL,
http://your-server-ip-or-domain:8080Follow the on-screen instructions to complete the Zabbix frontend installation. Below are the steps with corresponding screenshots for a clear walkthrough:
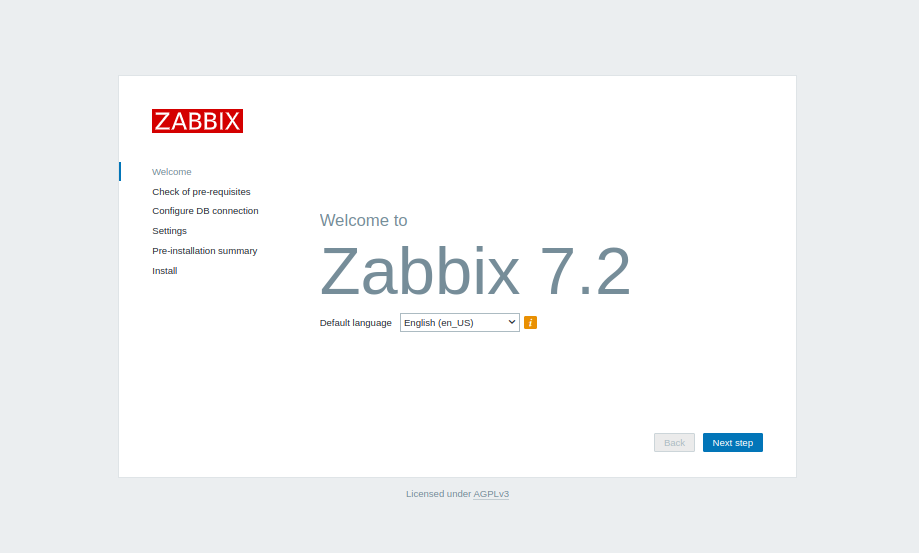
- Zabbix Version and Language Selection, The first page will prompt you to select your desired language for the installation. It will also show the Zabbix version being installed.
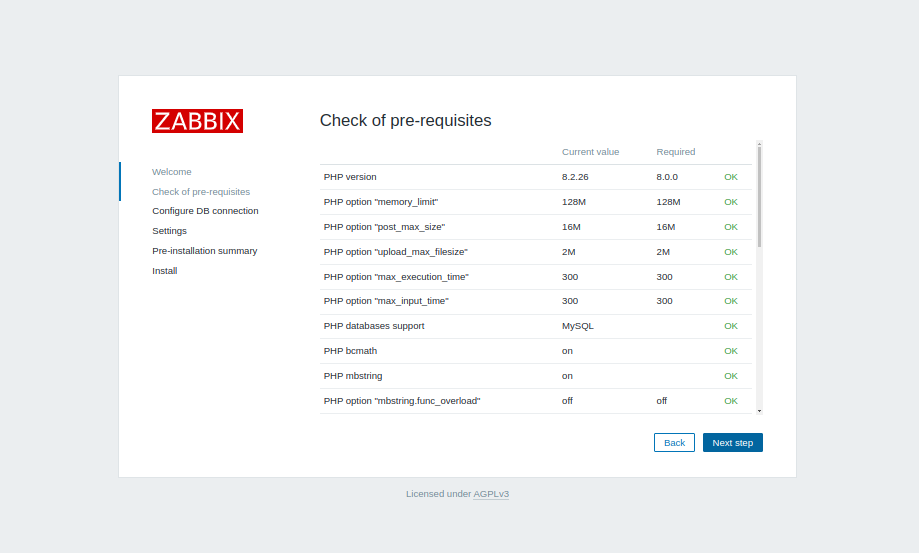
- PHP Versions and Options Check Next, Zabbix will check if the required PHP versions and options are installed on your system. Make sure all requirements are met to proceed.
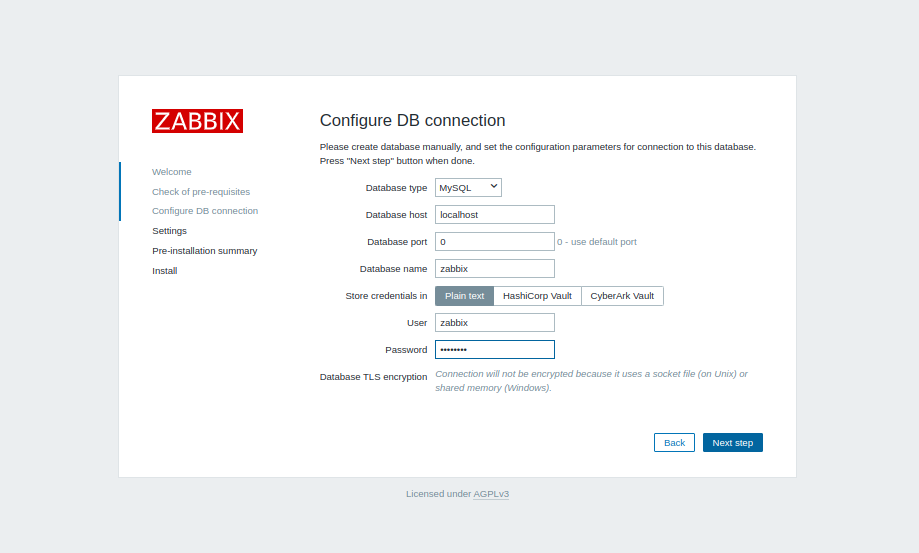
- Configure Database Connection You will then be prompted to configure the database connection. Enter the database details such as the database name, user, and password that were created earlier.
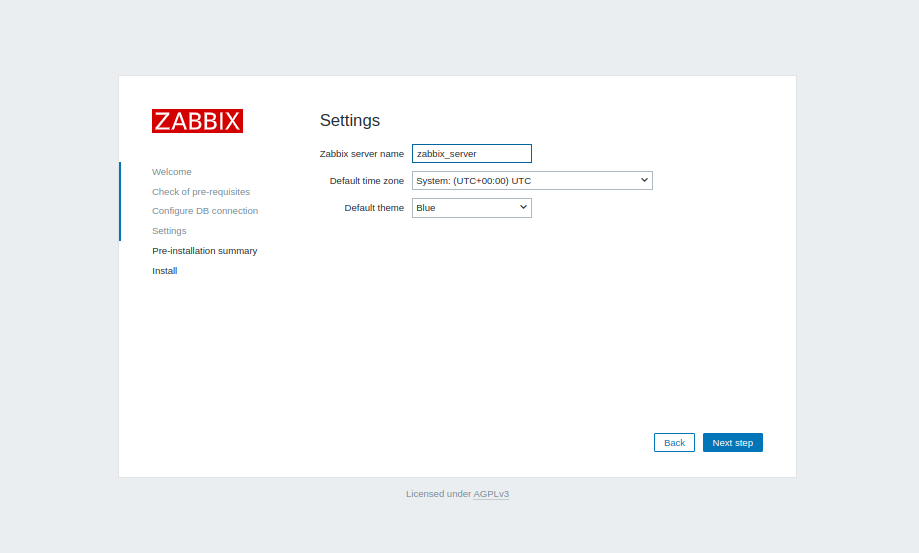
- Configure Server Name, Time Zone, and Default Theme In this step, you will set the server name, time zone, and choose the default theme for the Zabbix frontend.
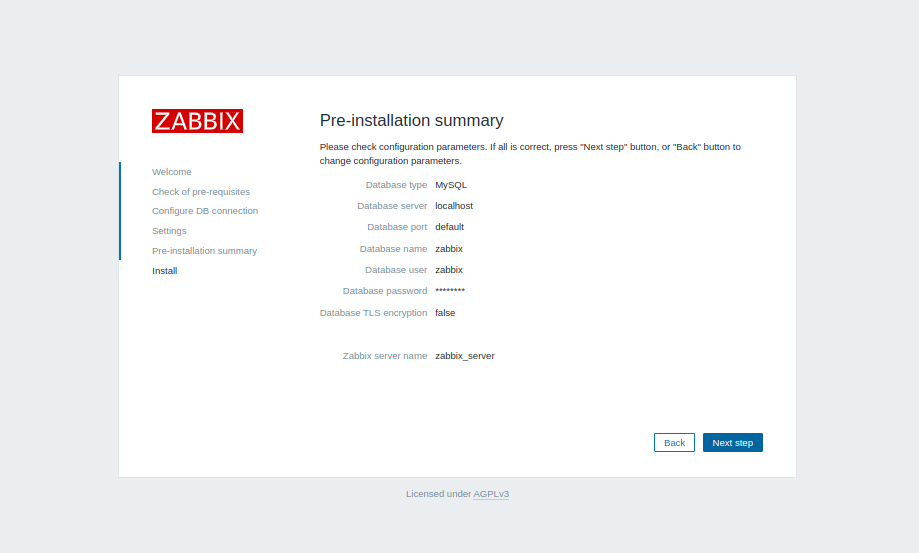
- Pre-Installation Summary The system will display a summary of the configurations and checks before starting the installation process.
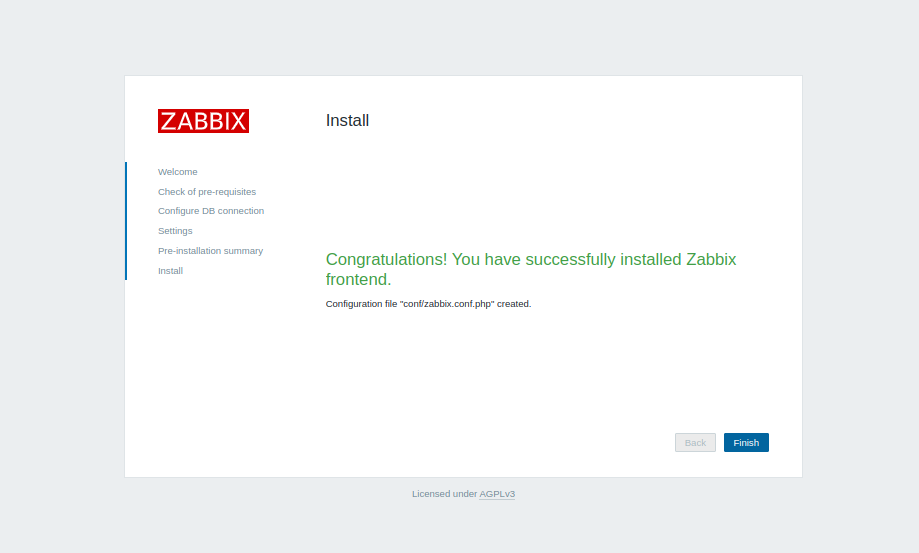
- Installation Process Zabbix will begin the installation process. Once it’s completed, the system will show a success message indicating the installation was successful.
-
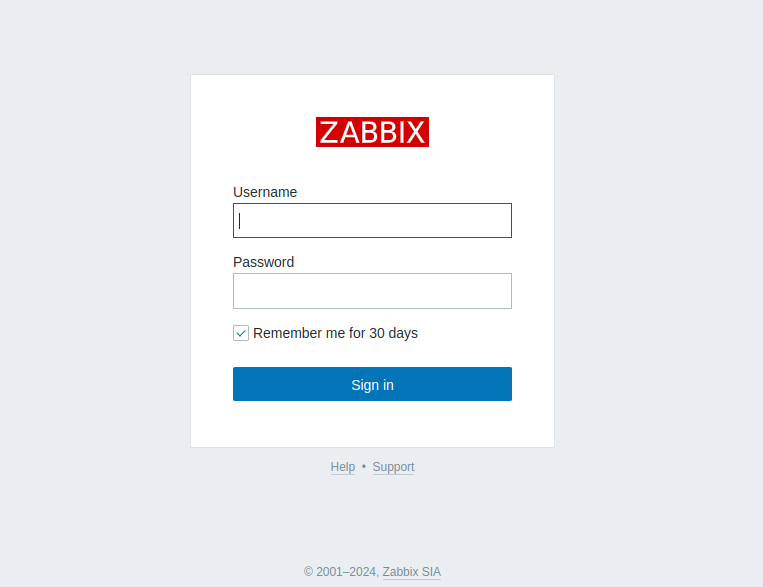
Login to Zabbix After installation, you will be prompted to log in. Use the default credentials to access the Zabbix dashboard.
- Username: Admin
- Password: zabbix
Click Login to proceed.
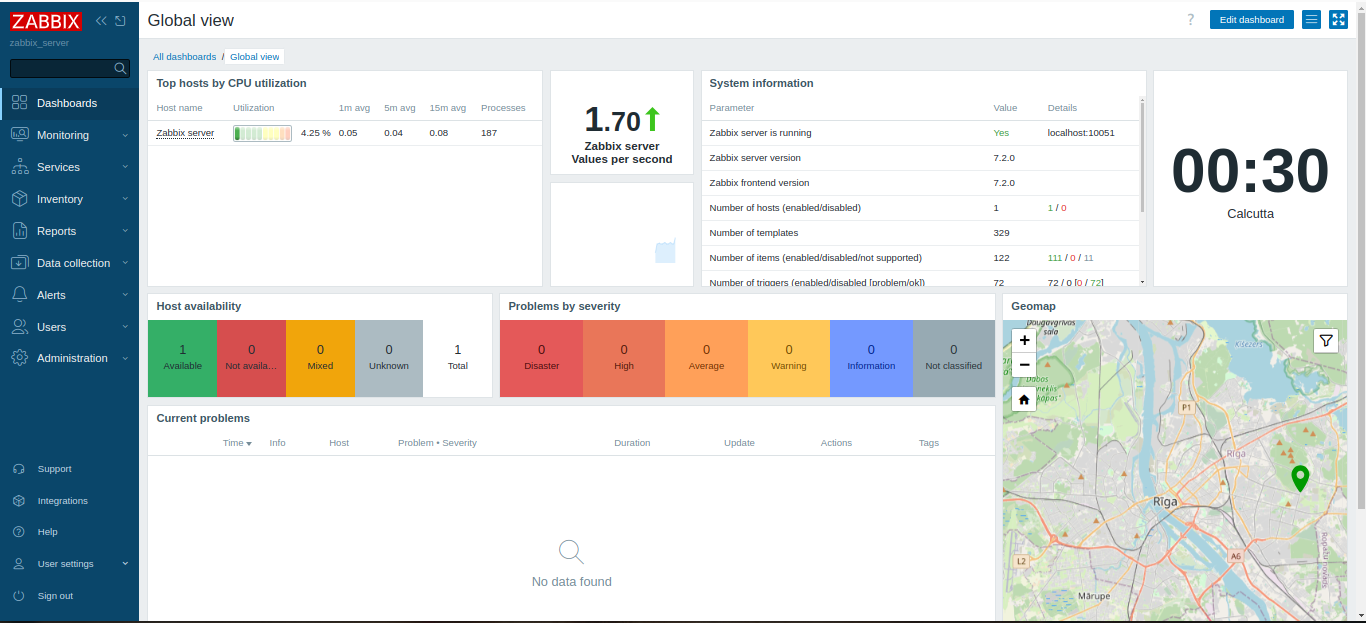
- Zabbix Dashboard Once logged in, you will be directed to the Zabbix dashboard, where you can begin configuring and monitoring your systems.
With these steps and screenshots, you should have a complete guide to accessing and setting up the Zabbix UI.
CrownCloud - Get a SSD powered KVM VPS at $4.5/month!
Use the code WELCOME for 10% off!
1 GB RAM / 25 GB SSD / 1 CPU Core / 1 TB Bandwidth per month
Available Locations: LAX | MIA | ATL | FRA | AMS