How to Install Bagisto on Ubuntu 23.10
Bagisto is an eCommerce ecosystem designed for all to build and scale your business. It's a free and open-source eCommerce framework that offers you a wide range of functionality and lets you have total control of your store. Built on top of the Laravel stack, it is coupled with easy product information management and fast time to market the product. Besides, the framework is very flexible and easy to use even for non-tech savvies. In this article, we are going to learn how to install Bagisto on Ubuntu 23.04. So, let’s get started.
Pre-requisites :
-
A system with Ubuntu 23.10 installed and running.
rootaccess to the system.
Login to the Ubuntu 23.10 server and update the package repository information.
apt update
apt upgrade
Install Apache
You can install and configure Apache web server using the following command.
apt update

apt install apache2

systemctl start apache2

systemctl enable apache2
Install PHP 8.2
You can install PHP 8.2 using the following command.
apt-get install -y php8.2 php8.2-{common,gmp,curl,soap,bcmath,intl,mbstring,xmlrpc,mysql,gd,xml,cli,zip} libapache2-mod-php8.2To Enable the Apache php8.2 module, run the following command and restart the Apache Web server
a2enmod php8.2

a2enmod rewrite

systemctl restart apache2
Install Node.js
To install nvm, you can use the following command in your terminal:
wget -qO- https://raw.githubusercontent.com/creationix/nvm/v0.39.3/install.sh | bashOutput:
root@ubuntu23:~# wget -qO- https://raw.githubusercontent.com/creationix/nvm/v0.39.3/install.sh | bash
=> Downloading nvm from git to '/root/.nvm'
=> Cloning into '/root/.nvm'...
remote: Enumerating objects: 360, done.
remote: Counting objects: 100% (360/360), done.
remote: Compressing objects: 100% (306/306), done.
remote: Total 360 (delta 41), reused 167 (delta 28), pack-reused 0
Receiving objects: 100% (360/360), 220.29 KiB | 2.16 MiB/s, done.
Resolving deltas: 100% (41/41), done.
* (HEAD detached at FETCH_HEAD)
  master
=> Compressing and cleaning up git repository

=> Appending nvm source string to /root/.bashrc
=> Appending bash_completion source string to /root/.bashrc
=> Close and reopen your terminal to start using nvm or run the following to use it now:

export NVM_DIR="$HOME/.nvm"
[ -s "$NVM_DIR/nvm.sh" ] && \. "$NVM_DIR/nvm.sh"  # This loads nvm
[ -s "$NVM_DIR/bash_completion" ] && \. "$NVM_DIR/bash_completion"  # This loads nvm bash_completion
root@ubuntu23:~#
Update your shell ~/.profile by running following command
source ~/.profileList out the all available Node.js versions. you can see all Node.js versions from the first version to the latest version.
nvm ls-remoteTo install a specific Node.js version, use the following command. Here, we are installing v21.0.0. If you want to install another version, replacing v21.0.0 with the version number you want:
nvm install 21.0.0And check the version of the Node.js once the installation is done
node -vOutput:
root@ubuntu23:~# node -v
v21.0.0
root@ubuntu23:~#
Install the Composer
apt install composer

composer -V
output:
root@ubuntu23:~# composer -V
Do not run Composer as root/super user! See https://getcomposer.org/root for details
Continue as root/super user [yes]? yes
Composer version 2.5.8 2023-06-09 17:13:21
root@ubuntu23:~#
SSH User creation
Add the user using the following command that will run the bagisto application.
adduser bagistoYou will receive a prompt to input a new "password" after executing the provided command. Enter a password, your complete name, and any necessary details. Then, confirm by selecting "Y" for verification.
After that, we will add the recently created user "bagisto" to the "sudo" group using the "usermod" command:
usermod -aG sudo bagistoNow Switch to bagisto
su - bagisto Download Bagisto
You can downlaod Bagisto, using the following command.
composer create-project bagisto/bagisto

cd bagisto/public
Apache configuration
Now, we need to configure Bagisto with Appache web server by updating `000-default.conf' configuration file.
sudo nano /etc/apache2/sites-enabled/000-default.confYou will find the following lines as shown below, after executing the above command.
Now, change this to
DocumentRoot /home/bagisto/bagisto/public/Configure the envvars
sudo nano /etc/apache2/envvarsConfigure file apache2.conf
sudo nano /etc/apache2/apache2.confChange it to the following code :
<Directory/home/bagisto/bagisto/public/>
    Options FollowSymLinks
    AllowOverride All
    Require all granted
</Directory>
Create Database
Now Switch to root user back,
su rootIntall MySQL server using the following command if it is not installed on your server
apt-get install mysql-serverAccess mysql server using the following command,
mysql -u rootCreate database,
CREATE DATABASE bagisto;Create database user with secure password,
CREATE USER 'bagistouser'@'localhost' IDENTIFIED BY 'YOUR-PASSWORD-HERE';Replace YOUR-PASSWORD-HERE with a Secure Strong Password
Assign a required permission to created database user
GRANT ALL ON bagisto.* TO 'bagistouser'@'localhost' WITH GRANT OPTION
FLUSH PRIVILEGES;
EXIT
Make some changes to php.ini file.
nano /etc/php/8.2/apache2/php.iniEdit the file using below config
file_uploads = On
allow_url_fopen = On
short_open_tag = On
memory_limit = 256M
upload_max_filesize = 100M
max_execution_time = 360
date.timezone = America/Chicago
Bagisto configuration
Go to the root directory for bagisto
cd /home/bagisto/bagistoNow Edit the .env file with the mysql database
DB_CONNECTION=mysql
DB_HOST=127.0.0.1
DB_PORT=3306
DB_DATABASE=bagisto
DB_USERNAME=bagistouser
DB_PASSWORD=testuser@123
DB_PREFIX=
Replace the database password with your set database password.
Access the MySQL and run the following command
mysql -u root -pSET GLOBAL log_bin_trust_function_creators = 1; Install Bagisto
php artisan bagisto:installOnce it is succefully installed, you will get the following message in last with username and password details.
Output:
-----------------------------
Congratulations!
The installation has been finished and you can now use Bagisto.
Go to http://localhost/admin and authenticate with:
Email: admin@example.com
Password: admin123
Cheers!
Setting up File Permissions
chmod -R 755 /home/bagisto/bagisto

chown -R bagisto:bagisto /home/bagisto/bagisto

systemctl restart apache2
Install SSL Certificate
Let us install the SSL Certificate from Let's Encrypt. For this, you will need to install certbot via snapd.
To installing snapd,
apt install snapdCheck the snapd for updates,
snap install core; sudo snap refresh coreInstall Certbot
snap install --classic certbot

ln -s /snap/bin/certbot /usr/bin/certbot
Since we're using Apache web server, run the below command to get the certificate,
certbot --apacheThe Certbot will take care of your renewal automatically before they expire, you would have to run the certbot again only if you make changes to your configuration.
You can perform a test run with below command,
certbot renew --dry-runNext, reload the page on the browser and it should then redirect and load the HTTPS site https://bagisto.domainhere.info.
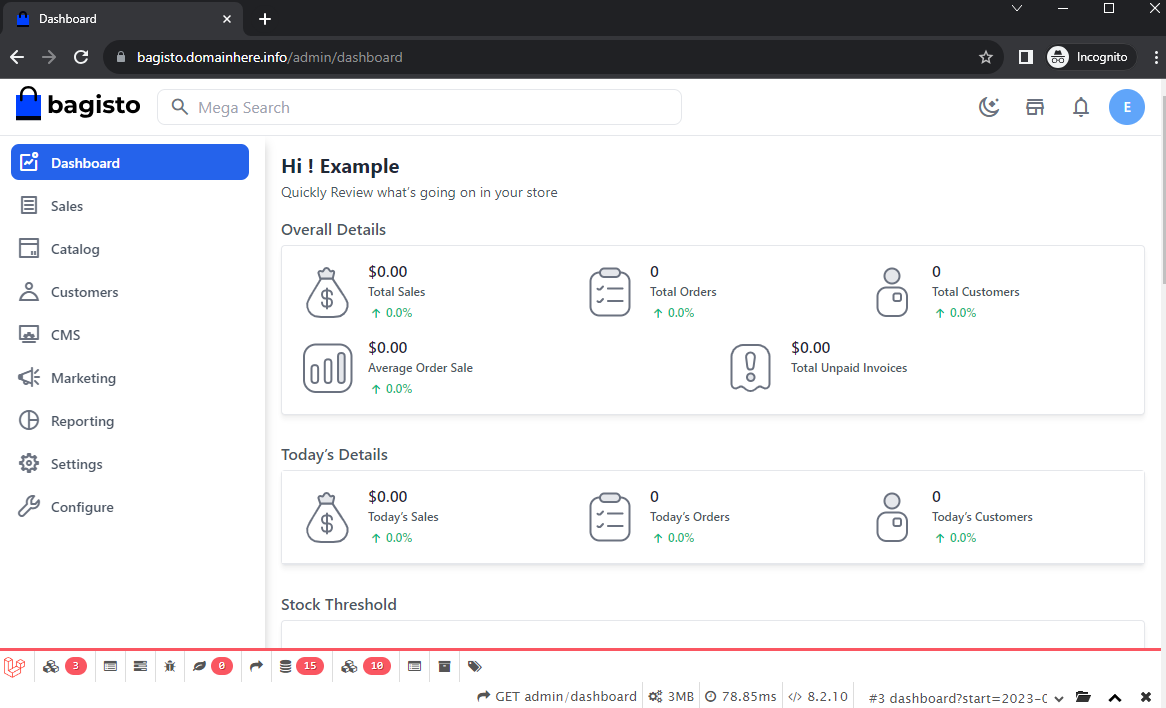
Accessing Bagisto
You can manage the Bagisto through the admin panel from the following URL
https://bagisto.domainhere.info/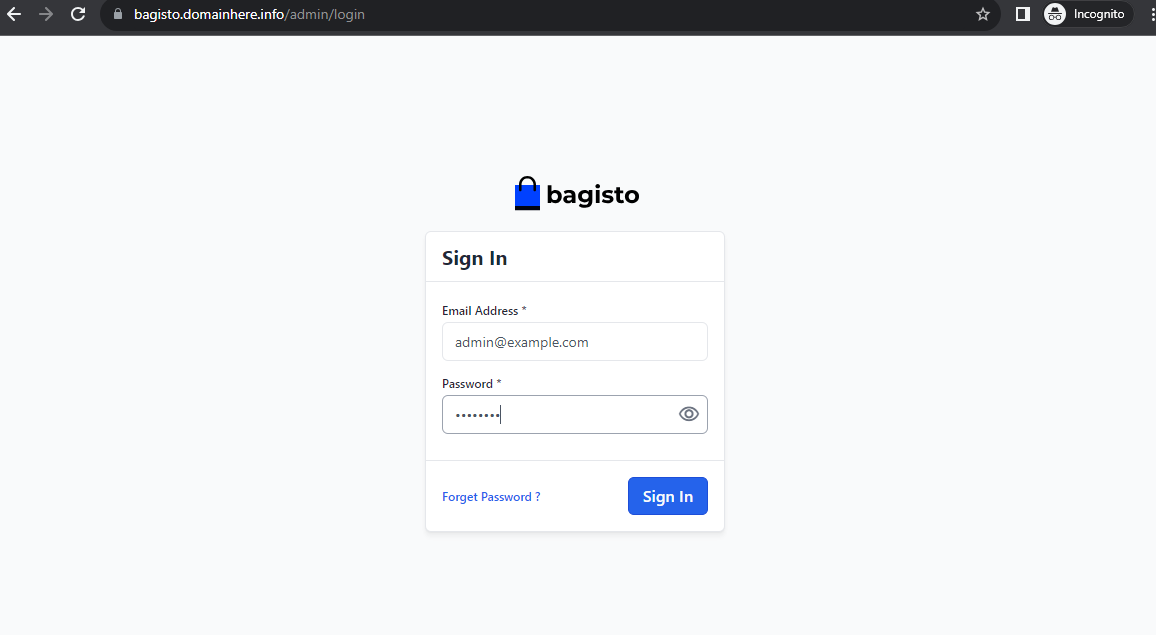
Replace the
bagisto.domainhere.infowith the actual IP or domain configured on the server.
Enter the username and password which you have got at installation time.
You can access and view Bagisto using the following URL,
https://bagisto.domainhere.info/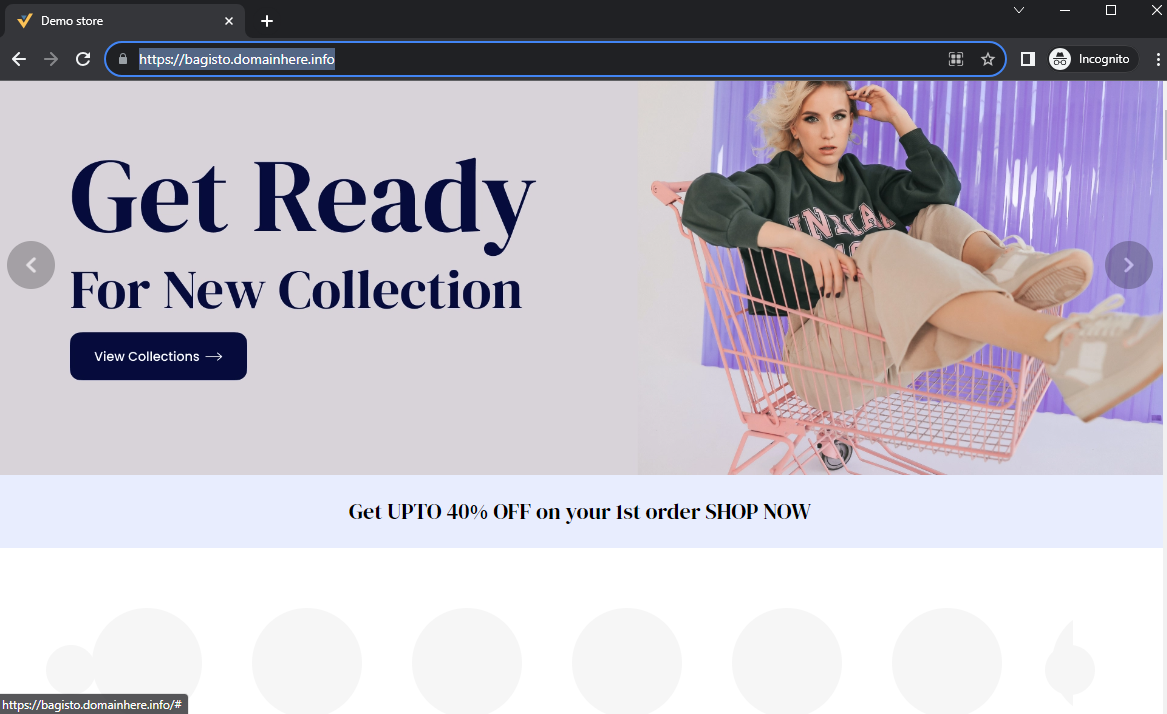
Replace the
bagisto.domainhere.infowith the actual IP or domain configured on the server.
Now you have successfully installed Bagisto on Ubuntu 23.10.
CrownCloud - Get a SSD powered KVM VPS at $4.5/month!
Use the code WELCOME for 10% off!
1 GB RAM / 25 GB SSD / 1 CPU Core / 1 TB Bandwidth per month
Available Locations: LAX | MIA | ATL | FRA | AMS