How to Install and Configure ownCloud on CentOS 9 Stream
ownCloud is an open source project that can be installed on your server to securely store and access files.
Prerequisites
Before we begin with installing ownCloud, you would need either a LAMP or LEMP Stack installed and running on your server or home computer.
In this example, we will go with LAMP Stack.
To install and configure LAMP Stack, follow the below commands.
Install Apache Web Server
First, we will start by installing the Apache web server. To complete the installation, use the following command.
dnf install httpdOnce the installation is complete, enable Apache (to start automatically upon system boot), start the web server and verify the status using the commands below.
systemctl enable httpd

systemctl start httpd

systemctl status httpd
To make your pages available to public, you will have to edit your firewall rules to allow HTTP and HTTPS requests on your web server by using the following commands.
firewall-cmd --permanent --zone=public --add-service=http

firewall-cmd --permanent --zone=public --add-service=https

firewall-cmd --reload
Restart tht Web Server to reflect the changes made.
systemctl restart httpd Install PHP
Install and Enable EPEL and Remi repository on CentOS 9 Stream
rpm -Uvh https://dl.fedoraproject.org/pub/epel/epel-release-latest-9.noarch.rpm
yum install -y https://rpms.remirepo.net/enterprise/remi-release-9.rpm
Install yum utils using below command,
yum install yum-utilsEnable latest version of php using below command,
yum module enable php:remi-7.4 -y

yum install -y php php-cli php-common
The following command will install Additional PHP Modules which is required for owncloud.
yum install php-curl php-gd php-intl php-json php-ldap php-mbstring php-mysqlnd php-xml php-zip php-opcacheCheck the version using below command,
php -vOutput:
[root@server ~]# php -v
PHP 7.4.28 (cli) (built: Feb 15 2022 13:23:10) ( NTS )
Copyright (c) The PHP Group
Zend Engine v3.4.0, Copyright (c) Zend Technologies
    with Zend OPcache v7.4.28, Copyright (c), by Zend Technologies
Install MariaDB Server
MariaDB is a popular database server. The installation is simple and requires just a few steps as shown.
yum install mariadb-server mariadbOnce the installation is complete, enable MariaDB (to start automatically upon system boot), start the MariaDB and verify the status using the commands below.
systemctl enable mariadb

systemctl start mariadb

systemctl status mariadb
Finally, you will want to secure your MariaDB installation by issuing the following command.
mysql_secure_installationOutput:
[root@vps ~]# mysql_secure_installation

NOTE: RUNNING ALL PARTS OF THIS SCRIPT IS RECOMMENDED FOR ALL MariaDB
      SERVERS IN PRODUCTION USE!  PLEASE READ EACH STEP CAREFULLY!

In order to log into MariaDB to secure it, we'll need the current
password for the root user.  If you've just installed MariaDB, and
you haven't set the root password yet, the password will be blank,
so you should just press enter here.

Enter current password for root (enter for none):
OK, successfully used password, moving on...

Setting the root password ensures that nobody can log into the MariaDB
root user without the proper authorisation.

Set root password? [Y/n] y
New password:
Re-enter new password:
Password updated successfully!
Reloading privilege tables..
 ... Success!
Once secured, you can connect to MySQL and review the existing databases on your database server by using the following command.
mysql -e "SHOW DATABASES;" -pOutput:
[root@server ~]# mysql -e "SHOW DATABASES;" -p
Enter password:
+--------------------+
| Database           |
+--------------------+
| information_schema |
| mysql              |
| performance_schema |
+--------------------+
Updating your system
Before we begin, we will make sure our system is upto date and install any pending updated
yum update -y Download OwnCLoud
You can download the latest version of ownCloud by checking their downloads section.
Download ownCloud and extract it using the following command.
First install the wget by using following command.
yum install wget

wget https://download.owncloud.com/server/stable/owncloud-complete-latest.tar.bz2
Now extract the owcloud tar file to /var/www/html/ directory.
yum install bzip2 -y

tar -jxf owncloud-complete-latest.tar.bz2 -C /var/www/html/
To enable permission for Apache webserver to access the ownCloud files.
chown -R apache: /var/www/owncloudCreate a configuration file for ownCloud for Apache webserver to serve ownCloud.
Vi /etc/httpd/conf.d/owncloud.confAdd the following lines to the configuration file and save and exit.
Alias /owncloud "/var/www/owncloud/"

<Directory /var/www/owncloud/>
  Options +FollowSymlinks
  AllowOverride All

 <IfModule mod_dav.c>
  Dav off
 </IfModule>

 SetEnv HOME /var/www/owncloud
 SetEnv HTTP_HOME /var/www/owncloud

</Directory>
Restart the apache webserver to reflect the changes,
systemctl restart httpdCommand to check the status for Webserver
systemctl status httpdCommand to check if SELinux is enabled and running
sestatusOutput :
[root@server ~]# sestatus
SELinux status:                 enabled
SELinuxfs mount:                /sys/fs/selinux
SELinux root directory:         /etc/selinux
Loaded policy name:             targeted
Current mode:                   enforcing
Mode from config file:          enforcing
Policy MLS status:              enabled
Policy deny_unknown status:     allowed
Memory protection checking:     actual (secure)
Max kernel policy version:      33
Create a new MySQL database.
mysql -u root -p

mysql> CREATE DATABASE owncloud_db;

mysql> GRANT ALL ON owncloud_db.* TO 'owncloud_user'@'localhost' IDENTIFIED BY 'Password';

mysql> FLUSH PRIVILEGES;

mysql> exit;
Restart Apache config
Restart the Apache service to activate the changes.
systemctl restart httpdIf SELinux is enabled and running, execute the command below to allow the Apache webserver to write to Owncloud’s directory.
setsebool -P httpd_unified 1Now type your IP address in the URL to complete the ownCloud installation.
http://server_IP/owncloudYou will have to create admin account for ownCloud
Enter the username and password which you want to set.
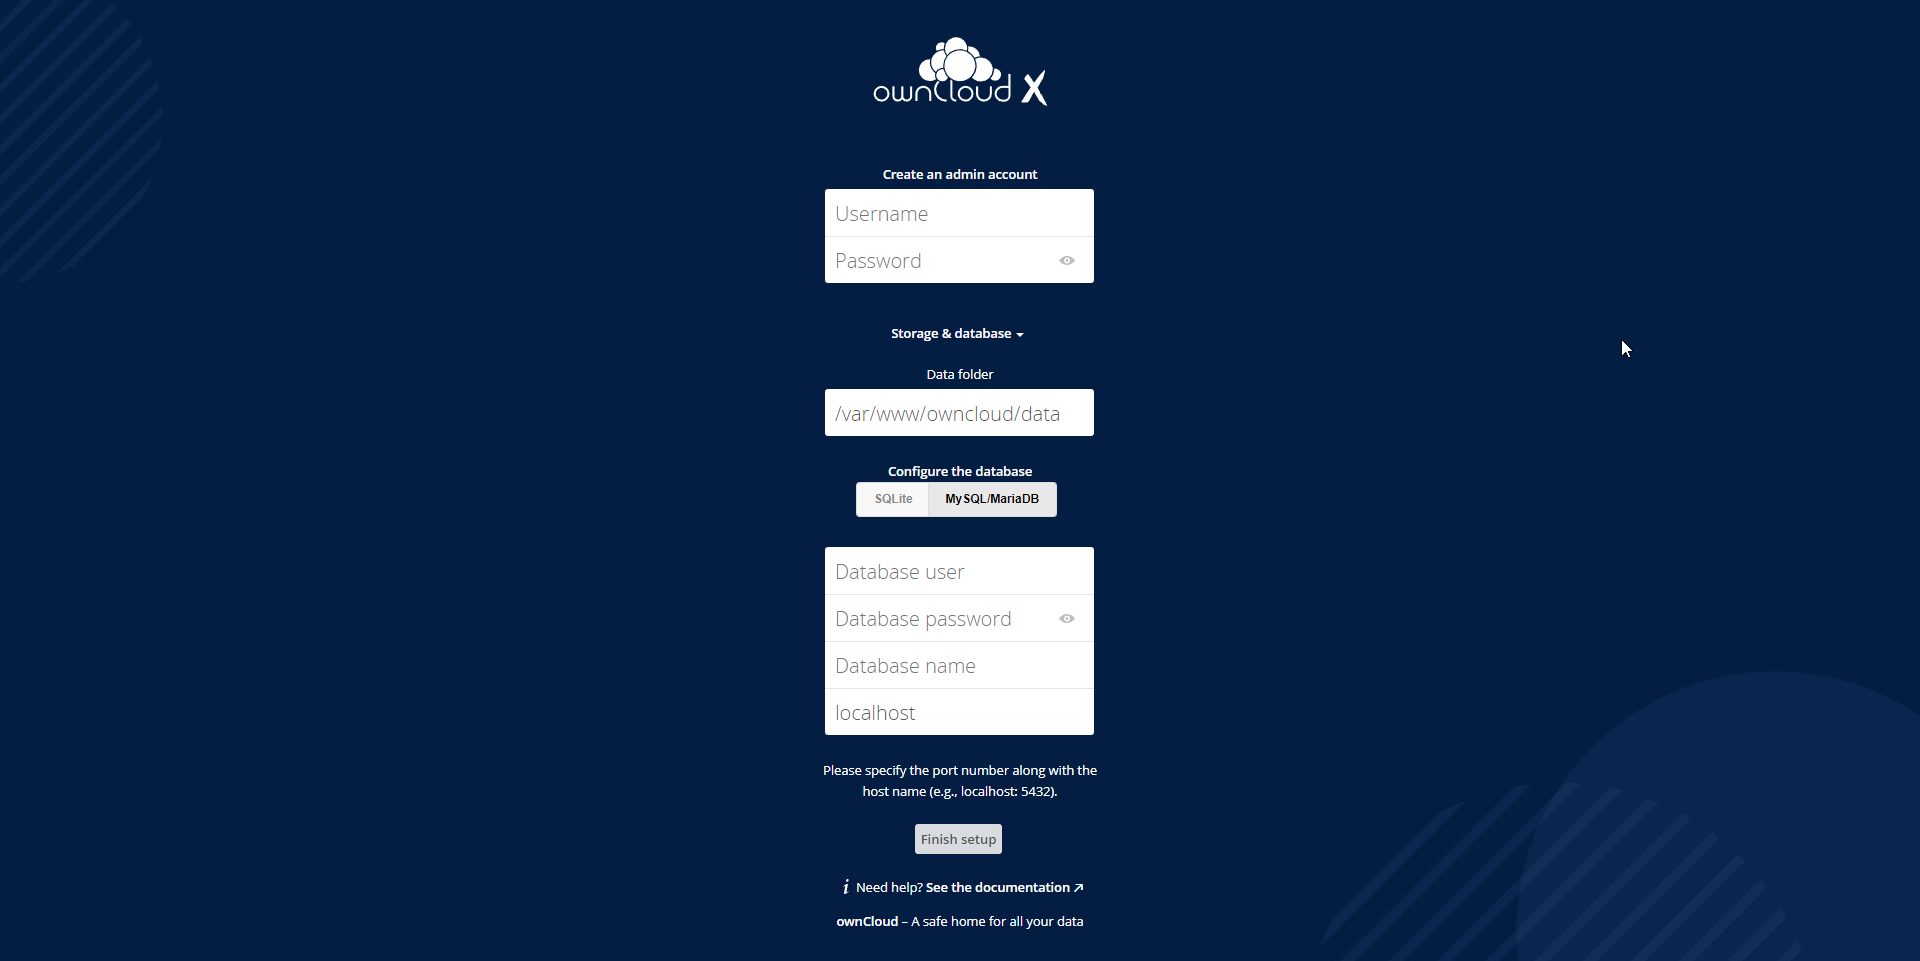
Now click on finish and enter the username and password you've created earlier,
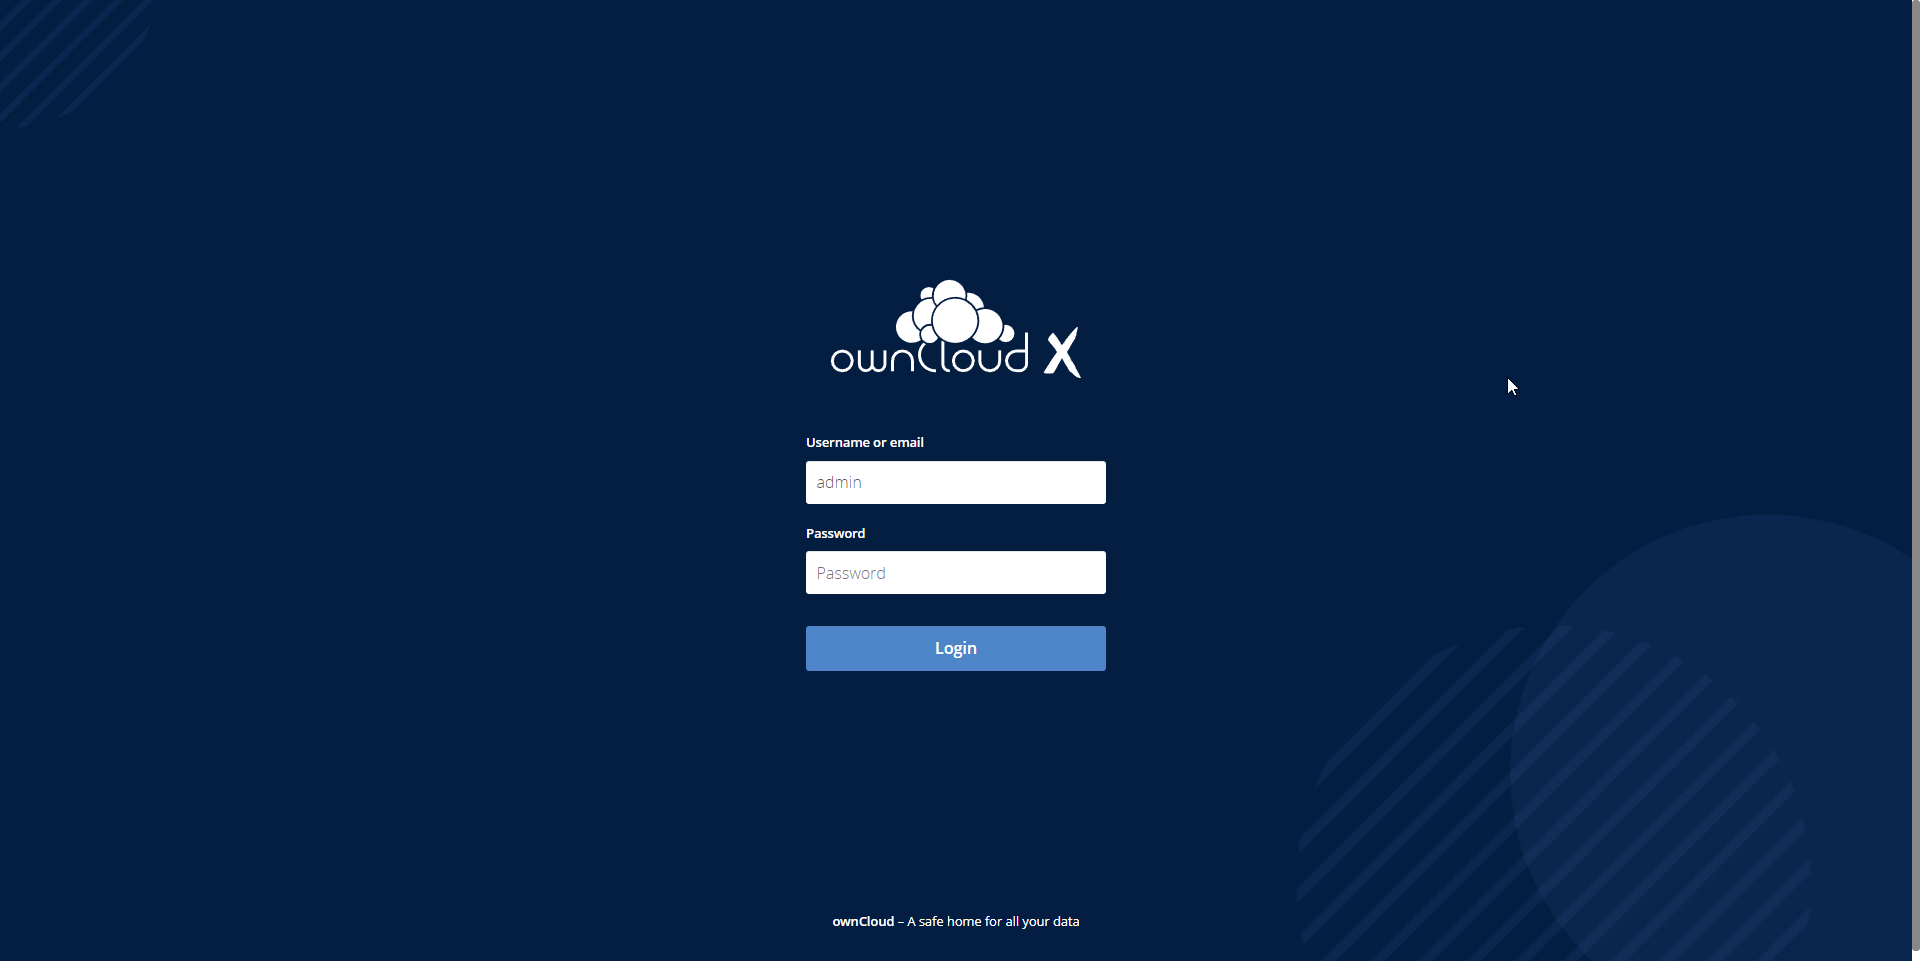
Below is the dashboard of owncloud,

Done.
CrownCloud - Get a SSD powered KVM VPS at $4.5/month!
Use the code WELCOME for 10% off!
1 GB RAM / 25 GB SSD / 1 CPU Core / 1 TB Bandwidth per month
Available Locations: LAX | MIA | ATL | FRA | AMS