How to Install ownCloud on Rocky Linux 9
ownCloud is a self-hosted open source file server that enables secure storage, collaboration, and sharing. ownCloud lets you access your files, calendar, contacts, and other data and they are available on any device and can be shared with a few clicks. You can synchronize everything between your devices and share files with others.
Prerequisites
- The LAMP stack should be installed and running, Click here for Instructions to Install the LAMP stack on the server.
Currently ownCloud supports PHP 7.4 or PHP 7.3.
Installing the EPEL and Remi Repository
For this, we use the PHP 7.4 and 8.1 packaged by Remi,
First, let us install the EPEL repository,
dnf install https://dl.fedoraproject.org/pub/epel/epel-release-latest-9.noarch.rpmNext, install the Remi repository with the following command,
dnf install https://rpms.remirepo.net/enterprise/remi-release-9.rpm List the available PHP module stream
To check/list the available PHP versions, use the following command,
dnf module list php Installing PHP 7.4
Now, let's install PHP 7.4 via the remi repository,
dnf module install php:remi-7.4 Create a Database for ownCloud
Command to login MariaDB database.
mysql -u root -pCreate a database for ownCloud.
CREATE DATABASE owncloud_db;Create a User and grant permissions on the nextcloud-db database,
Note: Replace
Enter-A-Password-Herewith a strong and secure password.
GRANT ALL ON owncloud_db.* TO 'owncloud_user'@'localhost' IDENTIFIED BY 'Enter-A-Password-Here';After creating a user and database for ownCloud Flush Privileges and exit the MariaDB database.
FLUSH PRIVILEGES;

EXIT;
Installing ownCloud
Enter the following command to Download the ownCloud.
wget https://download.owncloud.org/community/owncloud-complete-latest.tar.bz2Extract into the /var/www/ directory with the following command,
tar -jxf owncloud-complete-latest.tar.bz2 -C /var/www/To enable permission for Apache webserver to access the ownCloud files.
chown -R apache: /var/www/owncloudCreate a configuration file for ownCloud for Apache webserver to serve ownCloud.
Vi /etc/httpd/conf.d/owncloud.confAdd the following lines to the configuration file and save and exit.
Alias /owncloud "/var/www/owncloud/"

<Directory /var/www/owncloud/>
  Options +FollowSymlinks
  AllowOverride All

 <IfModule mod_dav.c>
  Dav off
 </IfModule>

 SetEnv HOME /var/www/owncloud
 SetEnv HTTP_HOME /var/www/owncloud

</Directory>
Restart the apache webserver to reflect the changes,
systemctl restart httpdCommand to check the status for Webserver
systemctl status httpdCommand to check if SELinux is enabled and running
sestatusOutput:
[root@server ~]# sestatus
SELinux status:                 enabled
SELinuxfs mount:                /sys/fs/selinux
SELinux root directory:         /etc/selinux
Loaded policy name:             targeted
Current mode:                   enforcing
Mode from config file:          enforcing
Policy MLS status:              enabled
Policy deny_unknown status:     allowed
Memory protection checking:     actual (secure)
Max kernel policy version:      33
If SELinux is enabled, execute the following command to allow the Apache webserver to write to Owncloud’s directory.
setsebool -P httpd_unified 1ownCloud is successfully installed, open the ownCloud on the browser and complete the final steps.
URL to open the ownCloud on the web browser.
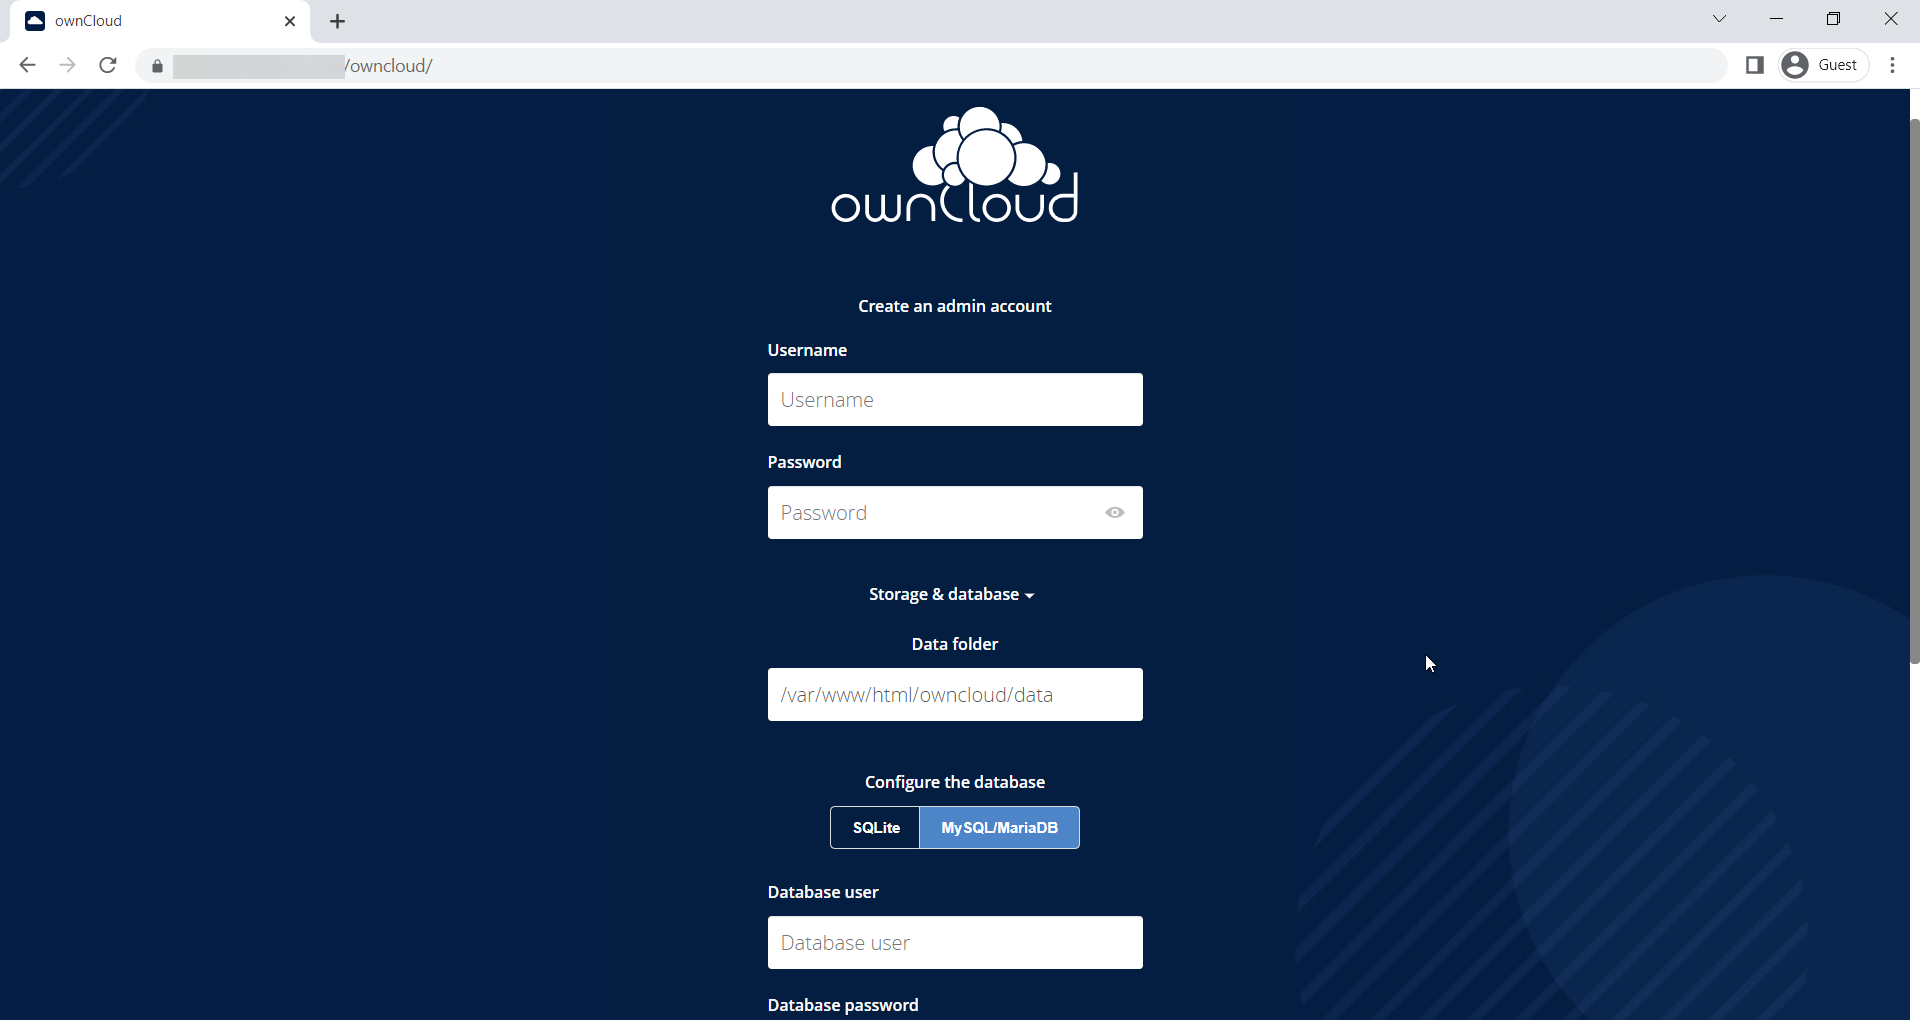
http://server-ip/owncloudIn browser,
- Enter Username and Password to create account.
- Next click on Storage and Database and select MySQL/MariaDB
- Fill in all the database details i.e database user, password, and database name.
- And click the Finish Setup button to complete the setup.
Output:
Once the Setup is completed successfully, Login Page will appear, and enter the Username and Password that you specified earlier to get access.
Output:

After login, you will be presented with options for installing the ownCloud app on different platforms and this is what the dashboard looks like
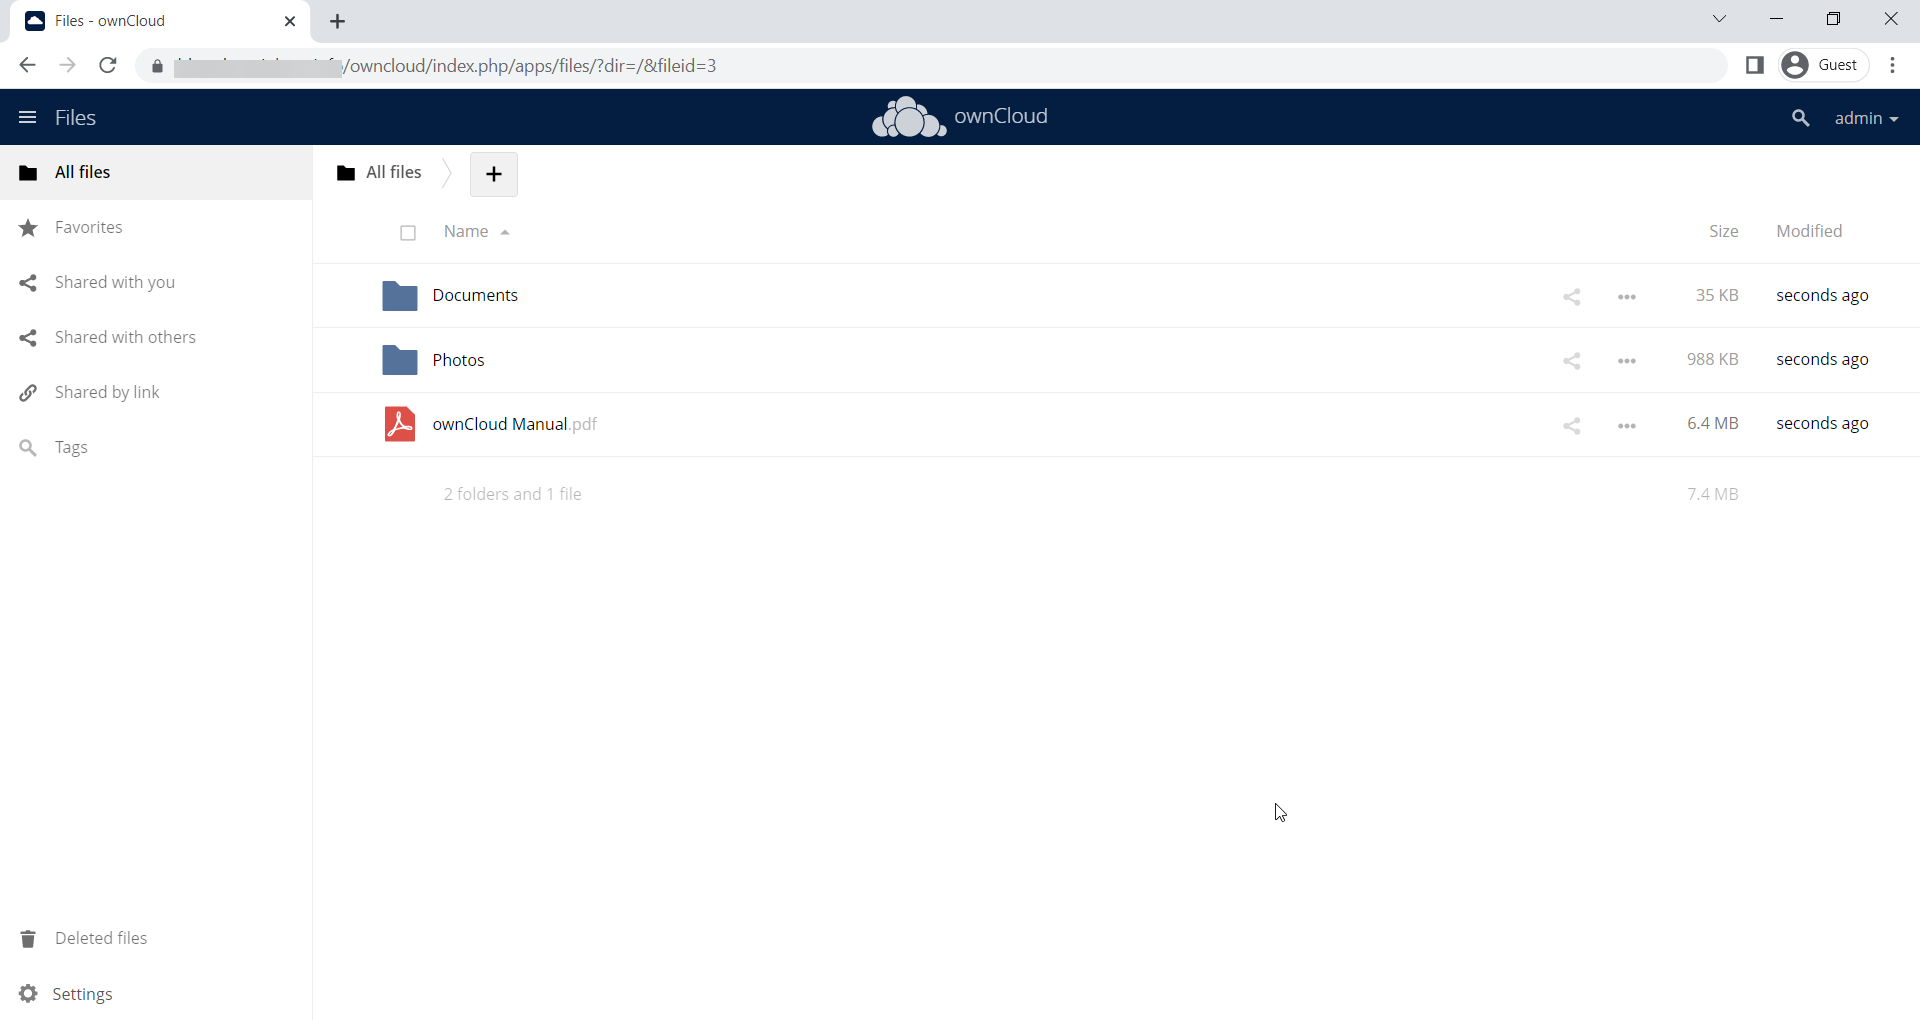
This Concludes how you install ownCloud on Rocky Linux 9.
If you can not configure and face any technical difficulties, kindly reach out to us via Support Ticket.
CrownCloud - Get a SSD powered KVM VPS at $4.5/month!
Use the code WELCOME for 10% off!
1 GB RAM / 25 GB SSD / 1 CPU Core / 1 TB Bandwidth per month
Available Locations: LAX | MIA | ATL | FRA | AMS