How to Enable Cockpit Server Manager in Rocky Linux 9
The cockpit is an easy-to-use and simple yet powerful remote manager for GNU/Linux servers, it’s an interactive server administration user interface that offers a live Linux session via a web browser.
Check for System Updates
First, we will update the system to the latest with the following commands,
dnf update Install Cockpit Server Manager
dnf install cockpitCheck latest versions here : Cockpit.
Enable the service to start onboot,
systemctl enable --now cockpit.socketAllow the service to run through the firewall,
firewall-cmd --permanent --zone=public --add-service=cockpit
firewall-cmd --reload
If you see any warnings like,
[root@server ~]# firewall-cmd --permanent --zone=public --add-service=cockpit
Warning: ALREADY_ENABLED: cockpit    success
You can ignore the warning and proceed ahead.
Next, open the following URL in your browser, it will error due to the invalid SSL certificate, you can use LetsEncrypt to set up a valid SSL certificate as needed.
https://YOUR-VPS-IP-ADDRESS:9090Replace "YOUR-VPS-IP-ADDRESS" with your VPSes IP address

Here you can enter your root username/password (SSH Login Details) and it will take you into the Cockpit server manager!
Please note,
- The web page might render a blank screen in Chrome due to the self-signed/invalid SSL certificate used by default in Cockpit.
- Use Firefox in such a scenario where you do not have an SSL Certificate/Domain to bind the service too.
The Cockpit service User Interface
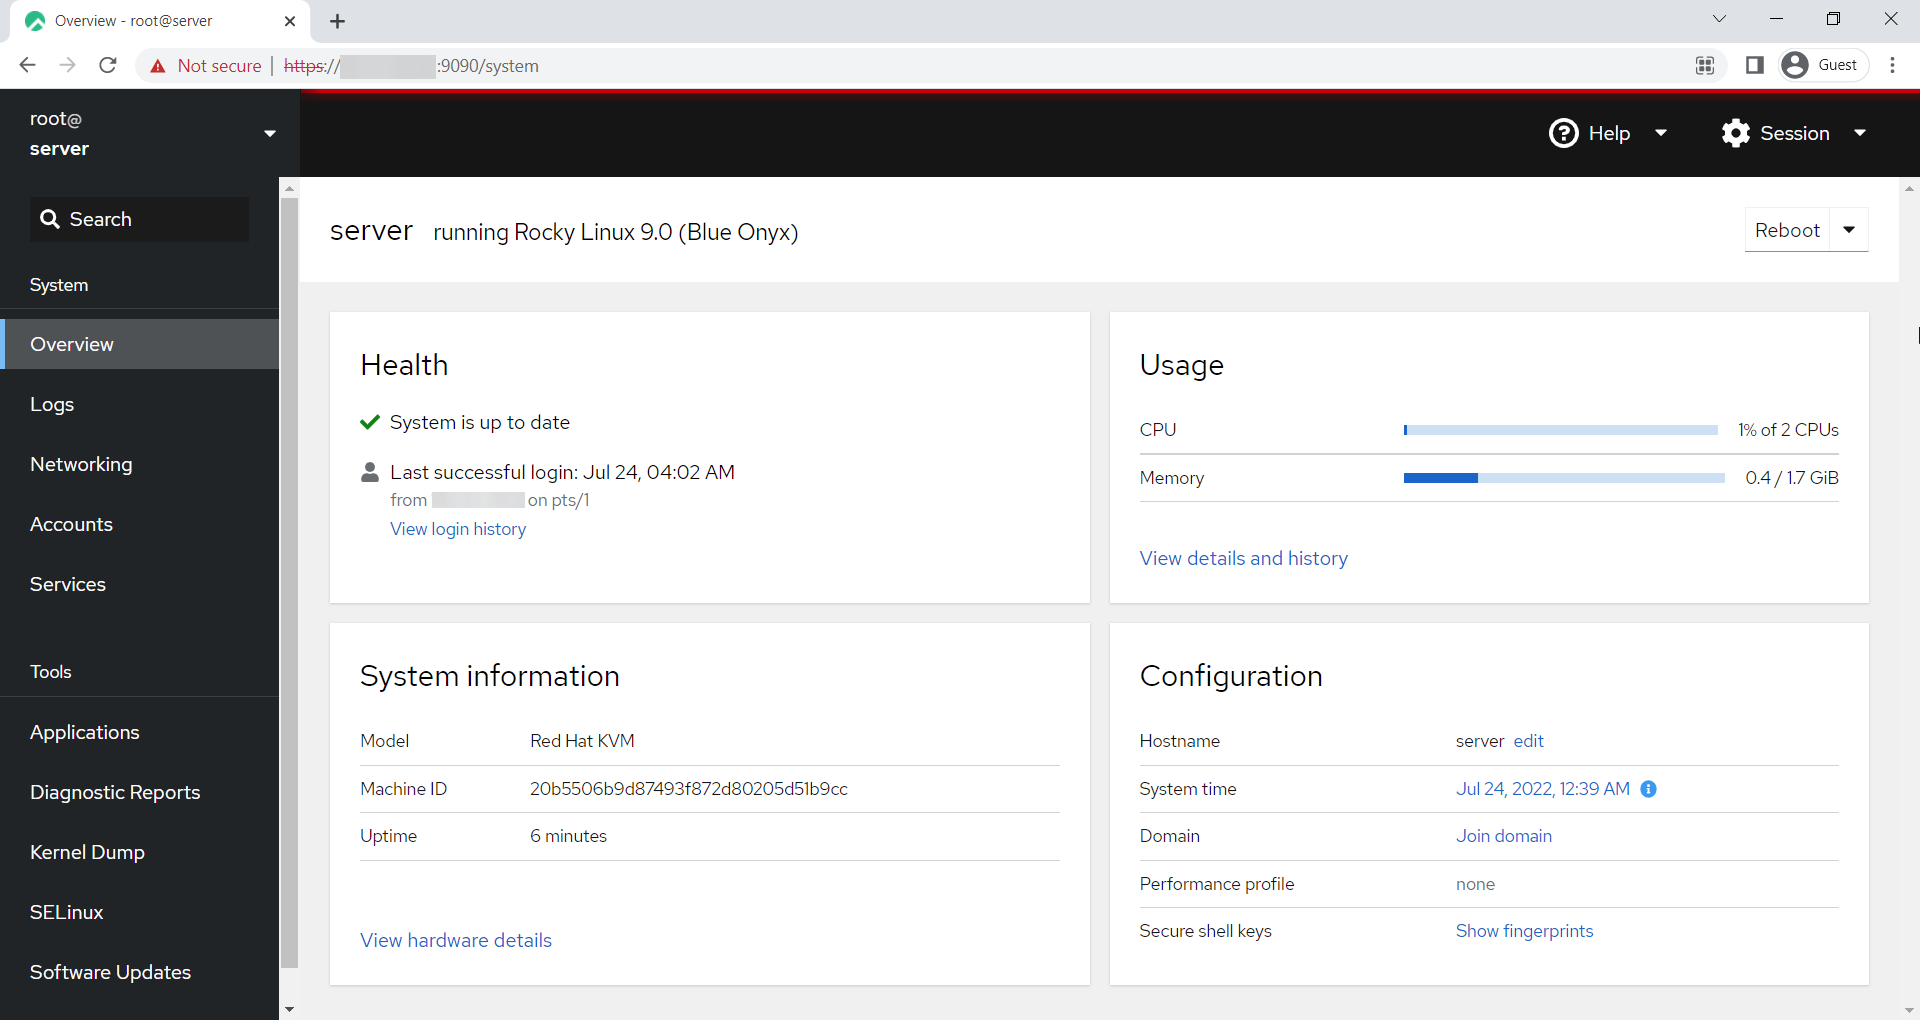
Within the Cockpit server manager, you can manage nearly all parts of your server from Software Updates, monitoring CPU/RAM Usage, and accessing your Terminal as well.
Now you have successfully installed Cockpit Server Manager in your Rocky Linux 9.
CrownCloud - Get a SSD powered KVM VPS at $4.5/month!
Use the code WELCOME for 10% off!
1 GB RAM / 25 GB SSD / 1 CPU Core / 1 TB Bandwidth per month
Available Locations: LAX | MIA | ATL | FRA | AMS