How to Enable Cockpit Server Manager in CentOS Stream 10
Cockpit is an easy-to-use and powerful remote manager for GNU/Linux servers. It provides an interactive server administration web interface that allows you to manage your system directly from a browser.
Install Cockpit Server Manager
Update your system and install Cockpit:
dnf update -y
dnf install -y cockpit
Enable the service to start on boot:
systemctl enable --now cockpit.socketAllow the service through the firewall:
firewall-cmd --permanent --zone=public --add-service=cockpit
firewall-cmd --reload
If you see a warning like:
Warning: ALREADY_ENABLED: cockpit successYou can ignore the warning and proceed ahead.
Access Cockpit Web Interface
Now, open the following URL in your browser:
http://YOUR-VPS-IP-ADDRESS:9090Note: Replace Your-VPS-IP-ADDRESS with actual IP Address
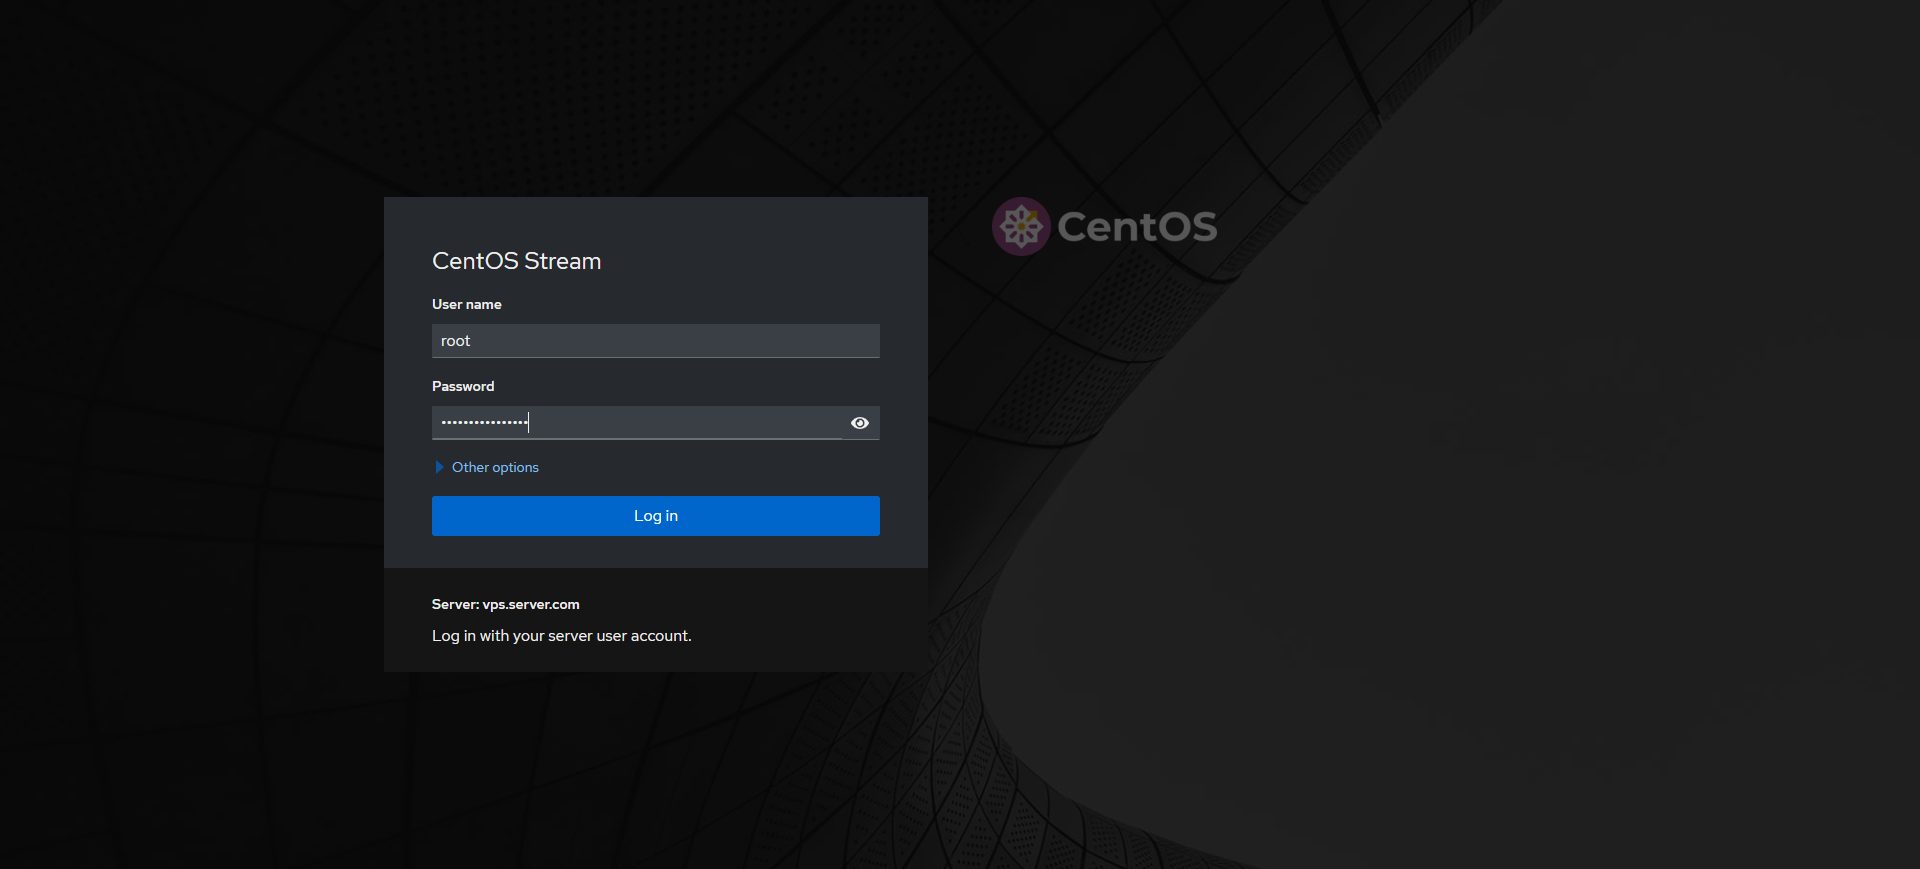
Enter your root username/password (SSH login details), and it will take you to the Cockpit server manager!
Important Notes
- If the page shows a blank screen in Chrome, it may be due to the self-signed SSL certificate used by default in Cockpit.
Solution: Use Firefox instead, or install a valid SSL certificate. - Inside Cockpit, you can manage:
- Software Updates
- CPU/RAM Monitoring
- Terminal Access
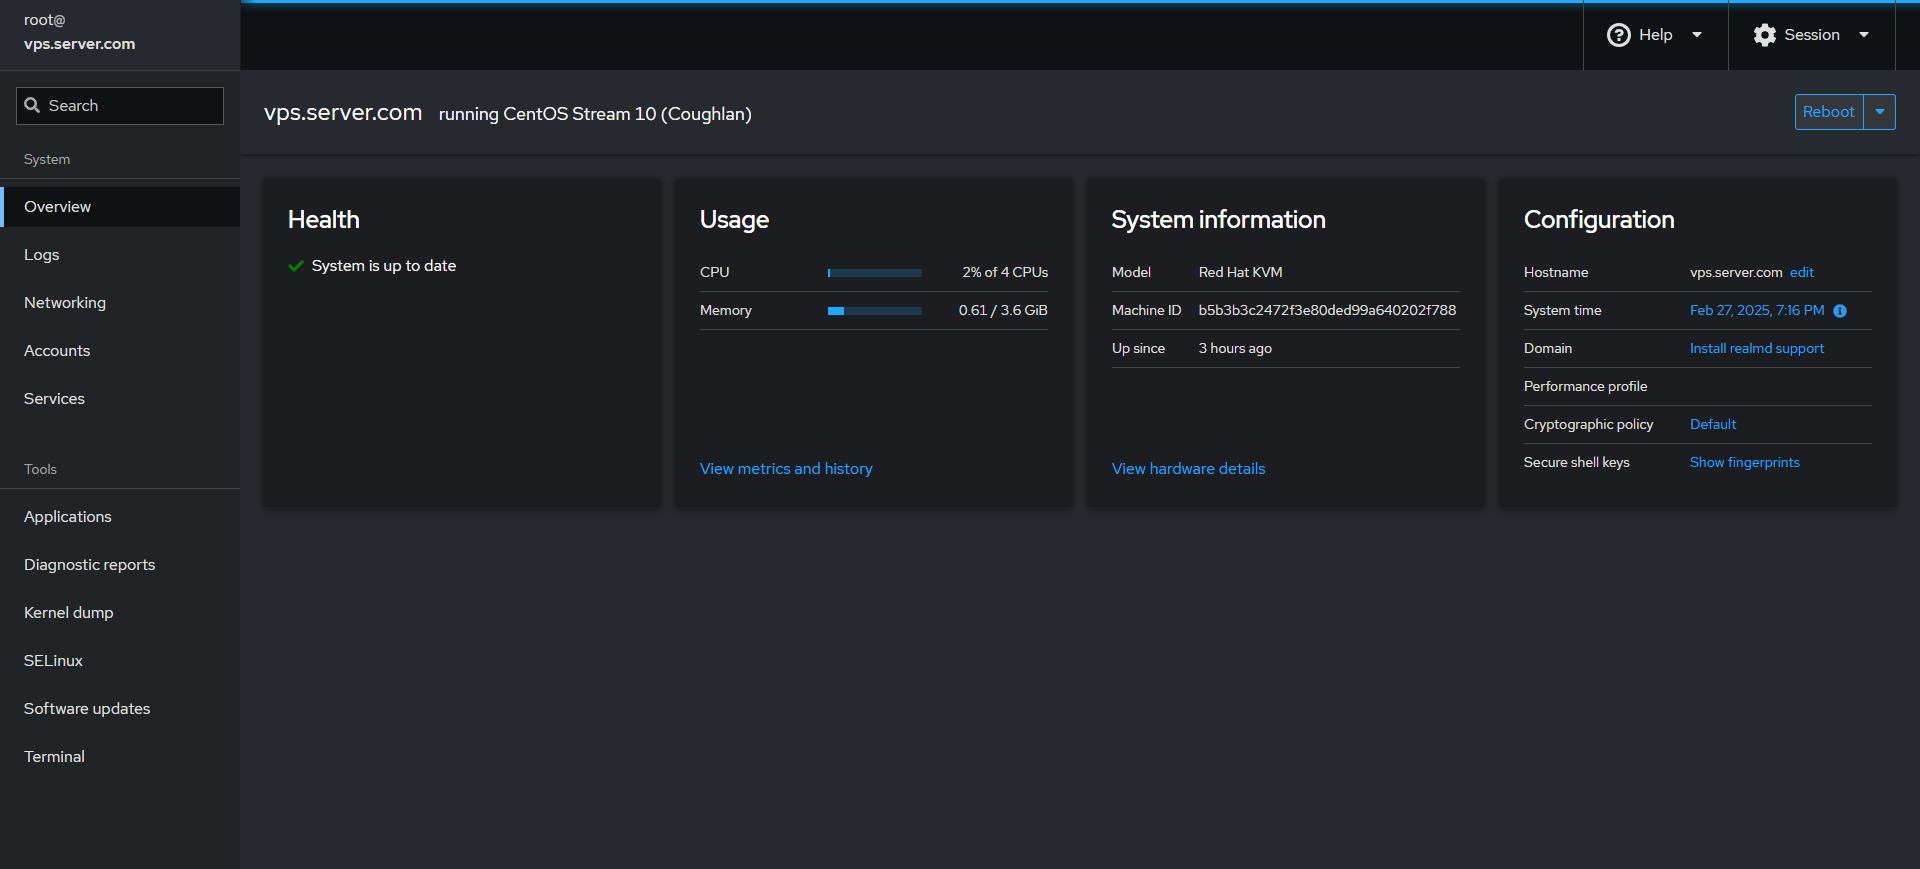
Now, you have successfully installed Cockpit Server Manager in CentOS Stream 10!
CrownCloud - Get a SSD powered KVM VPS at $4.5/month!
Use the code WELCOME for 10% off!
1 GB RAM / 25 GB SSD / 1 CPU Core / 1 TB Bandwidth per month
Available Locations: LAX | MIA | ATL | FRA | AMS