How to install and configure Mailcow Server on Ubuntu 18.04
In this wiki article, we will learn how to install and configure Mailcow Server on Ubuntu 18.04.
Mailcow is a free and open-source mail server which will install all necessary components and configure a full-fledged mail server and allows you to build and host your mail server.
Prerequisite.
- Ubuntu 18.04 Linux Operating system.
- FQDN - fully qualified domain name.
- Configure public MX record for IP address on the FQDN.
To Configure Hostname.
To set Hostname,
NOTE: Replace your fully qualified domain name in place of "example.com"
hostnamectl set-hostname mail.example.com To Install Docker.
First, update the software packages,
apt updateTo install Docker’s official GPG key and Packages,
apt install apt-transport-https ca-certificates curl gnupg-agent software-properties-commoncurl -fsSL https://download.docker.com/linux/ubuntu/gpg | apt-key add -Add in the Docker package repository,
add-apt-repository "deb [arch=amd64] https://download.docker.com/linux/ubuntu $(lsb_release -cs) stable"Install the latest version of Docker with the command,
apt updatesudo apt-get install docker-ce docker-ce-cli containerd.ioLet's check if Docker was installed successfully by creating a test container,
docker run hello-worldIf you find the following lines in the output, Docker is installed correctly,
Hello from Docker!
This message shows that your installation appears to be working correctly.
To Install Docker Compose.
Command to download and install Docker Compose,
NOTE: Here we are installing Docker compose version 1.25.5 if you want to install the latest version replace latest version number.
curl -L "https://github.com/docker/compose/releases/download/1.25.5/docker-compose-$(uname -s)-$(uname -m)" -o /usr/local/bin/docker-composeAdd execute permission to the Docker Compose,
chmod +x /usr/local/bin/docker-composeTo check the Docker Compose version,
docker-compose --versionOutput:
docker-compose version 1.25.5, build 8a1c60f6 Installing Mailcow
First Switch to opt folder,
cd /optAnd clone the git repository of Mailcow Dockerized,
git clone https://github.com/mailcow/mailcow-dockerizedSwitch to Mailcow Dockerized,
cd mailcow-dockerizedTo run the script,
./generate_config.shNOTE: While a script is running it will prompt for mail server and timezone.
- Enter your mail server FQDN (this is your mail server hostname, not your domain name)
- Select your timezone
To Run, you Mailserver execute the following command
docker-compose up -dNOTE: It will take some time since you are running the first time.
Final Output:
Status: Downloaded newer image for robbertkl/ipv6nat:latest
Creating mailcowdockerized_redis-mailcow_1     ... done
Creating mailcowdockerized_dockerapi-mailcow_1 ... done
Creating mailcowdockerized_olefy-mailcow_1     ... done
Creating mailcowdockerized_solr-mailcow_1      ... done
Creating mailcowdockerized_solr-mailcow_1      ...
Creating mailcowdockerized_memcached-mailcow_1 ... done
Creating mailcowdockerized_watchdog-mailcow_1  ... done
Creating mailcowdockerized_unbound-mailcow_1   ... done
Creating mailcowdockerized_clamd-mailcow_1     ... done
Creating mailcowdockerized_mysql-mailcow_1     ... done
Creating mailcowdockerized_dovecot-mailcow_1   ... done
Creating mailcowdockerized_postfix-mailcow_1   ... done
Creating mailcowdockerized_php-fpm-mailcow_1   ... done
Creating mailcowdockerized_nginx-mailcow_1     ... done
Creating mailcowdockerized_netfilter-mailcow_1 ... done
Creating mailcowdockerized_acme-mailcow_1      ... done
Creating mailcowdockerized_rspamd-mailcow_1    ... done
Creating mailcowdockerized_ipv6nat-mailcow_1   ... done
Now Mailcow installed successfully, next to login to the admin dashboard open the web browser and enter the following URL.
NOTE : The default username and password for Mailcow are,
- Username - admin
- Password - moohoo
https://Domain configured[FQDN]Output:

To Configure Mailcow.
Update the Admin Logins.
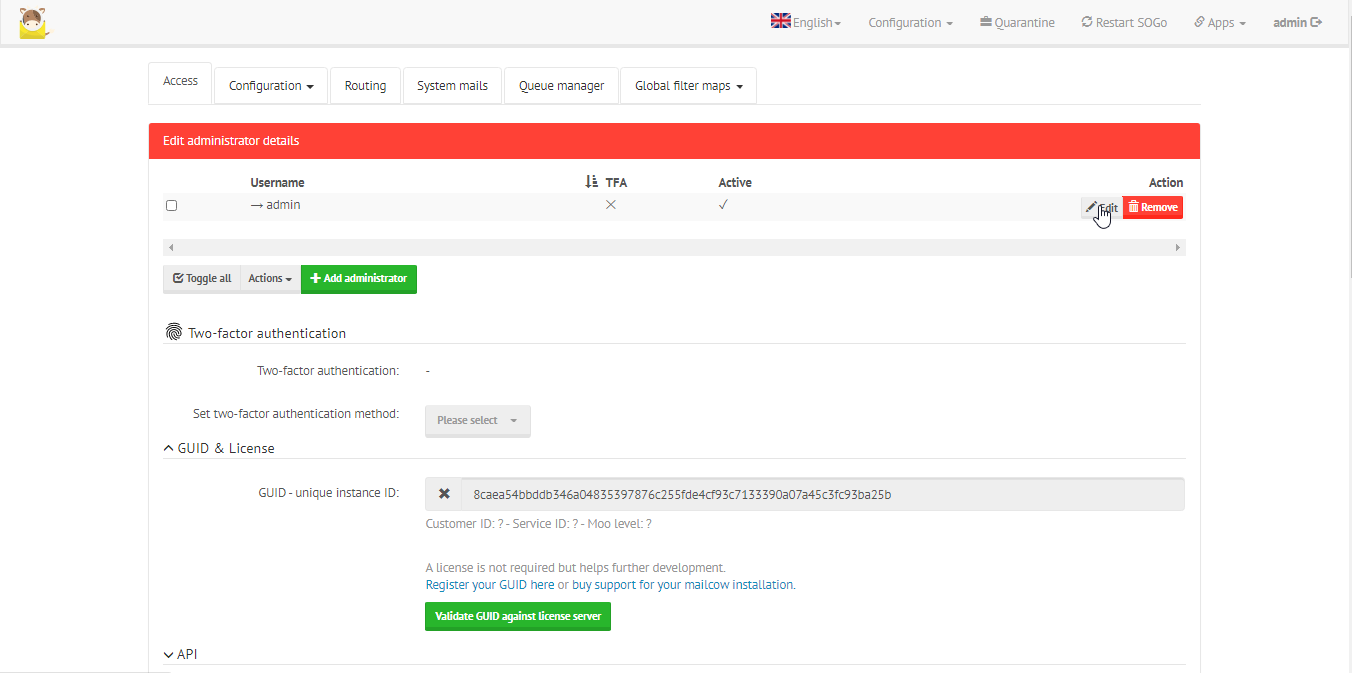
Enter Username, Password, and click Save changes.

To set up your Domain. Click on Configuraion Dropdown -> Select Mail Setup.

And select Domain Tab -> Add Domain.
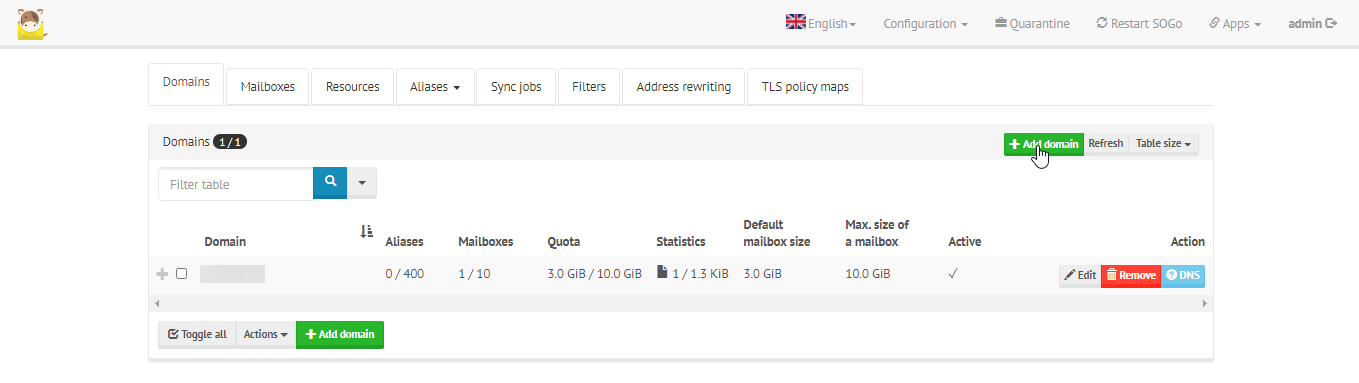
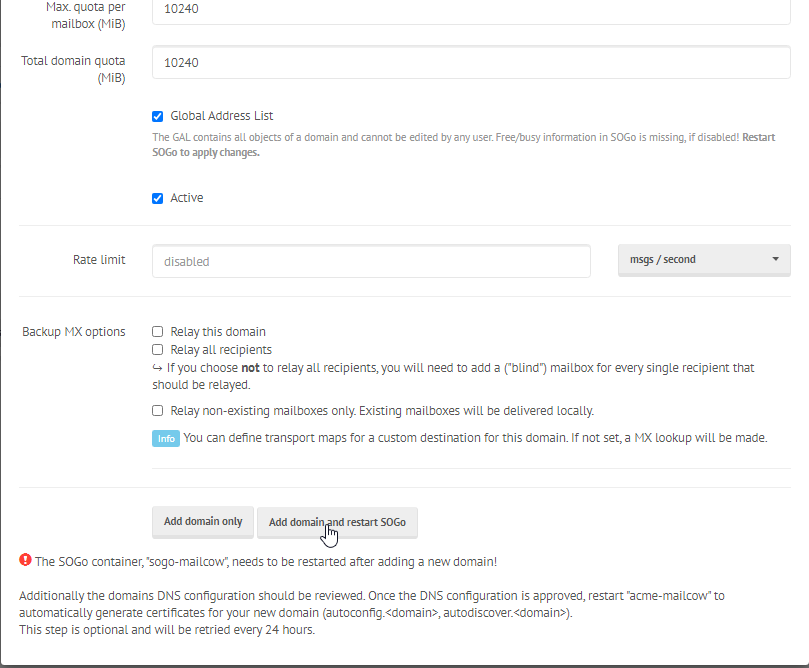
In add domain page Enter your Domain, Description, and scroll down click Add Domain and restart SOGo.
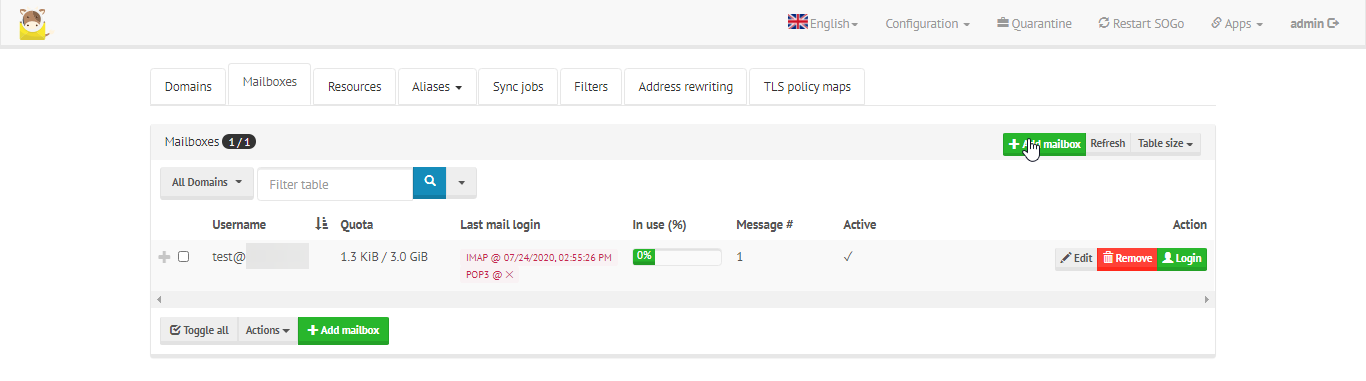
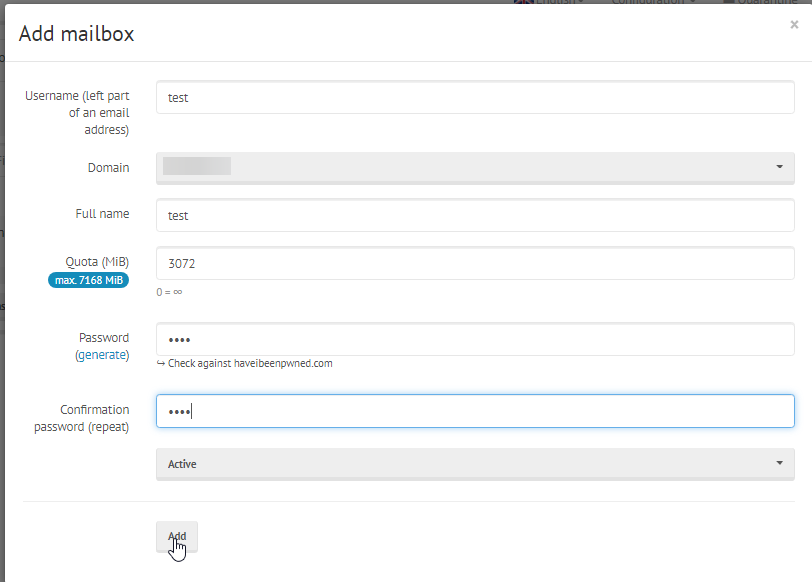
To Set up your Mailboxes, Configuration -> Mail Setup -> Mailboxes.
To open Webmail interface, Apps -> Webmail.

Enter the username and password you configured on the Mailbox setup step.
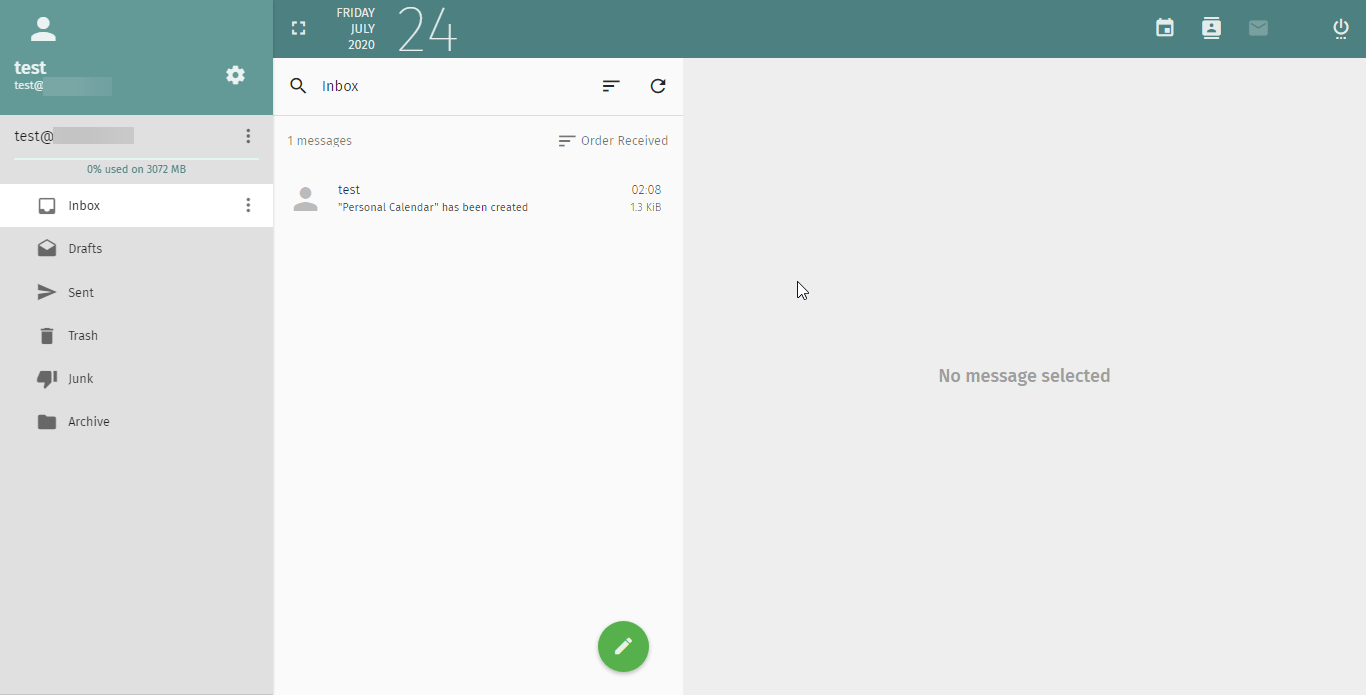
NOTE: Verify by Send and receive test-emails.
This would conclude the Mailcow installation and configuration on Ubuntu 18.04
CrownCloud - Get a SSD powered KVM VPS at $4.5/month!
Use the code WELCOME for 10% off!
1 GB RAM / 25 GB SSD / 1 CPU Core / 1 TB Bandwidth per month
Available Locations: LAX | MIA | ATL | FRA | AMS