How to install Ubuntu 20.10
Login to your Panel (https://crownpanel.com/)
To start the installation, First we mount the Ubuntu 20.10 ISO.
To mount the ISO click on CD-ROM and then select the "ubuntu-20.10-live-server-amd64" ISO from the drop-down menu and click on Mount button (It will take 2-3 minutes)

Once the ISO has mounted (Task Log tab will show the status of the task), navigate to "Power Control" tab and then perform a Reboot task on the server.
Next, Switch to the "VNC" Tab, Launch VNC to start the installation.
If VNC doesn't show the Ubuntu 20.10 installer, please click on CTRL+ALT+DEL from the VNC console to send a reboot.
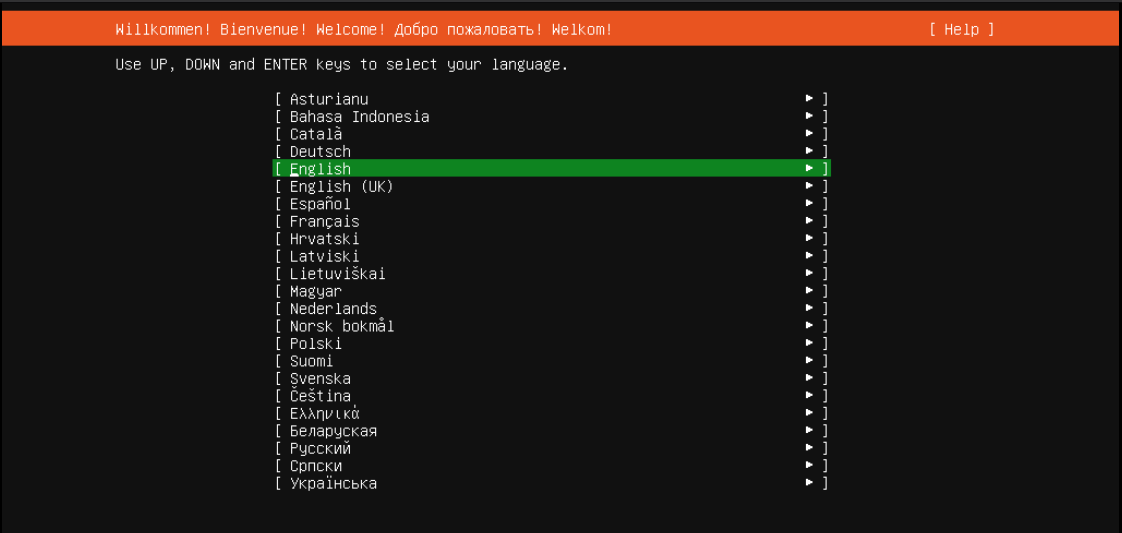
Select the desired language and click on continue.
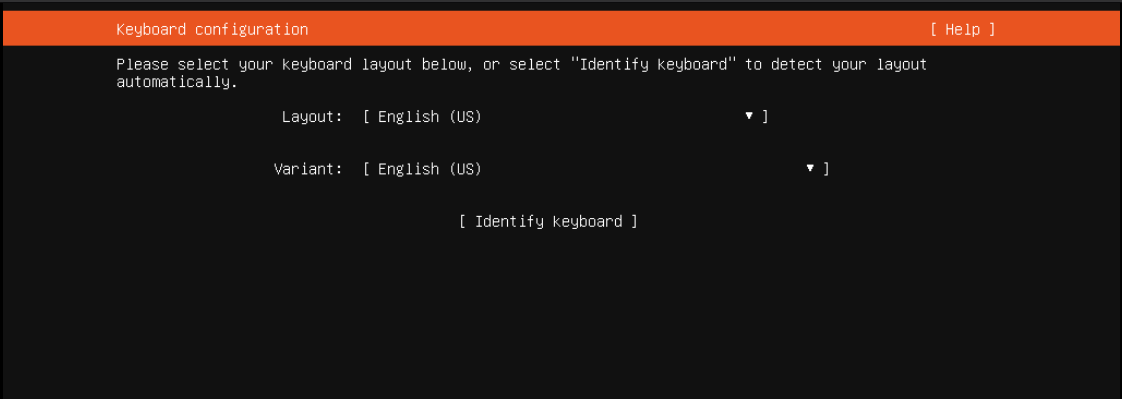
Select the desired keyboard layout and click on done.
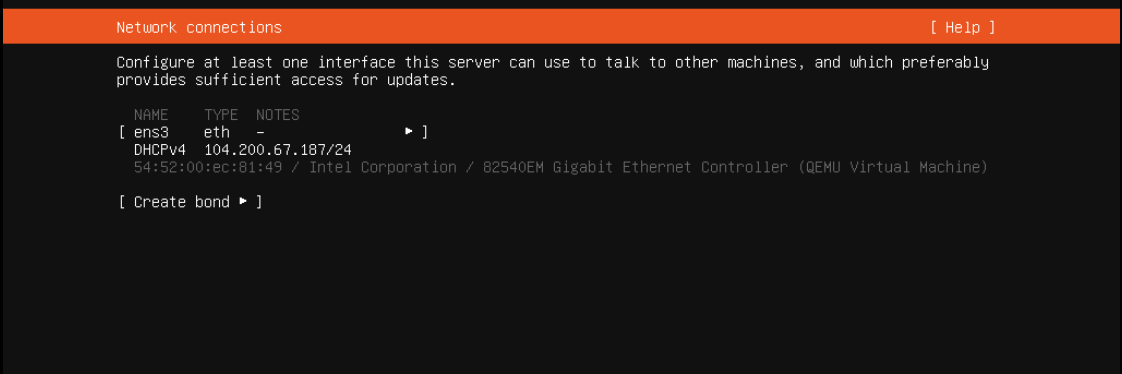
Select the Network configuration and click done.
You can either set up a static network configuration or simply go ahead with DHCP (Simply press ENTER here)
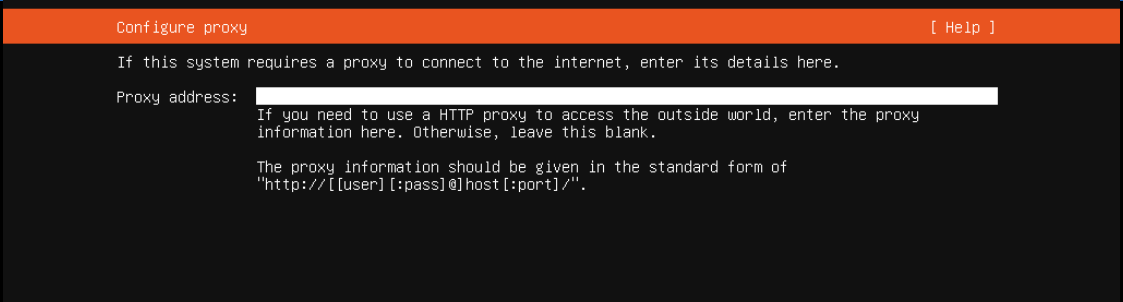
You can configure proxy for the server in this part of the process if needed. Ideally, in most cases you don't need to, just leave it blank and proceed.
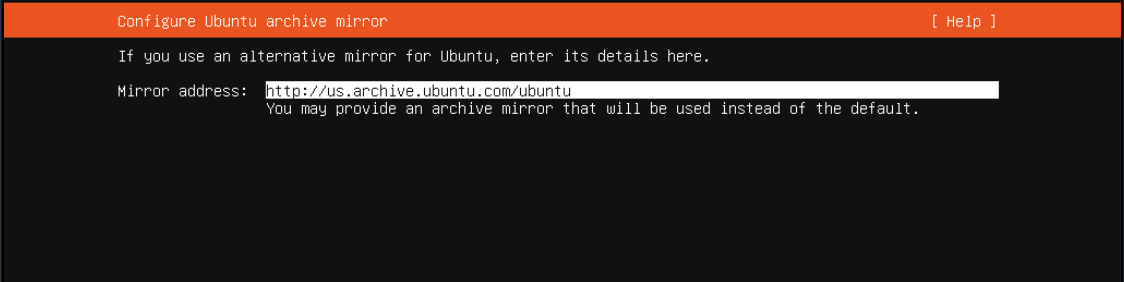
Next, in the mirror selection we keep the default mirror address that Ubuntu detects for us,
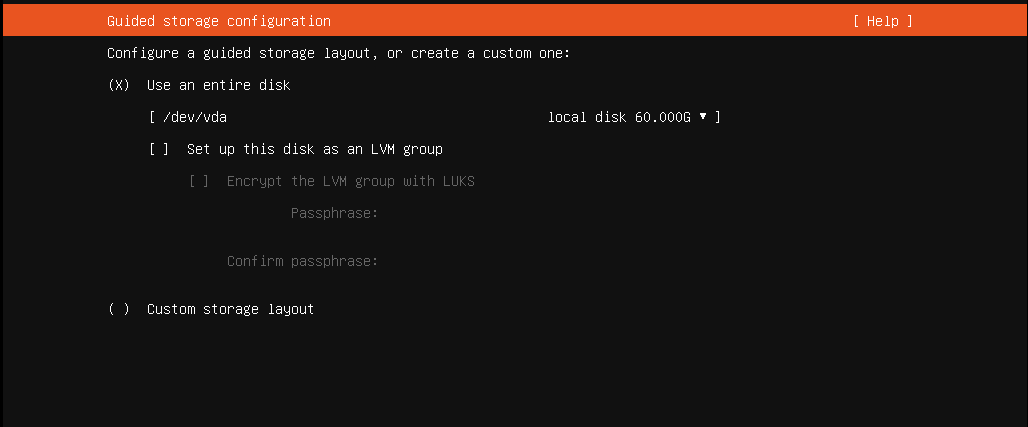
Disk partitioning, we can go ahead with "Use an entire disk (X)"
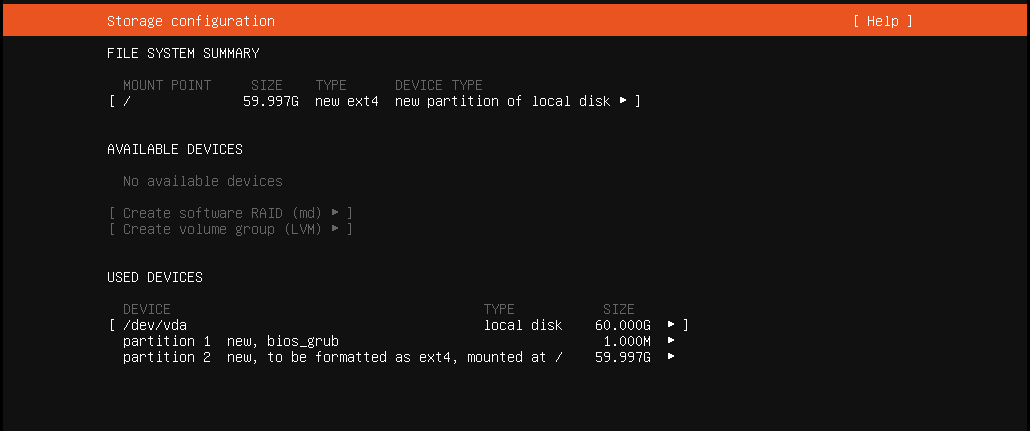
Review the partitions and then proceed.
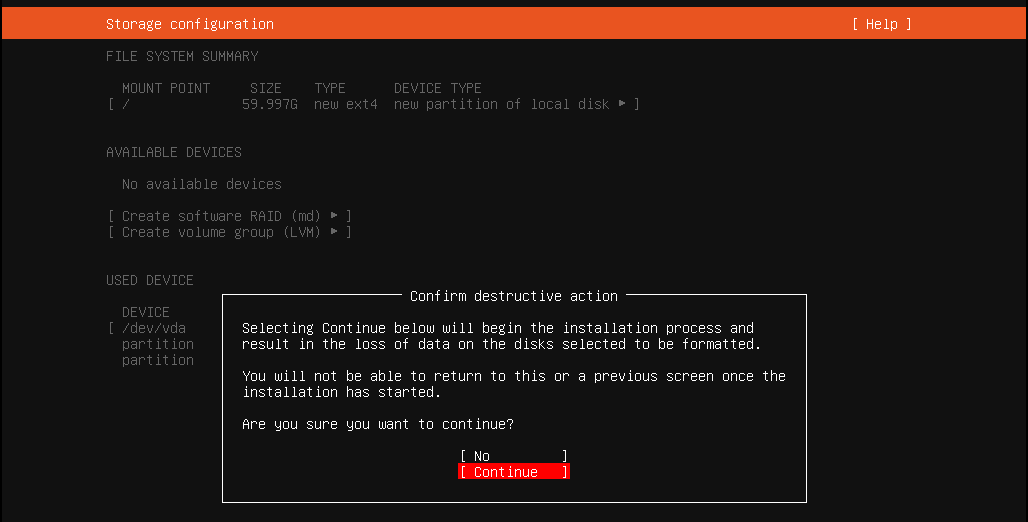
Confirm and press continue.
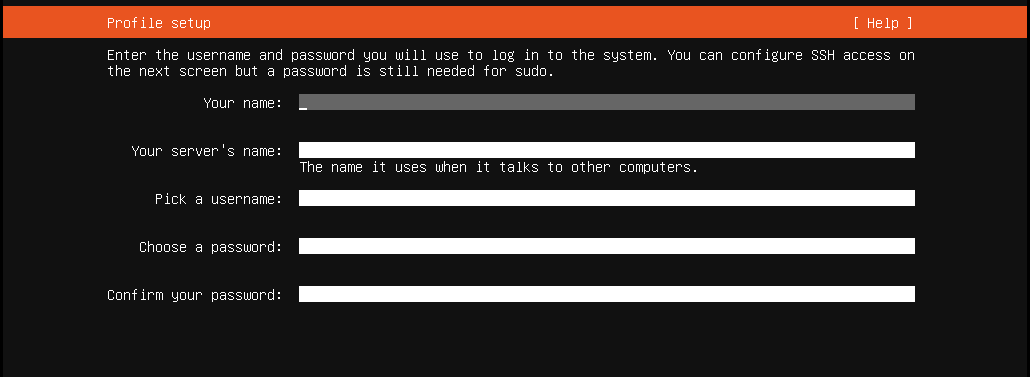
Profile setup, fill the form and press enter.
The details entered below (username, password etc) would be used for SSH as well!
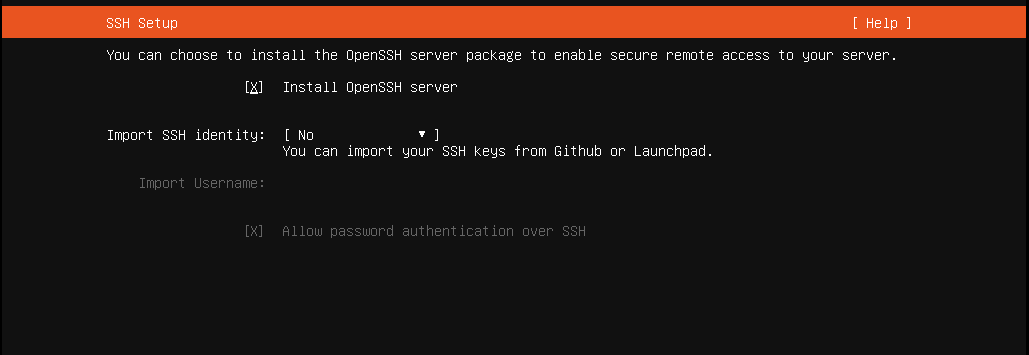
We will check this package since OpenSSH server package is essential if you need to connect using a PuTTY.
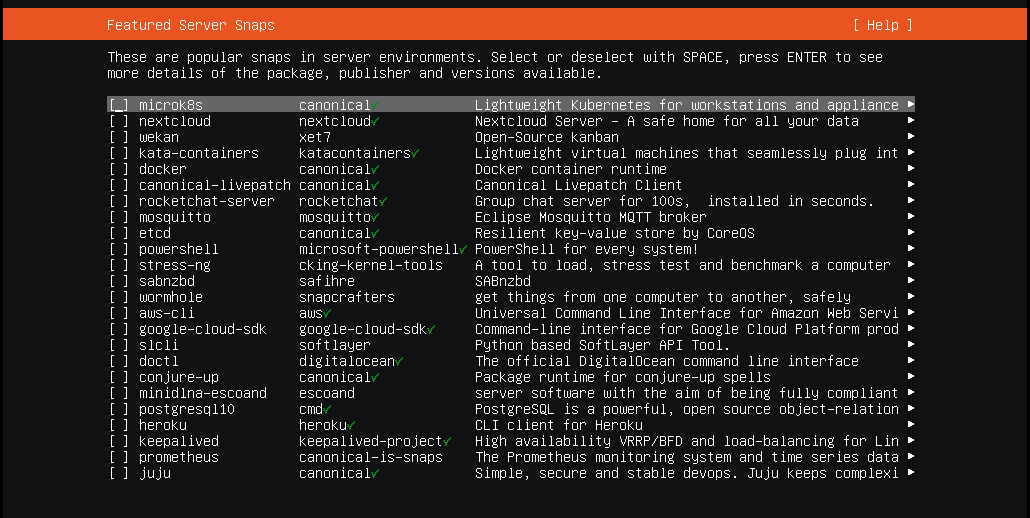
The Ubuntu 20.10 installer also has other packages available for pre-install, you can pick any you wish to pre-install on your server, in this guide we will keep it at bare minimal (ie, no extra packages selected),
At this stage, Ubuntu will start the installation to the disk.
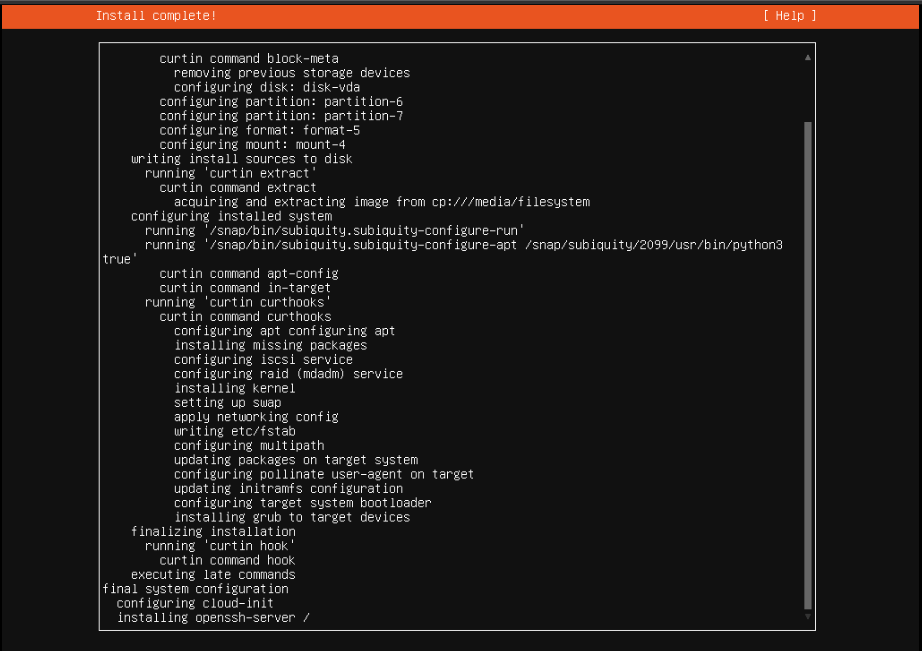
Once the install is complete, go ahead with the reboot.

After you select to reboot the VPS, Ubuntu will prompt you to unmount the installation medium.

To unmount the ISO, switch back to CrownPanel, Select the "CD-ROM" tab and click on "Unmount",

Next, switch back to the VNC Window, and press ENTER to reboot the VPS,
The VPS will then reboot into your installation of Ubuntu 20.10
This completes the installation of Ubuntu 20.10
You can now login to the server using the credentials that were set earlier (under the "Profile setup" part of this guide)
Sample Output:
crowncloud@104.200.67.187's password:
Welcome to Ubuntu 20.10 (GNU/Linux 5.8.0-25-generic x86_64)

 * Documentation:  https://help.ubuntu.com
 * Management:     https://landscape.canonical.com
 * Support:        https://ubuntu.com/advantage

  System information as of Tue Oct 27 07:47:17 PM UTC 2020
Enabling Firewall:
Ubuntu by default uses UFW to easily manage IPTables firewall configurations. Let us enable Firewall incase it's inactive.
Allowing SSH connection,
We will allow SSH's default port so we can connect to the server without any disruption after enabling UFW,
sudo ufw allow 22Enabling UFW
UFW can be enabled with the following command.
sudo ufw enableFor more information regarding Firewall, Kindly refer to our Guide on UFW.
CrownCloud - Get a SSD powered KVM VPS at $4.5/month!
Use the code WELCOME for 10% off!
1 GB RAM / 25 GB SSD / 1 CPU Core / 1 TB Bandwidth per month
Available Locations: LAX | MIA | ATL | FRA | AMS