How to Install Ubuntu 25.04
Ubuntu 25.04, codenamed "Plucky Puffin", was officially released on April 17, 2025. As a standard release, it will receive support for 9 months, until January 2026. This version introduces several enhancements across the system, desktop environment, and development tools.
Login to Crownpanel
Login to your CrownPanel account.
To begin the installation process, start by mounting the Ubuntu 25.04 ISO file.
To mount the ISO, click on CD-ROM, select the Ubuntu 25.04 ISO from the drop-down menu, and then click the Mount button. This process will take approximately 2–3 minutes.
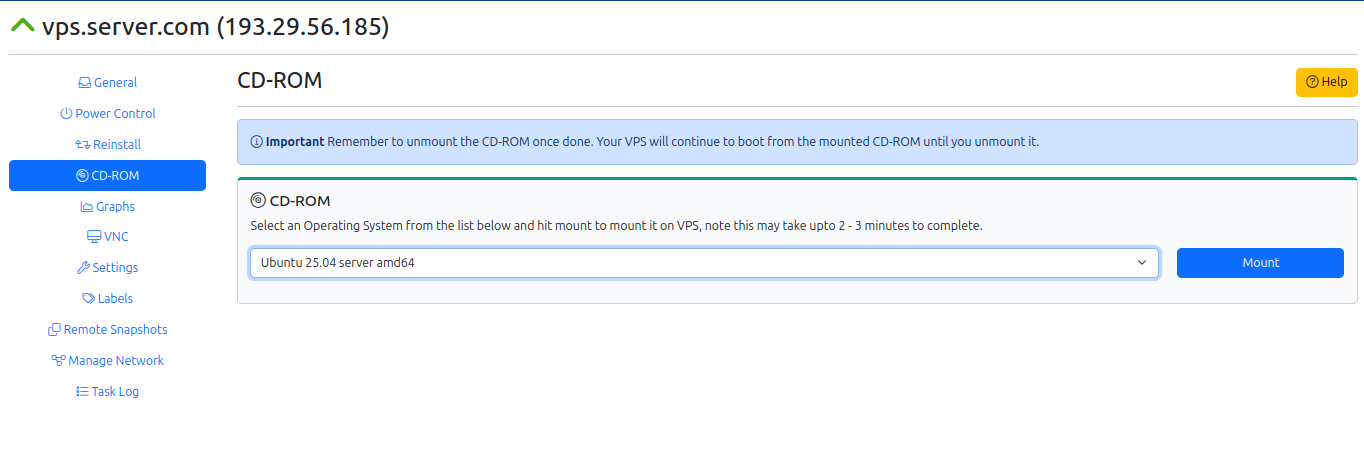
Once the ISO has mounted (you can check the status in the Task Log tab), navigate to the Power Control tab and perform a Reboot task on the server.
Next, switch to the VNC tab and launch VNC to start the installation.
If VNC doesn't show the 25.04 installer, click on CTRL+ALT+DEL from the VNC console to send a reboot.
Start the Installation
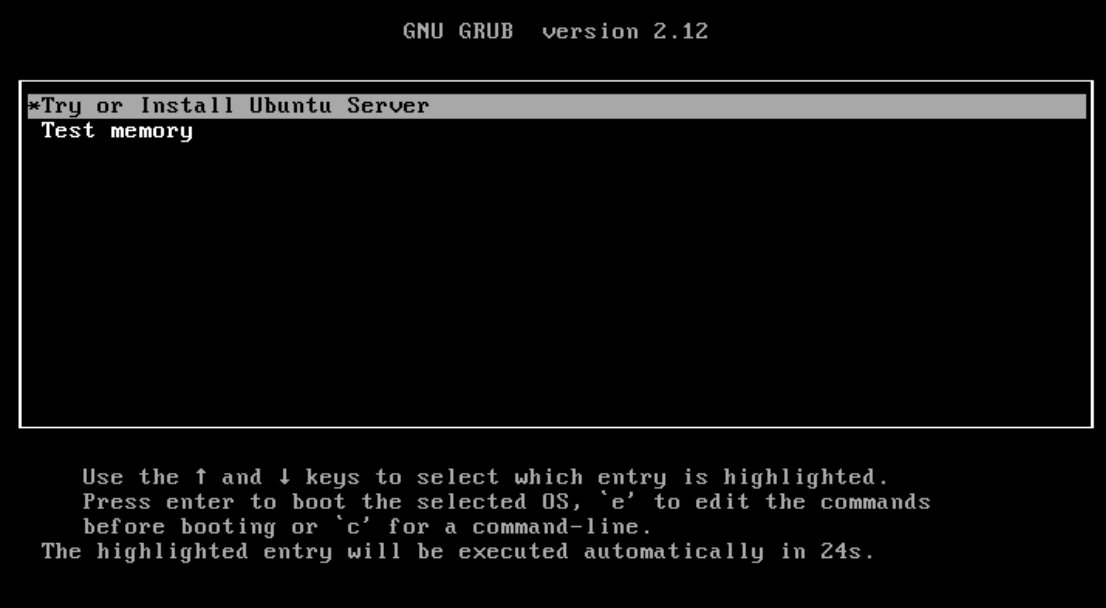
When the server boots from the mounted 25.04 ISO, you'll see the installer. Choose the Try or Install Ubuntu Server option to start the installation process.
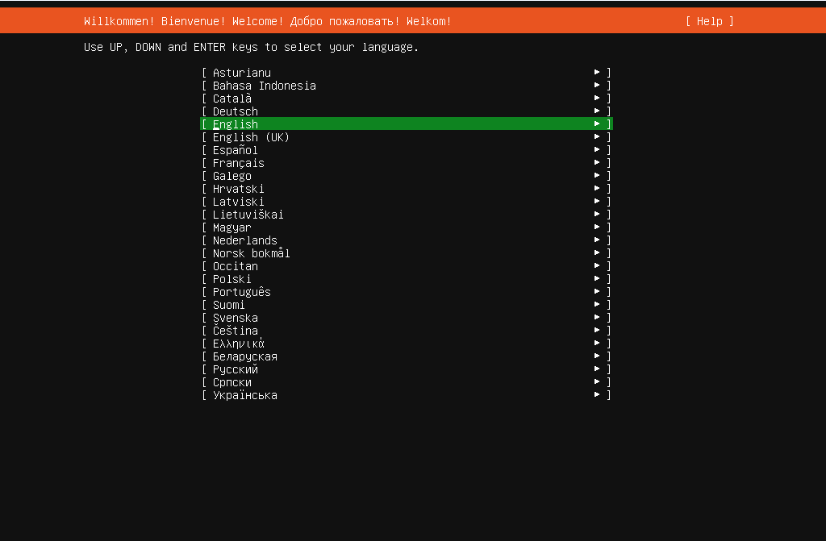
Select the desired language and click on Continue.
In the next step, you may be prompted to update the installer if a new version is available. It is recommended to choose this option to update it.
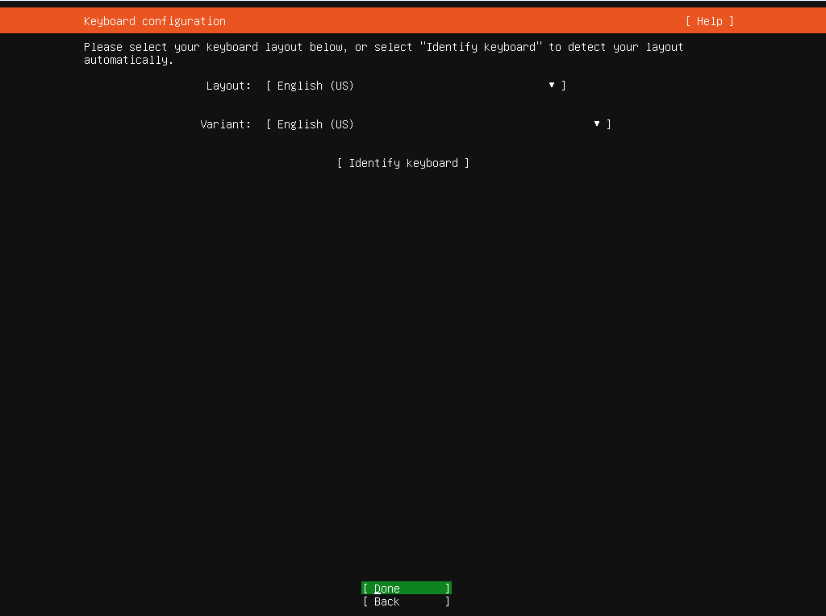
Select the desired keyboard layout and click on done.
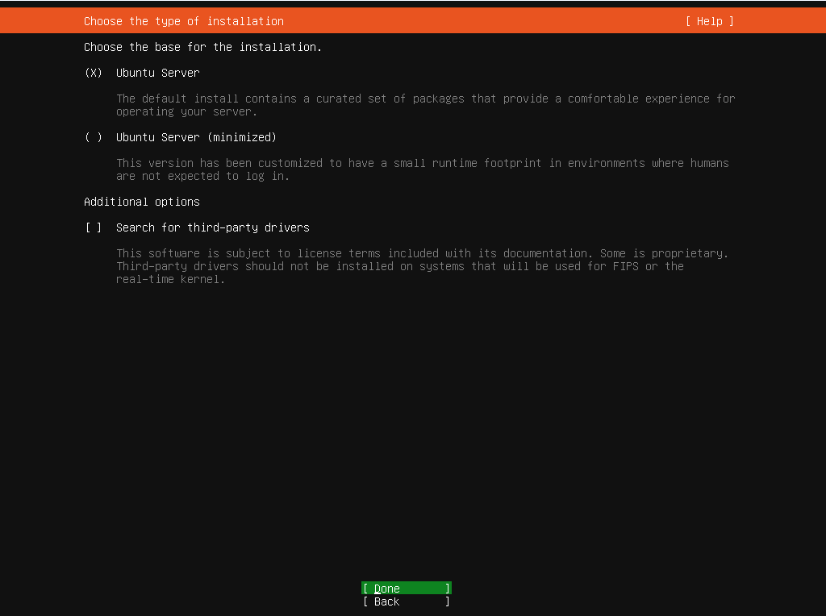
Select the type of installation and click on Done.
Select the network configuration and click Done.
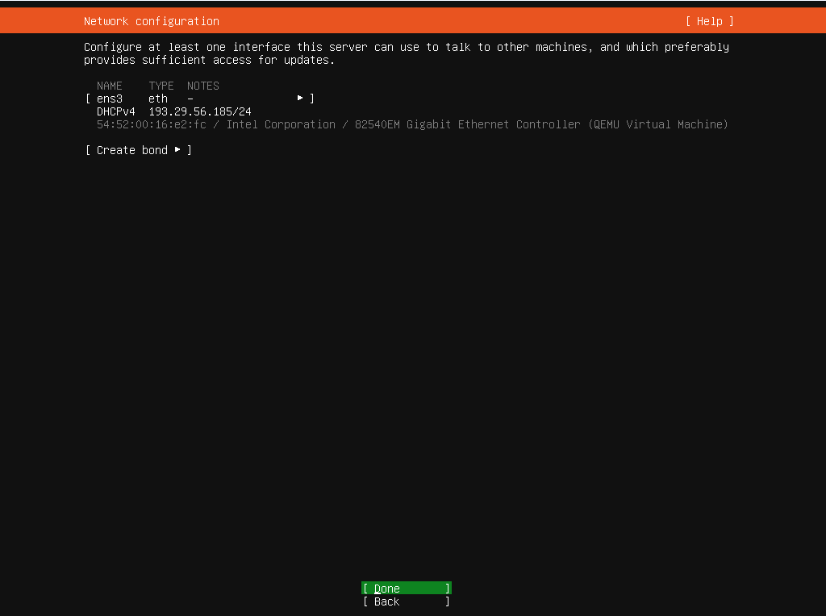
You can either set up a static network configuration or proceed with DHCP by simply pressing ENTER.
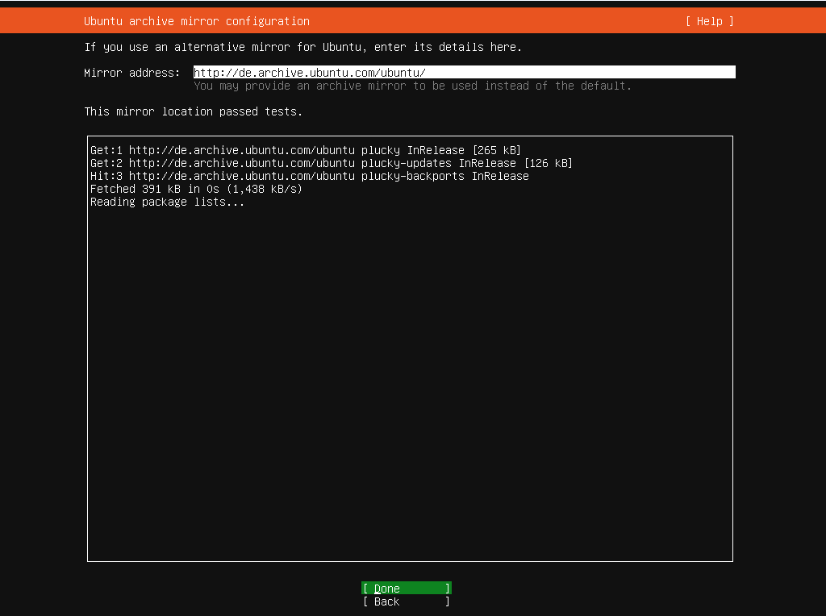
Next, in the mirror selection, keep the default mirror address that 25.04 detects for you.
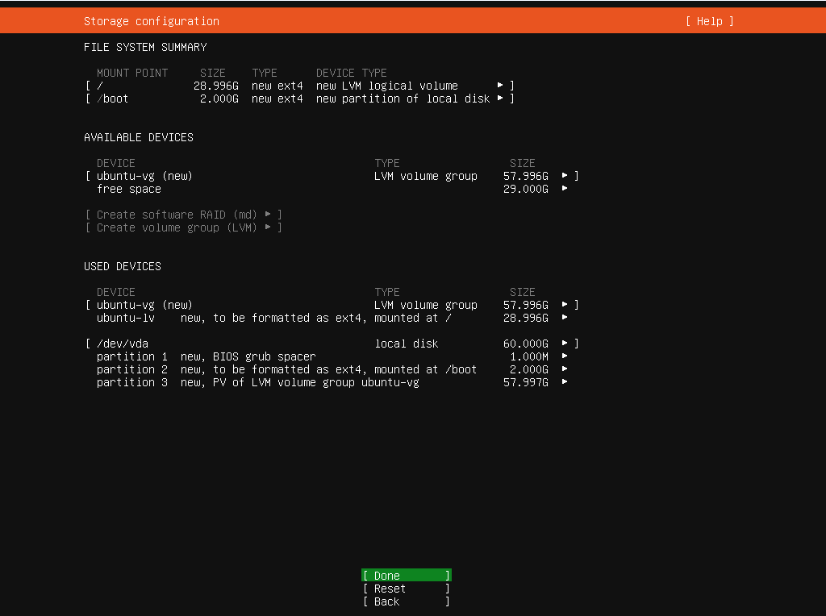
For disk partitioning, we will keep it simple and go with automatic partitioning. Select the "Use an entire disk" option and continue.
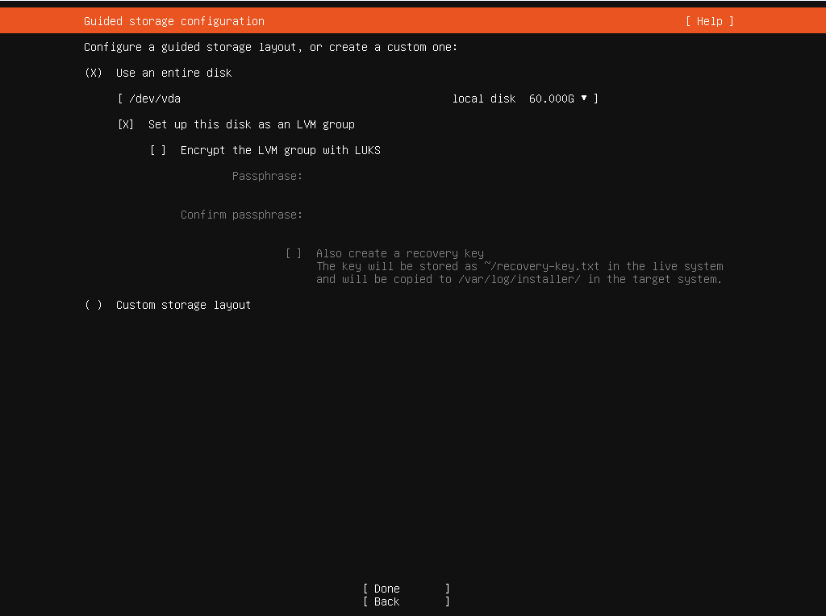
Review the partitions and then proceed.
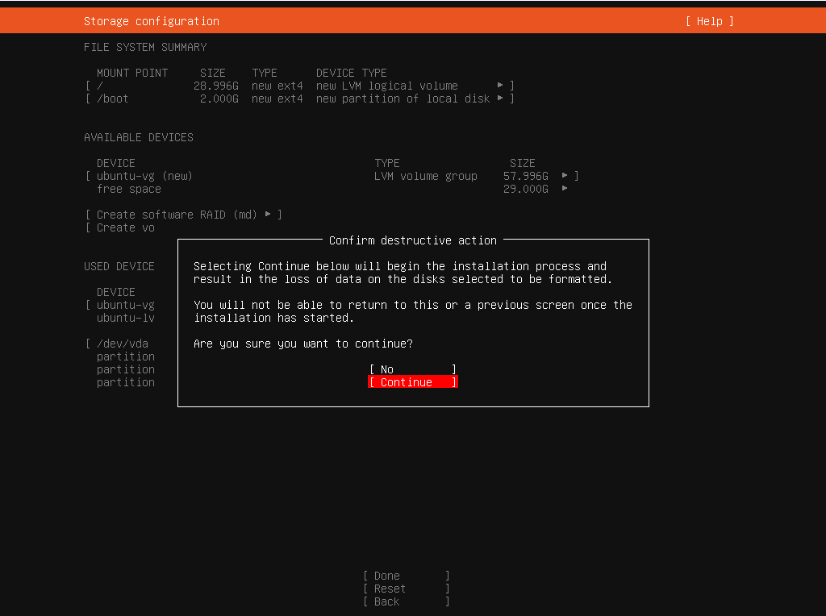
Since we're installing a new operating system on the existing disk, you will be prompted that data on the selected disk will be lost. Confirm and select "Continue."
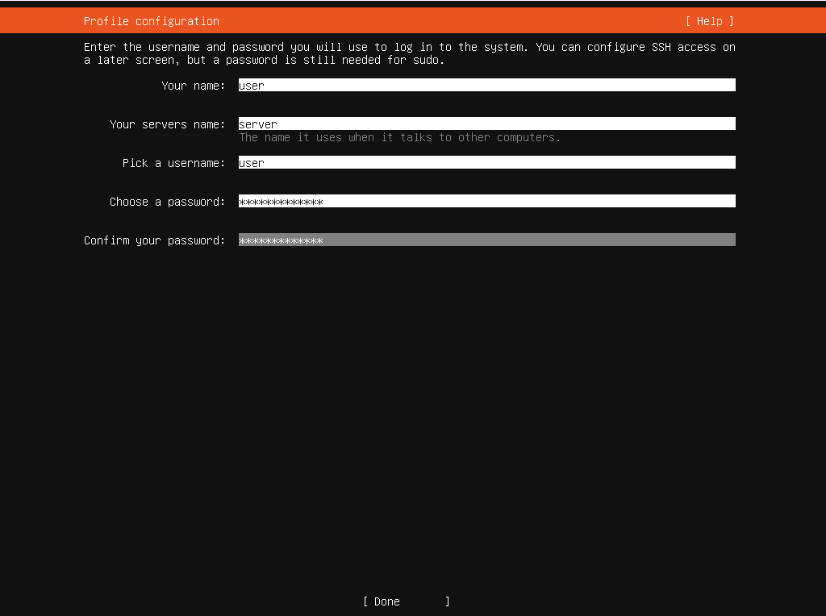
For profile setup, you will be provided a form to enter user information. These will be the login details you'll use later to connect to the server.
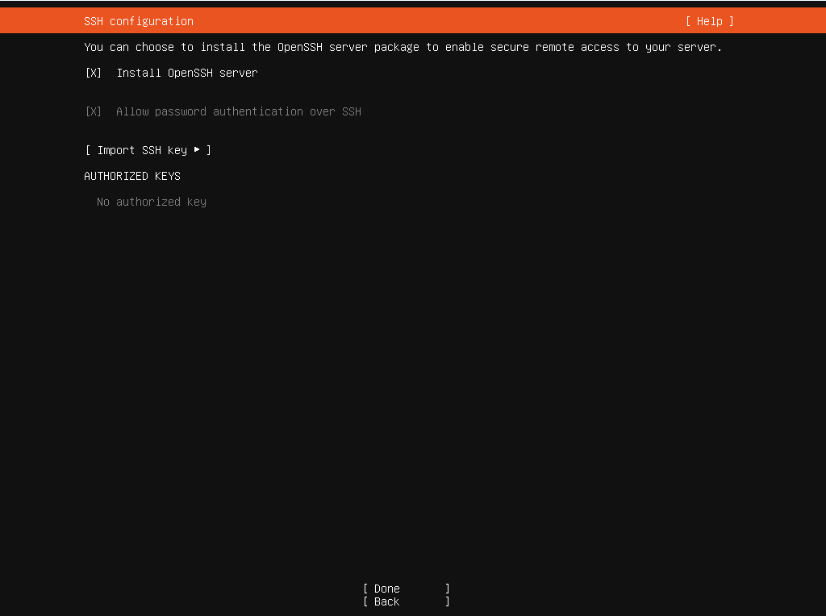
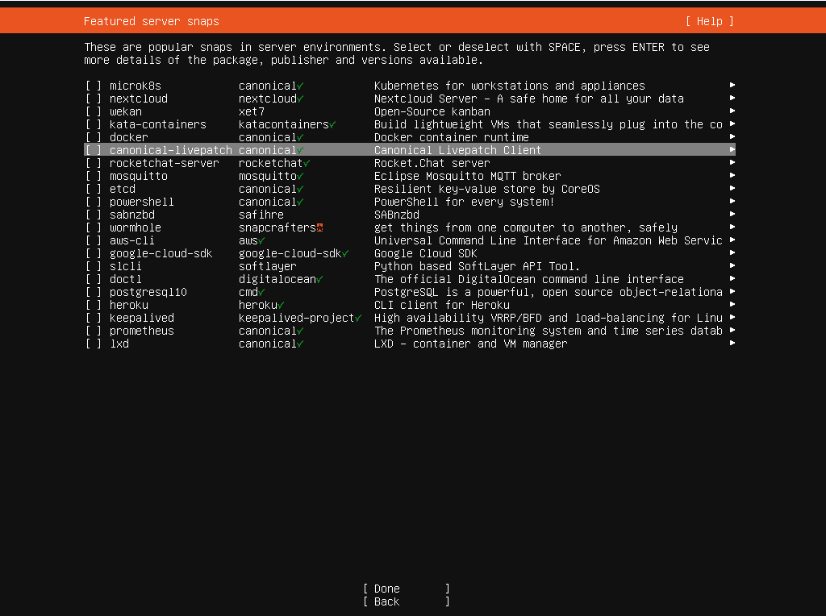
We will choose the OpenSSH server package to be installed, as it is essential for remote connections after the installation.
The 25.04 installer also has other packages available for pre-installation. You can select any additional packages you wish to install on your server. In this guide, we will keep it at a bare minimum (i.e., no extra packages selected).
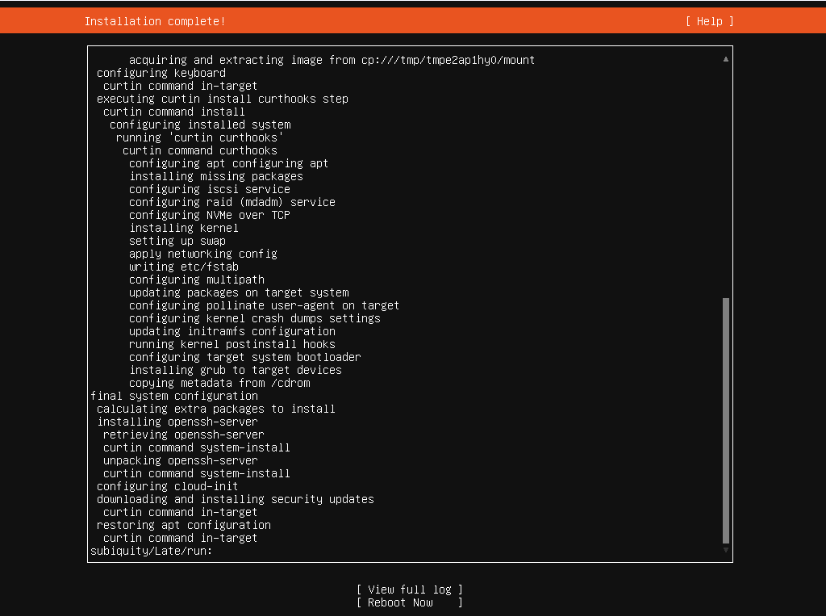
At this stage, 25.04 will begin the installation on the disk. Once the install is complete, go ahead with the reboot.
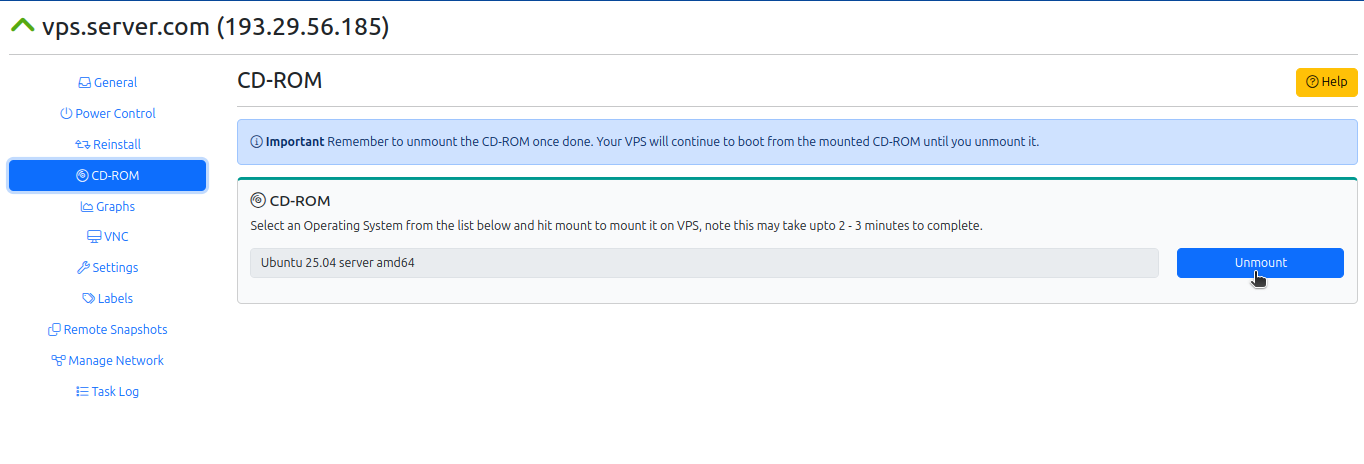
After you select to reboot the VPS, Ubuntu will prompt you to unmount the installation medium.
To unmount the ISO, switch back to CrownPanel, select the "CD-ROM" tab, and click on "Unmount".
Next, switch back to the VNC window and press ENTER to reboot the VPS.
The VPS will then reboot into your installation of 25.04.
You can now log in to the server using the credentials that were set earlier during the Profile setup stage of this guide.
Done! You are now ready to use the 25.04 server as you like.
CrownCloud - Get a SSD powered KVM VPS at $4.5/month!
Use the code WELCOME for 10% off!
1 GB RAM / 25 GB SSD / 1 CPU Core / 1 TB Bandwidth per month
Available Locations: LAX | MIA | ATL | FRA | AMS