How to install Virtualmin on CentOS 7
Virtualmin is an open-source web hosting and cloud control panel. It enables users to create multiple managed hosting environments and avoid switching to different servers. It's secure and allows access to the server via an SSL-encrypted HTTP with little technical knowledge. In this article, you will learn how to install Virtualmin CentOS 7.
Update the system
yum -y updateonce the updates are installed, reboot the system with the command,
rebootOnce rebooted proceed with the steps below,
Add Swap
Note: This step is a must if your VPS has less than 2 GB of Memory Total (RAM + SWAP = Memory Total)
Command to create a Swap file.
Note: We are adding 2GB here since our test VPS has 512 MB of RAM if you want to add a different size then you can replace it in place of 2G
dd if=/dev/zero of=/swapfile count=1536 bs=1MiBOutput:
[root@vps ~]# dd if=/dev/zero of=/swapfile count=1536 bs=1MiB

1536+0 records in
1536+0 records out
1610612736 bytes (1.5 GiB) copied, 0.817237 s, 2.0 GB/s
To restrict access to the swap file, we setup permissions such that only the owner of file to read/write from it,
chmod 600 /swapfileTo set up a swap area on the file.
mkswap /swapfileTo activate the swap file.
swapon /swapfileEdit the fstab file to make the new swap file automatically enable itself on reboot/boot,
nano /etc/fstabAdd in the following line,
/swapfile swap swap defaults 0 0Now when we check the system memory via the free -m command, we see the swap appear as 2048 MB
[root@vps ~]# free -m
              total        used        free      shared  buff/cache   available
Mem:            487         104           8           7         374         362
Swap:          2048           7        2041
Installing Virtualmin
Use the following command to download Virtualmin,
wget https://software.virtualmin.com/gpl/scripts/install.sh Execute the scripts
chmod +x install.sh To install both Webmin and Virtualmin
./install.shOutput:
[root@vps ~]# ./install.sh
2022-06-24 19:14:50 URL:https://software.virtualmin.com/lib/slib.sh [22709/22709] -> "slib.sh" [1]

  Welcome to the Virtualmin GPL installer, version 6.2.2

  This script must be run on a freshly installed supported OS. It does not
  perform updates or upgrades (use your system package manager) or license
  changes (use the "virtualmin change-license" command).

  The systems currently supported by install.sh are:

    CentOS/RHEL Linux 7, and 8 on x86_64
    Debian 9, and 10 on i386 and amd64
    Ubuntu 16.04 LTS, 18.04 LTS, and 20.04 LTS on i386 and amd64

  If your OS/version/arch is not listed, installation will fail. More
  details about the systems supported by the script can be found here:

    https://www.virtualmin.com/os-support

  The selected package bundle is LAMP and the size of install is
  full. It will require up to 650 MB of disk space.

  Exit and re-run this script with --help flag to see available options.

 Continue? (y/n) y
[INFO] Started installation log in /root/virtualmin-install.log
Stop/Disable Firewalld
systemctl stop firewalld
systemctl disable firewalld
systemctl mask --now firewalld
Accessing Virtualmin
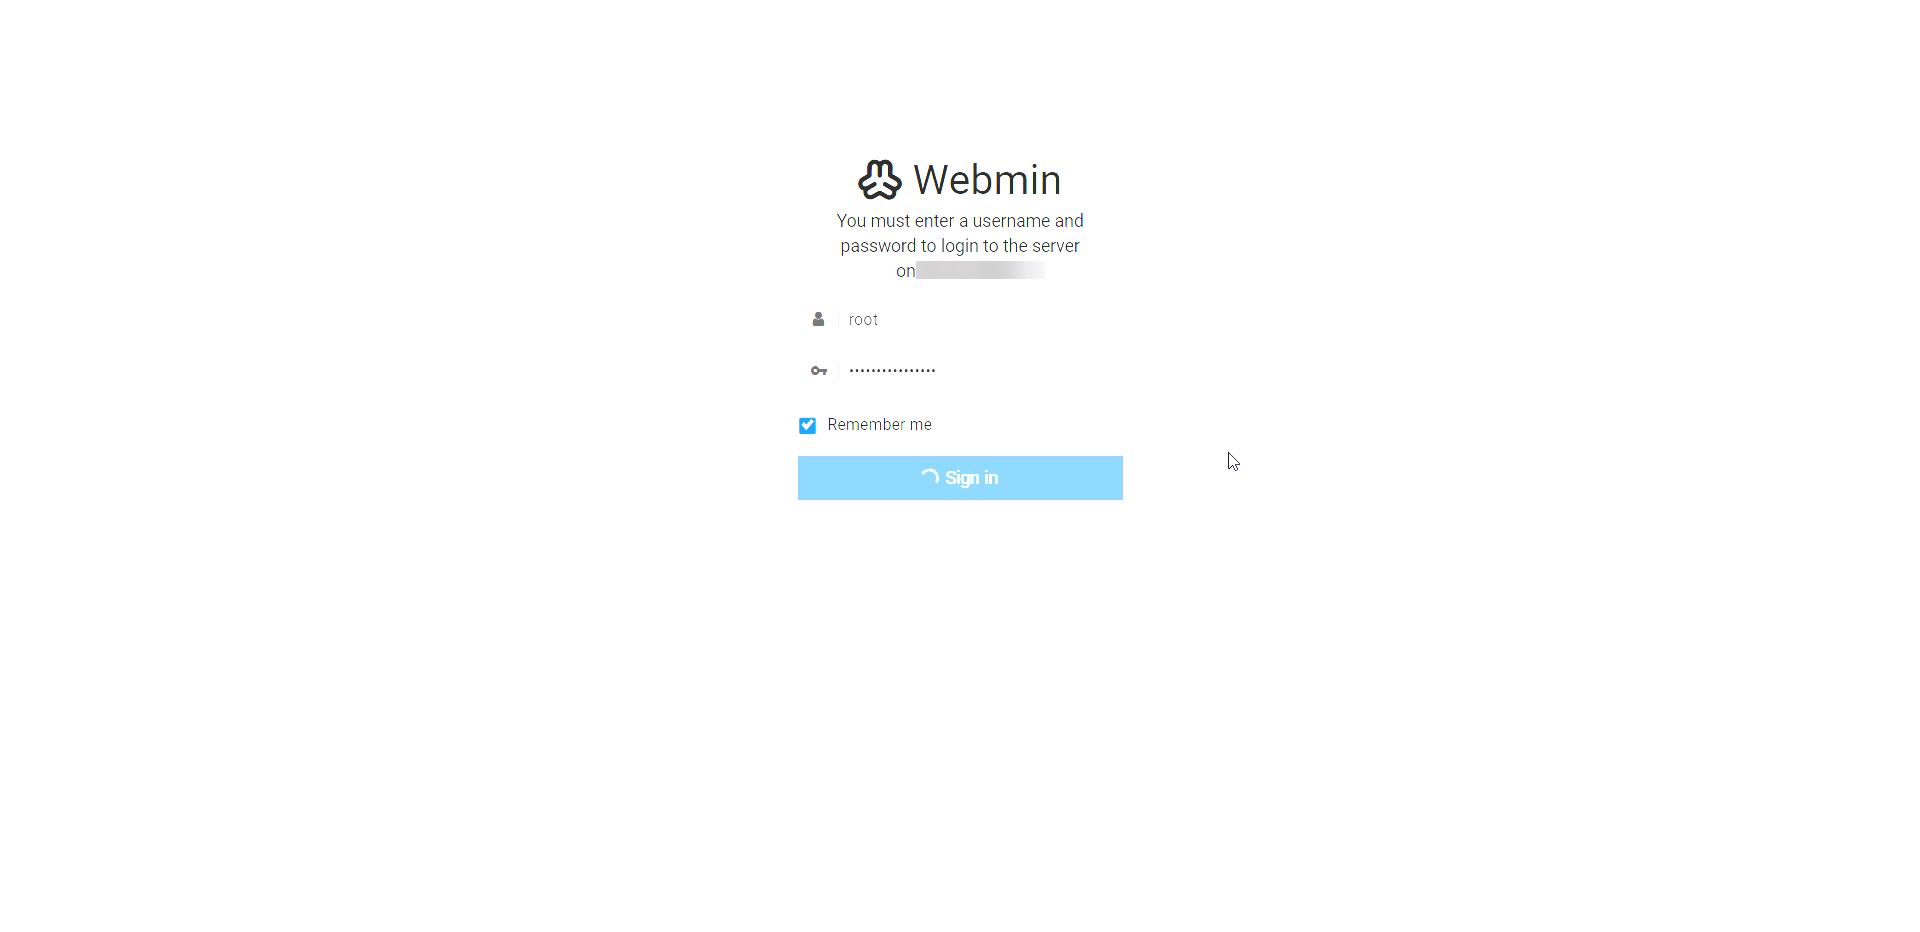
To access Virtualmin, open the URL from your web browser: https://IP_address:10000.
Note:
When logging in for the first time, you will see an 'invalid SSL' warning.
- Simply click on the 'Advanced' tab and then 'Accept the risk and Continue'.
Login to the Webmin web interface using your root user and password.
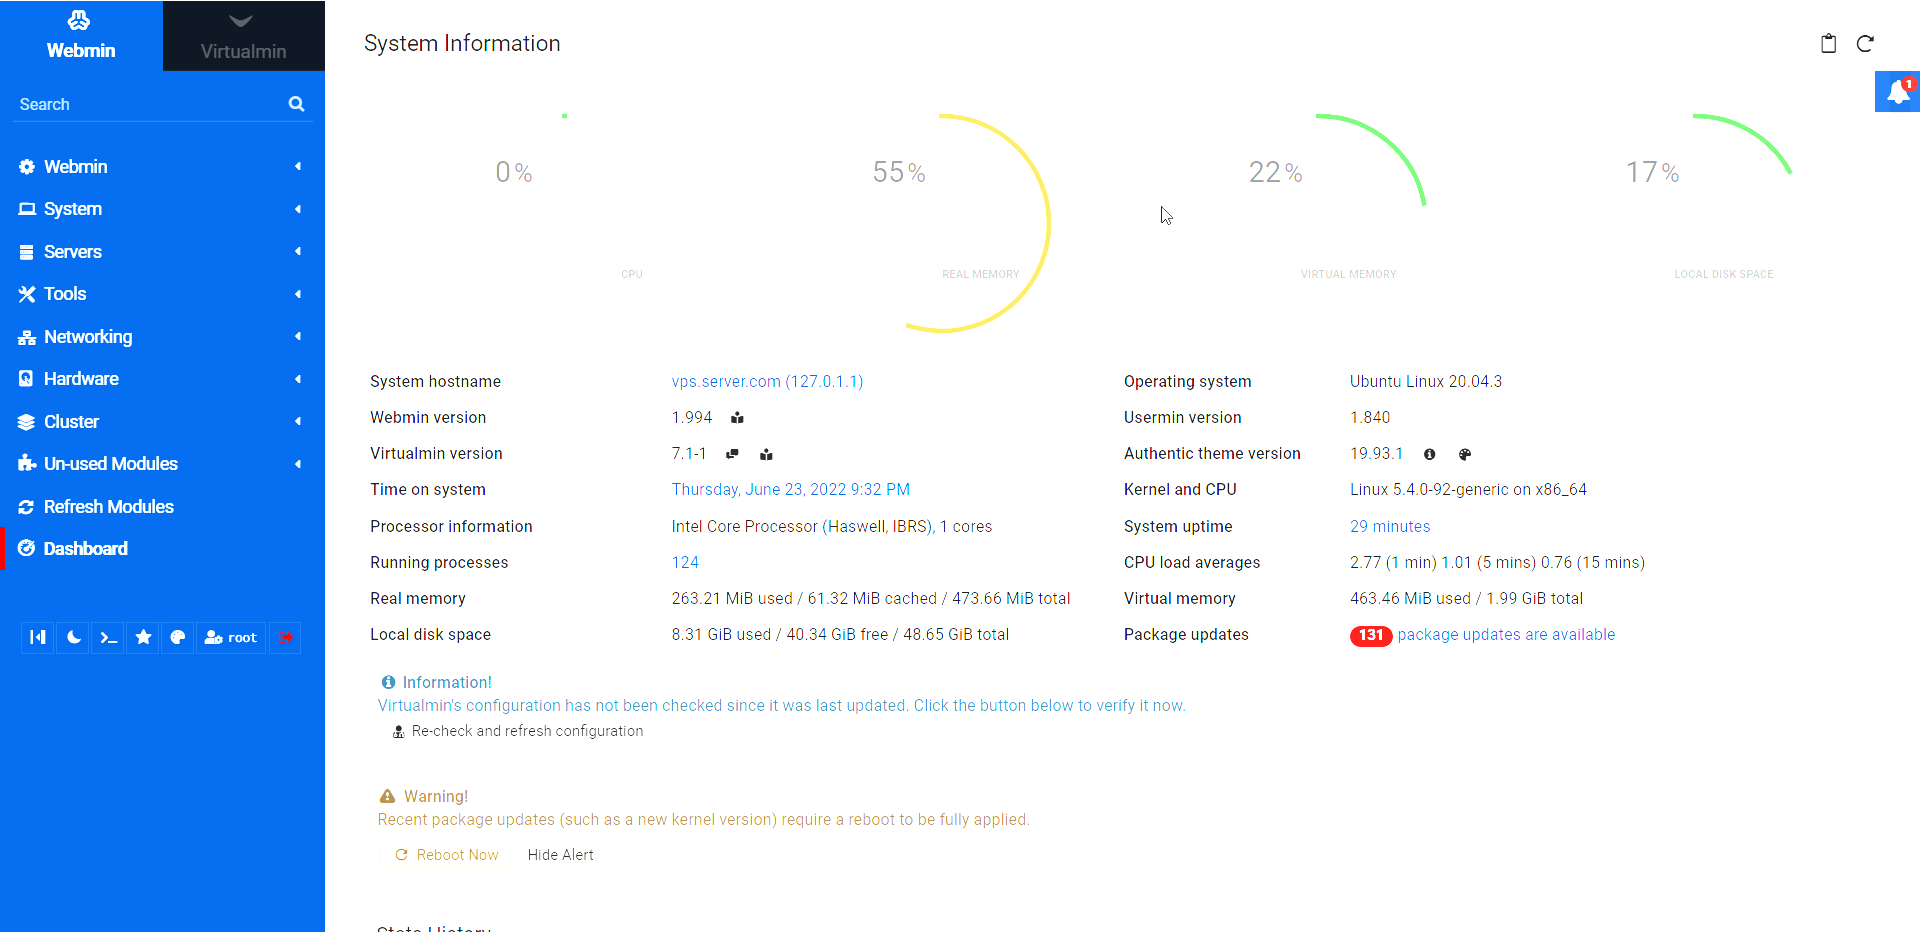
Once you log in, you will be redirected to the Webmin dashboard.
CrownCloud - Get a SSD powered KVM VPS at $4.5/month!
Use the code WELCOME for 10% off!
1 GB RAM / 25 GB SSD / 1 CPU Core / 1 TB Bandwidth per month
Available Locations: LAX | MIA | ATL | FRA | AMS