How to Install WordPress on AlmaLinux 9 with LEMP Stack
WordPress is a Content Management System (CMS), a platform you can use to build and maintain a website without any knowledge of coding. This software enables you to customize just about every aspect of your site.
Prerequisites:
Wordpress requires LEMP stack installed and running
For detailed installation, refer to LEMP Stack on Almalinux 9
Update Firewall Settings
firewall-cmd --permanent --zone=public --add-service=http

firewall-cmd --permanent --zone=public --add-service=https

firewall-cmd --reload
Output:
[root@server ~]# firewall-cmd --permanent --zone=public --add-service=http
success
[root@server ~]# firewall-cmd --permanent --zone=public --add-service=https
success
[root@server ~]# firewall-cmd --reload
success
Secure MariaDB Installation
Next, we secure our MariaDB installation and setup a root password for MariaDB
mysql_secure_installationOutput:
[root@server ~]# mysql_secure_installation
NOTE: RUNNING ALL PARTS OF THIS SCRIPT IS RECOMMENDED FOR ALL MariaDB
      SERVERS IN PRODUCTION USE!  PLEASE READ EACH STEP CAREFULLY!
Enter current password for root (enter for none):
OK, successfully used password, moving on...

Setting the root password ensures that nobody can log into the MariaDB
root user without the proper authorisation.

Set root password? [Y/n] y
New password:
Re-enter new password:
Creating the new Database
Log into MySQL with the following command,
mysql -u root -pFirst, we'll create a new database,
CREATE DATABASE wordpress;Next, create a new MySQL user account that we will use to operate on WordPress's new database, with username "admin"
CREATE USER `admin`@`localhost` IDENTIFIED BY 'Your_Password_Here';Link the user and DB together by granting our user access to the database,
GRANT ALL ON wordpress.* TO `admin`@`localhost`;Flush the privileges so that MySQL knows about the user permissions we just added,
FLUSH PRIVILEGES;Exit out of the MySQL command prompt by typing,
exitOutput:
MariaDB [(none)]> CREATE DATABASE wordpress;
Query OK, 1 row affected (0.002 sec)

MariaDB [(none)]> CREATE USER `admin`@`localhost` IDENTIFIED BY 'Your_Password_Here';
Query OK, 0 rows affected (0.003 sec)

MariaDB [(none)]> GRANT ALL ON wordpress.* TO `admin`@`localhost`;
Query OK, 0 rows affected (0.002 sec)

MariaDB [(none)]> FLUSH PRIVILEGES;
Query OK, 0 rows affected (0.002 sec)

MariaDB [(none)]> exit
Configure Nginx
Create a directory for storing our WordPress files
Note: replace example.com with your preferred domain name in the below commands.
mkdir -p /var/www/html/example.com/public_htmlNext, create an nginx conf file for your website
nano /etc/nginx/conf.d/example.com.confUpdate the nginx.conf file
Ensure you replace example.com with your preferred domain name.
  server {
    listen         80;
    listen         [::]:80;
    server_name    example.com www.example.com;
    root           /var/www/html/example.com/public_html;
    index          index.html;

    location / {
      index index.php index.html index.htm;
      try_files $uri $uri/ =404;
    }
    location ~* \.php$ {
      fastcgi_pass unix:/run/php-fpm/www.sock;
      include         fastcgi_params;
      fastcgi_param   SCRIPT_FILENAME    $document_root$fastcgi_script_name;
      fastcgi_param   SCRIPT_NAME        $fastcgi_script_name;
    }
}
We can test the nginx configuration for any errors with,
nginx -tOnce that is successful, restart the nginx for the changes to take affect,
systemctl restart nginx Download and Extract WordPress
Download the WordPress by using wget command and extract the downloaded file,
Install the required command to download and extract the file,
dnf install wget tar -yRemember to replace example.com with domain name in below commands.
wget https://wordpress.org/latest.tar.gz

tar -zxvf latest.tar.gz

mv wordpress/* /var/www/html/example.com/public_html/
Next, we will configure the wp-config.php as shown below:
 cd /var/www/html/blog.domainhere.info/public_html/

 cp wp-config-sample.php wp-config.php
Using your favorite editor, edit the file wp-config.php
nano wp-config.phpreplace the following contents with the correct values
 /** The name of the database for WordPress */
define( 'DB_NAME', 'wordpress' );

/** Database username */
define( 'DB_USER', 'admin' );

/** Database password */
define( 'DB_PASSWORD', 'password_here' );

/** Database hostname */
define( 'DB_HOST', 'localhost' );
That is, enter the DB name, username and password that was configured earlier.
Update file permissions
chown -R nginx:nginx /var/www/html/example.com/public_html

chcon -R -t httpd_sys_content_t /var/www/html/example.com/public_html
Navigate to your browser
(http://server_IP/ or http://example.com)
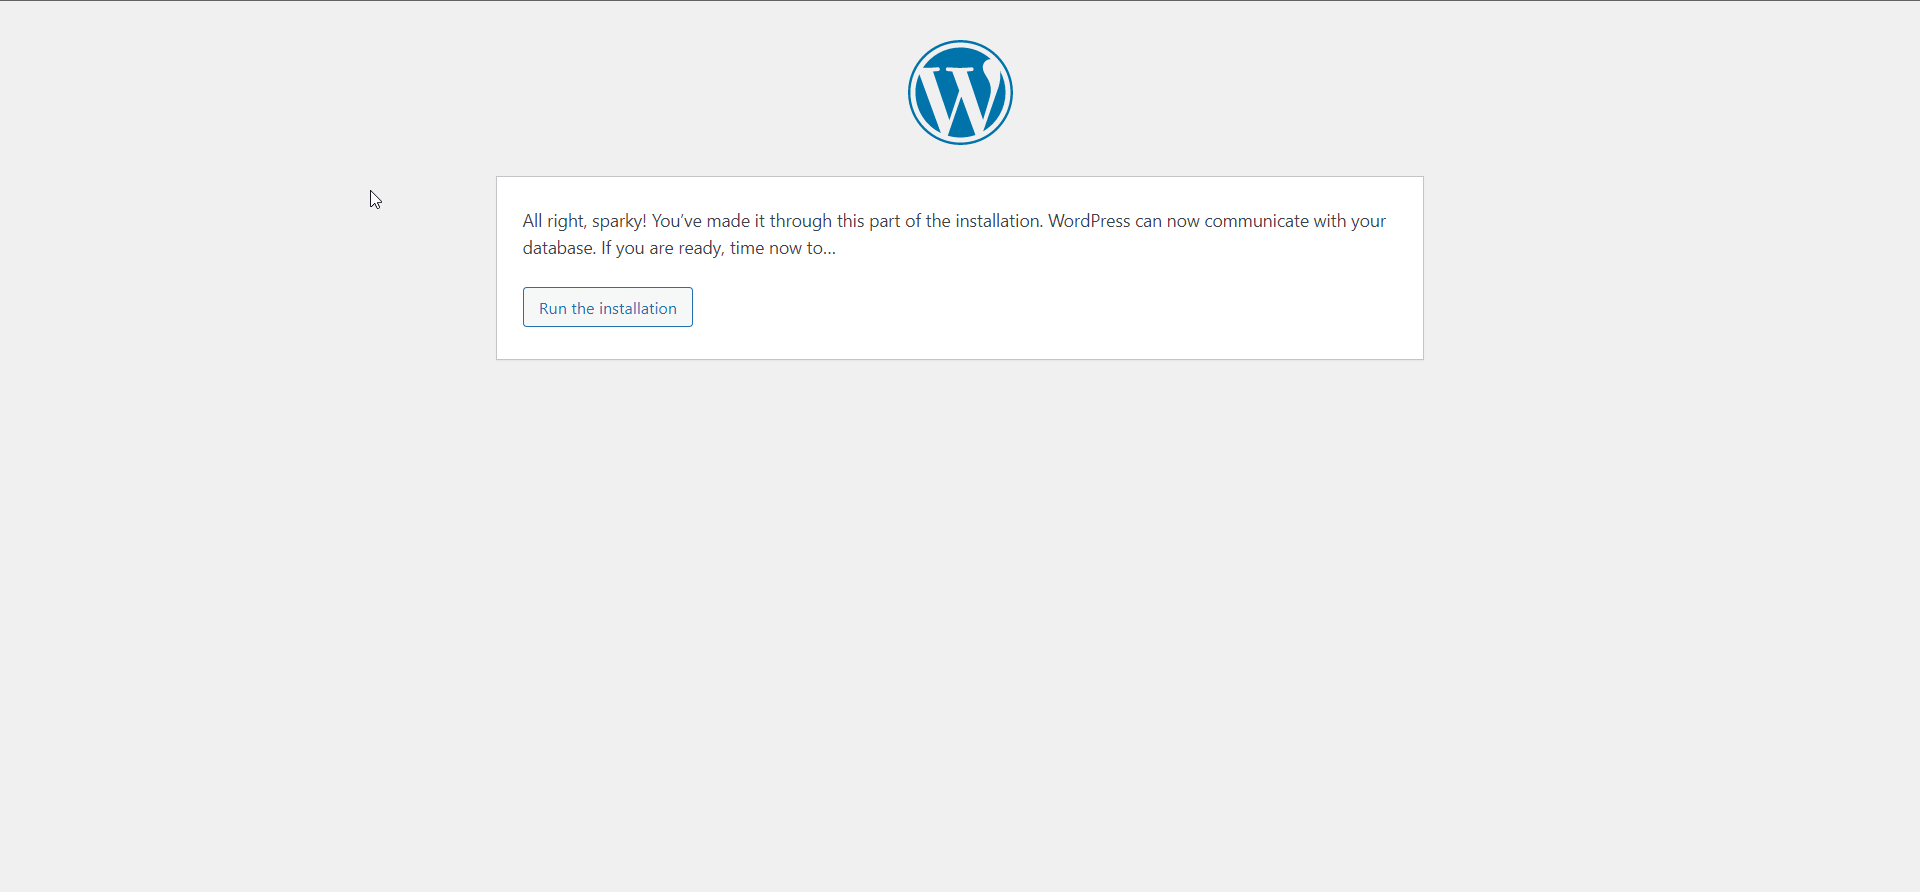
Start WordPress installation by clicking on the Run the installation button:
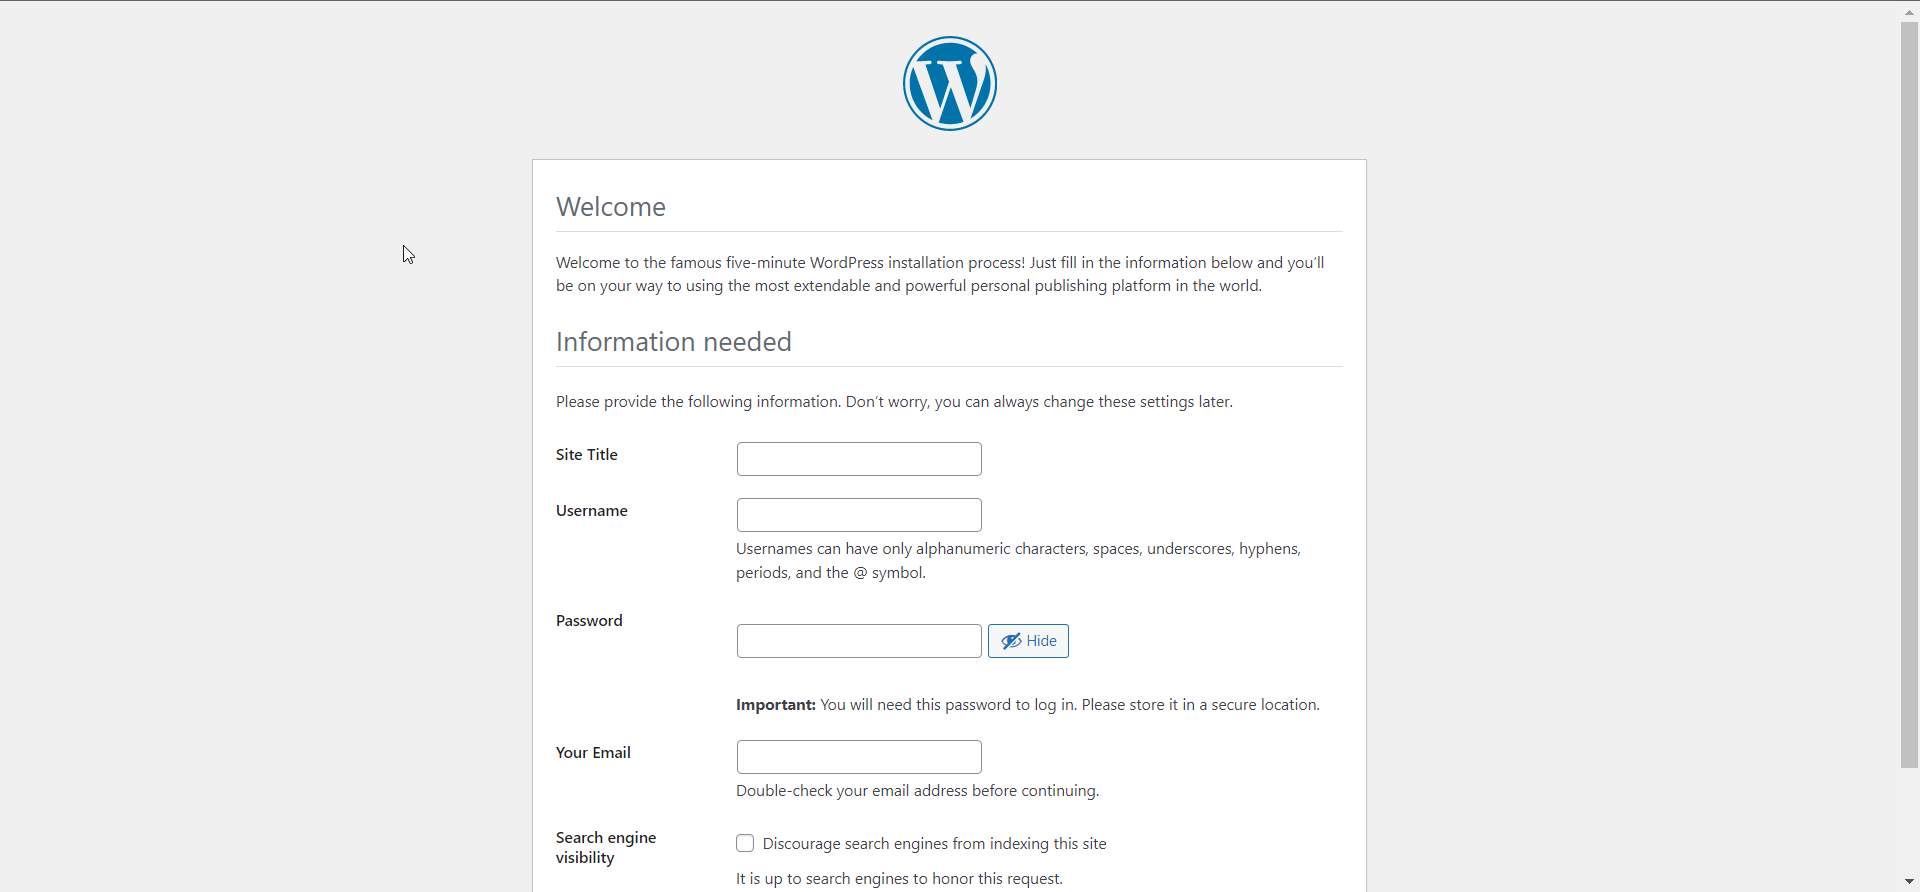
Provide the requested information
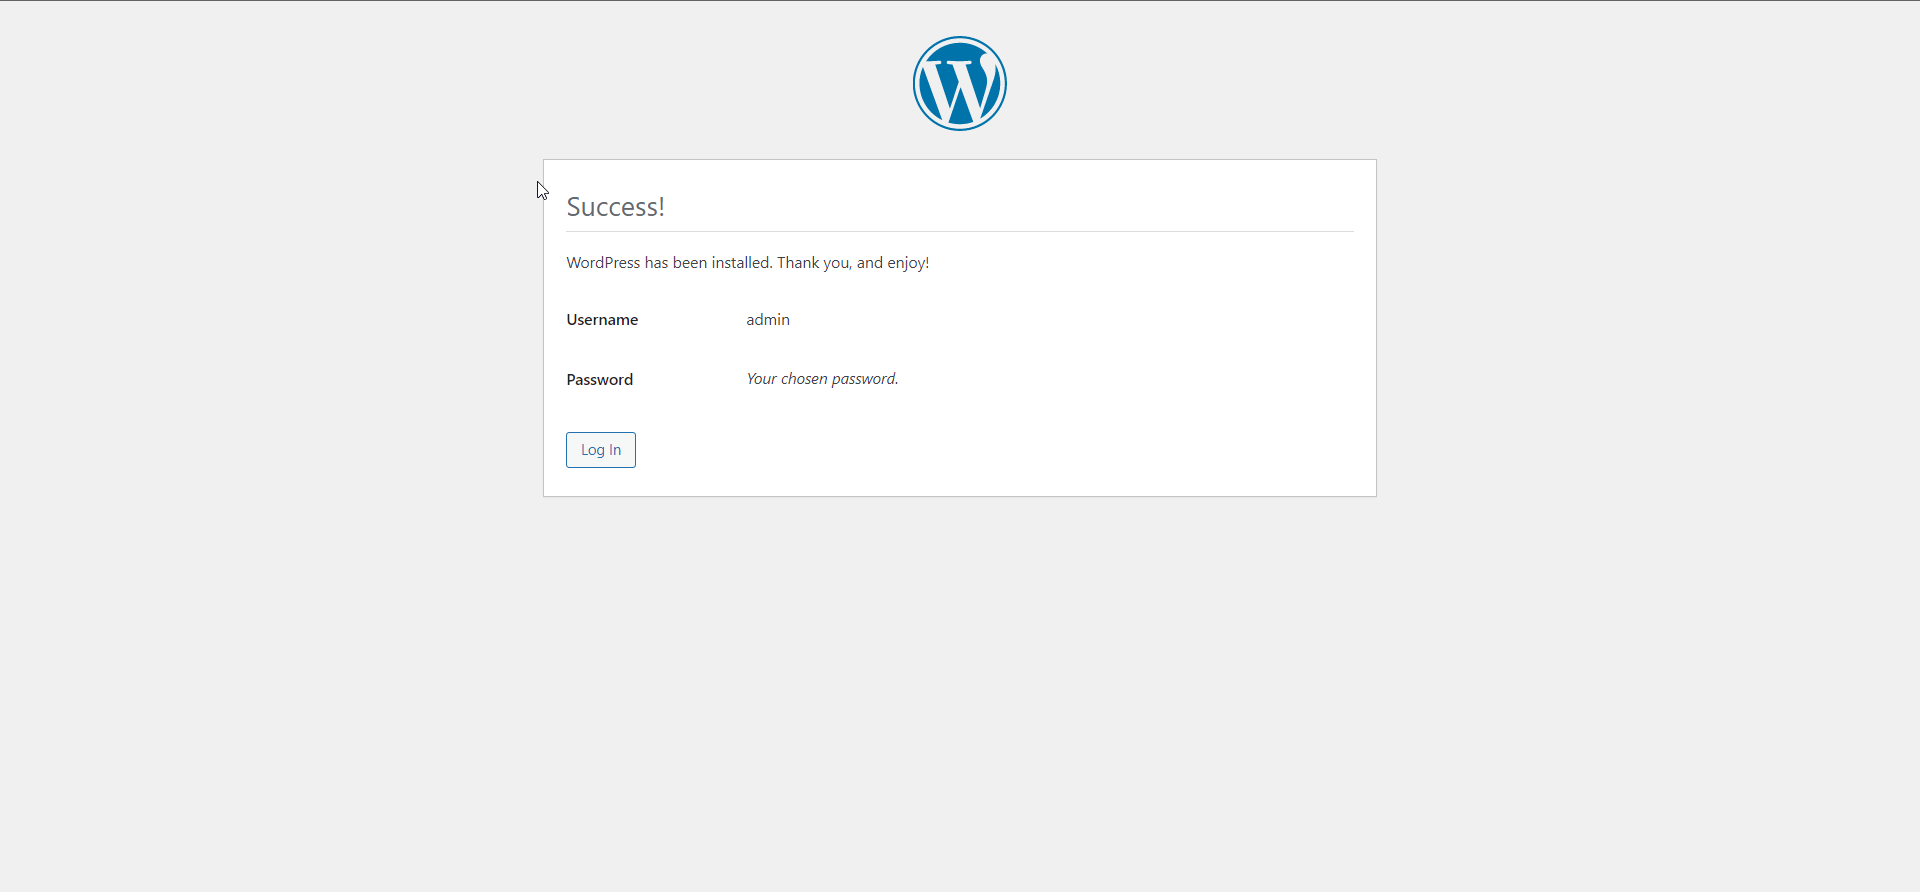
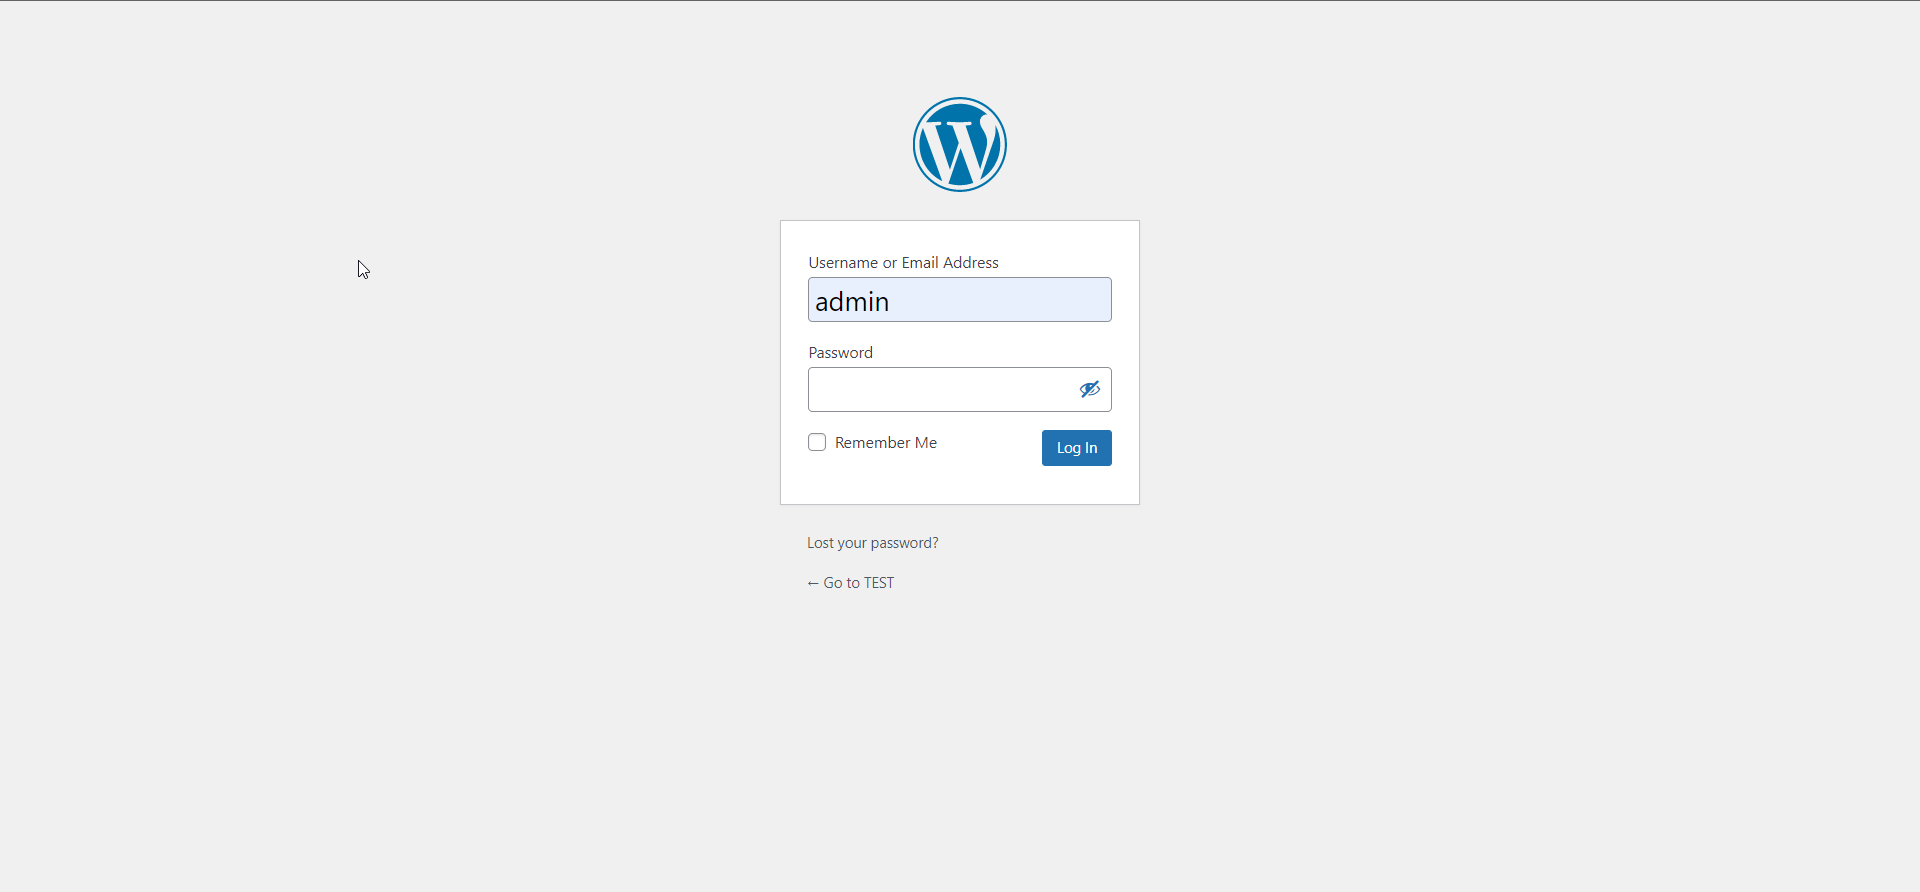
Once the wordpress is installed login with your new user credentials
CrownCloud - Get a SSD powered KVM VPS at $4.5/month!
Use the code WELCOME for 10% off!
1 GB RAM / 25 GB SSD / 1 CPU Core / 1 TB Bandwidth per month
Available Locations: LAX | MIA | ATL | FRA | AMS