Step-by-Step Guide to Installing Nginx UI on Debian 11
Nginx UI is a web-based graphical user interface (GUI) designed to simplify the management of Nginx servers. Instead of manually editing configuration files, administrators can use the UI to manage various aspects of Nginx, including virtual hosts, SSL certificates, and reverse proxy settings, through an intuitive and user-friendly interface.
Features of Nginx UI
- Configuration Management:
- Create, edit, or delete server blocks (virtual hosts).
- Manage SSL/TLS certificates for secure connections.
- Configure reverse proxies for backend servers.
- Monitoring and Logging:
- View server status and performance metrics.
- Access and analyze error and access logs.
- Web Interface:
- User-friendly, web-based interface for managing Nginx.
- No need for manual configuration file edits or complex commands.
- Security:
- Password-protected access to the UI.
- HTTPS support for a secure management interface.
Uses of Nginx UI
- Ease of Use: Eliminates the need for manual editing of configuration files.
- Time-Saving: Simplifies repetitive tasks like creating virtual hosts or managing certificates.
- Centralized Management: Manage all Nginx configurations from a single interface.
- Web Hosting: Easily manage multiple websites and their configurations.
- Reverse Proxy Management: Configure Nginx as a reverse proxy for backend servers.
- SSL/TLS Management: Quickly add or renew SSL certificates for your domains.
Installation
Step 1: Update the System
Before installation, update your system packages:
apt update && apt upgrade -yStep 2: Install Nginx UI
Run the following command to download and install Nginx UI:
bash <(curl -L -s https://raw.githubusercontent.com/0xJacky/nginx-ui/master/install.sh) installMake sure to securely store the URL, and port, as you will need these details to access the panel.
Access the Nginx UI
Open your browser and navigate to the URL (e.g., http://your-server-ip:9000).
http://your-server-ip:9000Note: Replace
your_server_ipwith your actual server IP address andportprovided during installation.
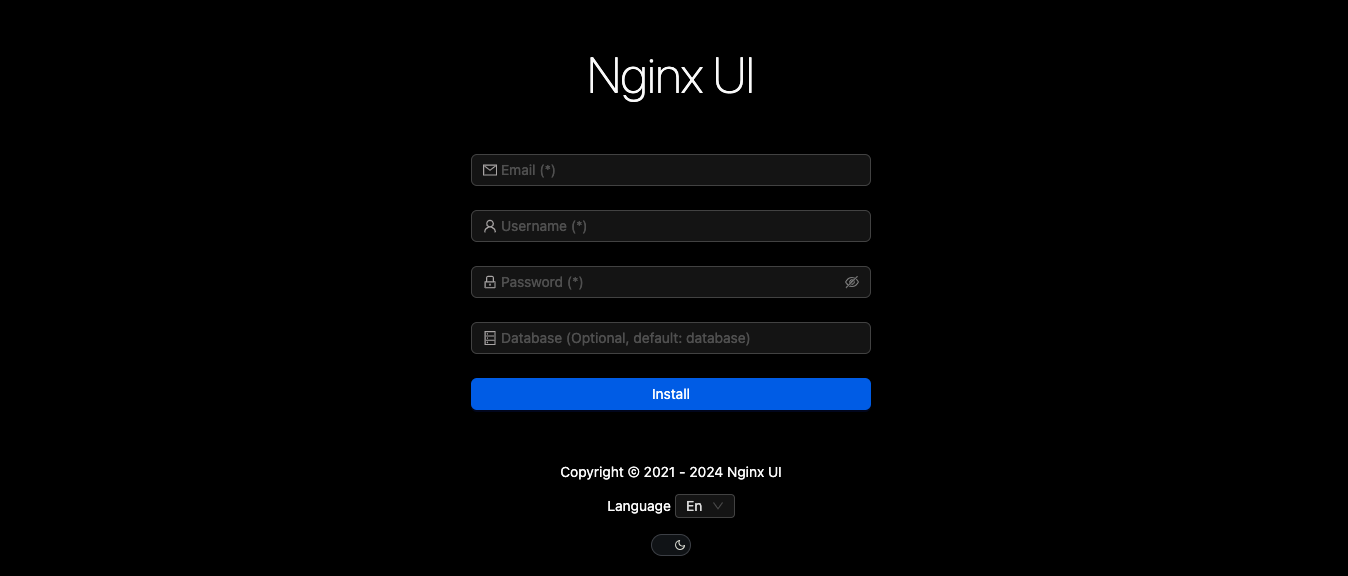
You will now see the Nginx UI installation page. Enter your email address, username, and password in the required fields, then click on Install to proceed.
After this, you will be prompted to log in. Use the same login details you just entered during the previous step.
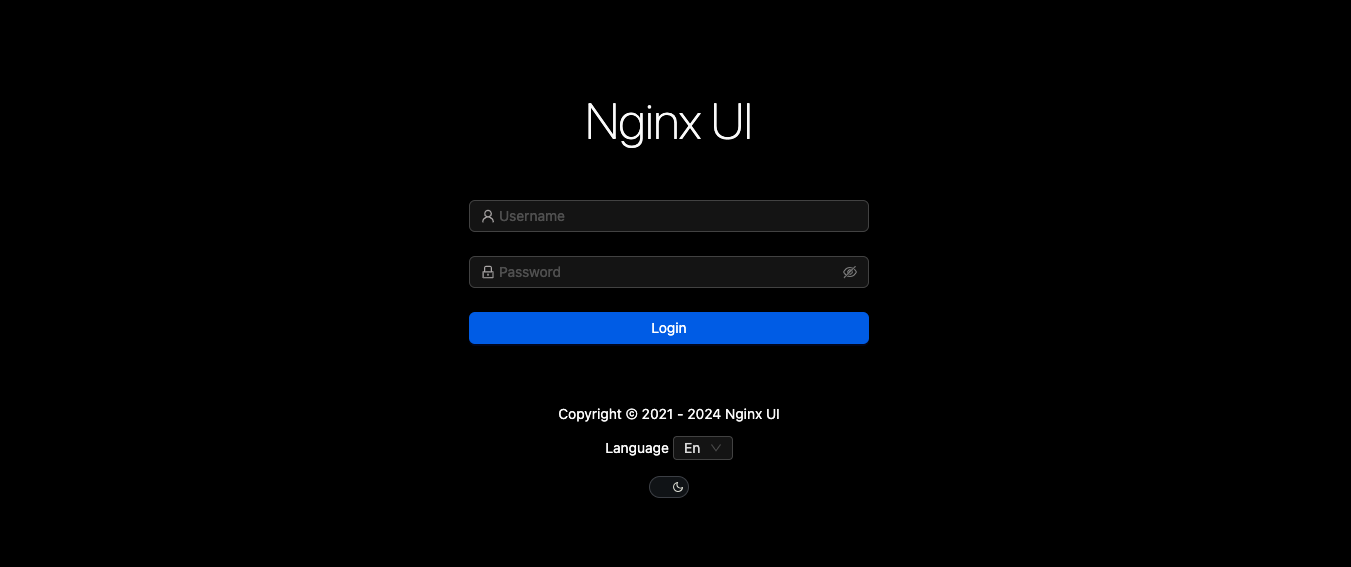
Click on Login, and you will be redirected to the Nginx UI dashboard, where you can manage and configure your server.
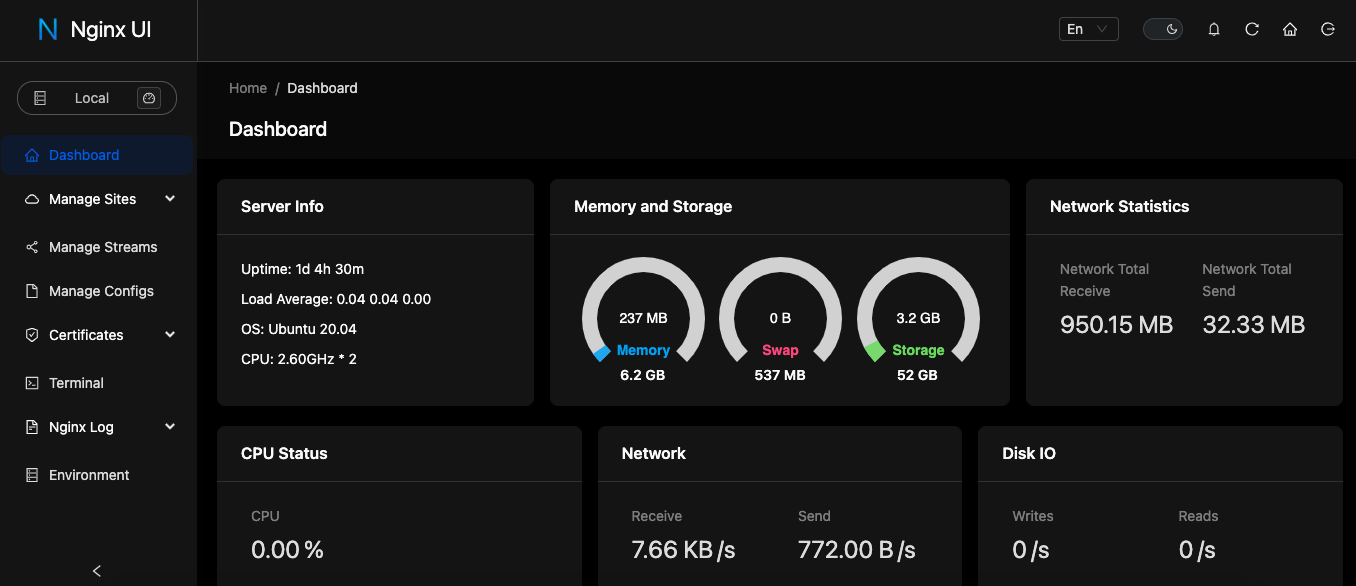
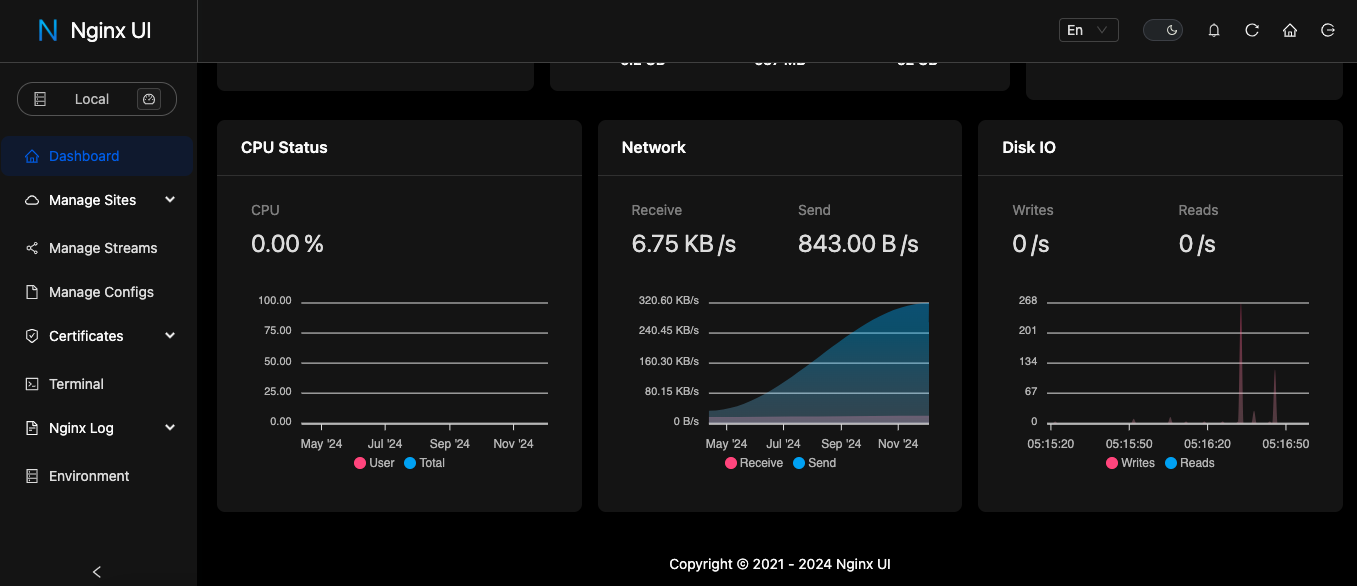
With the Nginx UI successfully set up, you can now effortlessly manage your Nginx configurations and server settings through a user-friendly interface.
CrownCloud - Get a SSD powered KVM VPS at $4.5/month!
Use the code WELCOME for 10% off!
1 GB RAM / 25 GB SSD / 1 CPU Core / 1 TB Bandwidth per month
Available Locations: LAX | MIA | ATL | FRA | AMS