Enabling VirtIO on Windows 2008 On CrownPanel
Enabling VirtIO makes your Windows VPS run much faster as well as allows much faster disk operations on your Windows VPS vs running on an IDE based disk driver. Enabling VirtIO is pretty easy and it is best to enable VirtIO when installing the OS onto the VPS itself.
First, Turn off the VPS by clicking on the Power Control -> Shutdown button
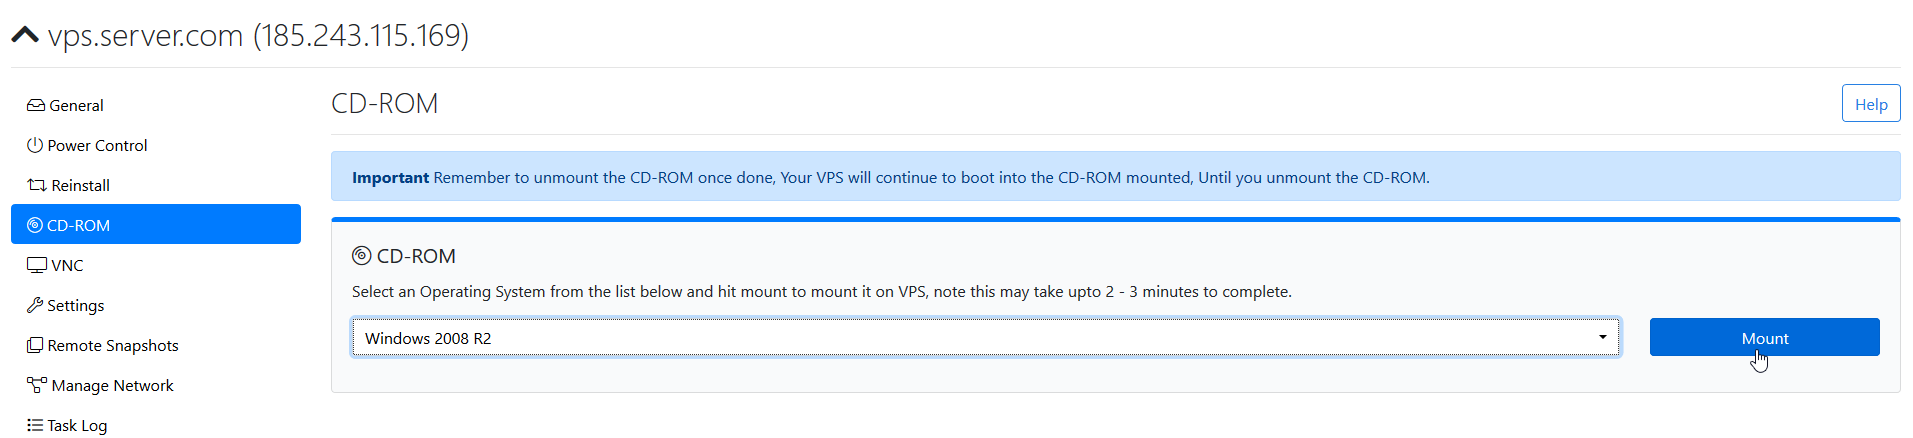
Next, Select the Windows 2008 ISO from the ISO list.
Click on Power Control, now start up your VPS.

Click on “VNC” to continue your install

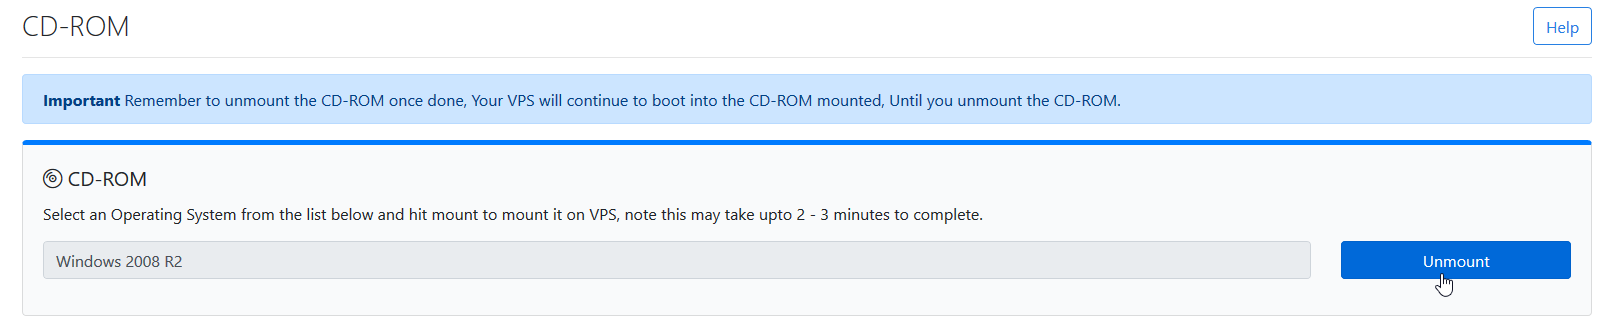
After that, Click on CD-ROM tab and then click on “Unmount”
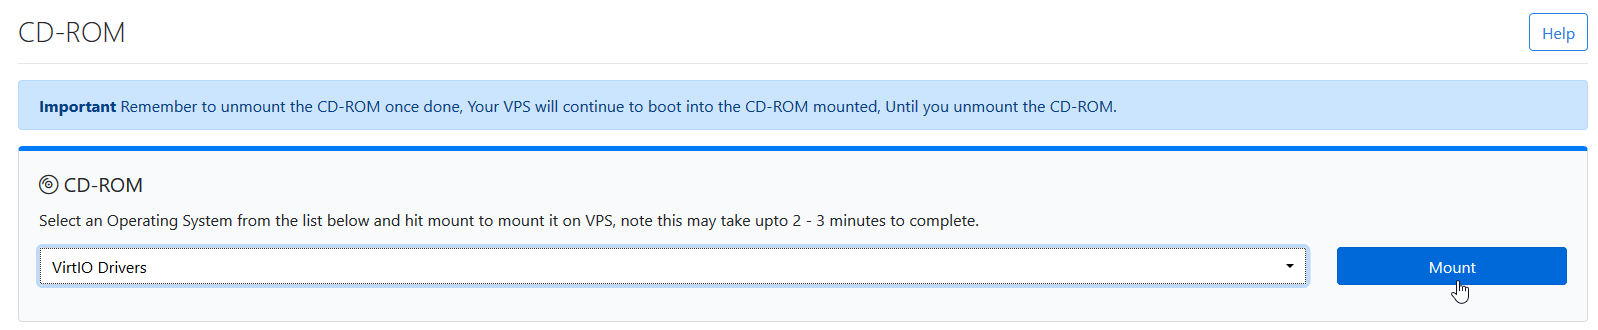
Next, Mount Virtio ISO
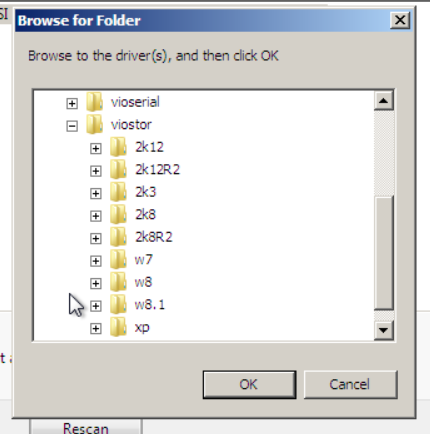
Next, Set the language etc come to the screen where it asks you to select the disk partitions, you'll get a message saying “No disk partitions found” or similar, click on “Load Drivers” Then, Click on Browse
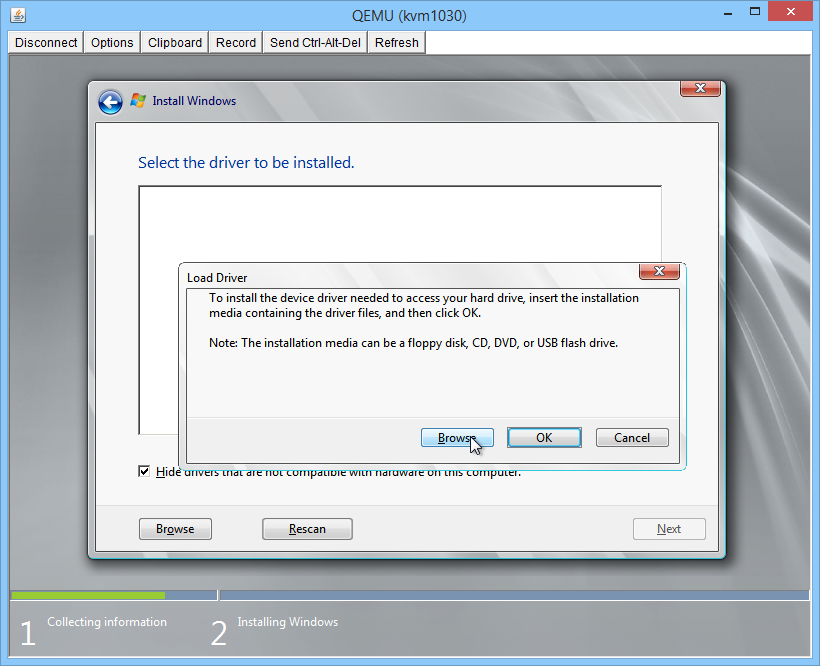
After that, Select the following folderdrivers for windows 2008 and 2012 can be found under the winstor folder of the VirtIO Drivers disk
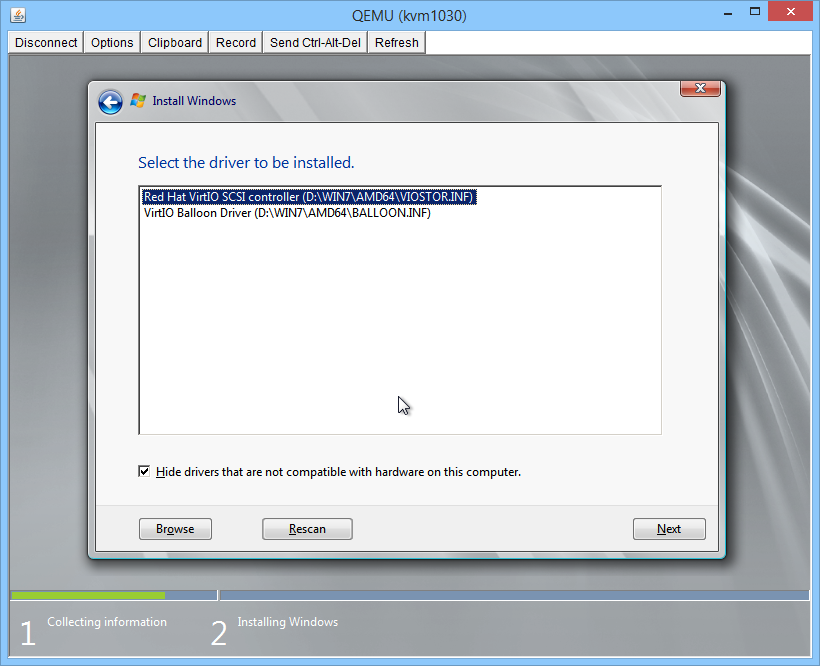
Now, You'll get a screen like this, Select the 1st one “RedHat .. Controller” and click “Next”
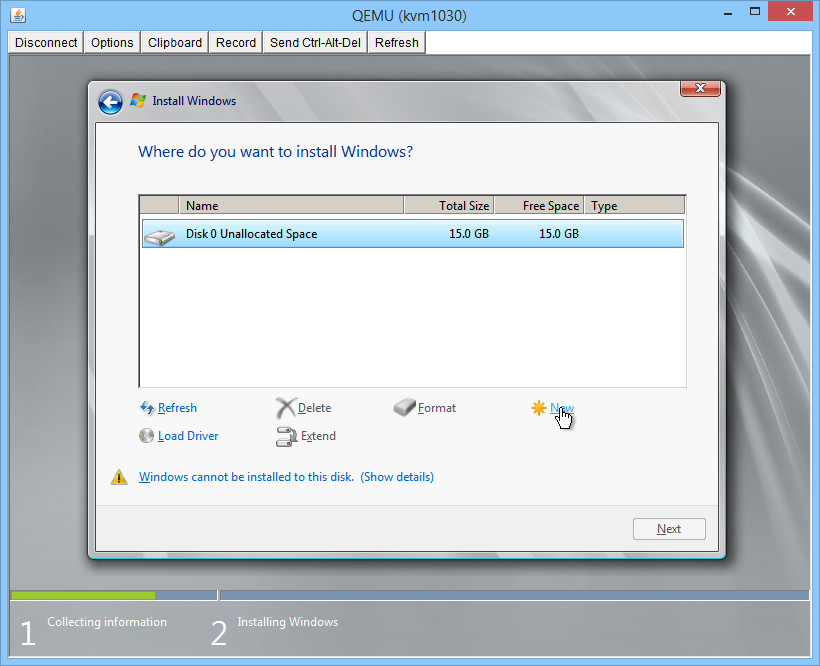
Select the partition and then, click on “Disk tools/Advanced” (last button on the right hand side) and then Click on “New”
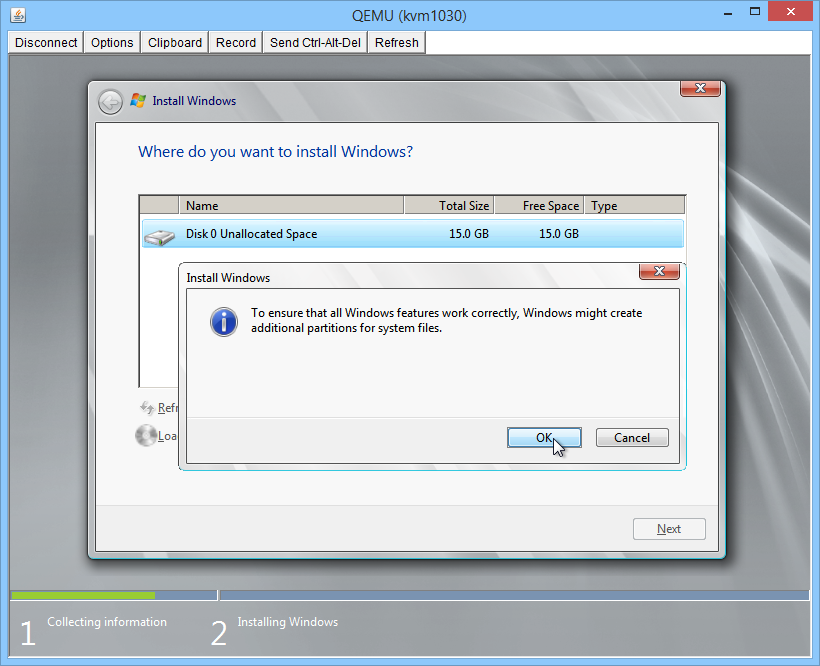
Click on “Ok”
!! IMPORTANT !! Go back to the control panel, Click on CD-ROM tab and then click on “Unmount”
Select the Windows 2008 ISO from the ISO list and re-mount.
Finally, Click on “Refresh”
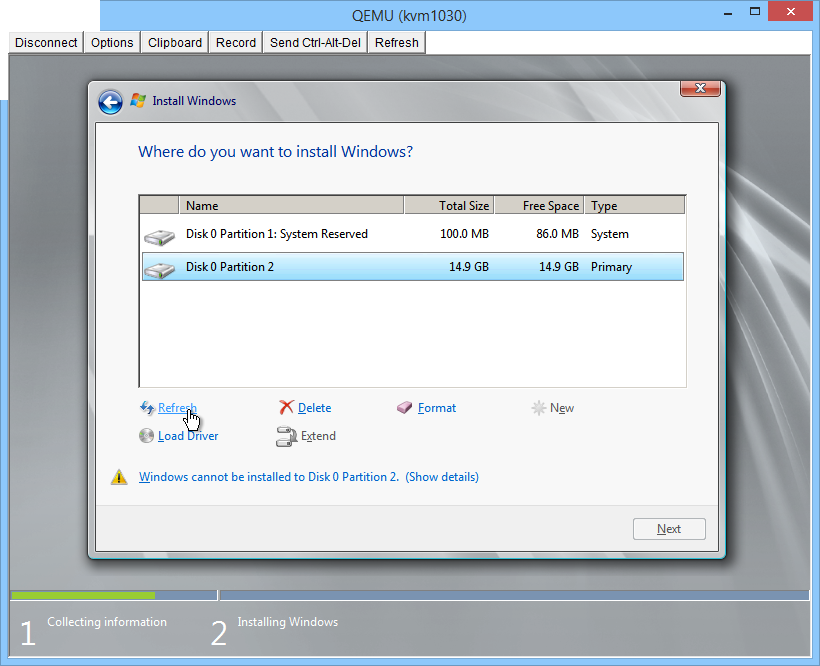
And Done! You can now continue the install by clicking on “Next”!

CrownCloud - Get a SSD powered KVM VPS at $4.5/month!
Use the code WELCOME for 10% off!
1 GB RAM / 25 GB SSD / 1 CPU Core / 1 TB Bandwidth per month
Available Locations: LAX | MIA | ATL | FRA | AMS