How To Install HestiaCP on Ubuntu 18.04
- First log in to your server using the SSH and download the installer file using the following command
wget https://raw.githubusercontent.com/hestiacp/hestiacp/release/install/hst-install.sh -
Now run the following command to start the installation process.
bash hst-install.sh -
On the first step of installation,it asks for for remove conflicting packages. Enter the
ykey here and hit enter button.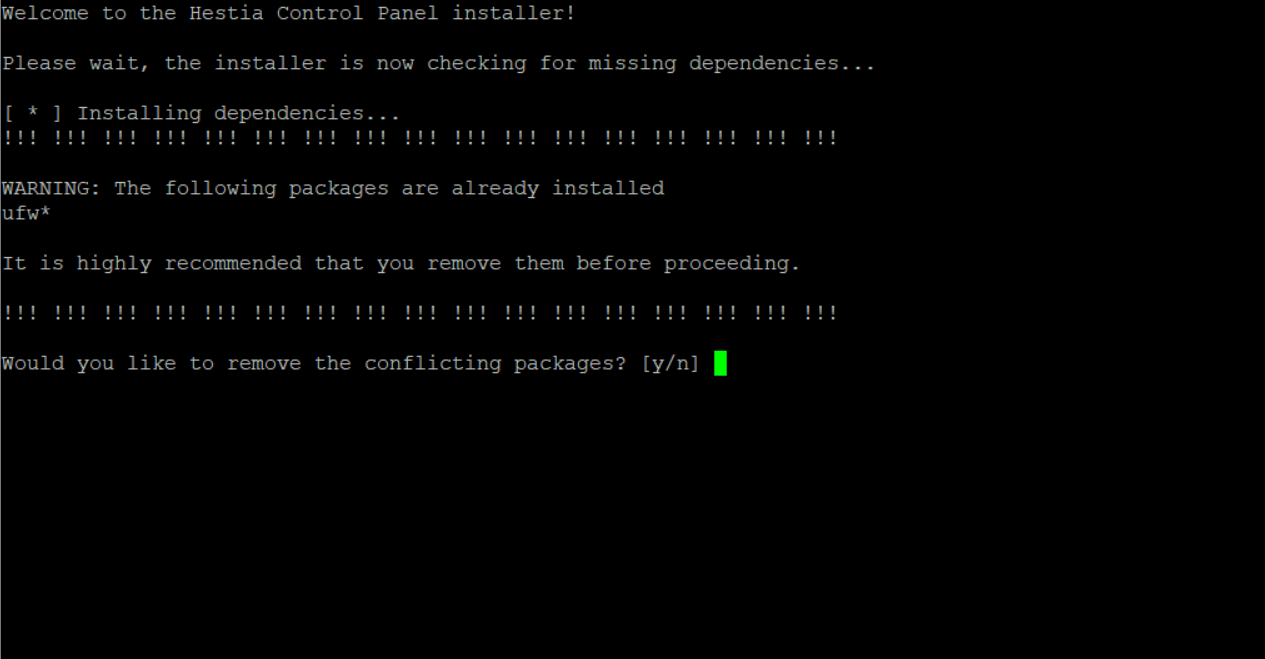
-
To continue with the installation process, enter y and hit enter button.
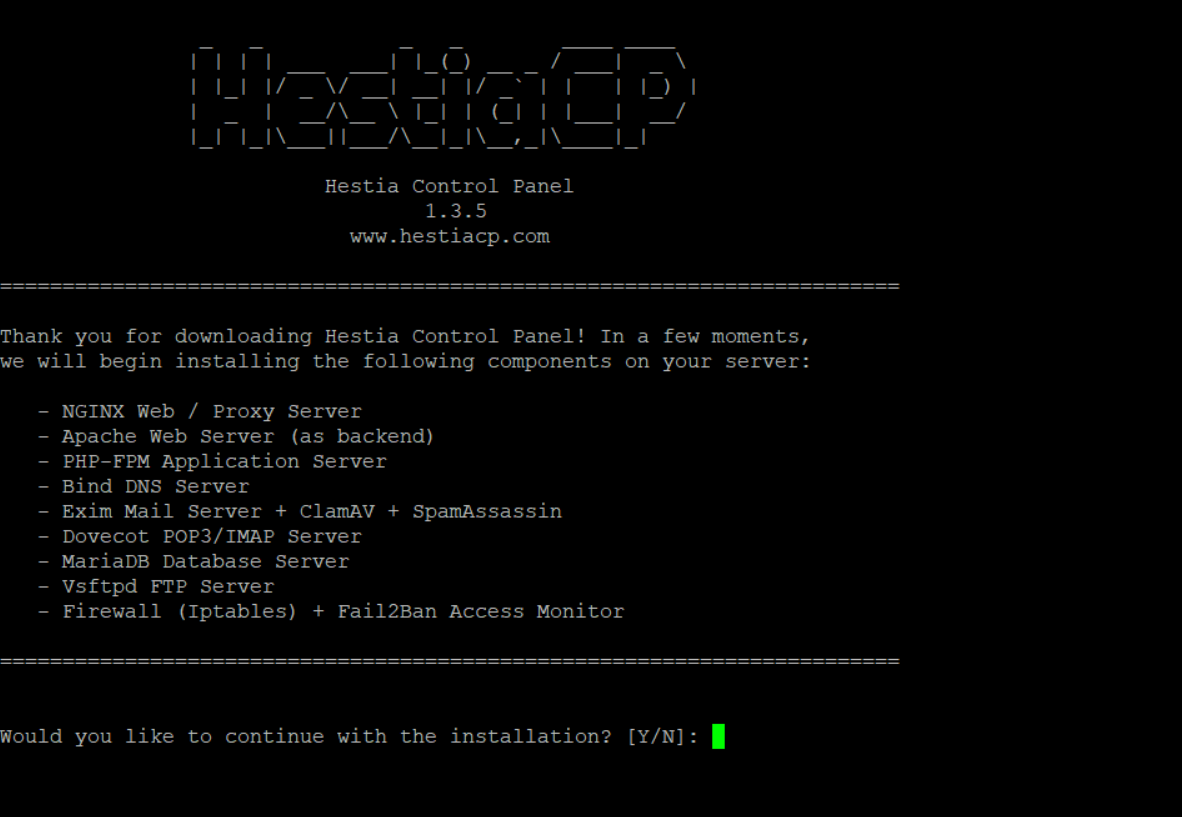
-
On the next step, enter the admin email address.

-
Now you need to add the FQDN for your server.
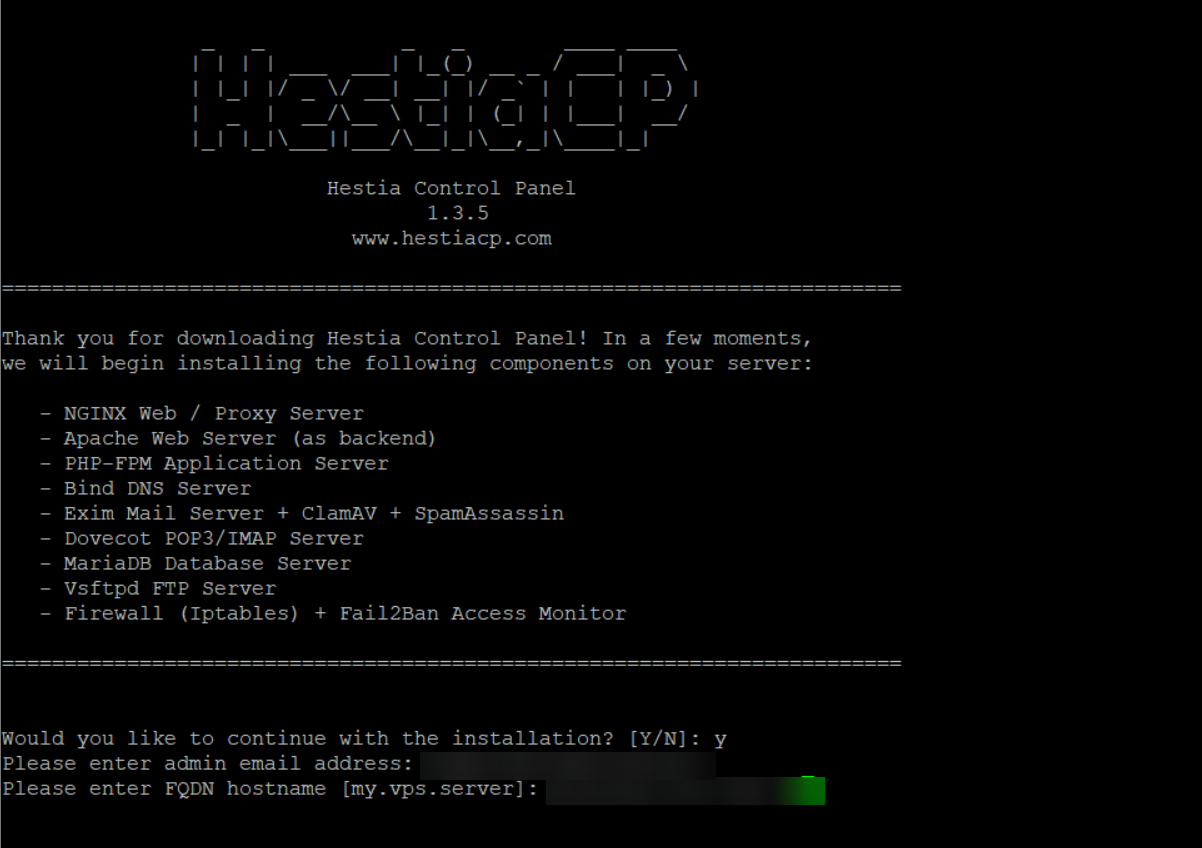
-
Installation process may take around 10 - 15 minutes to complete.
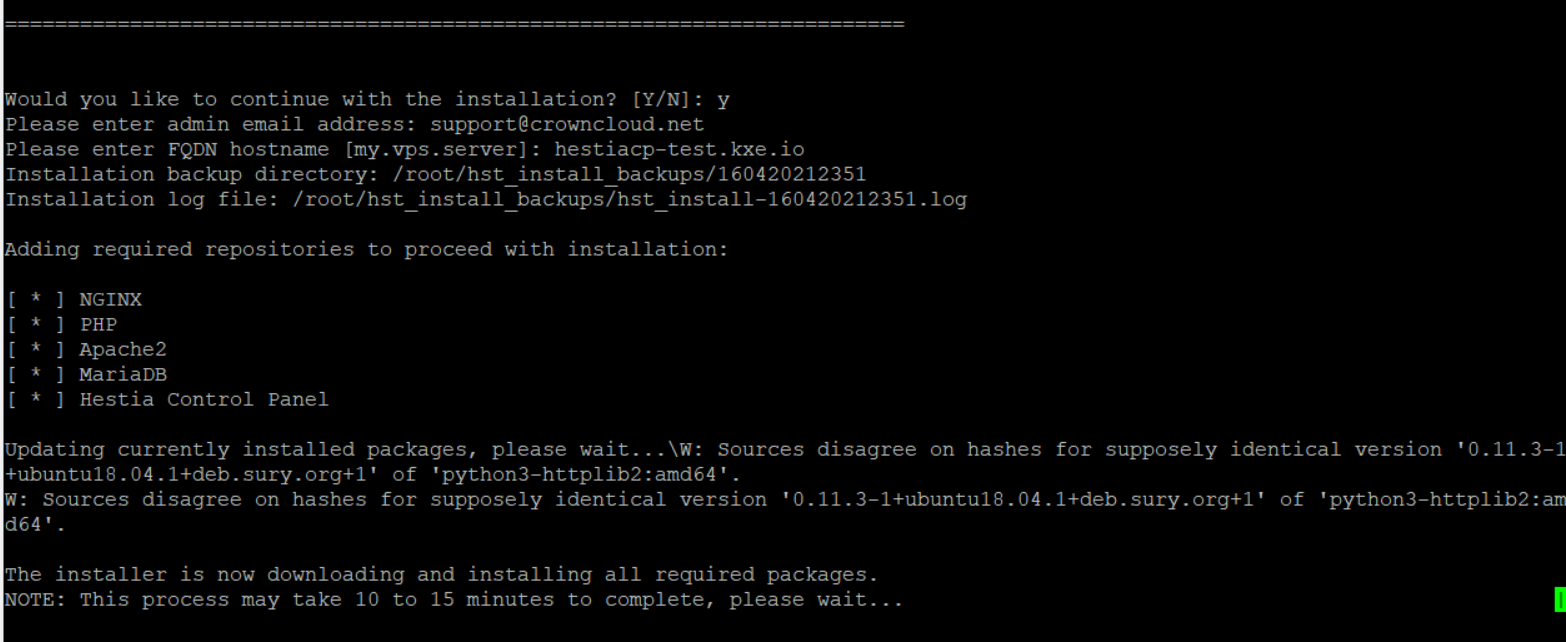
-
Once the installation process completed, it will show detail information about the HestiaCP panel. You have to take the credentials of HestiaCP from here. Now you need to reboot the server. Enter the y to reboot the server.

-
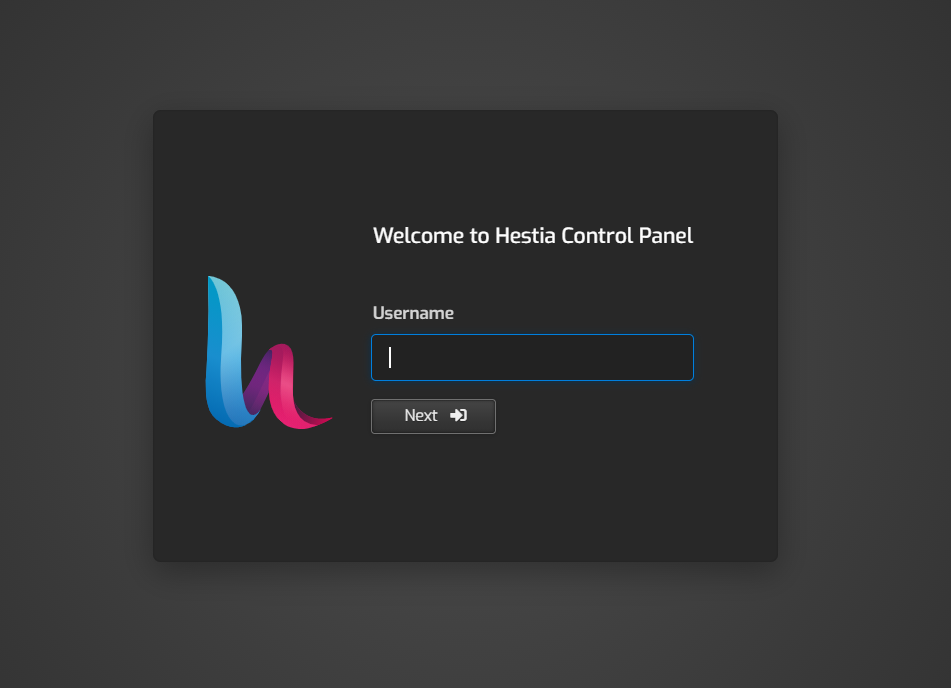
Login to the HestiaCP panel using the URL -
https://<FQDN>:8083 -
Now enter the username.
-
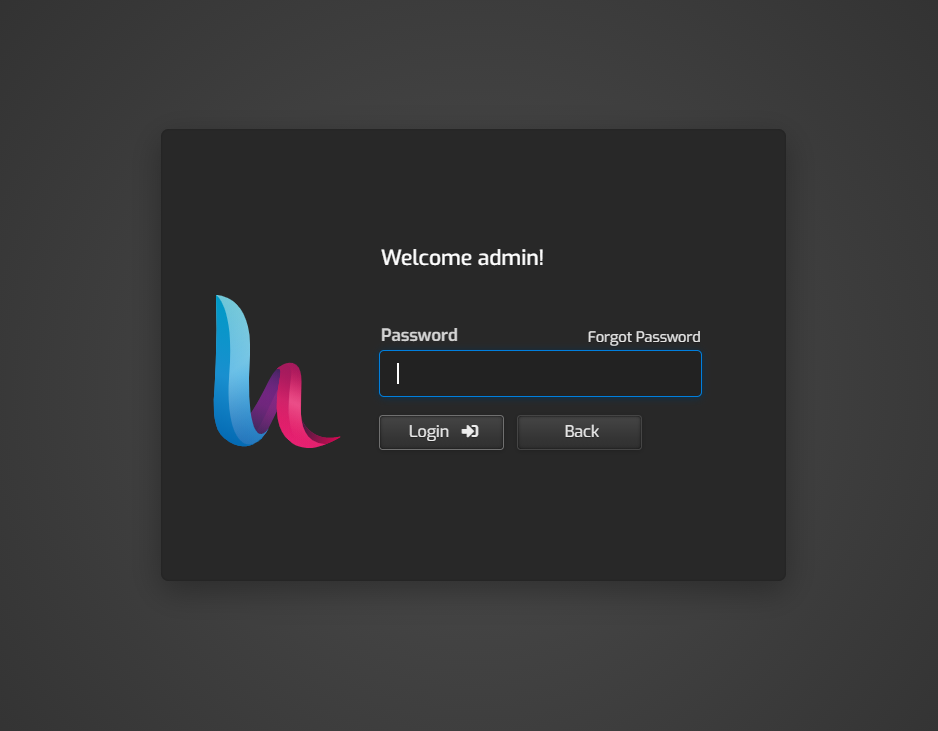
On the next window, enter the password.
-
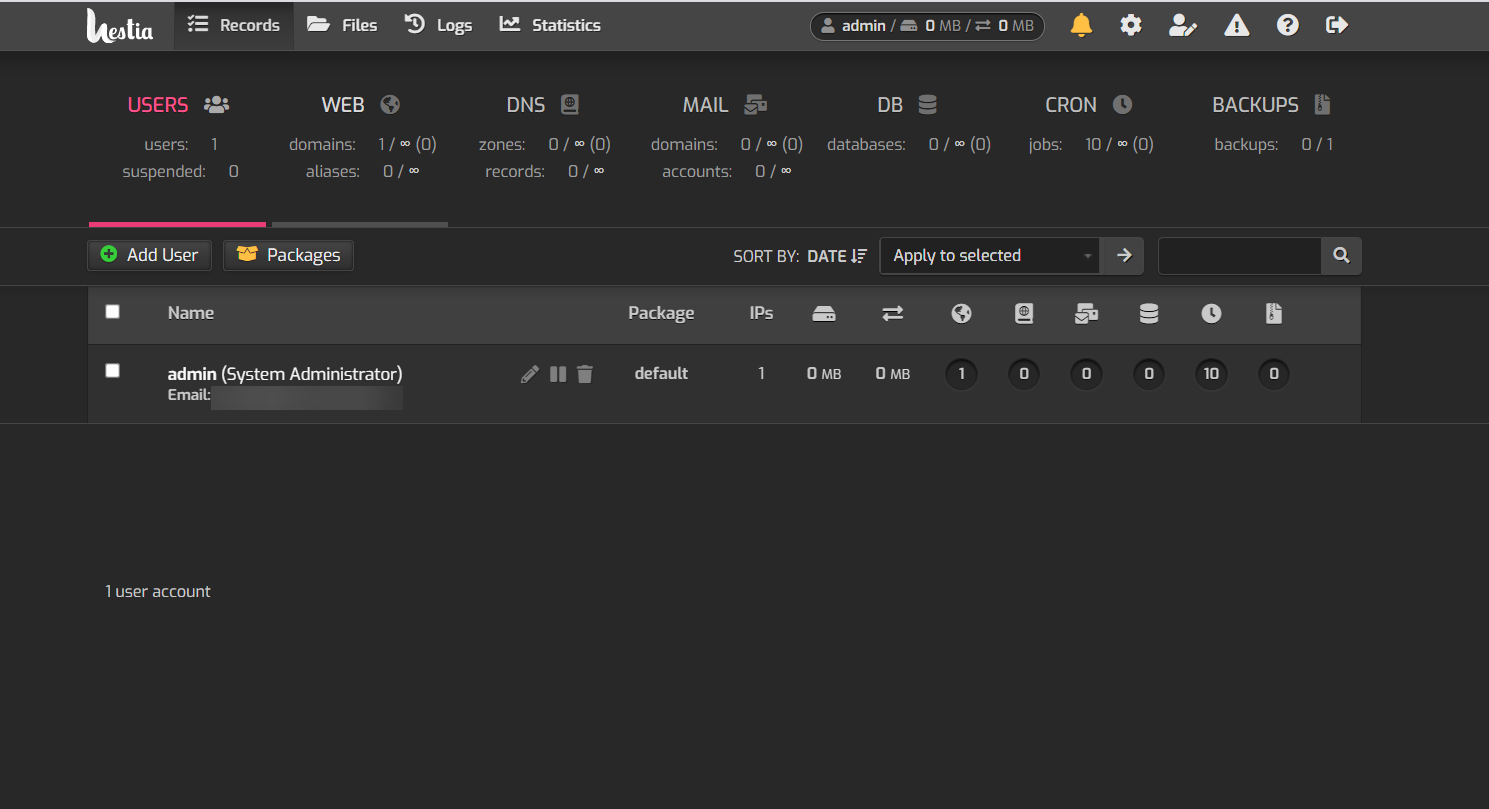
Now you will see HestiaCP dashboard.
CrownCloud - Get a SSD powered KVM VPS at $4.5/month!
Use the code WELCOME for 10% off!
1 GB RAM / 25 GB SSD / 1 CPU Core / 1 TB Bandwidth per month
Available Locations: LAX | MIA | ATL | FRA | AMS