How to Install Nagios Core Rocky Linux 8
Nagios Core, formerly known as Nagios, is a free and open-source computer-software application that monitors systems, networks and infrastructure. Nagios offers monitoring and alerting services for servers, switches, applications and services. It alerts users when things go wrong and alert them a second time when the problem has been resolved.
Install Required Dependencies
Before installing Nagios core, we need to install some required libraries to work Nagios Core properly.
yum install -y httpd httpd-tools php gcc glibc glibc-common gd gd-devel make net-snmpNow create Nagios User and Group for it.
useradd nagios
groupadd nagcmd
Next, add both nagios and apache user to the nagcmd group.
usermod -G nagcmd nagios
usermod -G nagcmd apache
Download Nagios Core and Nagios Plugin
Create a directory to install Nagios using the following command.
mkdir /root/nagios && cd /root/nagiosDownload the Nagios and Nagios plugins using these two commands.
wget https://assets.nagios.com/downloads/nagioscore/releases/nagios-4.4.6.tar.gz
wget https://nagios-plugins.org/download/nagios-plugins-2.2.1.tar.gz
Then extract Nagios and its Plugins.
tar -xvf nagios-4.4.6.tar.gz
tar -xvf nagios-plugins-2.2.1.tar.gz
Configure Nagios
To run the Nagios configuration file, change the current directory to nagios-4.4.6.
cd nagios-4.4.6/And then run Nagios Configure file.
./configure --with-command-group=nagcmdOutput:
*** Configuration summary for nagios 4.4.6 2020-04-28 ***:

 General Options:
 -------------------------
        Nagios executable:  nagios
        Nagios user/group:  nagios,nagios
       Command user/group:  nagios,nagcmd
             Event Broker:  yes
        Install ${prefix}:  /usr/local/nagios
    Install ${includedir}:  /usr/local/nagios/include/nagios
                Lock file:  /run/nagios.lock
   Check result directory:  /usr/local/nagios/var/spool/checkresults
           Init directory:  /lib/systemd/system
  Apache conf.d directory:  /etc/httpd/conf.d
             Mail program:  /bin/mail
                  Host OS:  linux-gnu
          IOBroker Method:  epoll

 Web Interface Options:
 ------------------------
                 HTML URL:  http://localhost/nagios/
                  CGI URL:  http://localhost/nagios/cgi-bin/
 Traceroute (used by WAP):

Review the options above for accuracy.  If they look okay,
type 'make all' to compile the main program and CGIs.
After configuring, compile and install required libraries using make command
make all
make install
Output:
*** Compile finished ***

If the main program and CGIs compiled without any errors, you
can continue with testing or installing Nagios as follows (type
'make' without any arguments for a list of all possible options):
  make test
     - This runs the test suite

  make install
     - This installs the main program, CGIs, and HTML files

  make install-init
     - This installs the init script in /lib/systemd/system

  make install-daemoninit
     - This will initialize the init script
       in /lib/systemd/system

make install-groups-users
     - This adds the users and groups if they do not exist

  make install-commandmode

    - This installs and configures permissions on the
       directory for holding the external command file

  make install-config
     - This installs *SAMPLE* config files in /usr/local/nagios/etc
       You'll have to modify these sample files before you can
       use Nagios.  Read the HTML documentation for more info
       on doing this.  Pay particular attention to the docs on
       object configuration files, as they determine what/how
       things get monitored!

  make install-webconf
     - This installs the Apache config file for the Nagios
       web interface

  make install-exfoliation
     - This installs the Exfoliation theme for the Nagios
       web interface

  make install-classicui
     - This installs the classic theme for the Nagios
       web interface

.
.
.
In above output we can see it listed some libraries to install we can install those using the make install command
for eg,
make install-init
make install-commandmode
make install-config
If you want to configure the Email alert, then proceed with the following steps. To configure the Email alert open this file /usr/local/nagios/etc/objects/contacts.cfg
vi /usr/local/nagios/etc/objects/contacts.cfgNOTE: Replace your Email ID in place of Your Email Address Here
###############################################################################
#
# CONTACTS
#
###############################################################################

# Just one contact defined by default - the Nagios admin (that's you)
# This contact definition inherits a lot of default values from the
# 'generic-contact' template which is defined elsewhere.

define contact {
    contact_name            nagiosadmin             ; Short name of user
    use                     generic-contact         ; Inherit default values from generic-contact template (defined above)
    alias                   Nagios Admin            ; Full name of user
    email                   Your Email Address Here ; <<***** CHANGE THIS TO YOUR EMAIL ADDRESS ******
}
Install and Configure Web Interface for Nagios
Run the following command to install Web Interface for Nagios.
make install-webconfSet a password for the Web interface.
htpasswd -s -c /usr/local/nagios/etc/htpasswd.users nagiosadminOnce you setup the password, restart Apache service.
systemctl start httpd.serviceNow open the port 80 in firewall
firewall-cmd --zone=public --add-port=80/tcp --permanent
firewall-cmd --reload
Compile and Install Nagios Plugin libreires
To install the Nagios Plugin, change the current directory to Nagios Plugin directory.
cd /root/nagios/nagios-plugins-2.2.1/And run Nagios Plugin configuration file
./configure --with-nagios-user=nagios --with-nagios-group=nagiosNext, compile and install required libreires
make all
make install
Command to verify Nagios Configuration Files
/usr/local/nagios/bin/nagios -v /usr/local/nagios/etc/nagios.cfgOutput:
Nagios Core 4.4.6
Copyright (c) 2009-present Nagios Core Development Team and Community Contributors
Copyright (c) 1999-2009 Ethan Galstad
Last Modified: 2020-04-28
License: GPL

Website: https://www.nagios.org
Reading configuration data...
   Read main config file okay...
   Read object config files okay...

Running pre-flight check on configuration data...

Checking objects...
        Checked 8 services.
        Checked 1 hosts.
        Checked 1 host groups.
        Checked 0 service groups.
        Checked 1 contacts.
        Checked 1 contact groups.
        Checked 24 commands.
        Checked 5 time periods.
        Checked 0 host escalations.
        Checked 0 service escalations.
Checking for circular paths...
        Checked 1 hosts
        Checked 0 service dependencies
        Checked 0 host dependencies
        Checked 5 timeperiods
Checking global event handlers...
Checking obsessive compulsive processor commands...
Checking misc settings...

Total Warnings: 0
Total Errors:   0

Things look okay - No serious problems were detected during the pre-flight check
Enable Nagios Services
systemctl enable nagios
systemctl enable httpd
Login to the Nagios Web Interface
Open a Web browser and enter the following URL to login Nagios Web Interface
NOTE: Replace with your IP address or Fully qualified domain name in place of Your-Server-IP-Address FQDN
http://Your-Server-IP-address/nagios NOTE: Use nagiosadmin as default username and password which you have set while installing Nagios.
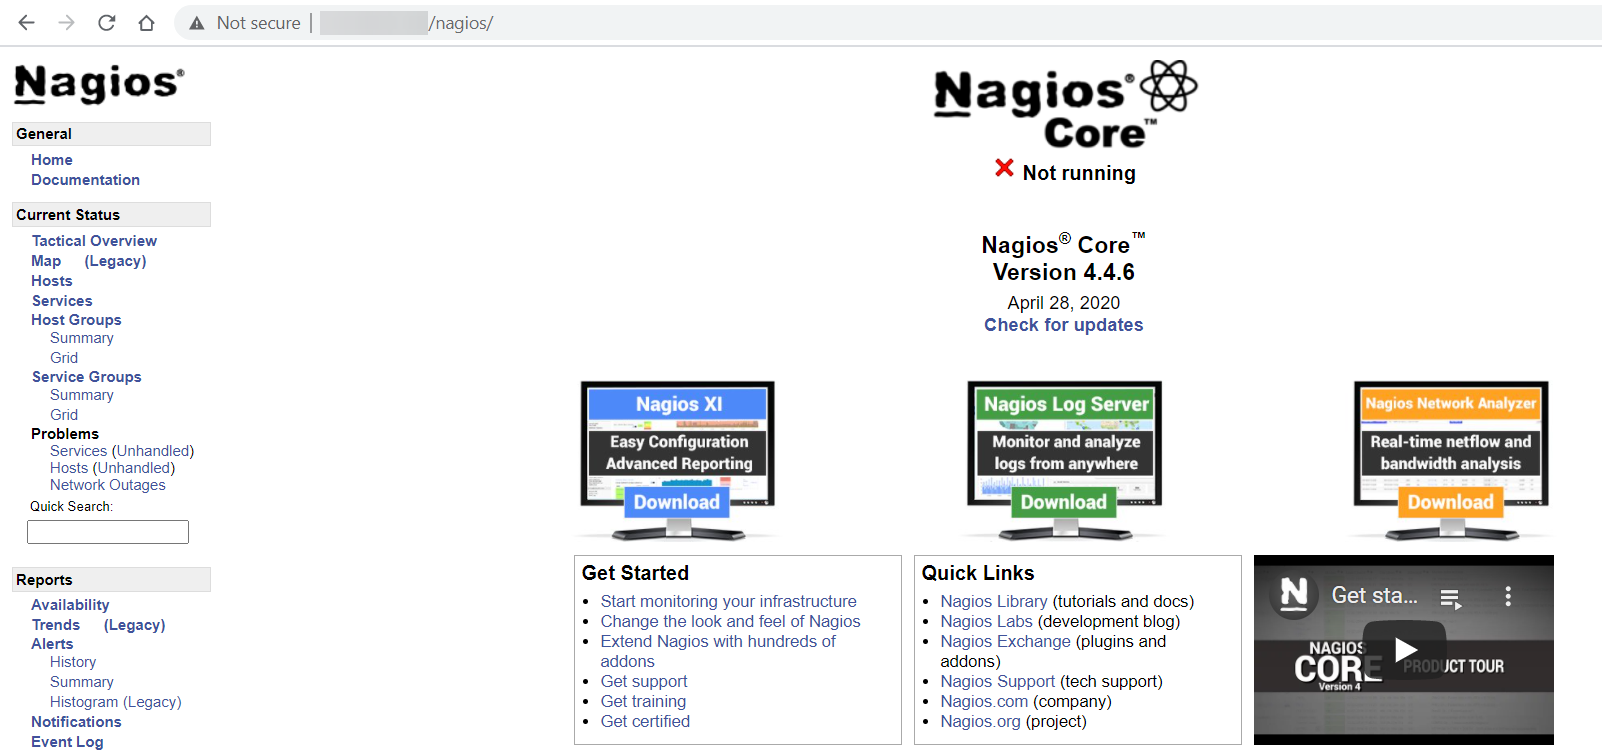
Nagios Web Dashboard
This concludes our topic of How to Install Nagios Core on Rocky Linux 8.
If you can not configure and face technical difficulties, kindly reach out to us via Support Ticket.
CrownCloud - Get a SSD powered KVM VPS at $4.5/month!
Use the code WELCOME for 10% off!
1 GB RAM / 25 GB SSD / 1 CPU Core / 1 TB Bandwidth per month
Available Locations: LAX | MIA | ATL | FRA | AMS