How to Install LAMP Stack on Debian 12
A LAMP stack is a group of open-source software that is typically installed together to enable a server to host dynamic websites and web apps. This term is actually an acronym which represents the Linux operating system, with the Apache web server. The site data is stored in a MariaDB database, and dynamic content is processed by PHP.
Update Debian 12
apt update && apt -y upgrade Install MariaDB Database Server
To get started with MariaDB installation, follow the below steps:
apt install -y mariadb-server mariadb-clientCheck the status of mariaDB database server
systemctl status mariadbOutput:
root@vps:~# systemctl status mariadb
● mariadb.service - MariaDB 10.11.3 database server
     Loaded: loaded (/lib/systemd/system/mariadb.service; enabled; preset: enabled)
     Active: active (running) since Mon 2023-06-12 22:47:03 UTC; 10s ago
       Docs: man:mariadbd(8)
             https://mariadb.com/kb/en/library/systemd/
   Main PID: 53736 (mariadbd)
     Status: "Taking your SQL requests now..."
      Tasks: 18 (limit: 4675)
     Memory: 192.1M
        CPU: 1.019s
     CGroup: /system.slice/mariadb.service
             └─53736 /usr/sbin/mariadbd
root@vps:~#
Run the command below to secure your database server,
mysql_secure_installationUsing the above command, you can do the following,
-
Set root password.
-
Remove anonymous users.
-
Disable remote login for root user.
- Remove test database and access to it.
You can log in as your root user and set up a regular user and a database.
mysql -u root -pOutput:
root@vps:~# mysql -u root -p
Enter password:
Welcome to the MariaDB monitor.  Commands end with ; or \g.
Your MariaDB connection id is 39
Server version: 10.11.3-MariaDB-1 Debian 12

Copyright (c) 2000, 2018, Oracle, MariaDB Corporation Ab and others.

Type 'help;' or '\h' for help. Type '\c' to clear the current input statement.

MariaDB [(none)]>
And to exit from the Database, just run the following:
EXIT Install Apache Web Server
Apache is one of the most commonly used web server. You can install by running the below command,
apt install -y apache2 apache2-utilsOutput:
root@vps:~# apt install -y apache2 apache2-utils
Reading package lists... Done
Building dependency tree... Done
Reading state information... Done
The following additional packages will be installed:
  apache2-bin apache2-data libapr1 libaprutil1 libaprutil1-dbd-sqlite3 libaprutil1-ldap libcurl4 liblua5.3-0 ssl-cert
Check apache build and version
apache2 -vOutput:
root@vps:~# apache2 -v
Server version: Apache/2.4.57 (Debian)
Server built:   2023-04-13T03:26:51
root@vps:~#
Check service status.
systemctl status apache2Output:
root@vps:~# systemctl status apache2
● apache2.service - The Apache HTTP Server
     Loaded: loaded (/lib/systemd/system/apache2.service; enabled; preset: enabled)
     Active: active (running) since Mon 2023-06-12 22:51:38 UTC; 1min 0s ago
       Docs: https://httpd.apache.org/docs/2.4/
   Main PID: 54351 (apache2)
      Tasks: 55 (limit: 4675)
     Memory: 21.0M
        CPU: 110ms
     CGroup: /system.slice/apache2.service
             ├─54351 /usr/sbin/apache2 -k start
             ├─54353 /usr/sbin/apache2 -k start
             └─54354 /usr/sbin/apache2 -k start
root@vps:~#
Enable/allow HTTP and HTTPS ports ( 80/443 ):
To enable http and https, you need to install UFW firewall,
apt install ufw -yOutput:
root@vps:~# apt install ufw
Reading package lists... Done
Building dependency tree... Done
Reading state information... Done
The following additional packages will be installed:
  iptables libip6tc2 libnetfilter-conntrack3 libnfnetlink0
Suggested packages:
  firewalld
Enable HTTP and HTTPS connection through firewall, follow the commads:
And since this is the first time, we've installed UFW and allowing ports, we would also need to allow SSH port for SSH connections.
ufw allow http
ufw allow https
ufw allow ssh
Enable and reload the firewall using below command,
ufw enable

ufw reload
Output:
root@vps:~# ufw enable
Command may disrupt existing ssh connections. Proceed with operation (y|n)? y
Firewall is active and enabled on system startup
root@vps:~# ufw reload
Firewall reloaded
root@vps:~#
Restart service when a change is made && enable the service to start at boot.
systemctl reload apache2
systemctl enable apache2
Open server IP address on your browser(http://
Example:
Install PHP
Follow the below steps to install PHP on the server,
apt install php libapache2-mod-php php-cli php-fpm php-json php-pdo php-mysql php-zip php-gd php-mbstring php-curl php-xml php-pear php-bcmathOutput:
root@vps:~# apt install php libapache2-mod-php php-cli php-fpm php-json php-pdo php-mysql php-zip php-gd  php-mbstring php-curl php-xml php-pear php-bcmath
Reading package lists... Done
Building dependency tree... Done
Reading state information... Done
Note, selecting 'php8.2-common' instead of 'php-pdo'
The following additional packages will be installed:
  fontconfig-config fonts-dejavu-core libabsl20220623 libaom3 libapache2-mod-php8.2 libavif15 libdav1d6 libde265-0 libdeflate0
  libfontconfig1 libgav1-1 libgd3 libheif1 libjbig0 libjpeg62-turbo liblerc4 libonig5 librav1e0 libsodium23 libsvtav1enc1 libtiff6
  libwebp7 libx265-199 libxpm4 libxslt1.1 libyuv0 libzip4 php-common php8.2 php8.2-bcmath php8.2-cli php8.2-curl php8.2-fpm php8.2-gd
  php8.2-mbstring php8.2-mysql php8.2-opcache php8.2-readline php8.2-xml php8.2-zip
Enable Apache module if not already enabled then restart the Web Server.
a2enmod php8.2Output:
root@vps:~# a2enmod php8.2
Considering dependency mpm_prefork for php8.2:
Considering conflict mpm_event for mpm_prefork:
Considering conflict mpm_worker for mpm_prefork:
Module mpm_prefork already enabled
Considering conflict php5 for php8.2:
Module php8.2 already enabled
root@vps:~#
Confirm the PHP version
php -vOutput:
root@vps:~# php -v
PHP 8.2.5 (cli) (built: Apr 27 2023 08:13:47) (NTS)
Copyright (c) The PHP Group
Zend Engine v4.2.5, Copyright (c) Zend Technologies
with Zend OPcache v8.2.5, Copyright (c), by Zend Technologies
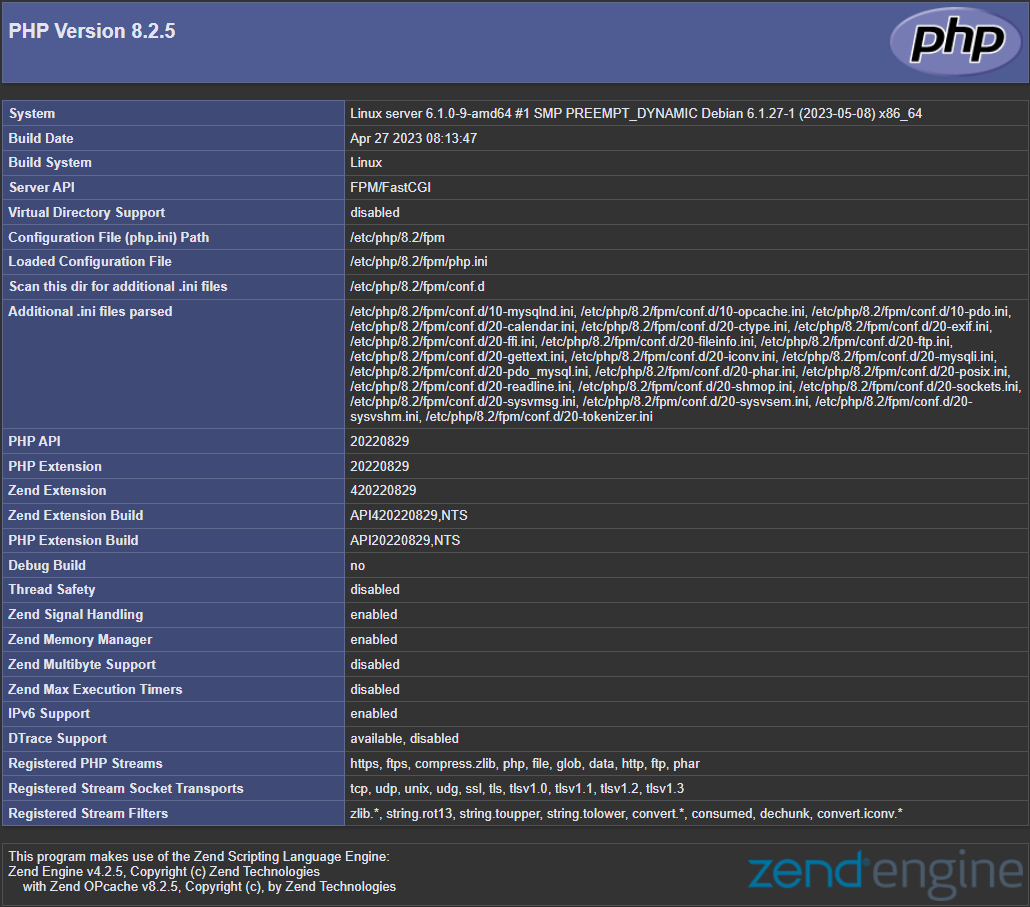
root@vps:~# In order to test the PHP is working on the server, we will create a small file that will list out all the PHP information available.
Run the below command which will create a file,
echo "<?php phpinfo(); ?>" > /var/www/html/info.phpTo view the PHP info on your browser, http://IP_address/info.php
Example:
Once you confirmed that the PHP has been installed and working, remove the info.php file for security reasons.
rm /var/www/html/info.phpDone! This concludes our topic of installing LAMP Stack on a Debian 12 System.