How to Install and Configure Bitwarden on Ubuntu 23.10
Bitwarden is an open-source password management platform that empowers individuals and organizations to securely store, manage, and share sensitive information, such as passwords, credit card details, and secure notes. With growing concerns about online security and data breaches, Bitwarden provides a reliable and user-friendly solution to the complex problem of password management.
Features of Bitwarden
- Secure Password Storage: Bitwarden uses end-to-end encryption to safeguard your passwords, ensuring that only you can access your sensitive data.
- Self-Hosting Option: In addition to Bitwarden's cloud-hosted services, you have the option to self-host Bitwarden on your own server. This provides you with complete control over your data and enhances your privacy.
- Two-Factor Authentication (2FA): Bitwarden supports 2FA, adding an extra layer of security to your account.
- Secure Sharing: Share passwords and other items securely with trusted individuals or groups while maintaining control over who has access.
- Password Generator: Bitwarden can generate strong, unique passwords for your accounts, reducing the risk of password-related security breaches.
By self-hosting Bitwarden on your Ubuntu server, you can ensure that your sensitive information is stored securely and accessed only by you and trusted individuals. This article will guide you through the installation process, helping you harness the full potential of Bitwarden for your personal or organizational needs.
Pre-requisites:
- Ubuntu 23.10 installed with
rootaccess. - A domain with DNS recording pointing to the server's IP address.
- Minimum of 2GB RAM available on the server.
Update the System
We will first update the server to latest.
apt-get update

apt-get upgrade
Install Docker and Docker Compose
Bitwarden will be deployed and run on your server, below are the steps to install:
Install docker.io,
apt install docker.ioOnce the install is complete, Enable the service so it can auto-start upon reboot,
systemctl enable docker --nowCheck the status of the docker service,
systemctl status dockerConfirm that the docker service is running and now we will proceed to install docker compose,
curl -L "https://github.com/docker/compose/releases/download/v2.22.0/docker-compose-$(uname -s)-$(uname -m)" -o /usr/local/bin/docker-composeAt the time of writing this article, Docker compose version 2.22.0 was the latest stable available. Visit the Docker Compose repository to find the latest version and use that instead.
Next, set the correct permissions so that the docker-compose command is executable.
chmod +x /usr/local/bin/docker-composeTo verify that the installation was successful, you can run the following command.
docker-compose --versionCreate a group called docker,
groupadd dockerAdd an user into the docker user group,
usermod -aG docker $USERIf you want to add a different user, replace $USER with existing username.
View running docker apps on the server with,
docker psexample:
root@server:~# docker ps
CONTAINER ID   IMAGE     COMMAND   CREATED   STATUS    PORTS     NAMES
Since no apps are running, you will see an empty list.
Create Bitwarden User and Directory
It is recommend configuring your server with a dedicated bitwarden service account, from which to install and run Bitwarden. Doing so will isolate your Bitwarden instance from other applications running on your server.
Create a Bitwarden user,
adduser bitwardenAdd Bitwarden user to the docker group,
usermod -aG docker bitwardenCreate a Bitwarden directory,
mkdir /opt/bitwardenUpdate permissions for the /opt/bitwarden directory,
chmod -R 700 /opt/bitwardenUpdate the ownership of the /opt/bitwarden directory,
chown -R bitwarden:bitwarden /opt/bitwarden Download and Install Bitwarden
Bitwarden provides a script that can be downloaded and executed, which would install the service.
From this point on, we will switch over to the newly created bitwarden user.
su -l bitwardenoutput:
root@server:~# su -l bitwarden
bitwarden@server:~$
Change the directory to /opt/bitwarden,
cd /opt/bitwardenDownload the installation script,
curl -Lso bitwarden.sh "https://func.bitwarden.com/api/dl/?app=self-host&platform=linux" && chmod 700 bitwarden.shRun the installation script,
./bitwarden.shAfter this, you will be prompted to configure the installation,
- Enter the domain name for your Bitwarden instance: Enter the domain name that has a DNS record pointing to the server.
- Do you want to use Let's Encrypt to generate a free SSL certificate?: Enter y so SSL certificate would be issued.
- Enter your email address: Enter your email address, this will be used to send certificate expiration notifications.
- Enter the database name for your Bitwarden instance: Enter a valid database name of your choice.
For the next steps, you will need to register yourself at Bitwarden site with your email address. You will be provided with Installation ID and a Key which will be used below.
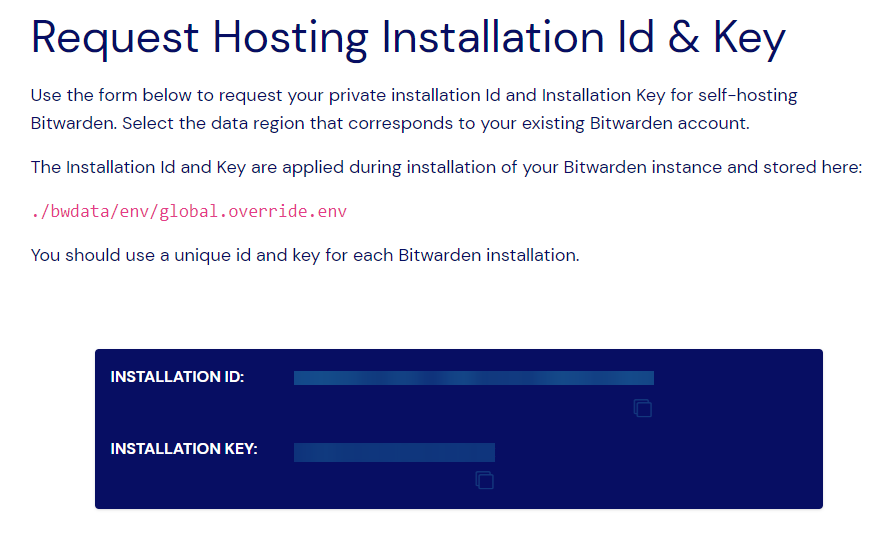
- Enter your installation id: Enter the ID here.
- Enter your installation key: Enter the Key here.
- Enter your region: Enter the region that was selected at the time of the request.
Output:
$ ./bitwarden.sh install
 _     _ _                         _
| |__ (_) |___      ____ _ _ __ __| | ___ _ __
| '_ \| | __\ \ /\ / / _` | '__/ _` |/ _ \ '_ \
| |_) | | |_ \ V  V / (_| | | | (_| |  __/ | | |
|_.__/|_|\__| \_/\_/ \__,_|_|  \__,_|\___|_| |_|

Open source password management solutions
Copyright 2015-2023, 8bit Solutions LLC
https://bitwarden.com, https://github.com/bitwarden

===================================================

bitwarden.sh version 2023.9.1
Docker version 24.0.5, build 24.0.5-0ubuntu1
Docker Compose version v2.22.0

(!) Enter the domain name for your Bitwarden instance (ex. bitwarden.example.com): bit.domainhere.info

(!) Do you want to use Let's Encrypt to generate a free SSL certificate? (y/n): y

(!) Enter your email address (Let's Encrypt will send you certificate expiration reminders): user@example.com
...
(!) Enter the database name for your Bitwarden instance (ex. vault): bit_vault
...
(!) Enter your installation id (get at https://bitwarden.com/host): YOUR INSTALLATION ID

(!) Enter your installation key: YOUR INSTALLATION KEY

(!) Enter your region (US/EU) [US]: US
...
Installation complete

If you need to make additional configuration changes, you can modify
the settings in `./bwdata/config.yml` and then run:
`./bitwarden.sh rebuild` or `./bitwarden.sh update`

Next steps, run:
`./bitwarden.sh start`
Start Bitwarden
Run the following command to start Bitwarden,
./bitwarden start Post-Install Configuration
Before you start the Bitwarden service, we have SMTP configuration that can be done. If you use your own SMTP mail server for sending mails, the following can be configured.
If you do not have your SMTP mail server, you can skip this step.
Edit the file ./bwdata/env/global.override.env,
nano ./bwdata/env/global.override.envUpdate the below lines that contain REPLACE with actual SMTP values,
...
globalSettings__mail__smtp__host=REPLACE
globalSettings__mail__smtp__port=587
globalSettings__mail__smtp__ssl=false
globalSettings__mail__smtp__username=REPLACE
globalSettings__mail__smtp__password=REPLACE
globalSettings__disableUserRegistration=false
globalSettings__hibpApiKey=REPLACE
adminSettings__admins=
...
The above configuration will be used to connect to the SMTP mail server that will be used to send verification emails to new users and invitations to organizations.
Adding an email address to adminSettings__admins= will provision access to the admin portal.
Run the following command to apply your changes,
./bitwarden.sh restart Create your Bitwarden Account
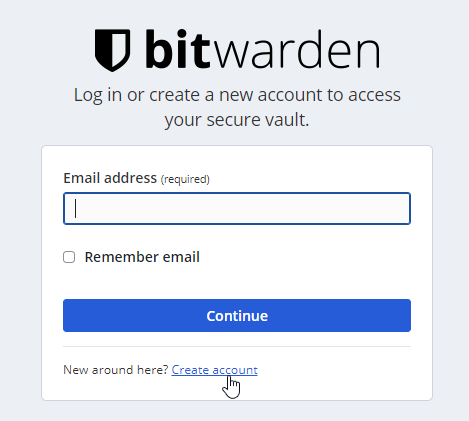
Once the installation and configuration is complete, launch your browser and navigate to your website.
Click on the Create Account,
Input the required details in the registration form,
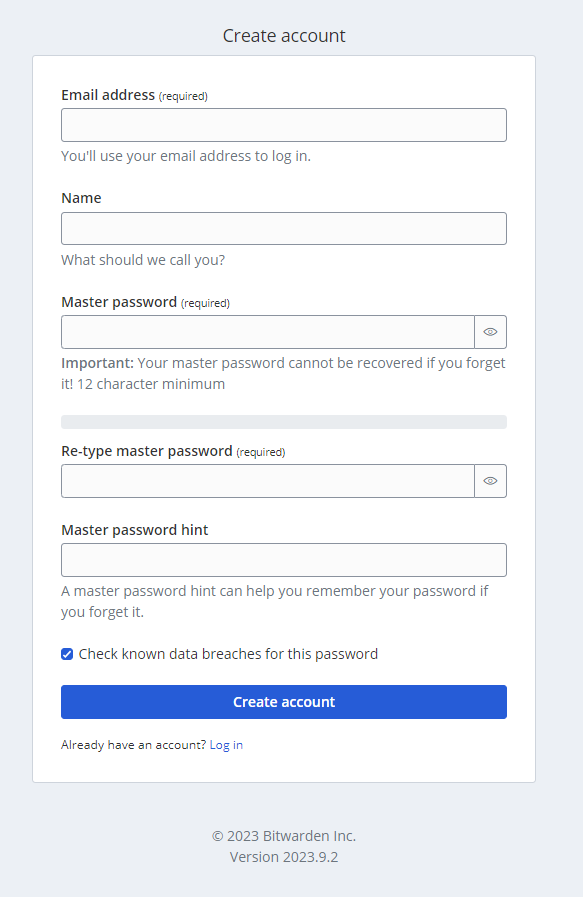
Once the account has been created, login using the same.

Additional Information
Below are some of the additional commands that are used to manage Bitwarden.
| Command | Description |
|---|---|
| ./bitwarden.sh start | Start all containers. |
| ./bitwarden.sh restart | Restart all containers (same as start). |
| ./bitwarden.sh stop | Stop all containers. |
| ./bitwarden.sh update | Update all containers and the database. |
| ./bitwarden.sh uninstall | Stops containers, deletes the bwdata directory and all its contents, and removes ephemeral volumes. |
This concludes our topic of installing Bitwarden on Ubuntu 23.10 server.