How to Install a Minecraft Server on CentOS/Ubuntu
CentOS
Requirements
- Putty SSH Client
- 1GB RAM VPS Server With CentOS 7 x64 Installed.
Installation
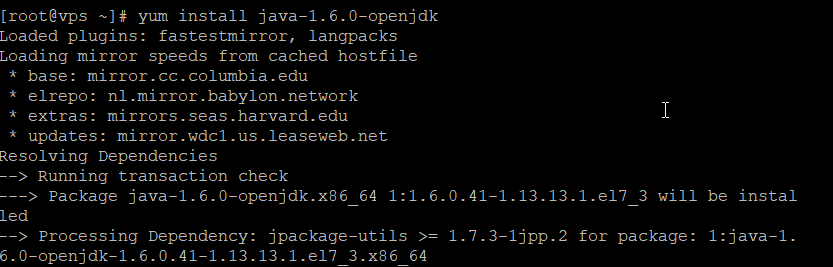
Login to your new CentOS 7 1GB RAM VPS Server and install Java 1.6.0 Open JDK.
ssh root@ip.ip.ip.ip
[root@vultr ~]# yum install java-1.6.0-openjdk
<some output here>
Is this ok [y/N]: y

Open the Minecraft server port in firewalld.
firewall-cmd --zone=public --permanent --add-port=25565/tcp
firewall-cmd --reload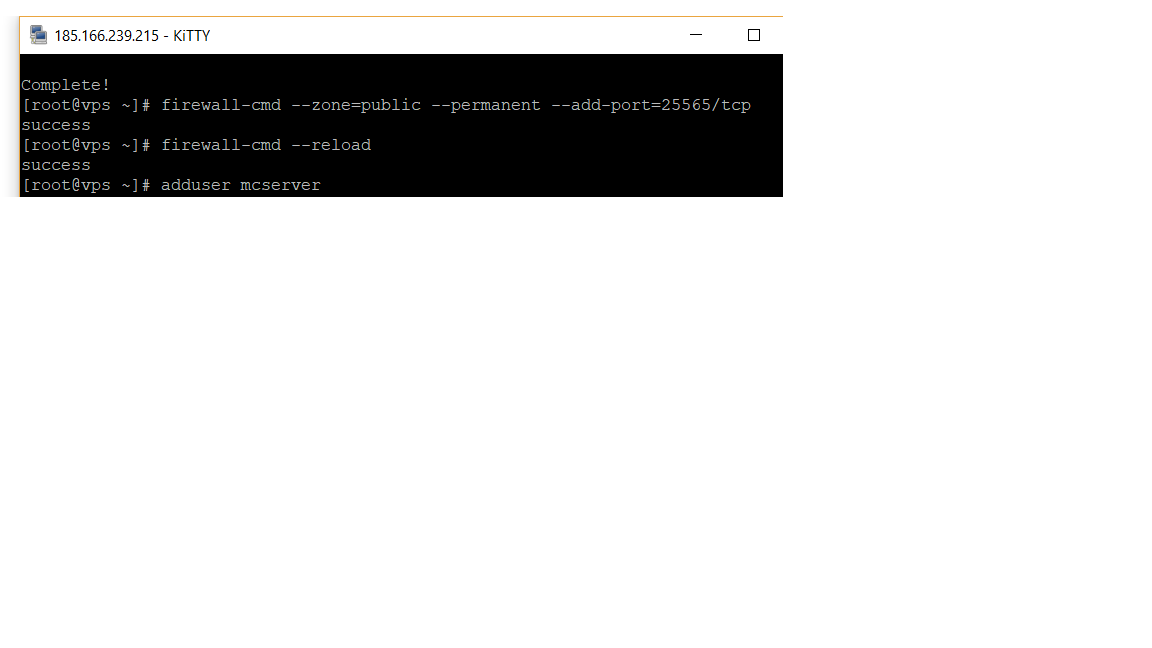
Make a user to run your Minecraft server under. This is for security purposes as it is not good practice to run a Minecraft server as root.
adduser mcserver
#set a secure password.
passwd mcserver
#this allows you to run screen while su'd from root for the next step
chown mcserver `tty`
Now lets change users and install Minecraft! Change the wget URL accordingly for newer versions of Minecraft.
su - mcserver
mkdir minecraft
cd minecraft
wget -O minecraft_server.jar https://s3.amazonaws.com/Minecraft.Download/versions/1.11.2/minecraft_server.1.11.2.jar
chmod +x minecraft_server.jar
screen
echo "eula=true" > eula.txt
#start your Minecraft Server
java -Xmx768M -Xms768M -jar minecraft_server.jar nogui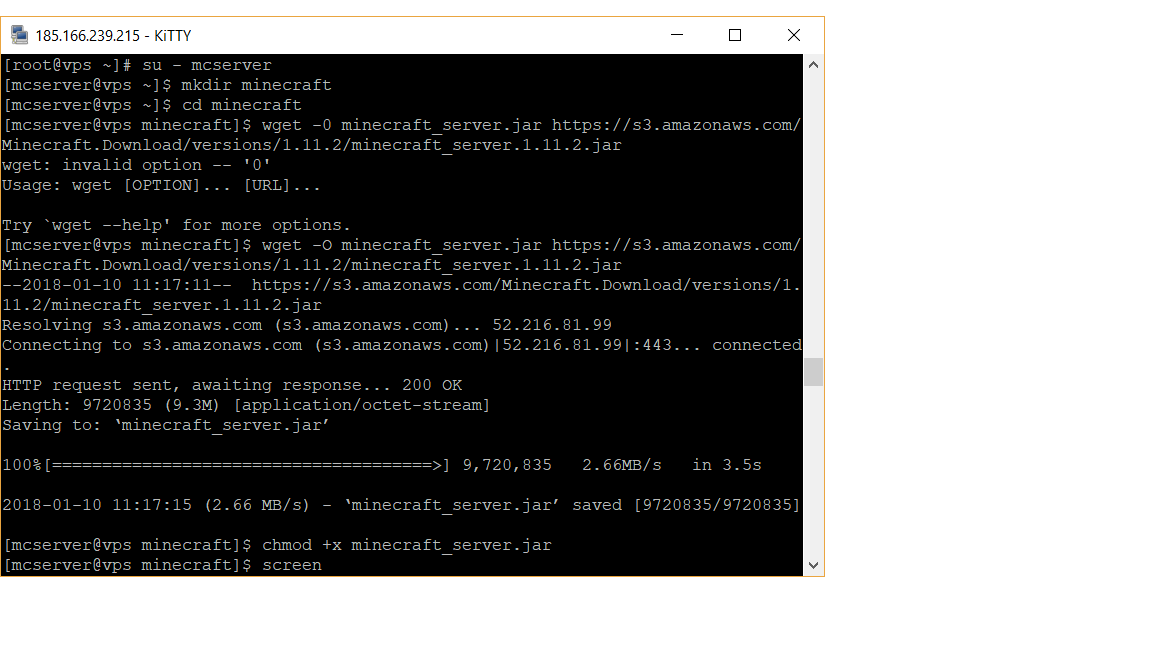
Ubuntu
In order to run a Minecraft server, we need Java 1.7 to be installed on the server. To install Java 1.7, run the following commands:
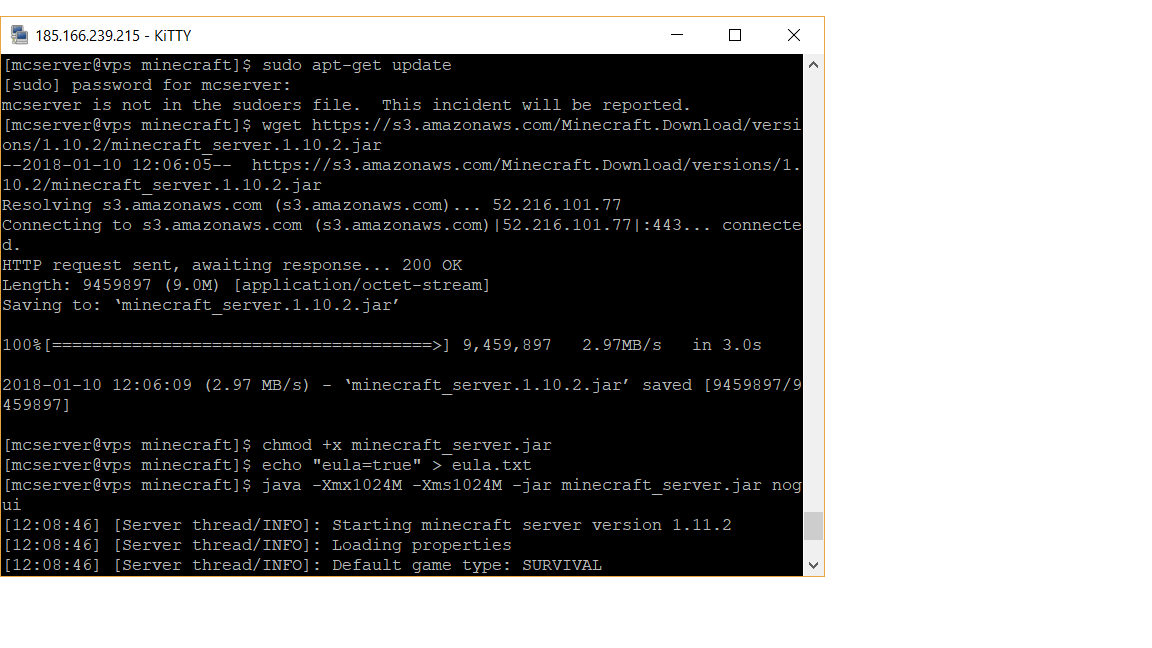
sudo apt-get update
sudo apt-get install openjdk-7-jdk
Now,download the Minecraft server via wget. If you don't have wget installed, install it via sudo apt-get install wget.
wget https://s3.amazonaws.com/Minecraft.Download/versions/1.10.2/minecraft_server.1.10.2.jar
chmod +x minecraft_server.jar
The Minecraft install is complete. Accept the license agreement.
echo "eula=true" > eula.txtYou can now start your Minecraft server via the following command:
java -Xmx1024M -Xms1024M -jar minecraft_server.jar noguiThis command starts the Minecraft server with 1024MB RAM allocated.
If you want the server to run in the background, you can install screen:
apt-get install screen